
Introduction
The Uharbour 4-Tire Inflation Deflation System is designed to streamline tire maintenance by allowing simultaneous inflation, deflation, and pressure equalization across all four tires. This system ensures optimal tire performance, extends tire life, and enhances fuel efficiency and vehicle handling. It is suitable for vehicles with a wheelbase up to 155 inches.
Package Contents
Your Uharbour 4-Tire Inflation Deflation System package includes the following components:
- Digital Pressure Gauge (1) - includes pre-installed AA batteries.
- 4-Tire Inflation Hose Kit (1) - fully assembled with quick-disconnect couplers.
- Storage Bag (1)
- Teflon Tape (1) - for ensuring airtight connections if needed.

Image: All components included in the Uharbour 4-Tire Inflation Deflation System package.
Setup
Follow these steps for initial setup:
- Unpack the Hoses: The system includes two long hose sections, one for each side of the vehicle. The manifold is equipped with two quick-disconnect couplers for connecting these hoses. Position the hoses so that the manifold is easily accessible to your air source.
- Attach Hoses to Manifold: Attach the hoses to the manifold using the quick-disconnect couplers as necessary. Ensure the air valve (black handle) is in the closed position (parallel to the ground).
- Connect to Vehicle Tire Stems: Connect the long hose sections to the vehicle's tire valve stems using the quick-disconnect tire chucks. Ensure there are no kinks in the hoses.
- Connect to Air Source: Connect the coupler on the manifold to your air source. Once connected, turn on the pressure gauge. Ensure the air valve is open to prevent back pressure, which could damage the air source if it lacks an internal pressure switch.

Image: The Uharbour 4-Tire Inflation Deflation System fully assembled and ready for use.
Note: The digital pressure gauge requires AA batteries, which are included. If the gauge appears to be reading high or low, or doesn't work, remove and re-install the batteries to recalibrate.
Operating Instructions
Inflation
- Turn on Air Source: Periodically turn it off to check the digital air pressure gauge, adjusting the air pressure as needed.
- Monitor Pressure: The digital pressure gauge displays the current tire pressure. You can cycle through different units (PSI, Kpa, Bar, Kgf/cm²) by pressing the 'FUNC' button.
- Equalize Pressure: Keep the air system connected to all four tires for approximately 10-15 seconds with the valve in the closed position to allow the tire pressures to equalize.
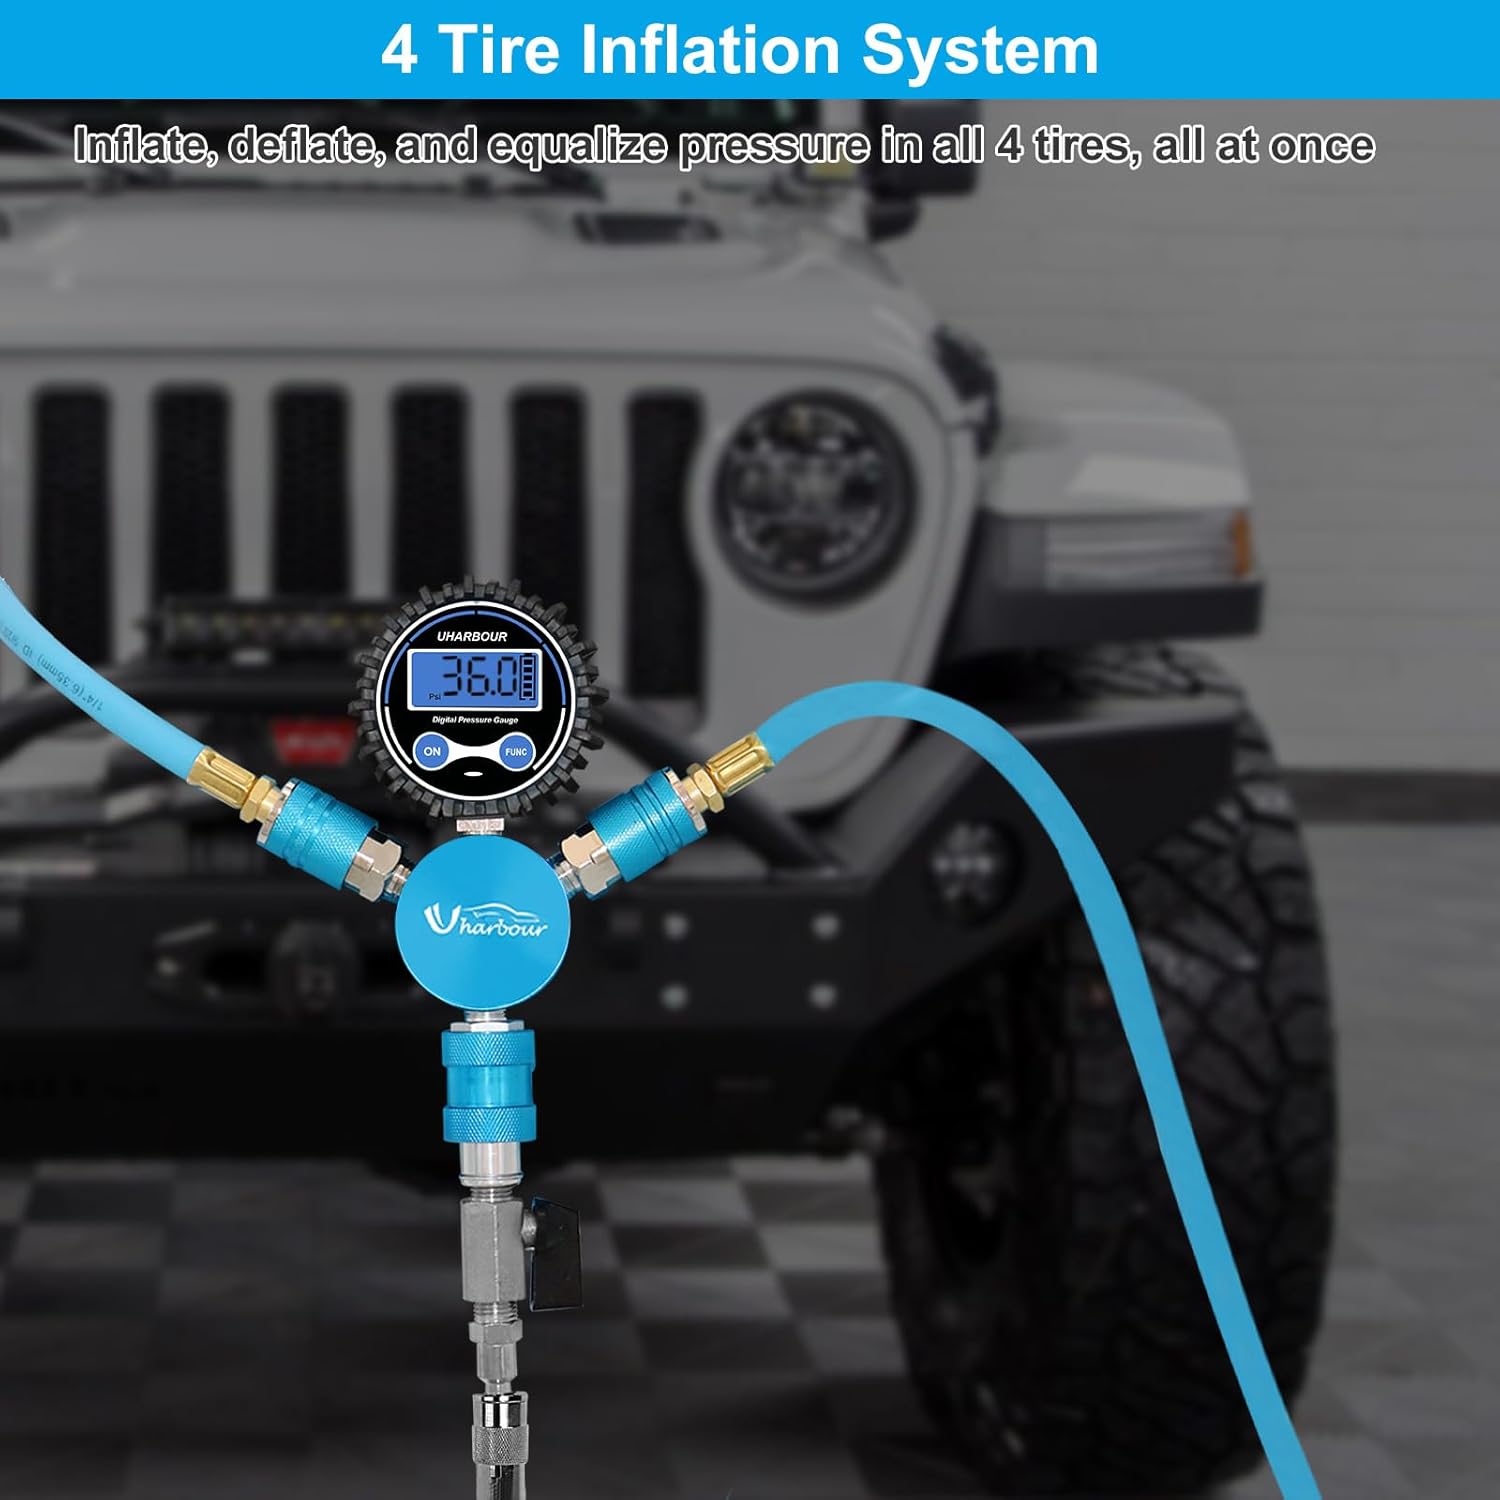
Image: The 4-Tire Inflation System connected to a vehicle's tire for simultaneous inflation.
Deflation
To deflate tires, turn on the pressure gauge. Then, open the air valve by turning the black handle to a perpendicular position. Slide down the slide valve and use the digital air pressure gauge to monitor the current tire pressure. Quickly slide the valve down and up as needed to reach the desired air pressure.

Image: The slide valve mechanism on the manifold allows for easy switching between inflation and deflation modes.
Tire Chucks
The system comes with standard quick-disconnect tire chucks. If your wheels require a different type of chuck, four alternate style spare air chucks are included in the package for replacement.

Image: Close-up of the lock-on air chucks, showing their secure connection mechanism.
Maintenance
To ensure the longevity and optimal performance of your Uharbour 4-Tire Inflation Deflation System, follow these maintenance guidelines:
- Check Connections: Regularly inspect all connections for any signs of wear or leaks. Use the provided Teflon tape on threaded connections to ensure an airtight seal if needed.
- Hose Care: Avoid kinking or sharply bending the hoses during use or storage. Store the hoses neatly coiled in the provided storage bag to prevent damage.
- Gauge Care: Keep the digital pressure gauge clean and dry. If the display becomes inaccurate, remove and re-install the AA batteries to recalibrate.
Troubleshooting
If you encounter any issues with your Uharbour 4-Tire Inflation Deflation System, refer to the following common problems and solutions:
- Air Leakage: If you hear air leaking from connections, ensure all quick-disconnect couplers are fully engaged. For threaded connections, apply the provided Teflon tape to create a tighter seal.
- Inaccurate Gauge Readings: If the digital gauge displays high or low readings, or doesn't work, remove the AA batteries, wait a few seconds, and then re-install them. This typically recalibrates the gauge.
- Difficulty Attaching Chucks: If the chucks are hard to attach or leak, ensure they are properly aligned with the valve stem. The system is designed with naturally closed chucks that only open when properly attached.
- Air Not Equalizing: Ensure the air valve on the manifold is fully open during the equalization period (10-15 seconds). All tires should be connected to the system for proper pressure distribution.
Specifications
| Feature | Detail |
|---|---|
| Brand | Uharbour |
| Model Number | TIS006 |
| Material | Alloy Steel, Plastic, Rubber and PVC hybrid material |
| Drive System | 1/4 I/M coupler |
| Finish Type | Polished |
| Number of Pieces | 1 |
| Item Weight | 6.87 pounds |
| Package Dimensions | 15.24 x 10.16 x 7.01 inches |
| Batteries | 2 AAA batteries required (included) |
| Hose Length (Main) | Approx. 23 feet |
| Hose Length (Manifold to Tire) | Approx. 42 inches |
Warranty & Support
Uharbour offers a 2-year warranty for this product. For warranty registration and video tutorials, please scan the QR code provided in the product packaging or visit the official Uharbour website.
If you have any problems or require support, you can contact Uharbour via email at support@uharbour.net or visit their website at www.uharbour.net.