
FLSUN FLSUN T1 Pro
FLSUN T1 Pro 3D Printer Instruction Manual
Model: FLSUN T1 Pro
Introduction
The FLSUN T1 Pro is a high-speed delta 3D printer designed for efficient and precise additive manufacturing. Featuring a maximum printing speed of 1000mm/s and 30000mm/s² acceleration, it significantly reduces print times. This manual provides essential information for the safe and effective operation, maintenance, and troubleshooting of your FLSUN T1 Pro 3D printer.
Safety Information
- Always operate the printer in a well-ventilated area.
- Do not touch the hot nozzle or heated bed during operation. Allow components to cool before handling.
- Keep hands and loose clothing clear of moving parts.
- Ensure the printer is placed on a stable, level surface.
- Use only the recommended power supply and cables.
- Do not attempt to modify the printer's electrical or mechanical components.
- Keep children and pets away from the operating printer. The enclosed design helps prevent accidental contact.
- The dual air filtration system (HEPA13 and activated carbon) helps block 99% of particles and VOCs, but proper ventilation is still recommended.
What's in the Box
Upon unboxing your FLSUN T1 Pro, verify that all components are present:
- FLSUN T1 Pro 3D Printer (main assembly components)
- Power Cable
- Filament Spool Holder
- Tool Kit (hex keys, spare parts)
- Sample Filament
- Instruction Manual
- USB Cable
Setup
The FLSUN T1 Pro is designed for quick assembly, typically allowing you to begin printing within 10 minutes of unboxing. Follow these general steps for initial setup:
- Unboxing: Carefully remove all components from the packaging. The printer comes in a flat-pack design for efficient shipping.
- Base Assembly: Place the base unit on a stable surface.
- Vertical Arms Installation: Insert the three vertical arms into their designated slots on the base plate. These arms are pre-installed with stepper motors and belts.
- Top Frame Attachment: Secure the top frame to the vertical arms using the provided hex bolts. Ensure all connections are tight for stability.
- Print Head Installation: Attach the print head (extruder) to the three arms. This involves connecting the arms to the hot end using small pegs that slot into holes. Use a combination of pulling and pushing on the belt systems to align.
- Cable Connections: Connect the cooling tube and head cable from the top of the printer directly to the print head. An additional cable from the base plate should be guided up the side to connect to the motors and cooling fan.
- Acrylic Panels and Door: Install the acrylic side panels and the front door. These are secured with a few screws and provide temperature control and protection.
- Filament Spool Holder: Install the filament spool holder at the top of the printer.
- Power On: Connect the power cable and turn on the printer.
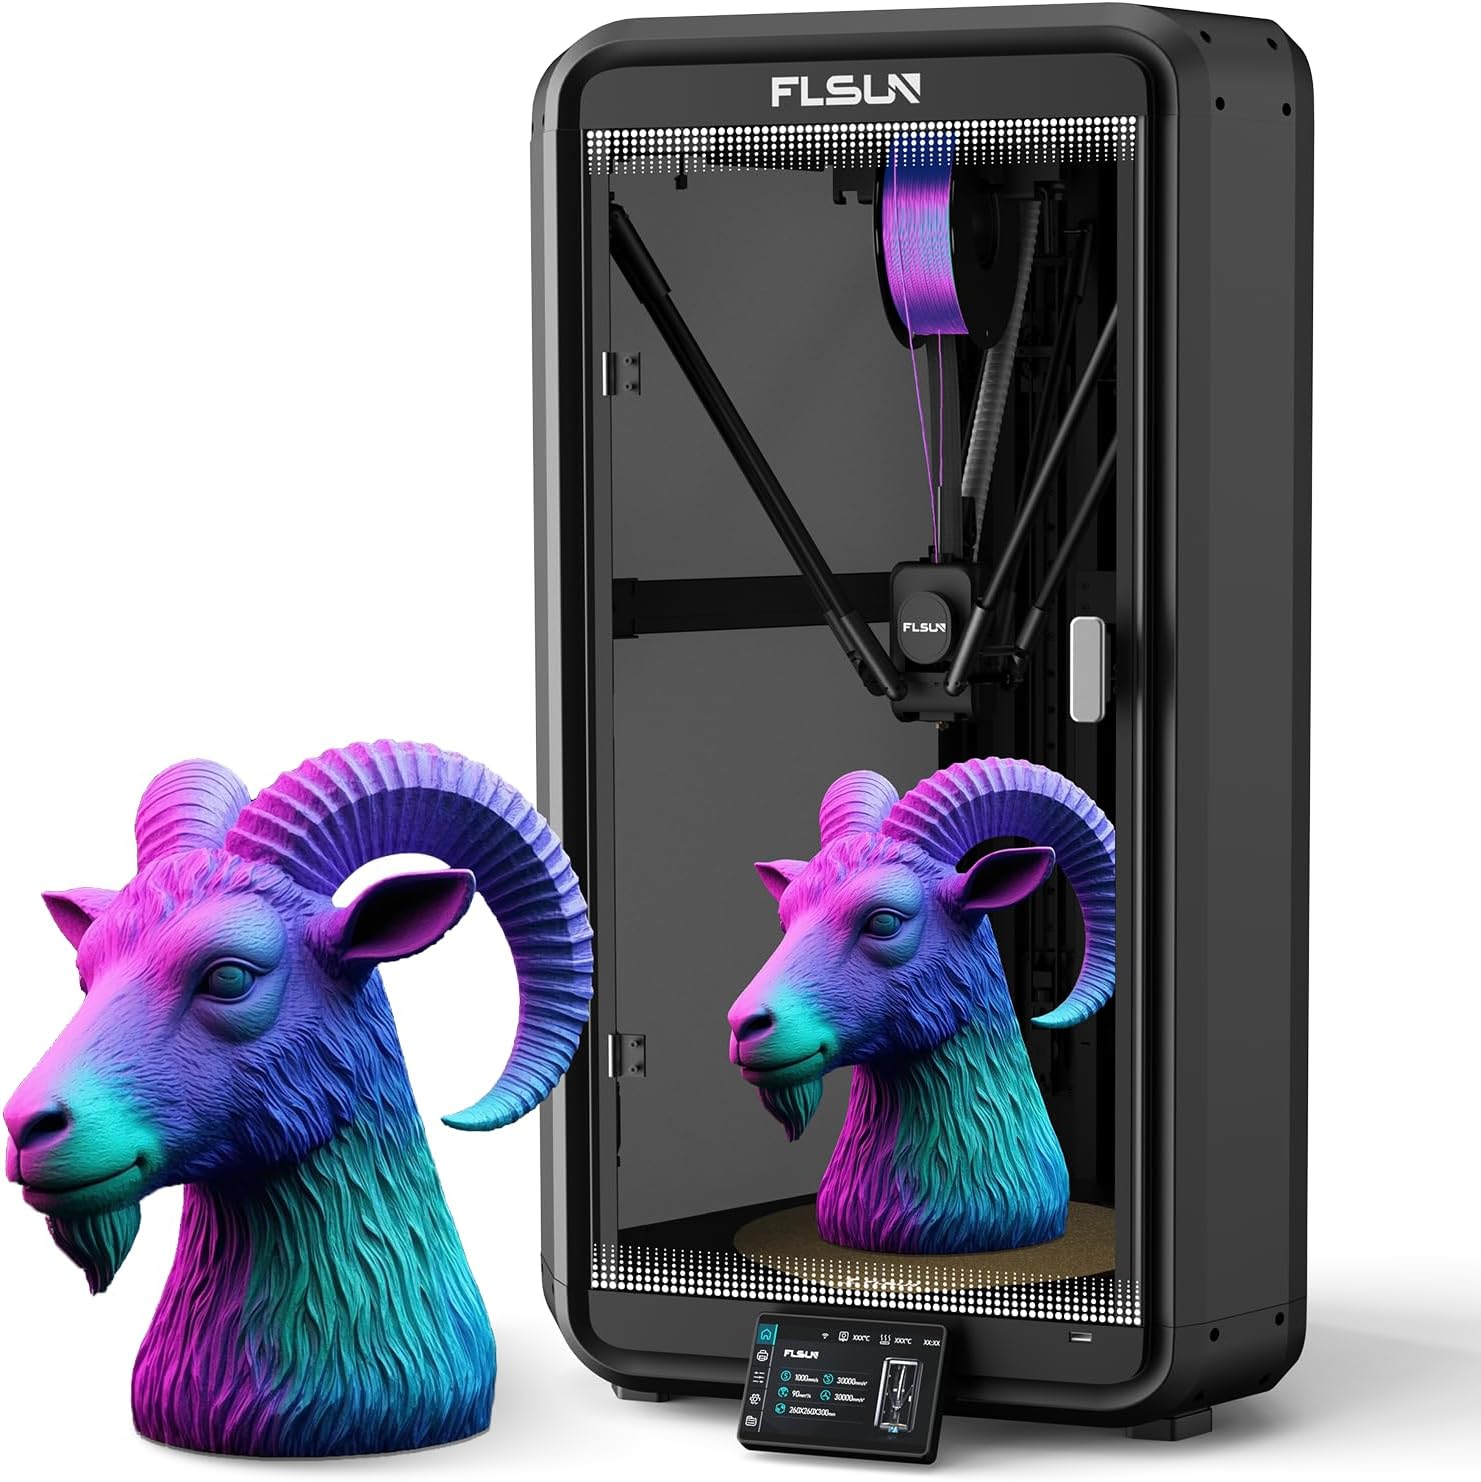
Image: Fully assembled FLSUN T1 Pro 3D Printer.

Image: Overview of the FLSUN T1 Pro's intelligent assistance features, including the 4.3-inch touchscreen and filament detection.
Video: Official FLSUN T1 Pro 3D Printer overview, highlighting its high-speed capabilities and features.
Operating Instructions
Initial Calibration
Before your first print, perform the following calibrations:
- Auto-Leveling: The T1 Pro features full-auto one-click leveling. Access the calibration menu on the 4.3-inch touchscreen and initiate the bed leveling process. This calibrates the print head to compensate for any bed irregularities, ensuring an excellent first layer.
- Vibration Compensation: The printer includes vibration compensation to ensure printing accuracy and stability. This can also be initiated from the calibration menu.
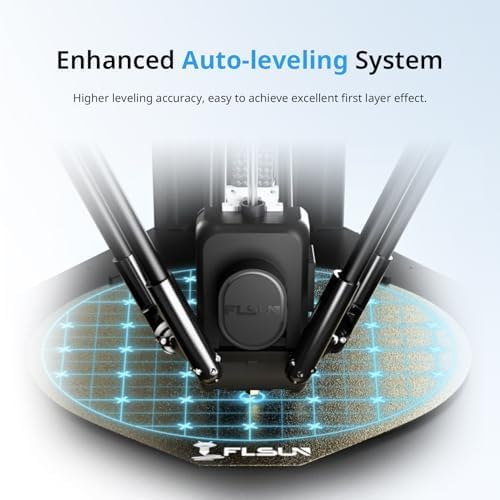
Image: Visual representation of the enhanced auto-leveling system on the FLSUN T1 Pro.
Filament Loading and Compatibility
The FLSUN T1 Pro features a dual-gear direct-drive extruder, supporting a wide range of high-performance filaments.
- Supported Filaments: PLA, PETG, TPU, PVA, PET, ABS, ASA, PA, PC, and more. The brass nozzle supports printing temperatures up to 300°C.
- Loading: Insert the filament into the designated slot at the top of the printer and feed it through the system until it reaches the extruder. Follow the on-screen prompts for loading.
- Filament Detection: The printer is equipped with filament wrap and break detection features to reduce waste and ensure continuous printing.

Image: Close-up of the FLSUN T1 Pro's dual-gear direct drive extruder, designed for precise flow control.

Image: The FLSUN T1 Pro's brass nozzle supports 300°C high-temperature printing, making it compatible with various high-temp filaments.
Printing Operations
- High-Speed Printing: The T1 Pro boasts speeds up to 1000mm/s and 30000mm/s² acceleration, significantly reducing print times.
- Slicer Software: Utilize the FLSUN Studio slicer software for preparing your 3D models for printing. The upgraded FLSUN Slicer 2.0 offers a user-friendly interface.
- Remote Control & Monitoring: Remote printing and real-time progress tracking are available through the FLSUN mobile app or FLSUN Studio slicer. The integrated HD camera allows for real-time remote monitoring and time-lapse photography.
- Resume Printing: In case of power interruption, the printer supports resume printing, minimizing material waste.
- Silent Operation: The upgraded turbo fan and CPAP silent fan cooling system ensure low-noise printing (around 55dB), making it suitable for home or studio use.

Image: Depiction of the FLSUN T1 Pro's ultra-fast printing capabilities, significantly reducing print times.

Image: The FLSUN T1 Pro's HD camera supports time-lapse shooting and remote monitoring via a mobile device.

Image: Illustration of the FLSUN T1 Pro's low noise level (55dB) due to its CPAP silent fan cooling system.
Maintenance
Regular maintenance ensures optimal performance and longevity of your FLSUN T1 Pro 3D printer:
- Nozzle Cleaning: Periodically clean the nozzle to prevent clogs and ensure smooth filament extrusion.
- Build Plate Cleaning: Clean the build plate after each print to maintain good adhesion for subsequent prints.
- Belt Tension: Check the tension of the drive belts regularly. Proper tension is crucial for print accuracy, especially at high speeds.
- Lubrication: Lubricate moving parts as recommended in the detailed manual (if applicable) to ensure smooth operation.
- Air Filter Replacement: The dual air filtration system (HEPA13 and activated carbon) requires periodic filter replacement to maintain effective particle and VOC removal.
Troubleshooting
Common issues and their potential solutions:
| Problem | Possible Cause | Solution |
|---|---|---|
| Poor First Layer Adhesion | Unlevel bed, dirty build plate, incorrect Z-offset. | Perform auto-leveling, clean the build plate thoroughly, adjust Z-offset slightly closer to the bed. |
| Filament Clogging/Not Extruding | Nozzle clog, incorrect temperature, tangled filament. | Clean or replace nozzle, verify correct print temperature for filament, ensure filament spool unwinds freely. |
| Layer Shifting | Loose belts, excessive print speed, mechanical obstruction. | Check and tighten belts, reduce print speed, ensure no obstructions in the print path. |
| Printer is Loud | Normal operation at high speeds, fan noise. | While designed for silent operation (55dB), high-speed movements can generate noise. Ensure no loose components are vibrating. |
| Printer Stops Functioning (Power Issue) | Power supply issue, internal component failure. | Ensure stable power connection. If using a smart plug, allow printer to cool down before cutting power. Contact support if issue persists. |
Specifications
| Feature | Detail |
|---|---|
| Product Dimensions | 11.2 x 11.2 x 13 inches (28.4 x 28.4 x 33 cm) |
| Item Weight | 47.3 pounds (21.5 kg) |
| Max Print Speed | 1000mm/s |
| Max Acceleration | 30000mm/s² |
| Extruder Type | Dual-Gear Direct Drive |
| Max Nozzle Temperature | 300°C |
| Chamber Heat | Passively heated up to 60°C |
| Filtration System | Dual-layer (HEPA13 and Activated Carbon) |
| Noise Level | As low as 55dB |
| Connectivity | Wi-Fi, USB |
| Auto-Leveling | Full-Auto One-Click Leveling |
| AI Camera | Included for remote monitoring and time-lapse |
| On-mode Power Consumption | 400 watts |
Warranty and Support
FLSUN provides a 12-month after-sales service for the FLSUN T1 Pro 3D printer. For any questions or support needs, please contact the FLSUN 3D Printer Official Store via Amazon. They aim to respond within 24 hours.
For additional resources and community support, visit the official FLSUN website or community forums.
Related documentsFLSUN T1 Pro


Ask a question about this manual
Ask about setup, troubleshooting, compatibility, parts, safety, or missing instructions. Manuals+ will review the question and use this page’s manual context to help answer it.