
Dahua 2.7-12 mm
Dahua Lite Series 2MP HDCVI IR Camera Dome User Manual
Model: 2.7-12 mm
Introduction
This manual provides essential information for the installation, operation, and maintenance of your Dahua Lite Series 2MP HDCVI IR Camera Dome. Please read this manual thoroughly before using the product and retain it for future reference. This camera is designed for outdoor security surveillance, offering high-definition video and infrared night vision capabilities.
Safety Information
- Ensure proper power supply (12 VDC) to prevent damage.
- Do not expose the camera to extreme temperatures or humidity.
- Avoid pointing the lens directly at strong light sources.
- Installation should be performed by qualified personnel.
- Clean the camera lens and housing regularly with a soft, dry cloth.
Package Contents
Verify that all items are present in the package:
- Dahua Lite Series 2MP HDCVI IR Camera Dome
- Mounting Screws and Wall Plugs
- Installation Template
- Quick Start Guide
- Waterproof Connector (if applicable)
Product Overview
The Dahua Lite Series 2MP HDCVI IR Camera Dome features a robust design suitable for outdoor environments, with IP67 weather resistance and IK10 vandal resistance. It includes a 2.7-12 mm motorized lens for flexible viewing angles.
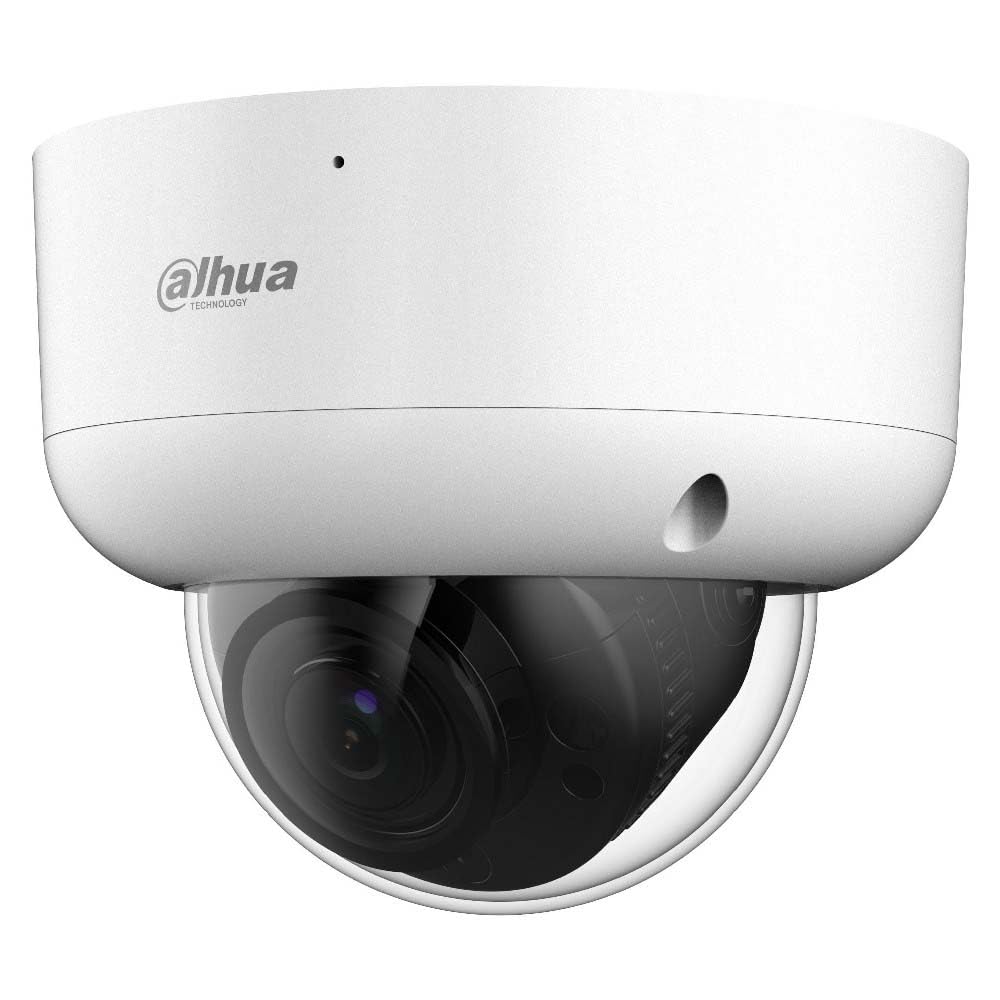
This image displays the Dahua Lite Series 2MP HDCVI IR Dome Camera. The camera features a white, robust dome casing with the Dahua logo visible on the top. The dark lens assembly is protected by a clear dome cover, indicating its surveillance capabilities.
Key Components:
- Dome Cover: Protects the lens and internal components.
- Lens: 2.7-12 mm motorized vari-focal lens.
- IR LEDs: Provide infrared illumination for night vision.
- Mounting Base: For secure installation.
- Video Output Port: BNC connector for HDCVI signal.
- Power Input Port: DC 12V input.
Setup
1. Mounting the Camera
- Choose a suitable mounting location, ensuring a clear field of view and accessibility for wiring.
- Use the provided installation template to mark drill holes on the mounting surface.
- Drill holes and insert wall plugs if necessary.
- Secure the camera's mounting base to the surface using the provided screws.
2. Wiring
- Connect the BNC video output cable from the camera to your HDCVI DVR/NVR.
- Connect the 12V DC power adapter (not included) to the camera's power input port. Ensure the power supply meets the camera's requirements.
- If using a waterproof connector, ensure all connections are sealed properly to maintain IP67 rating.
3. Powering On
After all connections are secure, plug in the power adapter. The camera will power on and initiate its self-test sequence. Allow a few moments for the camera to become operational.
Operating
1. Accessing the Camera Feed
Access the live video feed and recorded footage through your connected HDCVI DVR/NVR system. Refer to your DVR/NVR manual for specific instructions on viewing and managing camera feeds.
2. Adjusting Motorized Lens (Zoom/Focus)
The 2.7-12 mm motorized lens allows for remote adjustment of zoom and focus. This functionality is typically controlled via the OSD (On-Screen Display) menu accessible through your DVR/NVR or a compatible controller. Consult your DVR/NVR manual for details on accessing and controlling the OSD menu to adjust the lens.
3. OSD Menu Navigation
The camera's OSD menu provides access to various settings such as image parameters (brightness, contrast, gain), day/night mode, white balance, and more. Navigate the OSD menu using the controls on your DVR/NVR or a UTC controller.
Maintenance
1. Cleaning
- Regularly clean the camera's dome cover and housing to ensure clear image quality.
- Use a soft, lint-free cloth slightly dampened with water. Avoid harsh chemicals or abrasive materials.
- For stubborn dirt, a mild soap solution can be used, followed by wiping with a clean, damp cloth.
2. Firmware Updates
Periodically check the Dahua official website for available firmware updates. Firmware updates can improve performance, add new features, or fix bugs. Follow the instructions provided with the firmware update package carefully.
Troubleshooting
| Problem | Possible Cause | Solution |
|---|---|---|
| No video output | No power; loose cable connection; incompatible DVR/NVR. | Check power supply; ensure BNC cable is securely connected; verify DVR/NVR supports HDCVI. |
| Poor image quality | Dirty lens; improper focus; insufficient lighting. | Clean the dome cover/lens; adjust focus via OSD; ensure adequate lighting or IR is active. |
| IR not working at night | IR sensor blocked; IR settings incorrect. | Ensure nothing obstructs the IR sensor; check OSD settings for IR mode. |
| Motorized lens not responding | Control signal issue; camera not fully initialized. | Ensure DVR/NVR supports UTC control; restart camera and DVR/NVR. |
Specifications
| Feature | Description |
|---|---|
| Model | Lite Series 2MP HDCVI IR Camera Dome |
| Resolution | 2 Megapixels |
| Lens | 2.7-12 mm Motorized Vari-focal |
| Infrared (IR) | Yes, with Smart IR |
| Ingress Protection | IP67 (Dust and Water Resistant) |
| Vandal Resistance | IK10 |
| Power Supply | 12 VDC |
| Recommended Use | Outdoor Security |
Warranty and Support
For warranty information, please refer to the warranty card included with your product or visit the official Dahua website. For technical support, contact your local Dahua distributor or authorized service center. Keep your purchase receipt as proof of purchase for warranty claims.
Related documents2.7-12 mm


Ask a question about this manual
Ask about setup, troubleshooting, compatibility, parts, safety, or missing instructions. Manuals+ will review the question and use this page’s manual context to help answer it.