
Falcon Electronics EagleEye 2nd Gen Triple Cam 2K Dashcam
FalconEye Electronics EagleEye 2nd Gen Triple Cam 2K Dashcam User Manual
Model: EagleEye 2nd Gen Triple Cam 2K Dashcam
Introduction
This manual provides comprehensive instructions for the installation, operation, and maintenance of your FalconEye Electronics EagleEye 2nd Gen Triple Cam 2K Dashcam. This advanced dashcam system is designed to provide multi-viewpoint recording for enhanced vehicle security and incident documentation.
What's in the Box
Please verify that all components are present before proceeding with installation.
- Main Dash 2K Front Facing Cam with 4.0" LCD
- 2 Additional Waterproof Rear Cameras with 19' cables
- TF Card slot (supports up to 128GB microSD card)
- 12V Cigarette Lighter Mobile Charger
- Suction Cup Windshield Mount
- GPS Antenna
- User Manual (this document)

Image: Main dashcam unit with its 4-inch LCD screen and two external cameras, showcasing the multi-viewpoint recording capability.
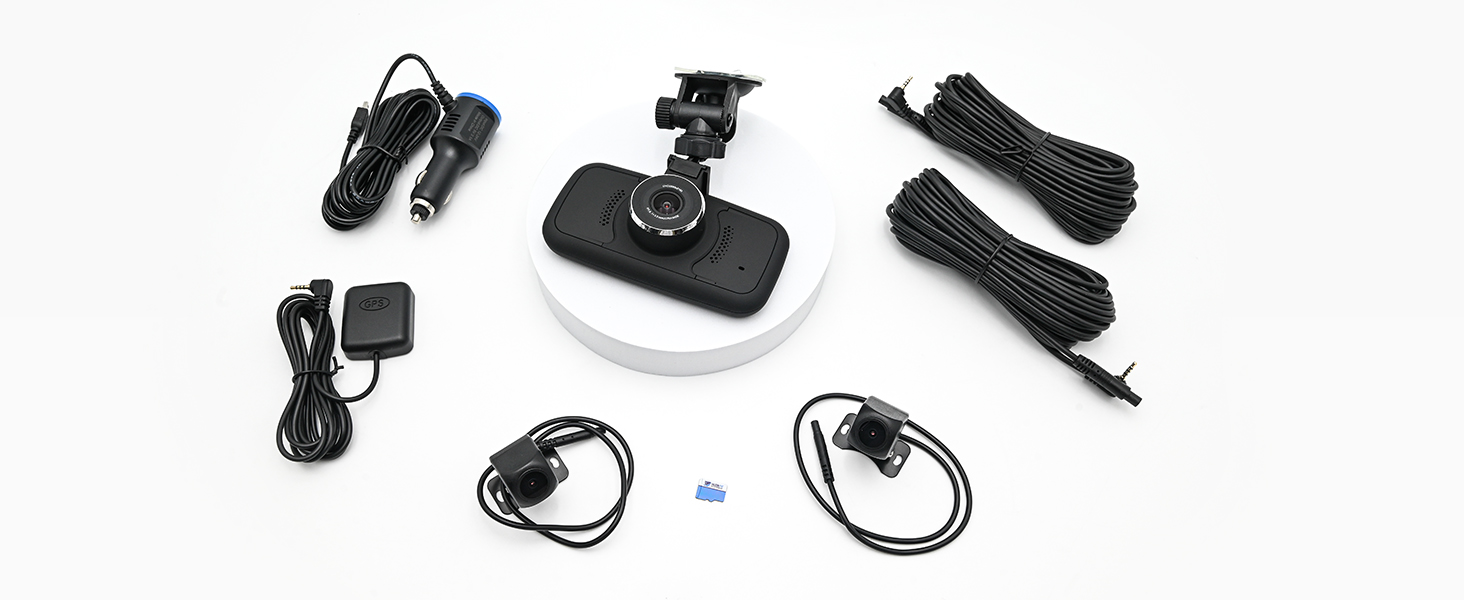
Image: A complete set of components included with the dashcam, including the main unit, two external cameras, GPS antenna, power cable, and mounting accessories.
Setup and Installation
1. Mounting the Main Dashcam Unit
Attach the suction cup mount to the main dashcam unit. Clean the desired area on your windshield thoroughly before attaching the suction cup. Ensure the mount is securely fastened and provides a clear view for the front camera.

Image: The FalconEye dashcam viewed from the front, showing the suction cup mount attached to the top of the unit, ready for windshield installation.
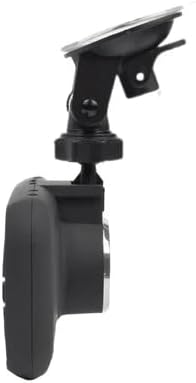
Image: A side profile of the dashcam, highlighting the adjustable suction cup mount and the compact design of the main unit.
2. Installing External Cameras
The two additional 1080P waterproof cameras are designed for external mounting, typically on side mirrors or the rear of the vehicle. Use the provided 19-foot cables to connect them to the main unit. Route the cables carefully to avoid interference with vehicle operations and to ensure a neat installation.

Image: The GPS antenna and the two compact external cameras, each with their long connecting cables, ready for installation.

Image: Example installation of the external cameras on the side mirrors of a truck, demonstrating their placement for wide-angle coverage.
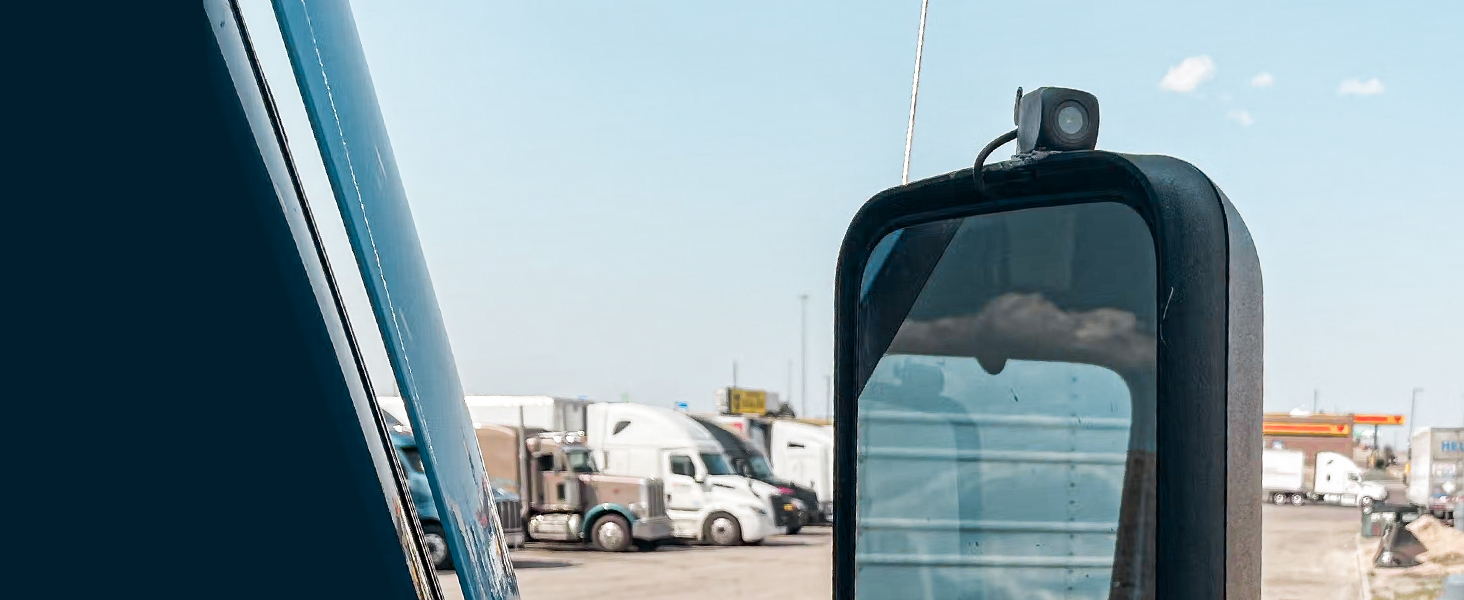
Image: A detailed view of one of the external cameras securely mounted on a truck's side mirror, showing its discreet profile.
3. Power Connection
Connect the provided 12V cigarette lighter charger to the main dashcam unit and then into your vehicle's cigarette lighter socket. The unit will power on automatically when the vehicle ignition is turned on.

Image: The 12V cigarette lighter power adapter, used to supply power to the dashcam unit.
4. Inserting the SD Card
Locate the microSD card slot on the side of the main unit. Insert a compatible microSD card (up to 128GB, not included in all kits) until it clicks into place. Ensure the card is formatted correctly for optimal performance.

Image: A close-up of the side of the dashcam, indicating the locations of the USB port, 3.5mm jacks for external cameras, and the microSD card slot.
5. Connecting the GPS Antenna
Connect the GPS antenna to the designated port on the main unit. Position the antenna in an area with a clear view of the sky for accurate speed and location tracking. This feature can be disabled by unplugging the antenna if not desired.
Operating Instructions
Basic Operation and Recording
Once powered on, the dashcam will automatically begin recording from all three cameras (front 2K, two 1080P rear/side). The 4-inch LCD screen allows for real-time viewing of the camera feeds and playback of recorded footage.
- Multiple Viewpoints: Records simultaneously from the front windshield camera and the two external cameras, providing comprehensive coverage.
- High-Definition Recording: The front camera records in 2K resolution, while the external cameras record in 1080P, ensuring clear and detailed video.
- Night Vision: Excellent night vision capabilities ensure clear recordings even in low-light conditions.

Image: The dashcam unit displaying icons that represent its key features: GPS, G-Sensor, ease of installation, and loop recording.
G-Sensor and Accident Locking
The built-in G-Sensor detects sudden impacts or collisions. When an event is detected, the dashcam automatically locks the current video file, preventing it from being overwritten by loop recording. These locked files are saved in a separate folder on the SD card.

Image: The dashcam display showing a vehicle accident scene, with text indicating that the G-Sensor automatically locks the recording in such events.
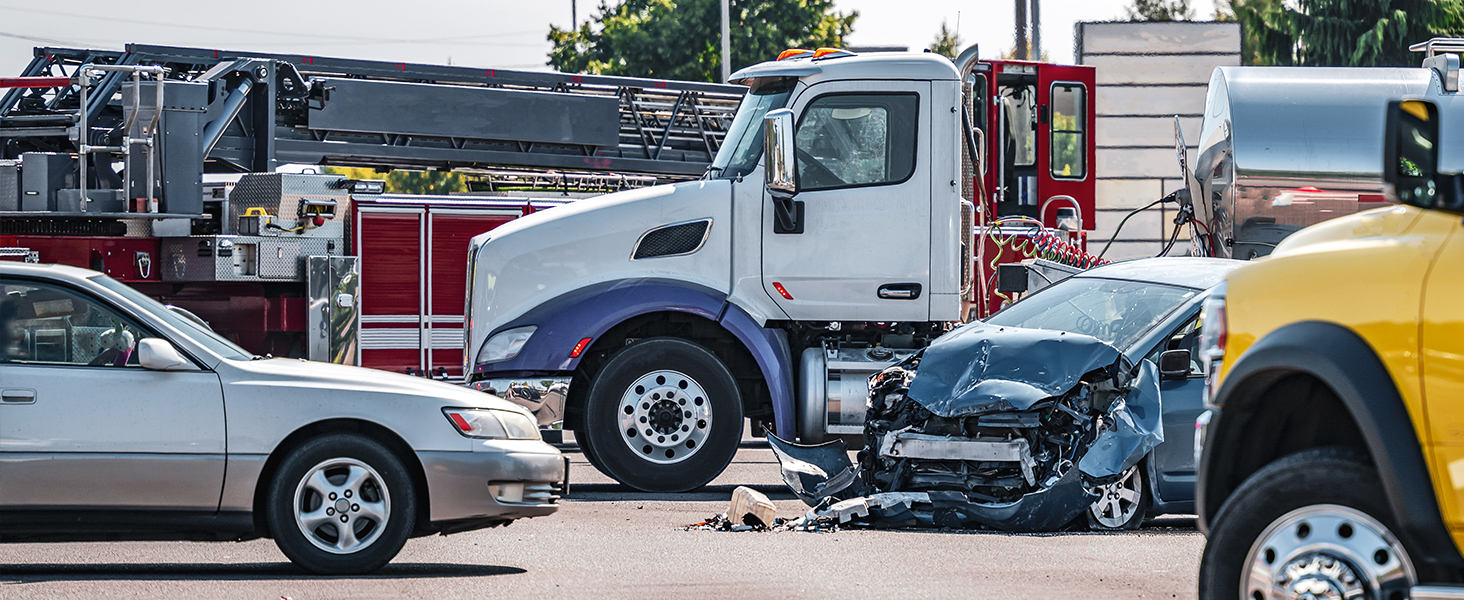
Image: A visual representation of a car accident, emphasizing the importance of the G-Sensor feature in automatically securing critical video evidence.
WiFi Connectivity
The integrated WiFi feature allows you to connect your smartphone or tablet to the dashcam. This enables easy transfer, viewing, and management of recorded video files without needing to remove the SD card.

Image: A smartphone screen showing a view from the dashcam, demonstrating the WiFi connectivity feature for remote viewing and file transfer.
GPS Functionality
With the GPS antenna connected, the dashcam records vehicle speed and location data directly onto the video files. This information can be crucial for incident reconstruction and verification.
Loop Recording
The dashcam utilizes loop recording, continuously recording over the oldest unlocked video files when the SD card is full. This ensures continuous operation without manual intervention, except for G-Sensor locked files.
Maintenance
- SD Card Formatting: It is recommended to format the microSD card periodically (e.g., once a month) to maintain optimal recording performance and prevent data corruption. Back up any important files before formatting.
- Lens Cleaning: Regularly clean the lenses of all cameras with a soft, lint-free cloth to ensure clear video quality. Avoid abrasive materials or harsh chemicals.
- Firmware Updates: Check the Falcon Electronics website periodically for any available firmware updates to ensure your dashcam has the latest features and bug fixes.
Troubleshooting
| Problem | Possible Cause | Solution |
|---|---|---|
| Dashcam does not power on. | No power from cigarette lighter; loose connection. | Check cigarette lighter fuse; ensure power cable is securely connected. |
| Recording stops or freezes. | SD card full or corrupted; incompatible SD card. | Format the SD card; try a different, high-speed microSD card. |
| Poor video quality. | Dirty camera lens; low light conditions. | Clean camera lenses; ensure sufficient lighting for optimal night vision. |
| GPS not tracking location/speed. | GPS antenna not connected or obstructed. | Ensure GPS antenna is securely connected and has a clear view of the sky. |
| Cannot connect via WiFi. | Incorrect WiFi password; app issue. | Verify WiFi password; restart dashcam and phone; reinstall app if necessary. |
Specifications
- Product Dimensions: 1"D x 6"W x 4"H
- Front Camera Resolution: 2K
- External Camera Resolution: 1080p
- Display: 4.0" LCD
- Storage: MicroSD card slot, supports up to 128GB
- Connectivity: Wi-Fi
- Special Features: Built-In WiFi, GPS, G-Sensor, Loop Recording, Night Vision
- Power Source: 12V Cigarette Lighter Mobile Charger (or optional hardwire kit)
- Orientation: Front, Rear, and Inside
- Vehicle Service Type: Car, Truck
- Manufacturer: FalconEye Electronics
Warranty and Support
For warranty information, technical support, or service inquiries, please refer to the official Falcon Electronics website or contact their customer service directly. Keep your purchase receipt as proof of purchase for warranty claims.
Manufacturer: FalconEye Electronics
Brand: Falcon Electronics
For further assistance, visit: www.falconeysystems.com
Ask a question about this manual
Ask about setup, troubleshooting, compatibility, parts, safety, or missing instructions. Manuals+ will review the question and use this page’s manual context to help answer it.