
VOKSUN EM3378YC
VOKSUN EM3378YC Wireless Weather Station User Manual
Model: EM3378YC | Brand: VOKSUN
Introduction
Thank you for purchasing the VOKSUN EM3378YC Wireless Weather Station. This device provides comprehensive weather information including indoor/outdoor temperature and humidity, weather forecasts, time, date, moon phase, and atmospheric pressure. This manual will guide you through the setup, operation, and maintenance of your new weather station to ensure optimal performance.

Image: The VOKSUN EM3378YC Wireless Weather Station main display unit and its accompanying outdoor sensor.
Safety Information
- Do not expose the main unit to extreme temperatures, direct sunlight, or high humidity.
- The outdoor sensor is weather-resistant but should not be submerged in water.
- Use only the specified power adapter for the main unit.
- Keep batteries out of reach of children. Dispose of used batteries responsibly.
- Do not attempt to disassemble or repair the device yourself. Contact customer support for assistance.
Package Contents
Please check the package contents to ensure all items are present:
- 1 x VOKSUN EM3378YC Main Weather Station Unit
- 1 x Wireless Outdoor Sensor
- 1 x Power Adapter
- 1 x User Manual (this document)
Product Overview
Familiarize yourself with the main components and their functions.
Main Weather Station Unit

Image: Detailed diagram showing the front LCD display and rear controls/ports of the main weather station unit.
Part A: Positive LCD Display
- Outdoor wireless channel and receiving icon
- Indoor Temperature
- Indoor Humidity
- Indoor comfort indicator
- Time
- Month and date
- Week
- Weather forecast
- Outdoor Temperature
- Atmospheric pressure
- Outdoor Humidity
- Histogram of historical pressure trends
- Outdoor comfort indicator
- Sunrise time
- Moon phase
- Selected city
- Tide level
- Sunset time
Part B: Back Button and Power
- ☀/zz" Touch field (Snooze/Light)
- Support frame
- Battery compartment
- Hanging hole
- ▼" Button (Down)
- ▲/" Button (Up)
- ▲" Button (Set)
- ▲" Button (Channel)
- ▲" Button (Alarm)
- ▲" Button (Memory)
- Power supply socket
- USB charger output socket
Wireless Remote Sensor
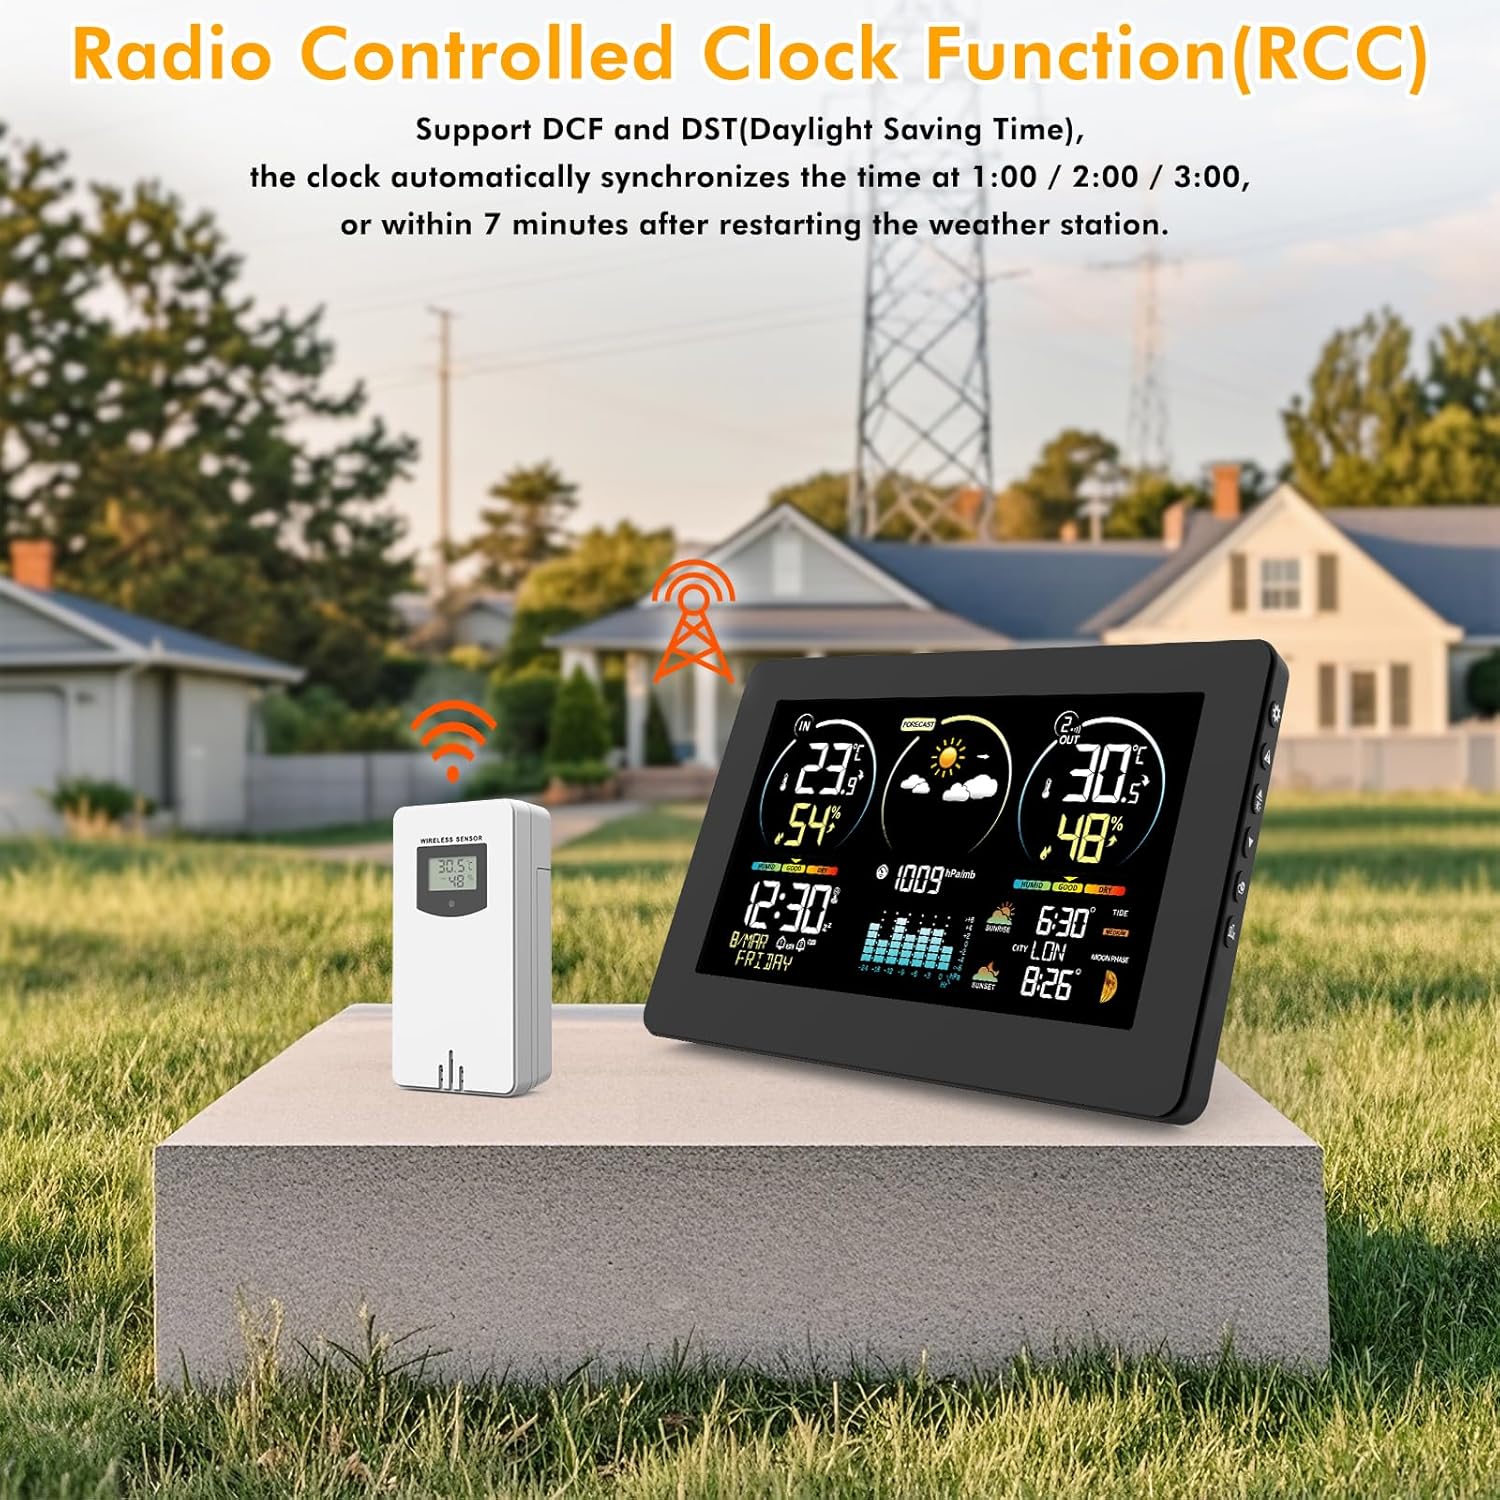
Image: Detailed diagram showing the front display and internal components of the wireless remote sensor.
Part C: Wireless Remote Sensor
- LCD display - Temperature
- LCD display - Humidity
- Transmit signal LED
- ℃/℉" button (Celsius/Fahrenheit)
- "TX" button (Transmit)
- "CHANNEL 1 or 2 or 3" switch
- Battery compartment
Setup
1. Powering the Main Unit
The main unit can be powered by the included DC5V adapter or by AA batteries (not included).

Image: Illustration of the two power supply options: DC5V adapter for continuous power and AA batteries for backup or portable use.
- Using Power Adapter: Connect the DC5V adapter to the power supply socket (B12) on the back of the main unit and plug it into a wall outlet. The display will light up.
- Using Batteries: Open the battery compartment (B3) on the back and insert 3 x AA batteries (not included), observing polarity (+/-). The display will briefly light up. Note: Batteries are primarily for backup during power outages; for continuous display illumination, use the power adapter.
2. Setting up the Wireless Outdoor Sensor
- Open the battery compartment (C7) on the back of the outdoor sensor.
- Insert 2 x AA batteries (not included), observing polarity (+/-). The sensor's LCD display (C1, C2) will show temperature and humidity.
- Select a channel (1, 2, or 3) using the "CHANNEL" switch (C6). If you have multiple sensors, assign a different channel to each.
- Press the "TX" button (C5) to manually send a signal to the main unit.
3. Pairing the Sensor with the Main Unit
The main unit will automatically search for the outdoor sensor upon initial power-up. If pairing does not occur automatically or if you are adding a new sensor:
- Ensure both units have fresh batteries or are powered.
- Place the sensor near the main unit during the pairing process.
- On the main unit, press and hold the "CHANNEL" button (B9) for a few seconds to initiate a search for outdoor sensors. The outdoor temperature/humidity section on the main unit's display will flash.
- Once connected, the outdoor temperature and humidity will appear on the main unit's display, and the receiving icon (A1) will become stable.
4. Sensor Placement
For accurate readings and optimal wireless transmission (up to 60 meters in open air), consider the following:

Image: Examples showing suitable locations for the outdoor sensor, such as under an eave, near a door, or by a window, ensuring protection from direct elements while maintaining wireless range.
- Place the outdoor sensor in a shaded area, away from direct sunlight and heat sources, to ensure accurate temperature readings.
- Protect the sensor from direct rain and snow. An ideal location is under an eave or a covered porch.
- Avoid placing the sensor near large metal objects or electronic devices that could interfere with the wireless signal.
- Ensure the distance between the main unit and the sensor is within the 60m (200ft) wireless range, minimizing obstacles like thick walls.
Operating Instructions
1. Initial Settings (Time, Date, City)
After powering on, the unit will attempt to receive the DCF radio-controlled signal for automatic time synchronization. This may take several minutes or hours. If the signal is not received or you prefer manual setting:

Image: The weather station displaying the Radio Controlled Clock (RCC) function, indicating automatic time synchronization.
- Press and hold the "SET" button (B7) to enter setting mode. The setting item will flash.
- Use the "▲" (B6) and "▼" (B5) buttons to adjust the value.
- Press "SET" again to confirm and move to the next setting (e.g., 12/24 hour format, hour, minute, year, month, day, language, city).
- For city selection (A16), refer to the manual's city code list (if available) or select the closest major city for accurate sunrise/sunset times and tide information.
- Press "SET" repeatedly until all settings are confirmed and the unit returns to normal display.

Image: The weather station display highlighting the manual city selection feature and the various moon phase icons.
2. Temperature Unit Selection (℃/℉)
- On the main unit, briefly press the "▼" button (B5) to switch between Celsius (℃) and Fahrenheit (℉) for temperature display.
- On the outdoor sensor, use the "℃/℉" button (C4) to change its local display unit.
3. Weather Forecast (A8)
The weather station predicts weather conditions for the next 12-24 hours based on atmospheric pressure changes. The forecast icons include Sunny, Partly Cloudy, Cloudy, Rainy, Heavy Rain, Snowy, and Heavy Snow.
Image: The weather station's display showing various weather forecast icons, indicating predicted conditions for the next 12 hours.
Note: The forecast is an estimation and may not always be 100% accurate. It is based on local pressure trends and not satellite data.
4. Comfort Display (A4, A13)
The comfort indicator provides a general guide to indoor and outdoor comfort levels based on temperature and humidity. It typically shows "DRY", "GOOD" (Comfort), or "WET".

Image: A visual guide explaining the comfort index display, correlating humidity ranges with "Dry", "Good", and "Humid" conditions.
- DRY: Humidity 1-35% RH
- COMFORT (GOOD): Humidity 45-65% RH
- WET: Humidity 66-80% RH
- If humidity is 35-44% RH, it's considered "Dry".
- If humidity is 80-99% RH, it's considered "To Wet".
5. Alarms and Snooze
- Setting Alarm: Press the "ALARM" button (B10) to view the alarm time. Press and hold "ALARM" to enter alarm setting mode. Use "▲" and "▼" to adjust hour and minute. Press "ALARM" to confirm.
- Activating/Deactivating Alarm: Briefly press "ALARM" to toggle the alarm on/off. An alarm icon will appear/disappear on the display.
- Snooze Function: When the alarm sounds, touch the "☀/zz" touch field (B1) to activate snooze. The alarm will sound again after approximately 5 minutes.
6. Backlight Adjustment
When powered by the adapter, the display backlight is continuously on. Briefly touch the "☀/zz" touch field (B1) to adjust the brightness level (multiple levels available).
When powered by batteries only, the backlight will turn off after a few seconds to conserve power. Touch the "☀/zz" touch field (B1) to temporarily illuminate the display.
Maintenance
- Cleaning: Wipe the main unit and sensor with a soft, damp cloth. Do not use abrasive cleaners or solvents.
- Battery Replacement: Replace batteries in both the main unit (if used) and the outdoor sensor when the low battery indicator appears on the display. Ensure correct polarity.
- Storage: If storing the device for an extended period, remove all batteries to prevent leakage.
Troubleshooting
| Problem | Possible Cause | Solution |
|---|---|---|
| No display on main unit. | No power; batteries dead or incorrectly inserted; power adapter not connected. | Check power adapter connection. Replace batteries, ensuring correct polarity. |
| Outdoor temperature/humidity not displayed or flashing. | Sensor not paired; sensor batteries dead; sensor out of range or interference. | Replace sensor batteries. Re-pair sensor (see Setup section). Move sensor closer to main unit or away from interference sources. |
| Inaccurate temperature/humidity readings. | Sensor exposed to direct sunlight/heat/moisture; sensor placed near heat/cold sources. | Relocate sensor to a shaded, protected area. Ensure proper ventilation around both units. |
| Weather forecast is incorrect. | Forecast is an estimation based on pressure trends; local weather conditions can vary. | This is normal. The forecast is a general guide, not a precise prediction. Allow time for pressure trends to establish. |
| DCF time synchronization fails. | Weak signal due to location/interference; manual setting required. | Move the main unit closer to a window or away from electronic devices. Manually set the time if automatic synchronization is not possible. |
Specifications
| Feature | Detail |
|---|---|
| Model Number | EM3378YC |
| Indoor Temperature Range | -9.9℃ to +50℃ (14.2℉ to 122℉) |
| Outdoor Temperature Range | -40℃ to +70℃ (-40℉ to 158℉) |
| Humidity Range | 20% to 95% RH |
| Wireless Transmission Range | Up to 60 meters (200 feet) in open area |
| Frequency | 433 MHz |
| Main Unit Power | DC5V Power Adapter (included) or 3 x AA Batteries (not included) |
| Outdoor Sensor Power | 2 x AA Batteries (not included) |
| Dimensions (Main Unit) | Approx. 20.5 cm (L) x 13 cm (H) x 3 cm (W) |
| Weight | 600 g (Item Weight) |
| Material | Polycarbonate (PC) |
| Special Features | External sensor, DCF function, Connectivity up to 3 external sensors, Large Display, Customizable Alert, Adjustable Brightness |
Warranty and Support
VOKSUN products come with a standard manufacturer's warranty. For specific warranty terms and conditions, please refer to the product packaging or contact VOKSUN customer support.
If you encounter any issues or have questions not covered in this manual, please contact VOKSUN customer support.
For excellent support, you may also email allmart_help@outlook.com as suggested by other users.
Ask a question about this manual
Ask about setup, troubleshooting, compatibility, parts, safety, or missing instructions. Manuals+ will review the question and use this page’s manual context to help answer it.