
1. Important Safety Information
Please read all instructions carefully before installation and use of your new bathtub. Failure to follow these instructions may result in injury or property damage. Retain this manual for future reference.
- Professional Installation Recommended: Installation should be performed by a qualified plumber or contractor.
- Heavy Item: The bathtub weighs approximately 218 pounds. Use appropriate lifting equipment and assistance to prevent injury.
- Water Temperature: Always test water temperature before entering the bathtub to prevent scalding.
- Chemicals: Avoid using harsh chemicals or abrasive cleaners that can damage the stone resin surface.
- Stability: Ensure the bathtub is level and stable on a flat surface before filling with water.
2. Product Overview
The MEDUNJESS 59-inch Freestanding Bathtub is crafted from high-quality stone resin, offering exceptional durability and a luxurious matte finish. Its oval-shaped design provides a comfortable and spacious bathing experience.
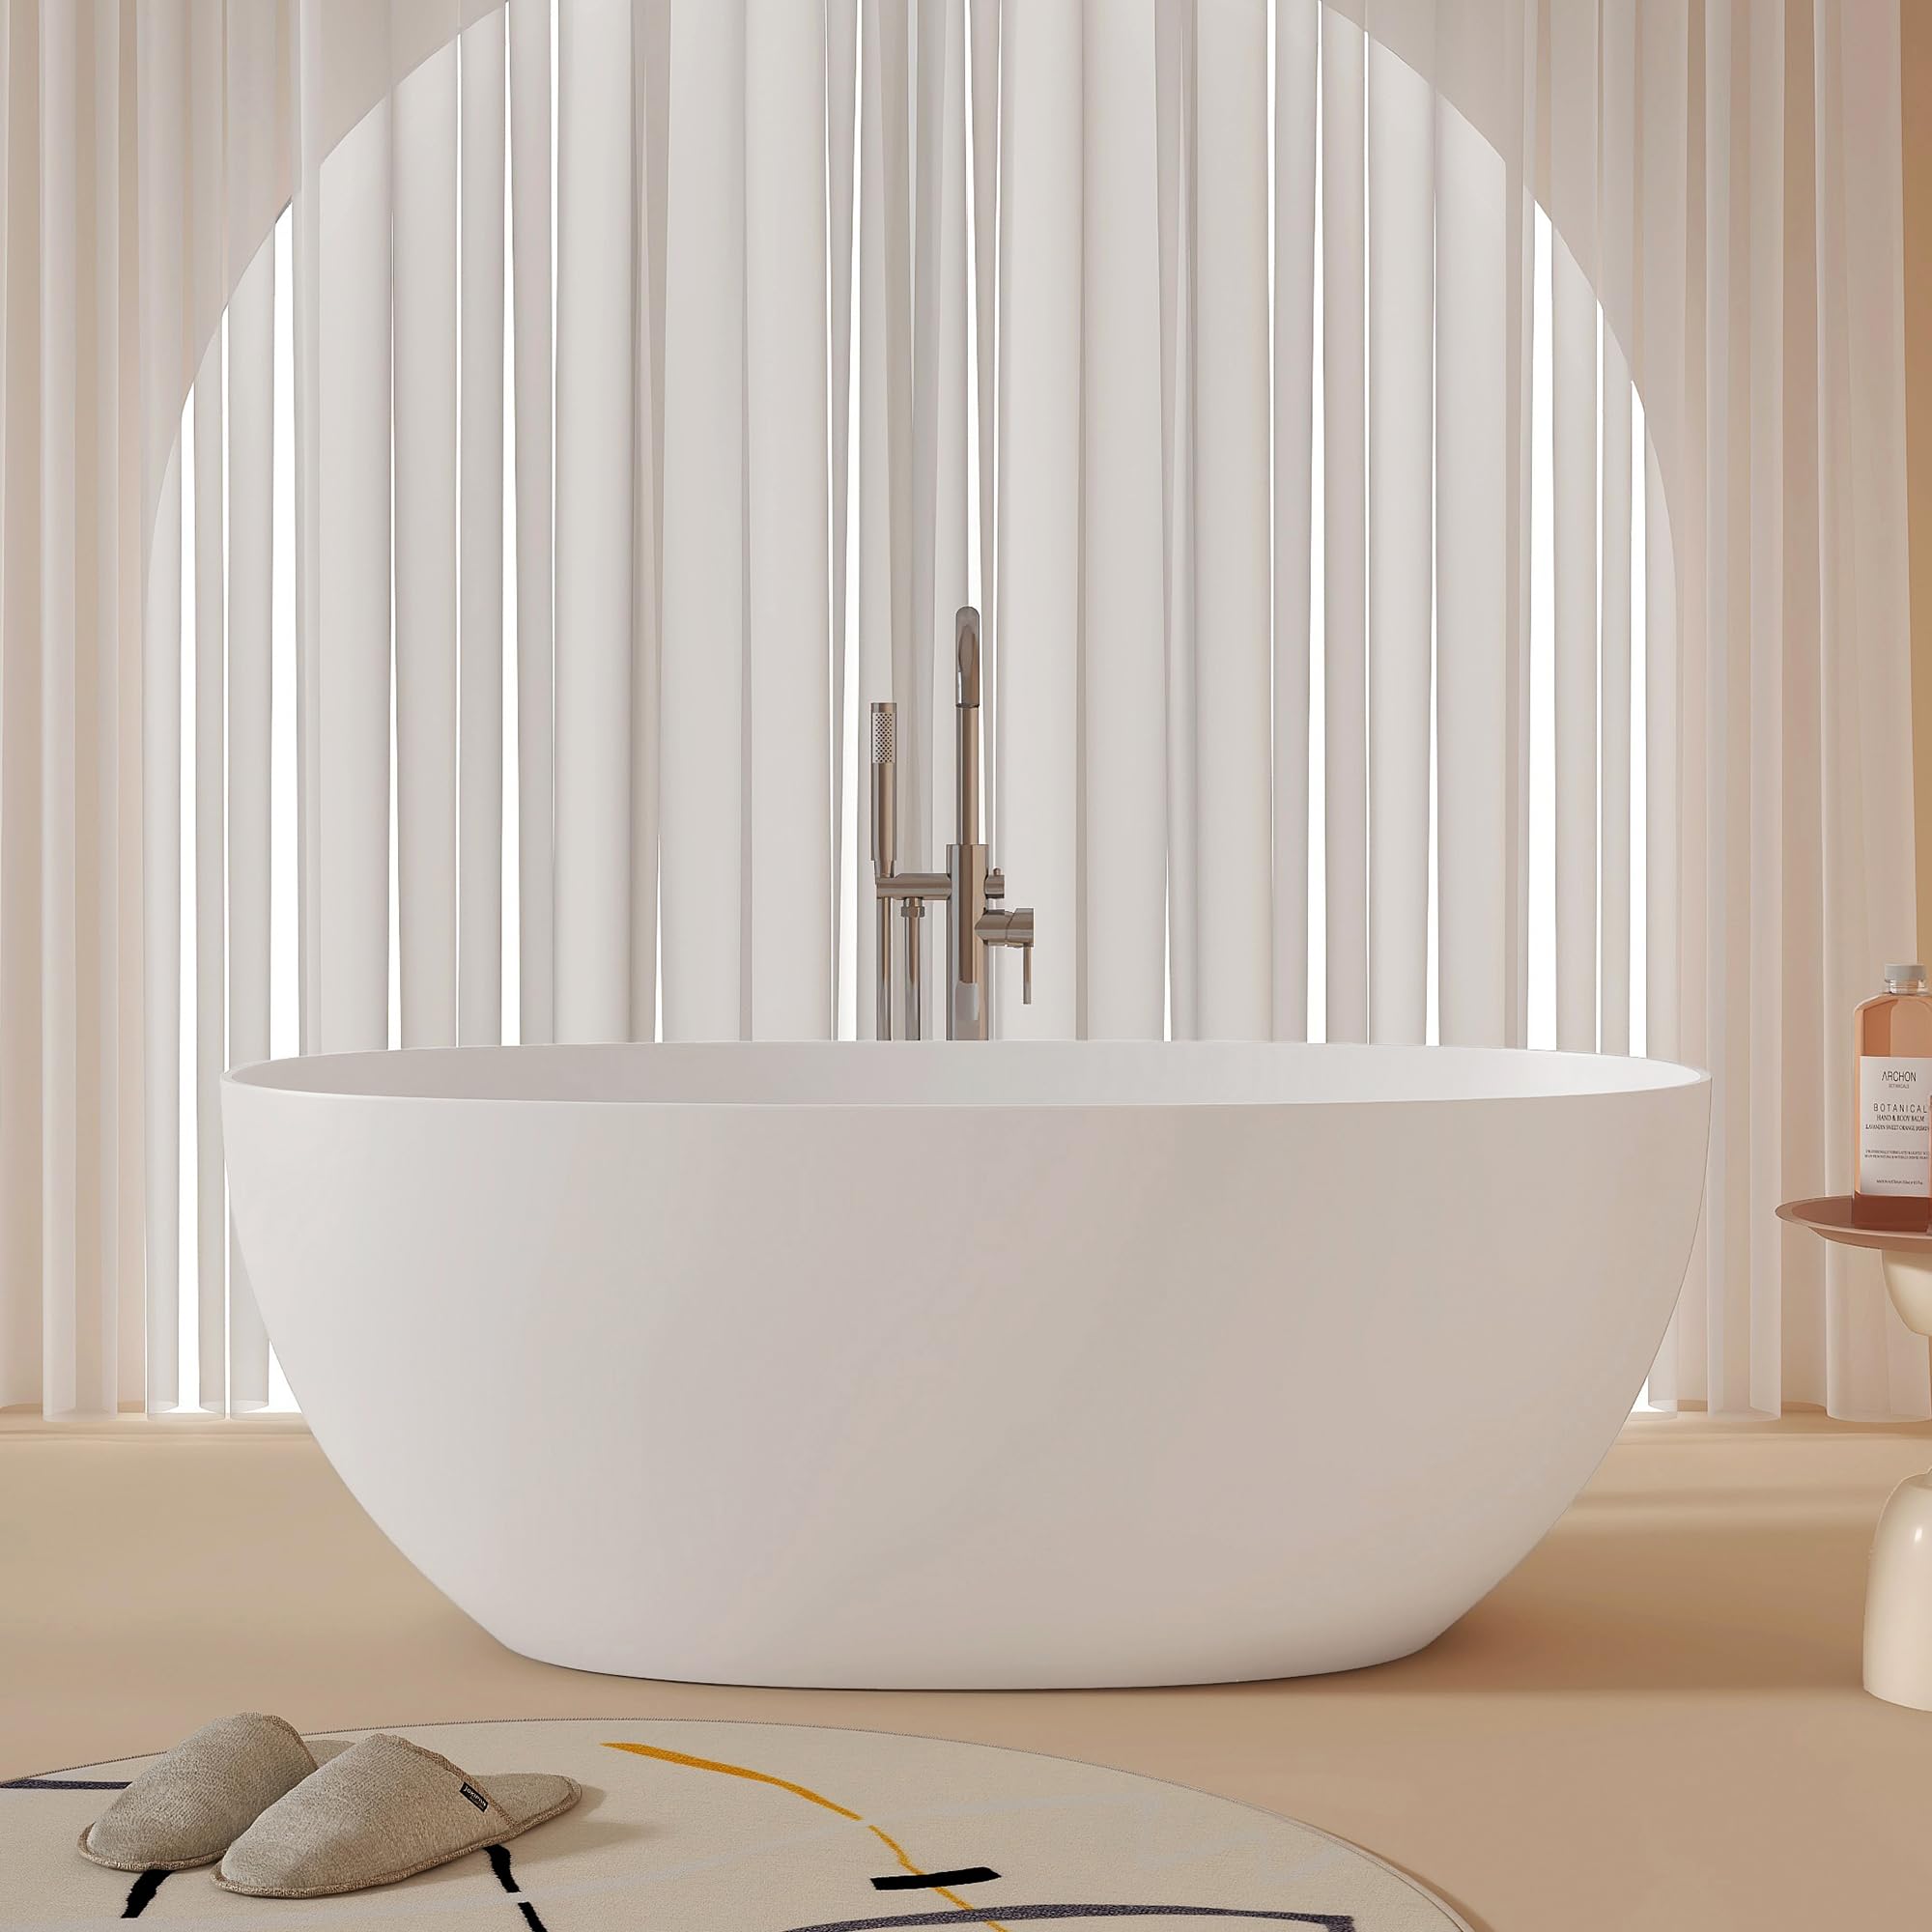
Figure 2.1: Overall view of the MEDUNJESS 59-inch Stone Resin Freestanding Bathtub.
Key Features:
- High-Quality Stone Resin Construction: Crafted with solid surface materials for exceptional durability and a luxurious feel.
- Elegant Freestanding Design: Adds a touch of elegance and can be installed in various bathroom layouts.
- Oval-Shaped Silhouette: Provides ample space for a comfortable soak and full-body immersion.
- Integrated Overflow and Pop-up Drain: Ensures hassle-free water management.

Figure 2.2: The bathtub offers a large interior space with an effective capacity of 62 gallons (note: image states 74.54 gallons, but product specifications list 62 gallons).

Figure 2.3: Ergonomic design for enhanced comfort during bathing.

Figure 2.4: Stone resin construction ensures solid integral forming without leakage, unlike some acrylic alternatives.
Video 2.1: A brief overview showcasing the freestanding bathtub.
3. Specifications
| Feature | Detail |
|---|---|
| Model Number | MEDUNJESS-59 |
| Exterior Dimensions (L x W x H) | 59" x 30.7" x 22" |
| Material | Stone Resin |
| Finish Type | Matte |
| Item Weight | 218 Pounds |
| Capacity | 62 Gallons |
| Installation Type | Freestanding |
| Shape | Oval |

Figure 3.1: Detailed dimensions of the bathtub. Note: Manual measurements may have minor deviations (Tolerance: +/- 0.5").
4. Installation Instructions
This section provides general guidelines for installing your freestanding bathtub. Professional installation is highly recommended.
4.1 Pre-Installation Checklist
- Verify all components are present and undamaged.
- Ensure the installation area is level, clean, and structurally sound to support the weight of the filled bathtub (approximately 218 lbs + 62 gallons * 8.34 lbs/gallon = ~736 lbs).
- Confirm plumbing connections (hot/cold water supply and drain) are correctly positioned according to the bathtub's specifications.
- Have necessary tools ready: adjustable wrenches, level, silicone sealant, measuring tape, safety gloves.
4.2 Installation Steps
- Positioning: Carefully move the bathtub to its desired location. Due to its weight, this step requires multiple people or appropriate lifting equipment.
- Leveling: Use a level to ensure the bathtub is perfectly level. Adjust the feet if necessary.
- Drain Connection: Connect the bathtub's pop-up drain assembly to your floor drain. Ensure all connections are tight and sealed with plumber's putty or silicone sealant to prevent leaks.
- Overflow Connection: The bathtub features an integrated overflow system. Ensure it is properly connected and sealed as per plumbing standards.
- Water Supply (if applicable): If installing a deck-mounted or freestanding faucet, connect the hot and cold water supply lines according to the faucet manufacturer's instructions.
- Leak Test: Fill the bathtub with water and let it sit for several minutes. Carefully inspect all connections for any signs of leakage. Drain the tub and re-check connections if leaks are found.
- Sealing: Apply a bead of silicone sealant around the base of the bathtub where it meets the floor to prevent water from seeping underneath and to provide additional stability. Allow the sealant to cure completely before use.

Figure 4.1: Illustration of the integrated overflow, built-in piping, and drain system.
5. Operating Instructions
Using your MEDUNJESS freestanding bathtub is straightforward.
- Filling the Bathtub: Ensure the pop-up drain is closed. Turn on the faucet to fill the tub with water to your desired level. The integrated overflow will prevent overfilling.
- Draining the Bathtub: After use, activate the pop-up drain to release the water. The efficient design ensures quick drainage.

Figure 5.1: Efficient water drainage from the bathtub.
6. Maintenance and Care
Proper care will ensure the longevity and pristine appearance of your stone resin bathtub.
6.1 Cleaning
- Regular Cleaning: Use a soft cloth or sponge with mild, non-abrasive soap and warm water. Rinse thoroughly and wipe dry to prevent water spots.
- Stain Removal: For tougher stains, a non-abrasive liquid cleaner specifically designed for solid surfaces can be used. Always test on an inconspicuous area first.
- Avoid: Do not use abrasive cleaners, scouring pads, wire brushes, or harsh chemicals (e.g., acetone, paint thinner, strong acids/bases) as these can damage the matte finish and material.
6.2 Material Properties
The stone resin material is designed for durability and ease of maintenance.

Figure 6.1: The stone resin material is crack resistant, stain resistant, yellowing resistant, and repairable.

Figure 6.2: The solid surface hardness contributes to high repairability and long-lasting durability.
7. Troubleshooting
This section addresses common issues you might encounter.
| Problem | Possible Cause | Solution |
|---|---|---|
| Water leakage around the base or drain. | Loose drain connections or insufficient sealant. | Tighten drain connections. Reapply plumber's putty or silicone sealant as needed. Ensure the base sealant is intact. |
| Slow drainage. | Hair or debris obstructing the drain. | Remove the pop-up drain stopper and clear any obstructions. Use a drain snake if necessary. Avoid harsh chemical drain cleaners. |
| Surface scratches or dullness. | Abrasive cleaning or impact. | For minor scratches, fine-grit sandpaper (e.g., 400-grit, then 800-grit) followed by a non-abrasive polishing compound designed for solid surfaces may restore the finish. Consult a professional for deeper damage. |
| Water spots or residue. | Hard water deposits. | Wipe the tub dry after each use. For existing spots, use a solution of white vinegar and water, then rinse thoroughly. |
8. Warranty and Support
For specific warranty details and customer support, please refer to the documentation provided at the time of purchase or contact MEDUNJESS directly.
MEDUNJESS Customer Service:
- Refer to your purchase invoice or product packaging for contact information.
- Visit the official MEDUNJESS website for support resources.