
1. Product Overview
The ROCAM CR1025pro is a versatile Bluetooth alarm clock designed for bedrooms, offering a range of features to enhance your daily routine. It combines an FM radio, Bluetooth speaker, nightlight, and convenient charging ports in a compact and stylish design.
- FM Radio: Enjoy your favorite stations with auto-search and 20 preset memory.
- Bluetooth Speaker: Seamlessly connect your devices for immersive audio.
- Dual Alarm: Set two independent alarms with customizable sounds (beep or radio).
- Nightlight: Adjustable warm night light for a comfortable ambiance.
- Large LED Display: Clear, easy-to-read numbers with adjustable brightness.
- USB Charging: Equipped with USB and Type-C ports for device charging.
- Battery Backup: Maintains time and settings during power outages.
- DST Function: One-press Daylight Saving Time adjustment.
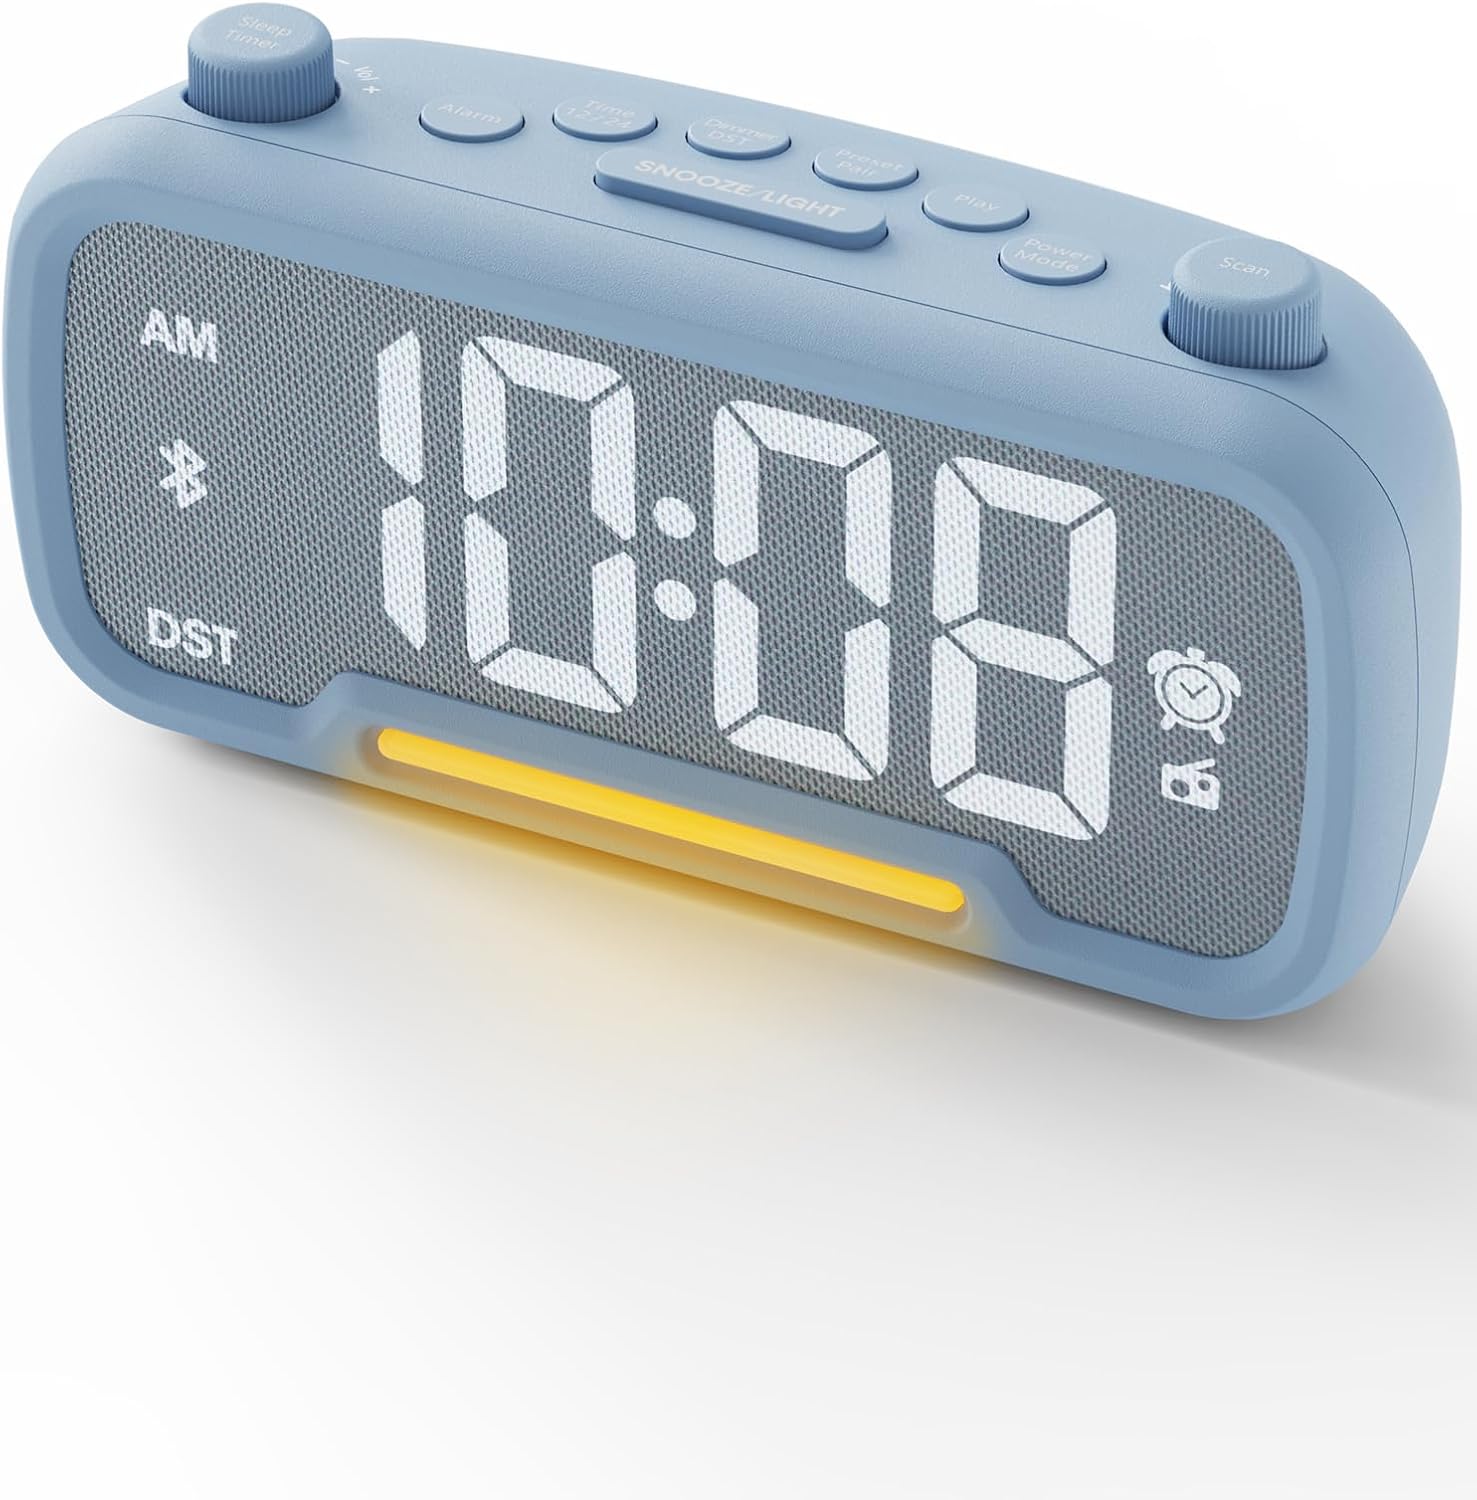
Image: The ROCAM CR1025pro Bluetooth Alarm Clock in blue, displaying the time 11:26 AM.
2. Setup
2.1 Power Connection
The alarm clock operates on corded electric power. It requires a DC 5V/2A power supply. A 60-inch USB-C power cable is included. For battery backup, install one CR2032 battery (included) in the drawer-type removable compartment. The battery backup maintains time and settings during power outages but does not power the clock's display or functions.

Image: Rear view of the ROCAM CR1025pro showing DC 5V/2A input, USB-A output, Type-C input/output, and the CR2032 button battery compartment.
2.2 Time and Date Setting
- Press and hold the Time Set button located on the top panel. The hour digits will begin to flash.
- Use the + or - buttons (or rotary knobs if available) to adjust the hour.
- Press Time Set again to move to minute adjustment. Use + or - to set the minutes.
- Continue pressing Time Set to cycle through setting the year, month, and day. Adjust each using + or -.
- Press Time Set one last time or wait a few seconds for the settings to save automatically.
2.3 12/24 Hour Format
To switch between 12-hour and 24-hour time display, press the 12/24HR button on the top panel.

Image: The ROCAM CR1025pro displaying time in 12-hour, 24-hour, and DST modes.
2.4 Daylight Saving Time (DST)
Press the DST button on the top panel to activate or deactivate Daylight Saving Time. The clock will automatically adjust by one hour.
3. Operating Instructions
3.1 Alarm Setting (Alarm 1 & Alarm 2)
- Press and hold the Alarm 1 Set or Alarm 2 Set button. The hour digits for the selected alarm will flash.
- Use the + or - buttons (or rotary knobs) to adjust the alarm hour.
- Press the respective Alarm Set button again to move to minute adjustment. Use + or - to set the alarm minutes.
- Press the Alarm Set button once more to select the alarm sound: beep or FM radio.
- Press the Alarm Set button again or wait a few seconds to confirm and save the alarm setting.
Switching Alarm Sound from Beep to Radio
After setting your desired alarm time, turn the knob to switch the alarm sound from a standard beep to an FM radio station. The icon on the right side of the display will change from a bell to a radio icon, indicating a successful switch. Adjust the volume to finalize your alarm setting.
Video: A demonstration on how to switch the alarm sound from a standard beep to an FM radio station on a digital alarm clock.
3.2 Snooze Function
When the alarm sounds, press the large SNOOZE/LIGHT button on the top panel to temporarily silence the alarm for 9 minutes. The alarm will sound again after the snooze period.
3.3 Display Brightness Adjustment
The large LED display features adjustable brightness. Use the dedicated dimmer control (often a rotary knob or button) to set the display brightness from very bright to barely noticeable, suitable for any bedroom environment.

Image: The ROCAM CR1025pro displaying 10:08 AM, highlighting its loud alarm, 2 alarm modes, 5-level brightness, and 16-level volume.
3.4 Nightlight Function
The alarm clock includes a warm night light. Activate and adjust its brightness using the dedicated controls (often integrated with the snooze button or a separate light button). The night light is designed to be eye-friendly and non-glaring.

Image: The ROCAM CR1025pro displaying 23:18 with its warm night light illuminated, providing a soft glow.
3.5 FM Radio Operation
- Press the FM Radio button (or Mode button to cycle to FM) to turn on the radio.
- Use the Scan button to automatically search and save up to 20 preset stations (87.5MHz to 108.0MHz).
- Use the Previous/Next buttons to navigate through saved stations.
- Adjust the volume using the dedicated volume controls (rotary knob or buttons).
- The sleep timer function allows you to fall asleep to the radio, which will turn off automatically after a set period.
3.6 Bluetooth Speaker Function
- Press the Mode button to switch to Bluetooth mode. The display will show "BT" and start flashing, indicating it's ready for pairing.
- On your mobile device, enable Bluetooth and search for "ROCAM CR1025pro" (or similar device name).
- Select the device to pair. Once connected, the "BT" indicator will stop flashing.
- You can now stream audio from your device to the alarm clock. Adjust volume using the clock's controls or your device.

Image: The ROCAM CR1025pro displaying "bt" for Bluetooth mode, with a smartphone nearby showing a music streaming app.
3.7 USB Charging Ports
The alarm clock features USB and Type-C ports for charging your external devices. Simply connect your smartphone, tablet, or other USB-powered device to the appropriate port on the back of the clock.

Image: The ROCAM CR1025pro connected via USB-C to a smartphone and AirPods case, demonstrating its charging capabilities.
4. Maintenance
To ensure the longevity and optimal performance of your ROCAM CR1025pro Bluetooth Alarm Clock, follow these maintenance guidelines:
- Cleaning: Use a soft, dry cloth to clean the exterior of the clock. Avoid abrasive cleaners, solvents, or harsh chemicals, as these can damage the finish.
- Placement: Place the clock on a stable, flat surface away from direct sunlight, heat sources, and excessive moisture. Ensure adequate ventilation around the device.
- Handling: Handle the clock with care. Avoid dropping it or subjecting it to strong impacts, which could damage internal components.
- Battery Replacement: If the battery backup symbol appears or the clock loses time during a power outage, replace the CR2032 battery. Ensure correct polarity when inserting the new battery.
5. Troubleshooting
If you encounter any issues with your ROCAM CR1025pro, refer to the following troubleshooting tips:
- Clock Not Powering On: Ensure the power adapter is securely plugged into both the clock and a working electrical outlet. Verify the outlet is receiving power.
- Display Not Visible/Dim: Check the display brightness dimmer control. Adjust it to a higher setting.
- Alarm Not Sounding: Verify that the alarm is set correctly (time and AM/PM) and that the alarm is activated (bell icon visible). Check the alarm volume setting.
- FM Radio Reception Poor: Ensure the FM antenna is fully extended. Try repositioning the clock to improve signal reception.
- Bluetooth Pairing Issues: Make sure the clock is in Bluetooth pairing mode ("BT" flashing). Ensure your device's Bluetooth is enabled and within range. Try unpairing and re-pairing the device.
- USB Charging Not Working: Confirm the clock is powered via the AC adapter. Ensure the charging cable is securely connected to both the clock and your device. Try a different USB cable or device to rule out cable/device issues.
- Time Incorrect After Power Outage: Replace the CR2032 backup battery if it's old or depleted.
6. Specifications
| Feature | Specification |
|---|---|
| Brand | ROCAM |
| Model Number | CR1025pro |
| Colour | Blue |
| Display Type | Digital |
| Power Source | Corded Electric |
| Battery Backup | 1 CR2032 battery (included) |
| Connectivity | USB, Type-C, Bluetooth |
| FM Radio Range | 87.5MHz to 108.0MHz |
| Item Dimensions (W x H) | 16.8W x 5.9H Centimetres |
| Material | Fabric, Plastic |
7. Warranty and Support
Specific warranty and support information for the ROCAM CR1025pro Bluetooth Alarm Clock is not available in the provided product data. Please refer to the product packaging or contact ROCAM customer service directly for detailed warranty terms and support options.
Manufacturer Contact Information: SHENZHEN, GUANGDONG 518054, CN
