
Introduction
This manual provides essential information for the proper installation, operation, and maintenance of your Forward Neutral Reverse Forklift Control Lever Switch. Please read this manual thoroughly before use to ensure safe and efficient operation and to maximize the lifespan of the product. This switch is designed as a direct replacement part for various Caterpillar and Mitsubishi forklift models.
Product Features
- Condition: 100% new, ensuring optimal performance upon installation.
- Color: Black, designed to seamlessly integrate with existing forklift components.
- Material: Constructed from durable Plastic and Metal for longevity and reliability in demanding environments.
- Fitment Type: Direct Replacement, engineered for easy and precise installation without modifications.
- Item included: 1 x Forklift Lever Switch, complete and ready for installation.

The main view of the forklift control lever switch, showing its black plastic body, integrated lever, and wiring harness.
Specifications
| Specification | Detail |
|---|---|
| Operation Mode | Manual |
| Contact Type | Normally Open |
| Connector Type | Screw Terminal |
| Brand | Generic |
| Terminal | Screw |
| Circuit Type | 1-way |
| Mounting Type | Flush Mount |
| Actuator Type | Hinge Lever |
| Contact Material | Metal |
| Control Method | Touch |
| Color | One Color (Black) |
| Unit Count | 1.0 Count |
| Number of Items | 1 |
| Manufacturer | Generic |
| Package Dimensions | 1.18 x 0.79 x 0.39 inches |
| Item Weight | 1.76 ounces |
| Item Model Number | LLKPBLQJK |
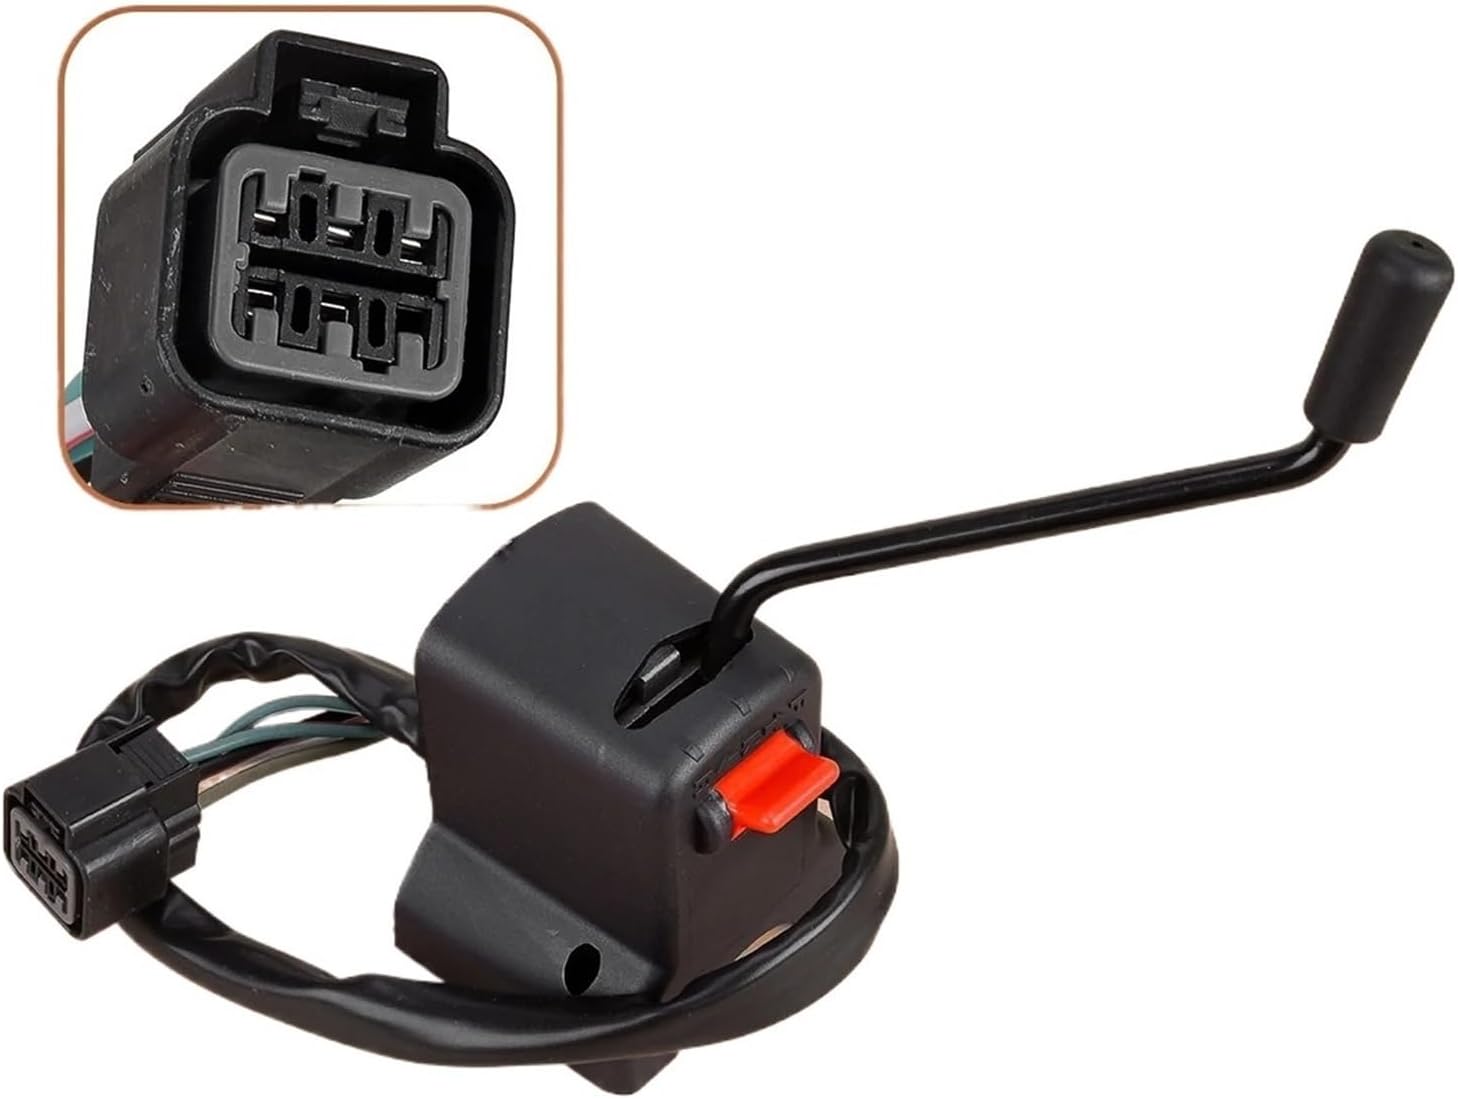
An angled view of the control lever switch, highlighting the multi-pin electrical connector for secure attachment.
Setup
Proper installation is crucial for the safe and effective operation of the forklift control lever switch. Follow these steps carefully:
- Safety First: Ensure the forklift's power is completely off and the battery is disconnected before beginning any installation work to prevent electrical shock or accidental operation.
- Locate Existing Switch: Identify the current forward/neutral/reverse control lever switch on your forklift.
- Disconnect Wiring: Carefully disconnect the wiring harness from the old switch. It is advisable to take a photo or make a diagram of the connections if you are unsure.
- Remove Old Switch: Unmount and remove the old switch from its position.
- Position New Switch: Place the new Forward Neutral Reverse Forklift Control Lever Switch (MPN: 91306-25200, 91406-32800, 91306-45200) into the designated mounting area.
- Secure Switch: Securely fasten the new switch using the appropriate mounting hardware. Ensure it is firmly in place and does not wobble.
- Connect Wiring: Reconnect the wiring harness to the new switch. Double-check that all connections are firm and match the original configuration.
- Restore Power: Reconnect the forklift battery and restore power to the system.
- Test Functionality: Before operating the forklift, thoroughly test the switch functionality for Forward, Neutral, and Reverse positions to ensure correct engagement and disengagement.

A side profile of the control lever switch, illustrating its design and potential mounting points for installation.
Operating Instructions
The Forward Neutral Reverse Forklift Control Lever Switch allows the operator to select the direction of travel for the forklift. Familiarize yourself with the lever positions:
- Forward (F): To move the forklift forward, push or pull the lever into the 'F' position. Ensure the lever clicks securely into place.
- Neutral (N): To disengage the drive and keep the forklift stationary, position the lever in the center 'N' position. This is the default position when the forklift is not in motion.
- Reverse (R): To move the forklift backward, push or pull the lever into the 'R' position. Confirm the lever is fully engaged in this position.
Important: Always ensure the forklift is completely stationary before changing the direction of travel (e.g., from Forward to Reverse or vice-versa) to prevent damage to the transmission and ensure operator safety.

An angled perspective of the control lever switch, clearly showing the markings for Forward, Neutral, and Reverse positions.
Maintenance
This control lever switch is designed for durability and requires minimal maintenance. Adhering to these simple guidelines will help ensure its continued reliable operation:
- Cleaning: Periodically wipe the exterior of the switch with a clean, dry, soft cloth to remove any accumulated dust, dirt, or debris. Avoid using harsh chemicals, solvents, or abrasive cleaners, as these can damage the plastic and metal components.
- Inspection: Regularly inspect the wiring harness and electrical connections for any signs of wear, fraying, cuts, or corrosion. Ensure all connections remain tight and secure. Loose connections can lead to intermittent operation or complete failure.
- Functionality Check: Periodically test the smooth operation of the lever. Ensure it moves freely between the Forward, Neutral, and Reverse positions and that each position engages positively. Listen for any unusual sounds or feel for excessive resistance.
If any damage, excessive wear, or malfunction is observed during inspection or operation, it is recommended to replace the switch immediately to ensure the safe and efficient operation of the forklift.
Troubleshooting
This section provides solutions to common issues you might encounter with your control lever switch. For problems not listed here, please contact customer support.
| Problem | Possible Cause | Solution |
|---|---|---|
| Switch not responding or no direction change | Loose or disconnected wiring connection | Check all wiring connections to the switch and ensure they are secure and properly seated. |
| Intermittent operation (sometimes works, sometimes doesn't) | Damaged wiring, corroded terminals, or internal switch fault | Inspect wiring for any visible damage or fraying. Clean any corroded terminals. If wiring is intact, the switch may be faulty and require replacement. |
| Lever feels stiff or difficult to move | Accumulation of dirt, dust, or debris within the lever mechanism | Gently clean around the lever mechanism. If stiffness persists, the internal components may be worn or damaged, suggesting replacement. |
| Incorrect direction engaged | Improper wiring during installation or internal switch malfunction | Verify wiring connections against the installation diagram. If wiring is correct, the switch may be defective and require replacement. |
Warranty Information
This product is a direct replacement part. Specific warranty details are typically provided by the seller or manufacturer at the time of purchase. Please refer to your original purchase documentation, receipt, or contact the seller directly for information regarding any applicable warranty period, terms, and conditions.
Customer Support
For further assistance, technical inquiries, or questions regarding replacement parts, please contact the vendor or the manufacturer directly. When seeking support, please be prepared to provide the following information:
- Product Model Number: LLKPBLQJK
- Date of Purchase
- Place of Purchase
- A detailed description of the issue or question
Your cooperation will help us provide you with the most efficient and accurate support.