
1. Introduction
This manual provides essential instructions for the safe assembly, operation, and maintenance of your DEXSO 25'x13'x11' Heavy Duty Carport. This large, portable structure is designed to provide shelter for full-sized pickup trucks, SUVs, motorboats, compact travel trailers, or to serve as a workshop or equipment storage area. Please read this manual thoroughly before beginning assembly or use.
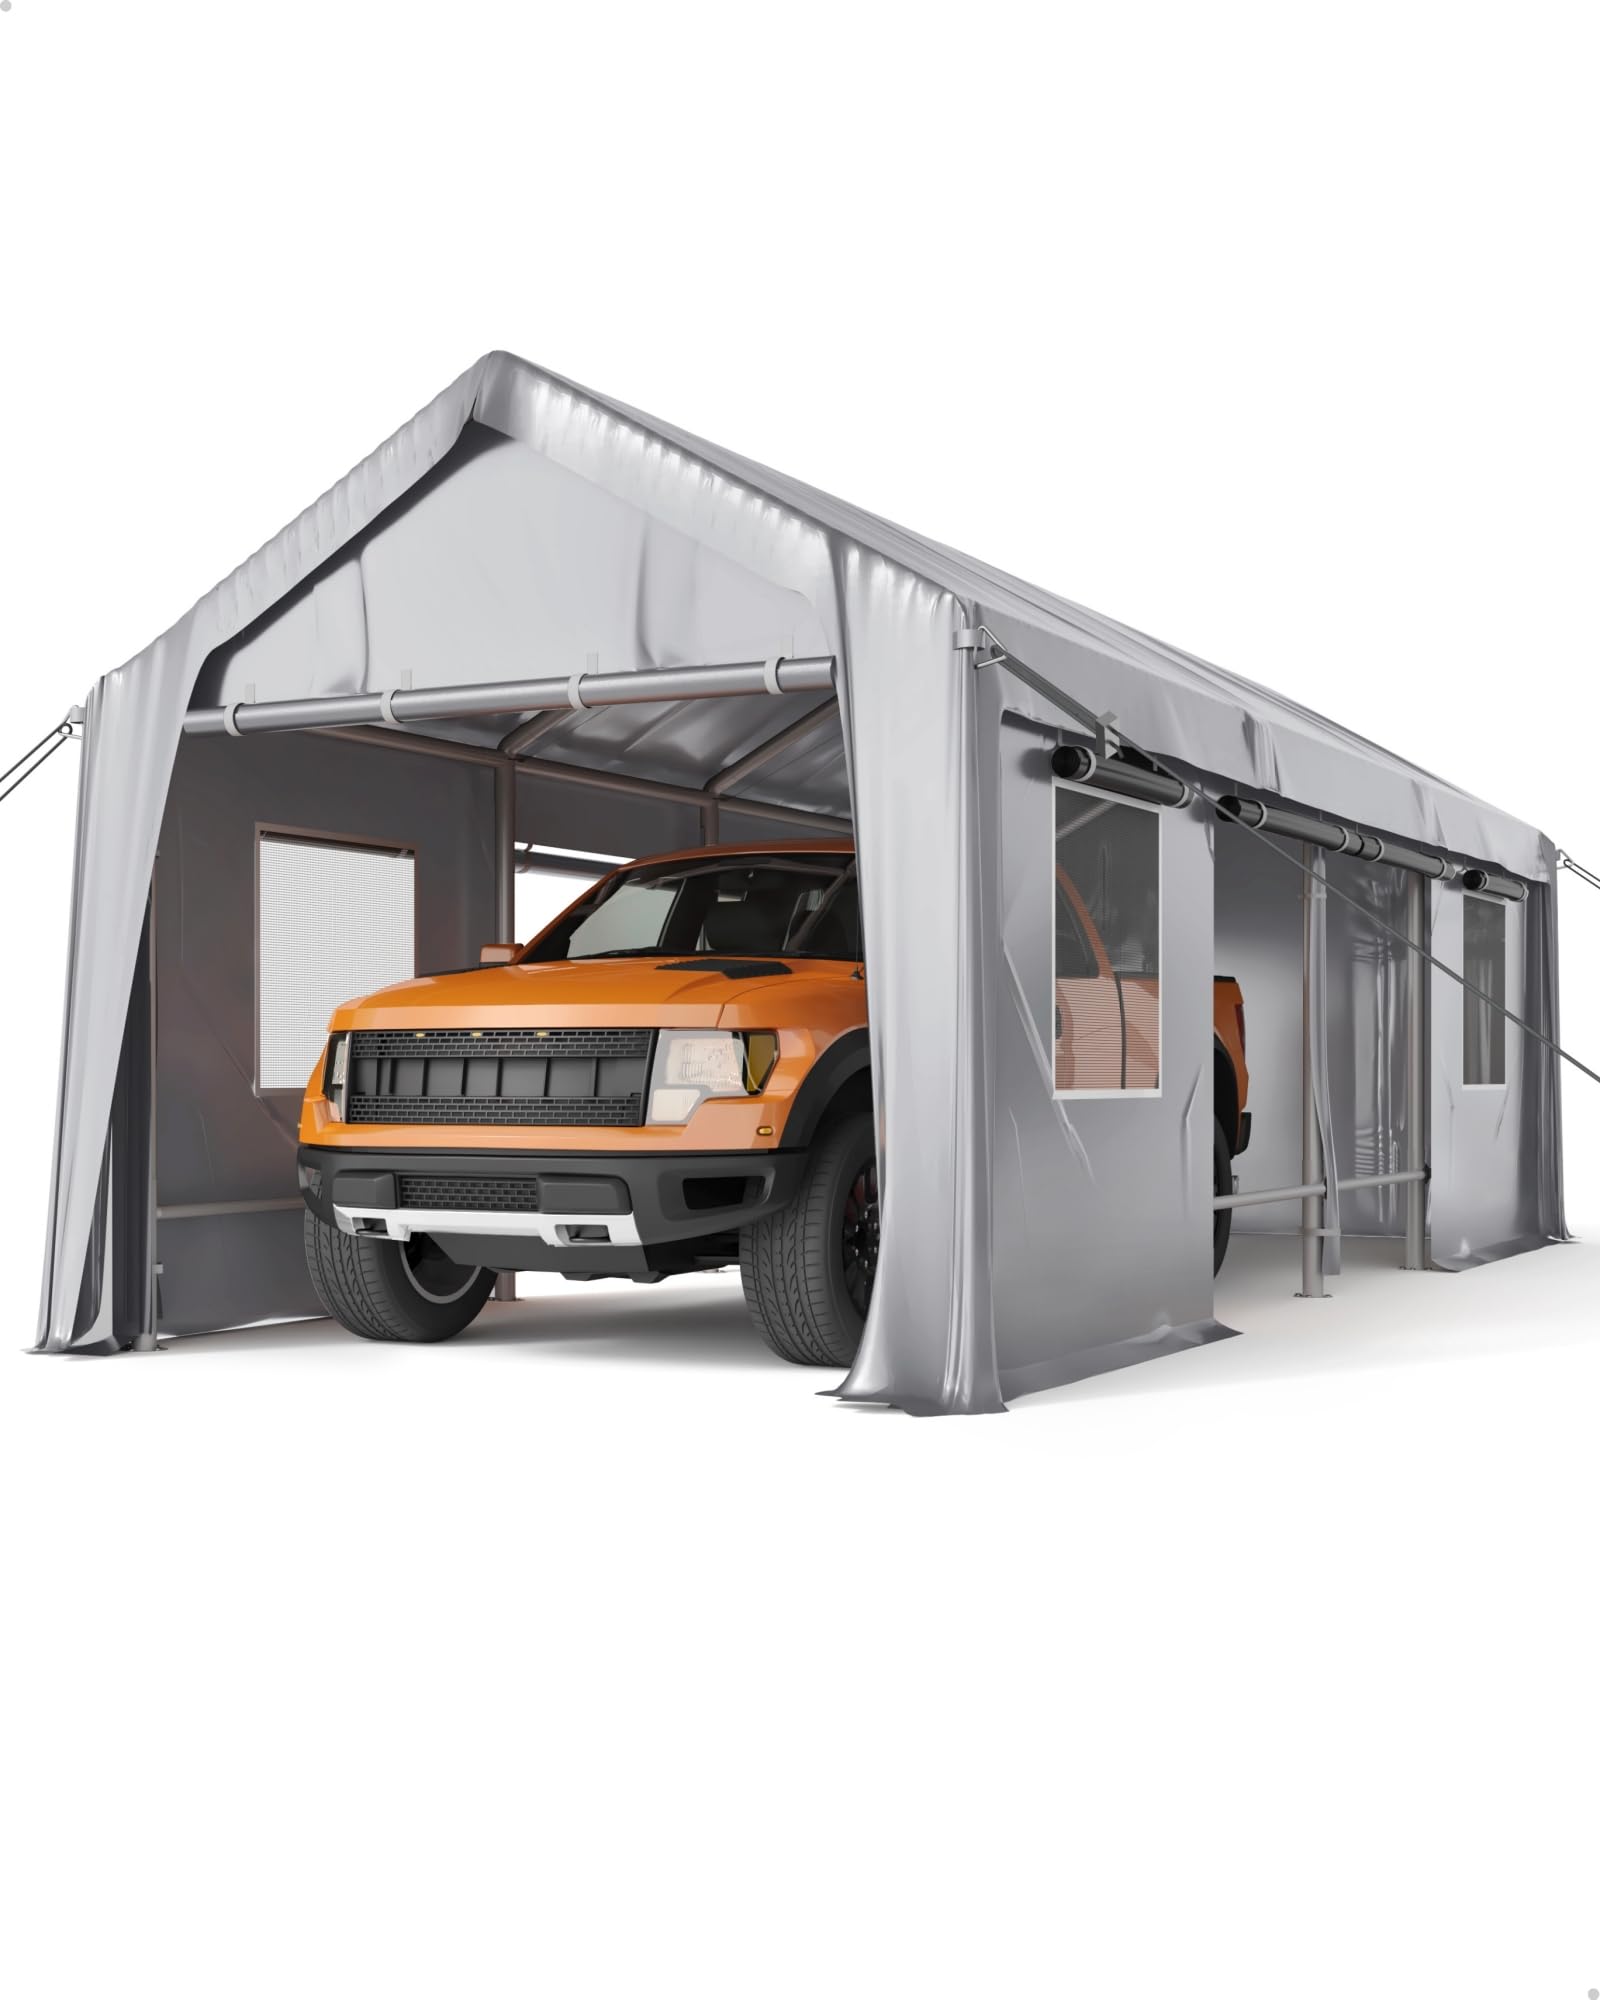
Image 1.1: The DEXSO Carport providing shelter in winter conditions.
2. Safety Information
Your safety is paramount. Failure to follow these safety guidelines may result in injury or damage to the carport.
- Assembly Safety: Always assemble with at least 2-3 people. Wear appropriate safety gear, including gloves and eye protection. Avoid assembly in windy or adverse weather conditions.
- Anchoring: Ensure the carport is securely anchored to the ground using all provided anchoring hardware. Regular inspection of anchors is crucial, especially after strong winds.
- Wind and Snow: This carport is designed for a maximum wind resistance of Beaufort level 7 and a maximum snow load of 3 inches. In severe weather conditions (high winds, heavy snow, or ice), it is recommended to remove the canopy or take additional precautions to prevent collapse. Clear snow accumulation promptly.
- Location: Choose a level, clear area for installation, away from overhead power lines, trees, or other structures that could fall onto the carport.
- Fire Hazard: Keep all heat sources and open flames away from the canopy material. The canopy is not fireproof.
- Electrical: Do not run electrical cords or appliances inside the carport without proper insulation and protection from moisture.
3. Package Contents
The DEXSO Carport ships in 3 cartons for protection. Carefully unpack all components and verify against the parts list (not included in this document, refer to the physical manual provided with your product). Ensure all parts are present and undamaged before beginning assembly.
Typical Components Include:
- Frame Poles (Reinforced 10x1.0mm thick leg poles, 20 GA.)
- Connectors (1.2mm thick)
- Stabilizer Bars
- Roof Steel Cables (5x)
- PE Canopy/Tarps (14 mil, 200 Gsm)
- Front and Rear Doors
- Roll-up Sidedoors (4x)
- Windows (4x)
- Anchoring Hardware
4. Setup and Assembly Instructions
Assembly typically requires 2-3 people and can be completed in approximately 2 hours. Follow the step-by-step instructions provided in the physical manual included with your product. The general steps are outlined below:
- Site Preparation: Select a level, clear area for installation. Clear any debris or sharp objects.
- Unpack and Identify Parts: Lay out all frame components, connectors, and canopy sections. Familiarize yourself with each part.
- Assemble Base Frame: Connect the base poles according to the diagram in your detailed manual.
- Construct Vertical Supports: Attach the vertical leg poles to the base frame.
- Install Roof Structure: Assemble the roof frame using the appropriate poles and connectors. Integrate the 5 roof steel cables for enhanced stability.
- Attach Stabilizer Bars: Secure the stabilizer bars to the frame for maximum high wind resistance.
- Drape Canopy: Carefully unfold and drape the 14 mil PE canopy over the assembled frame. Ensure proper alignment.
- Secure Canopy: Fasten the canopy to the frame using all provided straps, bungee cords, or ties.
- Install Doors and Windows: Attach the front and rear doors, and the 4 roll-up sidedoors and windows.
- Anchor the Carport: Securely anchor the entire structure to the ground using all provided anchoring hardware. This step is critical for stability and wind resistance.

Image 4.1: Reinforced poles and connectors for structural integrity.

Image 4.2: Roof steel cables enhancing wind resistance.

Image 4.3: Stabilizer bar for increased structural stability.
5. Operating Instructions
The DEXSO Carport is designed for versatile use. Follow these guidelines for optimal operation:
- Vehicle Storage: Park vehicles centrally to distribute weight evenly. Ensure adequate clearance from the canopy.
- Access: Utilize the front and rear doors for primary entry and exit. The 4 roll-up sidedoors provide additional access points and can be opened for increased ventilation.
- Ventilation: Open the roll-up sidedoors and windows as needed to ensure proper airflow, especially during warm weather or when using the carport as a workshop. This helps prevent condensation and maintains air quality.
- Security: Always close and secure all doors and windows when the carport is unattended or during windy conditions to protect contents and maintain structural integrity.

Image 5.1: The carport's generous dimensions accommodate large vehicles.
6. Maintenance
Regular maintenance will extend the life of your carport and ensure its continued performance.
- Canopy Cleaning: Clean the PE canopy periodically with mild soap and water. Avoid harsh chemicals or abrasive brushes that could damage the material. Rinse thoroughly and allow to air dry.
- Frame Inspection: Regularly inspect all frame poles, connectors, and stabilizer bars for any signs of damage, rust, or loosening. Tighten any loose connections. The frame features an anti-rust coating to prolong its service life.
- Anchoring System: Check all ground anchors and tie-downs regularly, especially after strong winds or heavy rain. Re-secure any loose anchors.
- Snow Removal: In areas with snowfall, promptly remove snow from the canopy to prevent accumulation exceeding the 3-inch maximum snow load. Use a soft brush or broom to avoid damaging the canopy.
- UV Protection: While the canopy offers UV protection, prolonged exposure to intense sunlight can degrade materials over time. Consider seasonal storage if the carport is not needed year-round.

Image 6.1: The anti-rust coating on the frame components.
7. Troubleshooting
If you encounter issues with your DEXSO Carport, refer to the following common problems and solutions:
| Problem | Possible Cause | Solution |
|---|---|---|
| Carport unstable in wind | Insufficient anchoring; loose frame connections; extreme wind conditions. | Ensure all anchors are securely fastened. Check and tighten all frame connections. If winds exceed Beaufort level 7, consider temporary disassembly or additional external bracing. |
| Water pooling on canopy | Improper canopy tension; frame misalignment; excessive snow/debris. | Adjust canopy tension to ensure a taut surface. Verify frame is level and correctly assembled. Remove any snow or debris promptly. |
| Damaged or missing parts | Shipping damage; assembly error. | Contact DEXSO customer support immediately for assistance with replacement parts. |
| Difficulty with assembly | Unfamiliarity with instructions; insufficient personnel. | Review the detailed assembly manual carefully. Ensure 2-3 people are assisting. Contact DEXSO customer support if issues persist. |
8. Specifications
- Brand: DEXSO
- Model Number: 13' x 25' - ABC
- Dimensions (L x W x H): 25' x 13' x 11' (7.62m x 3.96m x 3.35m)
- Color: Gray
- Frame Material: Aluminum (20 GA. Reinforced Poles, 10x1.0mm thick leg poles, 1.2mm thick connectors)
- Canopy Material: 14 mil PE (Polyethylene), 200 Gsm
- Water Resistance Level: Water Resistant
- Ultraviolet Light Protection: Yes
- Max Wind Resistance: Beaufort level 7
- Max Snow Load: 3 inches
- Recommended Uses: Car storage, equipment workshops, party tent
9. Warranty and Support
For specific warranty information, please refer to the documentation included with your purchase or contact your retailer. DEXSO is committed to customer satisfaction. If you encounter any issues during assembly or use, or require replacement parts, please contact DEXSO customer support for assistance.
Contact Information: Refer to the contact details provided on your product packaging or the DEXSO official website.


