
1. Introduction
Thank you for choosing the Siljoy HLL395FG-16A Modern Crystal Chandelier. This manual provides essential information for the safe installation, operation, and maintenance of your new lighting fixture. Please read these instructions carefully before beginning installation and retain them for future reference.
2. Safety Instructions
WARNING: To reduce the risk of fire, electric shock, or personal injury, always follow these safety precautions:
- Always turn off the main power supply at the circuit breaker before installation, removal, or maintenance.
- Consult a qualified electrician if you are not familiar with electrical wiring.
- Ensure all electrical connections comply with local codes and ordinances.
- Do not install the fixture on a ceiling that cannot support its weight (approximately 35.4 lbs).
- Handle crystal components with care to prevent breakage.
- Do not connect the fixture to an ungrounded electrical system.
3. Package Contents
Verify that all components are present before beginning installation:
- Chandelier Frame (Ceiling Base)
- Crystal Bubble Columns (16 pieces)
- LED Light Source (Integrated)
- Remote Control
- Mounting Hardware (Screws, wire nuts, etc.)
- Installation Instructions
4. Specifications
| Feature | Detail |
|---|---|
| Model Name | HLL395FG-16A |
| Dimensions (L x W x H) | 19.6" x 19.6" x 19.6"-118" (Adjustable) |
| Crystal Bubble Column Size | 1.3" x 11.8" (3.3CM x 30CM) |
| Material | Aluminum, Iron, K9 Crystal |
| Light Source | Integrated LED (16 x 3W) |
| Wattage | 46W Total |
| Voltage | 120V (AC) |
| Control Method | Remote Control, App Control |
| Special Features | Adjustable Height, Dimmable (10-100%), 3 Color Temperatures (3000K, 4500K, 6500K) |
| Item Weight | 35.4 lbs |
5. Setup and Installation
Professional installation is recommended. Ensure power is OFF at the circuit breaker before proceeding.
- Prepare the Ceiling: Ensure the junction box is securely mounted and capable of supporting the fixture's weight.
- Mount the Ceiling Base: Attach the mounting bracket to the junction box, then secure the chandelier's ceiling base to the mounting bracket using the provided hardware.
- Electrical Wiring: Connect the fixture's wires to your household wiring (Live to Live, Neutral to Neutral, Ground to Ground). Secure connections with wire nuts.
- Adjust Cable Length: Each crystal column is suspended by a cable. To adjust the height of individual columns:
- To Lower: Using your fingertip or fingernail, depress the pin on the ceiling canopy. This releases the cable locking mechanism. Gently pull the cable down to the desired length.
- To Raise: While holding the pin in place, simply push the cable up into the canopy.
- Repeat this process for each cable to achieve your desired chandelier configuration.
- Attach Crystal Columns: Carefully attach each crystal bubble column to its corresponding cable.
- Final Check: Ensure all connections are secure and all components are properly installed.

This image illustrates the overall dimensions of the chandelier (19.6"L x 19.6"W x 118"H adjustable height) and provides a close-up of the cable locking mechanism for height adjustment.

This image demonstrates the chandelier's suitability for rooms with high ceilings, showing a recommended maximum height of 9.84 feet for optimal visual impact.
6. Operating Instructions
Your Siljoy chandelier features smart control options for convenience.
6.1. Power On/Off
After installation, restore power at the circuit breaker. The chandelier can be turned on/off via the wall switch, remote control, or compatible app.
6.2. Remote Control Functions
The included remote control allows for comprehensive adjustment of your chandelier's lighting:
- On/Off: Power the fixture on or off.
- Brightness Adjustment: Increase or decrease light intensity from 10% to 100%.
- Color Temperature Change: Cycle through 3 color temperatures: Warm White (3000K), Natural White (4500K), and Cool White (6500K).
- Memory Function: The fixture retains the last used brightness and color temperature settings when turned off and on again.
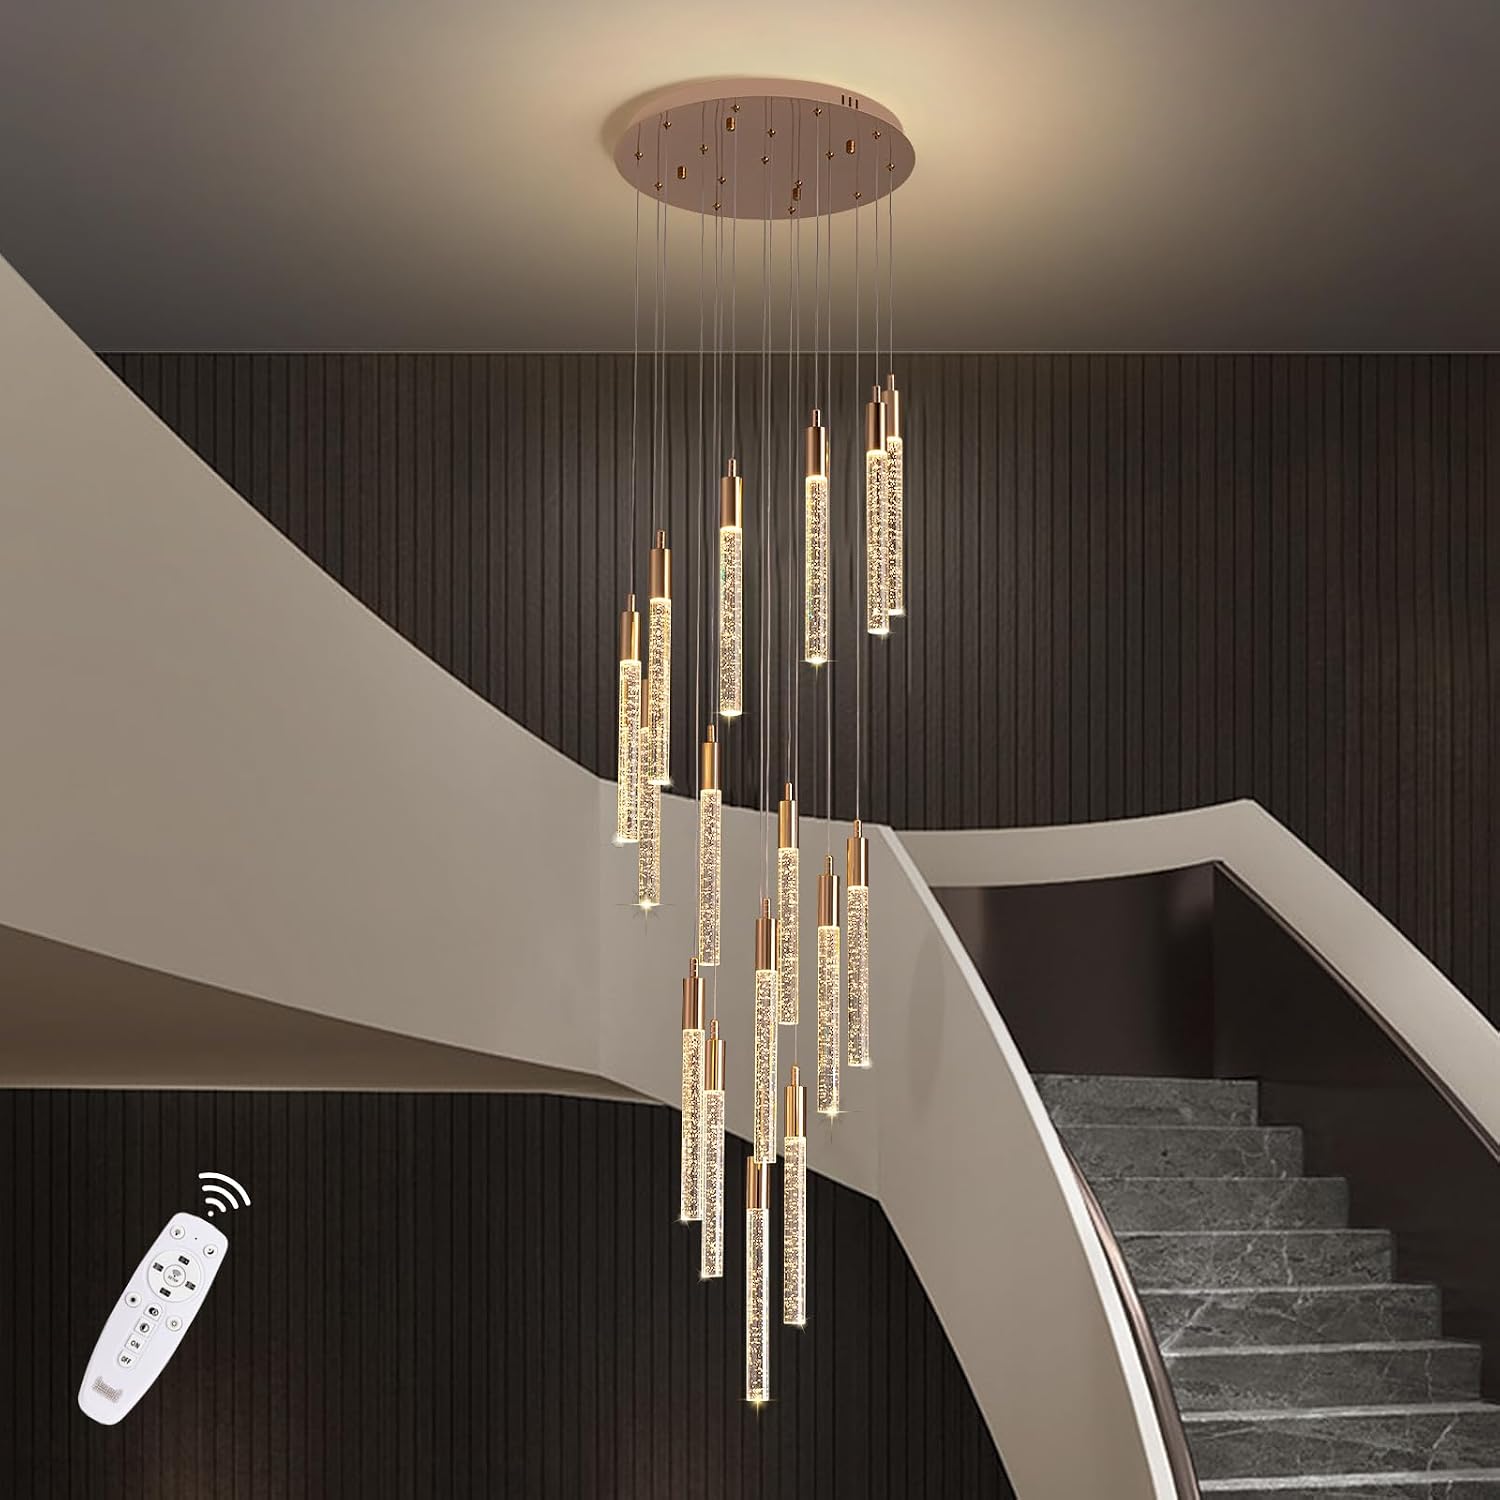
The chandelier is shown in a staircase setting, accompanied by its remote control, indicating the ease of adjusting settings from a distance.

This visual guide shows the chandelier's capability to switch between Warm (3000K), Natural (4500K), and White (6500K) light, along with a brightness adjustment range from 10% to 100%.
6.3. App Control
For additional control, download the designated smart lighting app (refer to packaging or product details for app name). Follow the app's instructions to pair your chandelier for smartphone control, enabling similar functions as the remote control.
7. Maintenance
Regular cleaning will help maintain the appearance and performance of your chandelier.
- Cleaning: Turn off power before cleaning. Use a soft, dry, or slightly damp cloth to wipe the metal parts. For crystal components, use a soft, lint-free cloth. Avoid abrasive cleaners or chemicals that may damage the finish or crystals.
- Bulb Replacement: The LED light source is integrated and not user-replaceable. If the LEDs fail, contact customer service for assistance.

A detailed view highlighting the clear crystal bubble columns and the polished gold metal components, emphasizing the material quality and light refraction.
8. Troubleshooting
| Problem | Possible Cause | Solution |
|---|---|---|
| Light does not turn on. | No power supply; loose wiring; faulty remote. | Check circuit breaker. Verify all wire connections. Ensure remote batteries are functional. |
| Light flickers or dims unexpectedly. | Loose wiring; incompatible dimmer switch (if applicable); power fluctuations. | Check wiring connections. Ensure your wall dimmer is compatible with LED fixtures. |
| Remote control not working. | Dead batteries; remote not paired; obstruction. | Replace remote batteries. Refer to pairing instructions (if any). Ensure clear line of sight to fixture. |
9. Warranty and Support
Siljoy offers a 1-year limited warranty on this product, covering manufacturing defects from the date of purchase. Additionally, we promise free return and replacement within 1 month for quality problems.
For any questions, technical assistance, or warranty claims, please contact our customer service team. Please have your model number (HLL395FG-16A) and purchase information ready.
Customer Service: Refer to your purchase platform or Siljoy's official website for contact details.