
Peasur CL62A-6-WT
Peasur 12-Inch LED Ceiling Light Flush Mount Instruction Manual
Model: CL62A-6-WT
Introduction
This manual provides detailed instructions for the installation, operation, and maintenance of your Peasur 12-Inch LED Ceiling Light Flush Mount. This energy-efficient lighting fixture offers adjustable color temperature (5CCT from 3000K to 6500K), a super-thin design, and high color rendering index (CRI 85+) for vibrant, flicker-free illumination. It is suitable for various indoor spaces including hallways, kitchens, bathrooms, and bedrooms.
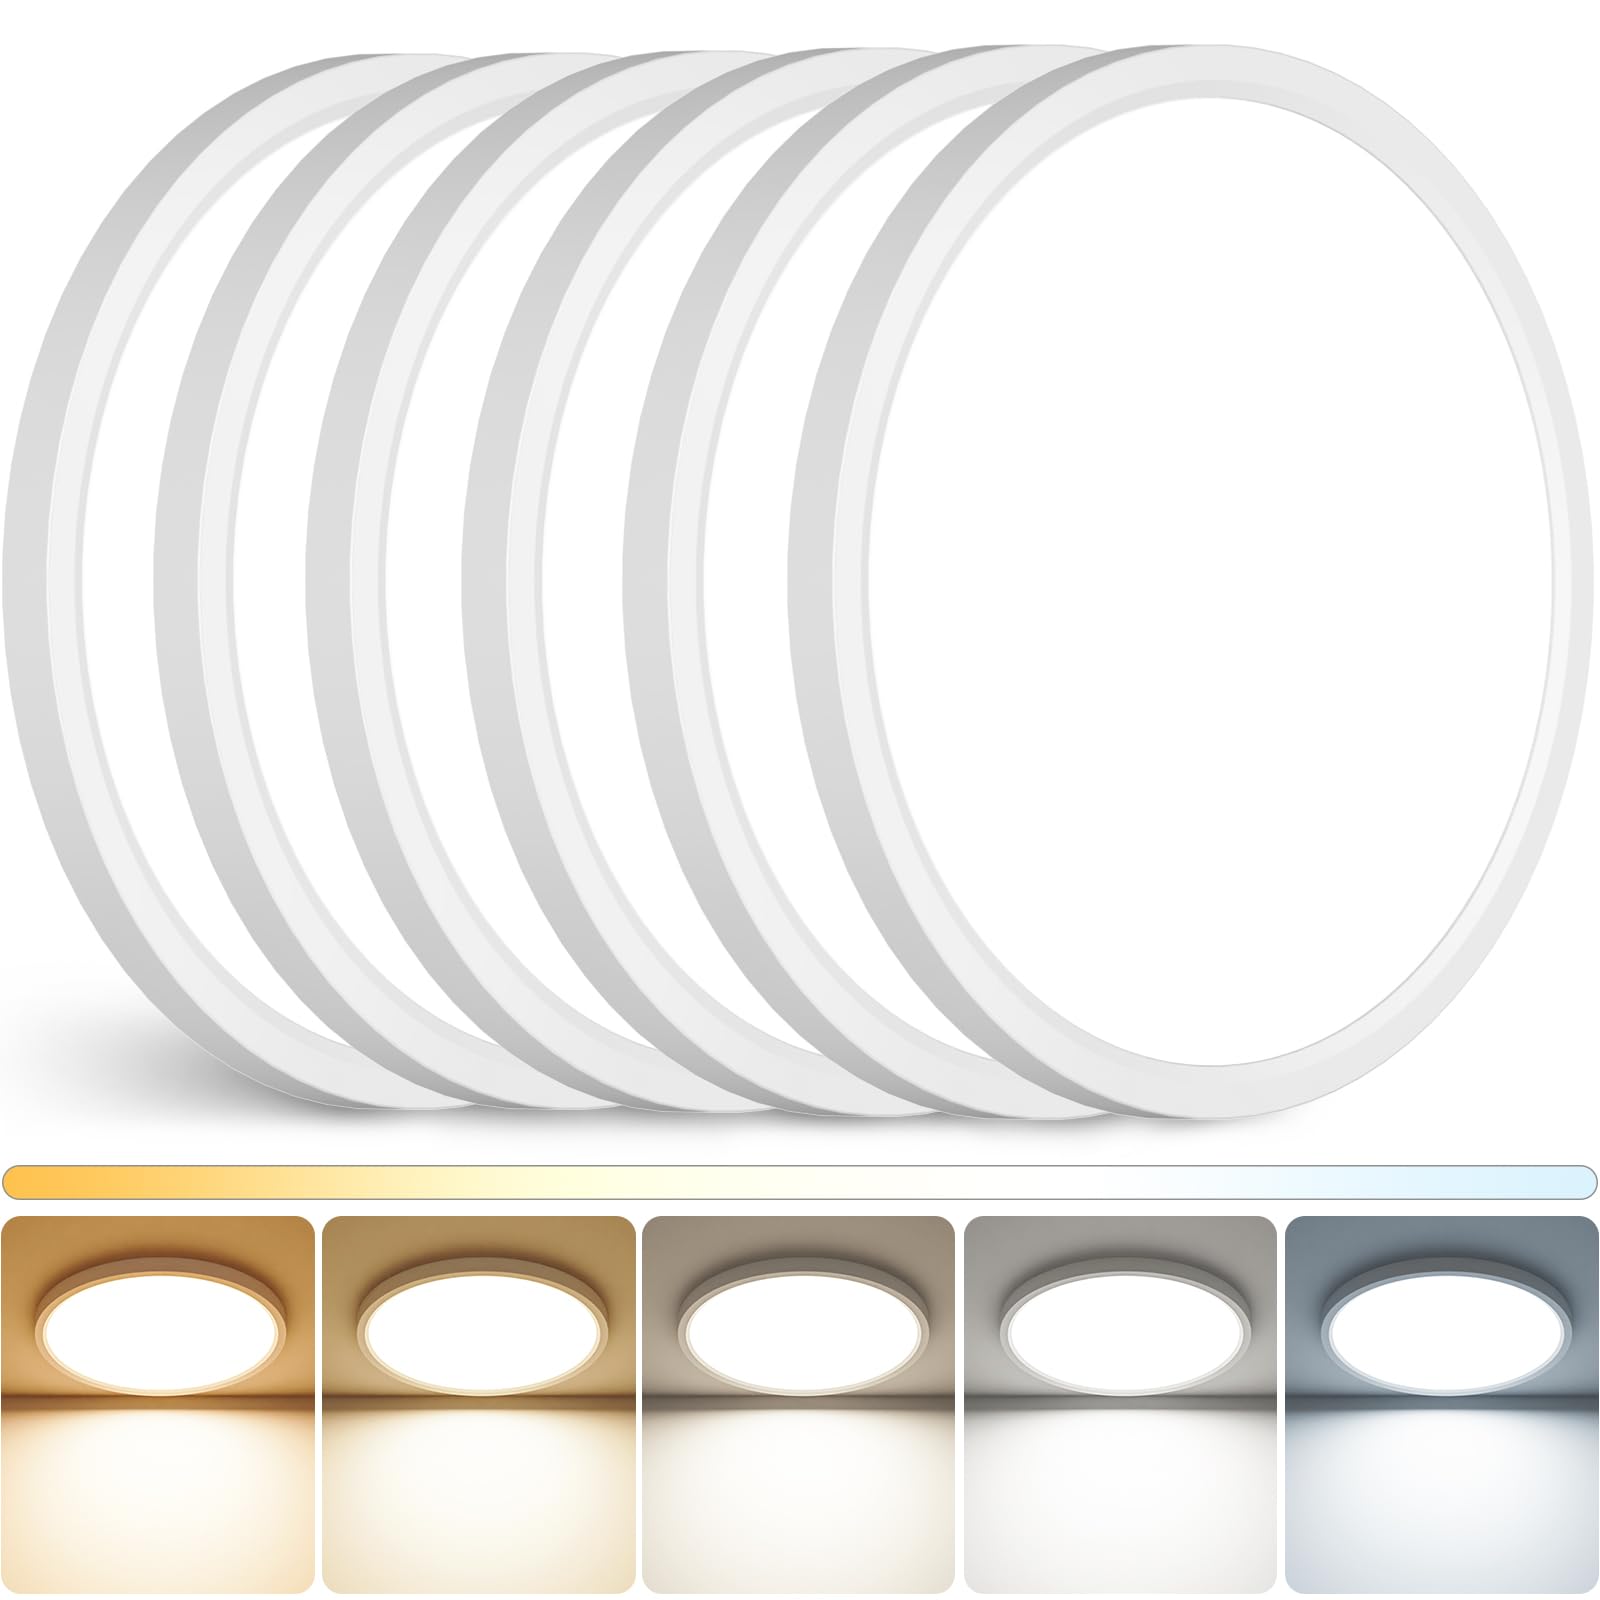
Image: The Peasur 12-Inch LED Ceiling Light Flush Mount, showcasing its sleek, low-profile design when installed.
Safety Information
Please read all instructions carefully before installation and use. Retain this manual for future reference.
- Electrical Safety: Always turn off the power at the circuit breaker before beginning any electrical work. Ensure the power supply matches the fixture's requirements (110/120 Volts).
- Qualified Installation: If you are unsure about electrical wiring, consult a qualified electrician.
- Mounting: Ensure the mounting surface is structurally sound and can support the weight of the fixture.
- Indoor Use Only: This fixture is designed for indoor use.
- Cleaning: Disconnect power before cleaning. Use a soft, dry cloth. Avoid abrasive cleaners.
What's in the Box
Verify that all components are present before starting installation:
- LED Ceiling Light Fixture
- Mounting Hardware (Screws to junction box x2, Screws x2, Wire nuts x2)
- Shade (integrated)

Image: The Peasur 12-Inch LED Ceiling Light with its dimensions (12 inches diameter, 0.66 inches thick) and a clear display of the included mounting hardware: two screws for the junction box, two additional screws, and two wire nuts.
Specifications
| Feature | Specification |
|---|---|
| Model Number | CL62A-6-WT |
| Dimensions | 12"L x 12"W x 0.9"H |
| Wattage | 24W (equivalent to 240W traditional bulb) |
| Brightness | 2400 Lumens |
| Color Temperature (CCT) | Adjustable: 3000K, 3500K, 4000K, 5000K, 6500K |
| Color Rendering Index (CRI) | 85+ |
| Voltage | 120 Volts |
| Material | Acrylonitrile, Butadiene, Metal, Plastic, Styrene |
| Installation Type | Flush Mount |
| Special Features | Adjustable Color Temperature, Water Resistant (IP44), Flicker-Free |
Setup
Follow these steps for safe and proper installation:
- Turn off Power: Locate the circuit breaker for the room where you are installing the light and turn off the power.
- Attach Mounting Bracket: Secure the mounting bracket to the junction box using the provided screws.
- Connect Wires: Carefully connect the fixture's wires to the household wiring. Typically, black to black (live), white to white (neutral), and ground to ground. Use the provided wire nuts to secure connections.
- Mount Fixture: Carefully tuck the connected wires into the junction box. Align the fixture with the mounting bracket and rotate it clockwise until it locks securely into place.

Image: A visual guide demonstrating the four-step installation process: turning off power, attaching the mounting bracket, connecting electrical wires, and securing the lamp body by rotation.
Video: An official Peasur video demonstrating the installation process and showcasing the 5 color temperature options of the ceiling light.
Operating
Your Peasur LED Ceiling Light features 5 adjustable color temperatures to suit your preference. The color temperature switch is located on the back of the fixture.
- Select Color Temperature: Before final installation, locate the small switch on the back of the light fixture. This switch allows you to select between 3000K (Warm White), 3500K (Soft White), 4000K (Cool White), 5000K (Daylight), and 6500K (Bright White).
- Power On: Once installed, restore power at the circuit breaker. The light will illuminate at the selected color temperature.

Image: A visual representation of how the room's ambiance changes with each of the 5 selectable color temperatures (3000K to 6500K), along with an illustration of the CCT adjustment switch.
Maintenance
To ensure the longevity and optimal performance of your LED ceiling light, follow these maintenance guidelines:
- Cleaning: Before cleaning, ensure the power to the fixture is turned off at the circuit breaker. Use a soft, dry, or slightly damp cloth to wipe the surface. Do not use harsh chemicals, abrasive cleaners, or scouring pads, as these can damage the finish or the light-diffusing material.
- Dust Removal: Regularly dust the fixture to prevent accumulation, which can reduce light output.
- Moisture Resistance: The fixture is designed to be dustproof and moisture-resistant (IP44 rated), making it suitable for damp locations like bathrooms. However, avoid direct water spray or submersion.
Troubleshooting
If you encounter issues with your Peasur LED Ceiling Light, refer to the following common problems and solutions:
| Problem | Possible Cause | Solution |
|---|---|---|
| Light does not turn on | No power supply; Loose wiring; Faulty switch or fixture. | Check circuit breaker. Ensure all wire connections are secure. Test the switch. If issues persist, contact support. |
| Light flickers | Loose wiring; Incompatible dimmer switch (if applicable); Power fluctuations. | Check wiring connections. Ensure you are using a compatible LED dimmer if dimming. Consult an electrician for power issues. |
| Incorrect color temperature | CCT switch set incorrectly. | Turn off power, remove fixture, and adjust the CCT switch on the back to your desired setting. Reinstall. |
Warranty and Support
Peasur stands behind the quality of its products. This LED Ceiling Light comes with the following:
- 180-Day Refund Policy: If you are not satisfied, you may be eligible for a refund within 180 days of purchase.
- 1-Year Replacement Service: Enjoy a 1-year replacement service for any manufacturing defects or malfunctions.
- Lifetime Technical Support: Peasur provides lifetime technical support for your product.
For warranty claims, technical assistance, or any other inquiries, please contact Peasur customer service through the retailer where the product was purchased or visit the official Peasur website.
Ask a question about this manual
Ask about setup, troubleshooting, compatibility, parts, safety, or missing instructions. Manuals+ will review the question and use this page’s manual context to help answer it.