
WOWOW 3090701D
WOWOW Black Bathroom Shower Faucet Set User Manual
Model: 3090701D
Introduction
Thank you for choosing the WOWOW Black Bathroom Shower Faucet Set. This manual provides essential information for the safe and efficient installation, operation, and maintenance of your new shower system. Please read these instructions thoroughly before beginning installation or use, and retain them for future reference.
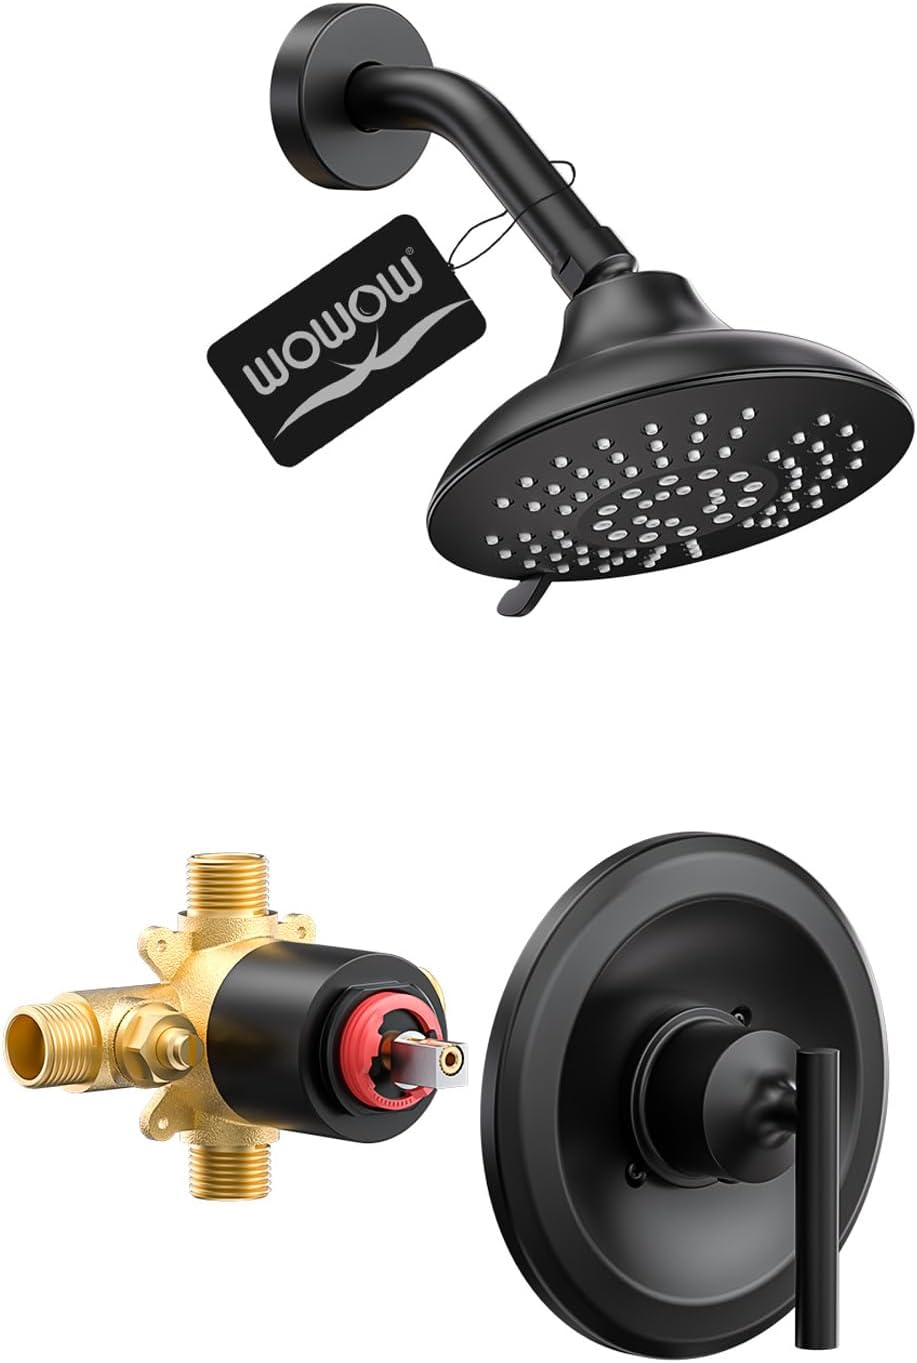
Figure 1: WOWOW Black Bathroom Shower Faucet Set
Product Components
Verify that all components listed below are included in your package before installation. If any parts are missing or damaged, please contact customer support.

Figure 2: Included Components
- Rain Shower Head (6-inch)
- Shower Arm
- Shower Handle
- Control Panel
- Brass Valve Body (cUPC certified)
- Hole Cover & Screws
- Installation Instruction Manual
- Pair of Gloves
Specifications
| Feature | Detail |
|---|---|
| Brand | WOWOW |
| Model Number | 3090701D |
| Color | Black |
| Material | Brass (Valve), Metal (Handle) |
| Finish Type | Painted |
| Number of Handles | 1 |
| Mounting Type | Wall Mount |
| Shower Head Size | 6 inches |
| Valve Certification | cUPC Certified |
| Plumbing Connections | 1/2-inch U.S. standard |
| Compliance | California Energy Commission (CEC) standards |
Installation Instructions
Professional installation is recommended. Ensure water supply is turned off before beginning installation. This shower set is designed for 1/2-inch U.S. plumbing connections and is not compatible with other brand valves or cartridges.
1. Valve Installation
The solid brass valve body is designed for durability and longevity. It features a pressure-balancing cartridge to prevent sudden temperature changes.

Figure 3: Solid Brass Pressure Balance Valve
Connect the hot and cold water lines to the designated inlets on the valve body. Ensure all connections are secure and properly sealed to prevent leaks.

Figure 4: Valve Connection Diagram
2. Water Flow Adjustment
Before first use, it is recommended to adjust the water flow. The water flow can be adjusted by twisting the screws on the valve. Twist clockwise to decrease flow, and counterclockwise to increase flow.

Figure 5: Water Flow Adjustment on Valve
3. Shower Head and Handle Installation
Install the shower arm into the wall connection, ensuring it is sealed with Teflon tape to prevent leaks. Attach the shower head to the arm. Install the control panel and handle according to the detailed instructions provided in the included manual.

Figure 6: Product Dimensions for Installation
Operating Instructions
1. Water Flow and Temperature Control
The single lever handle controls both water flow and temperature. Rotate the handle to adjust the temperature from cold to hot. Lift the handle to increase water flow and push down to decrease or turn off.
2. Shower Head Spray Settings
The 6-inch rain shower head offers 5 distinct spray settings:
- Rain: A gentle, full-coverage spray.
- Pulsating Massage: A focused, rhythmic spray.
- SPA Massage: A broader, softer massage spray.
- Rain + Pulsating Massage: Combines rain and pulsating sprays.
- Rain + SPA Massage: Combines rain and SPA sprays.
To change the spray setting, rotate the outer ring of the shower head until the desired mode is selected.

Figure 7: Shower Head Spray Modes
Maintenance
1. Cleaning the Shower Head
The shower head features soft silicone water outlets designed for easy cleaning. To remove limescale buildup, simply rub the nozzles with your fingertip or a soft cloth.

Figure 8: Cleaning Silicone Nozzles
2. General Cleaning
Clean the matte black finish with a soft, damp cloth. Avoid abrasive cleaners, harsh chemicals, or scouring pads, as these can damage the finish. Dry thoroughly after cleaning to prevent water spots.
Troubleshooting
1. Water Not Hot Enough
Our products include anti-scald devices to comply with U.S. regulations, which include a red temperature limiting ring. If you require hotter water, especially in colder seasons, you may remove this ring. However, exercise extreme caution to prevent scalding and ensure children cannot accidentally access hot water.

Figure 9: Temperature Limiting Ring Adjustment
Video 1: This video demonstrates the process of removing the red temperature limiting ring from the shower valve cartridge to allow for hotter water temperatures. This adjustment should be made with caution to prevent scalding.
2. Water Leaks at Shower Arm Connection
If water leaks from the shower arm connection, ensure that Teflon tape was properly applied to the threads during installation. Disassemble, reapply Teflon tape, and tighten securely.
3. Water Flowing from Shower Head and Bathtub Spout Simultaneously
This issue can occur if the water flow is not correctly adjusted during installation. Refer to the 'Water Flow Adjustment' section under Installation Instructions (Figure 5) and the video below to fine-tune the valve settings. Ensure the switching function between the shower head and bathtub spout operates correctly after adjustment.
Video 2: This instructional video details solutions for three common issues encountered with shower faucet kits, including water flow adjustment and leak prevention.
Warranty and Support
For warranty information or technical support, please refer to the documentation included with your purchase or visit the official WOWOW store. You can find more information and contact details at the WOWOW Brand Store.
Related documents3090701D


Ask a question about this manual
Ask about setup, troubleshooting, compatibility, parts, safety, or missing instructions. Manuals+ will review the question and use this page’s manual context to help answer it.