
LEHMANN LHOPM-1305A-W
Lehmann Universal 3-in-1 Kitchen Machine User Manual
Model: LHOPM-1305A-W
Introduction
This manual provides essential instructions for the safe and efficient operation, maintenance, and care of your Lehmann Universal 3-in-1 Kitchen Machine. Please read this manual thoroughly before first use and retain it for future reference.

Image: The Lehmann Universal 3-in-1 Kitchen Machine displayed with its main unit, stainless steel bowl, blender, meat grinder, and various attachments including dough hook, whisk, beater, and meat grinder plates.
Safety Instructions
Always follow basic safety precautions when using electrical appliances to reduce the risk of fire, electric shock, and injury to persons.
- Ensure the appliance is unplugged before assembling, disassembling, or cleaning.
- Do not immerse the motor unit in water or other liquids.
- Keep hands and utensils away from moving parts during operation.
- Never operate the appliance with a damaged cord or plug.
- Supervise children closely when the appliance is in use.
- Place the appliance on a stable, flat, and dry surface.
- Do not use attachments not recommended or sold by the manufacturer.
- Avoid contact with moving parts.
- Do not overload the appliance.
Components Overview
Familiarize yourself with the main components of your Lehmann Kitchen Machine:
- Main Unit: Houses the motor and speed control.
- Stainless Steel Bowl (5L): For mixing, kneading, and whisking.
- Transparent Splash Guard: Prevents splashing during operation.
- Dough Hook: For heavy doughs like bread or pizza.
- Beater: For medium-heavy mixtures like cakes, cookies, or mashed potatoes.
- Whisk: For light mixtures like egg whites, cream, or light batters.
- Meat Grinder Attachment: For grinding various meats. Includes fine, medium, and coarse plates.
- Blender Attachment (1.5L): For blending liquids, smoothies, and sauces.
- Speed Control Dial: Adjusts the operating speed (0-6 settings).
- Tilting Head Release Button: Allows the head to be lifted for attachment changes and bowl access.

Image: The three primary mixing attachments: a sturdy dough hook for heavy mixtures, a flat beater for general mixing, and a wire whisk for aerating ingredients.
Setup and Initial Use
- Unpacking: Carefully remove all components from the packaging. Retain packaging for future storage or transport.
- Initial Cleaning: Before first use, wash the stainless steel bowl, splash guard, dough hook, beater, whisk, and all parts of the meat grinder and blender attachments in warm soapy water. Rinse thoroughly and dry completely. Wipe the main unit with a damp cloth.
- Placement: Place the main unit on a clean, dry, and stable surface. Ensure adequate ventilation around the appliance.
- Attaching the Bowl: Place the stainless steel bowl into its base on the main unit and turn it clockwise until it locks securely into place.
- Attaching Mixing Tools:
- Press the tilting head release button and lift the motor head.
- Insert the desired attachment (dough hook, beater, or whisk) into the shaft, pushing upwards and turning slightly until it locks.
- Lower the motor head until it clicks into place.
- Attaching Meat Grinder:
- Ensure the main unit is unplugged.
- Remove the front cover from the attachment port on the front of the machine.
- Insert the meat grinder assembly, aligning the drive shaft with the port, and turn clockwise to secure.
- Attach the desired grinding plate and securing ring.
- Attaching Blender:
- Ensure the main unit is unplugged.
- Place the blender jug onto the top attachment port, aligning the base with the drive mechanism, and turn clockwise to secure.

Image: The kitchen machine with its head raised, demonstrating the installation of both the meat grinder and blender attachments, highlighting its multi-functional design.
Operating Instructions
General Operation
- Ensure the appliance is correctly assembled and plugged into a suitable power outlet.
- Add ingredients to the bowl or attachment.
- Select the desired speed using the speed control dial (settings 1-6). Start with lower speeds and gradually increase as needed.
- After use, turn the speed dial to "0" and unplug the appliance.
Mixing, Kneading, and Whisking
Use the stainless steel bowl with the appropriate attachment:
- Dough Hook: For heavy doughs (e.g., bread, pizza). Use speeds 1-3.
- Beater: For medium-heavy mixtures (e.g., cakes, cookies, frostings). Use speeds 2-4.
- Whisk: For light mixtures (e.g., egg whites, cream, light batters). Use speeds 4-6.
Always ensure the splash guard is in place to prevent ingredients from escaping the bowl during operation.

Image: Visual guide demonstrating the application of each mixing attachment: the whisk for light, airy mixtures, the beater for creamy batters, and the dough hook for dense doughs.
Meat Grinder Operation
- Ensure the meat grinder is securely attached with the desired grinding plate.
- Cut meat into small pieces that fit into the feeding tube.
- Place a bowl under the grinder outlet to collect the ground meat.
- Turn the appliance on to a low to medium speed (e.g., speed 2-3).
- Feed meat into the tube using the food pusher. Never use your fingers or other utensils.
- After grinding, turn off the appliance and unplug it before disassembling.

Image: The meat grinder attachment actively processing meat, demonstrating its function and the output of ground meat.
Blender Operation
- Ensure the blender jug is securely attached to the top port.
- Add ingredients to the blender jug. Do not exceed the maximum fill line.
- Secure the lid firmly.
- Turn the appliance on to a desired speed (e.g., speed 3-6) for blending.
- For best results, start with lower speeds and gradually increase.
- After blending, turn off the appliance and unplug it before removing the jug.
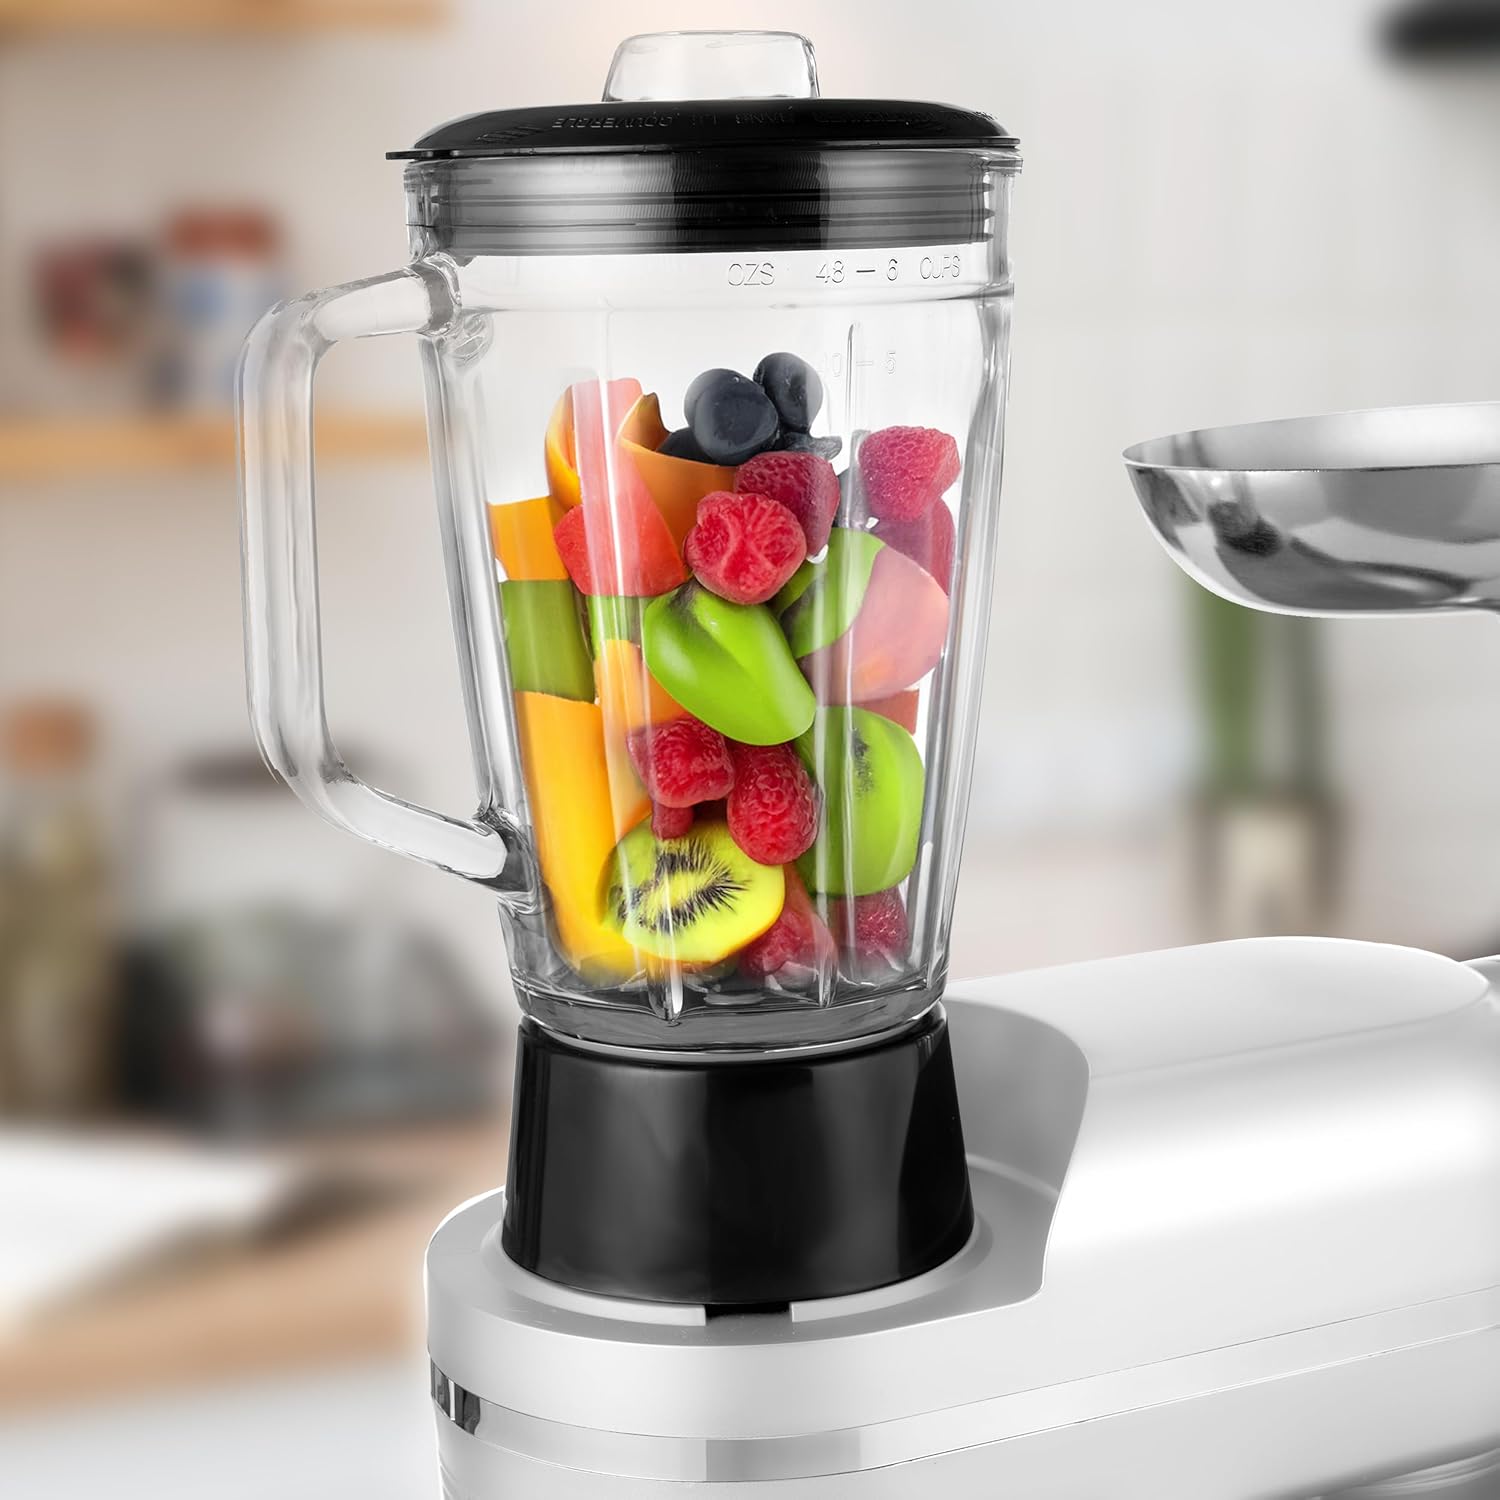
Image: The blender jug filled with a colorful assortment of fresh fruits and berries, illustrating its readiness for preparing smoothies or juices.
Maintenance and Cleaning
Regular cleaning ensures the longevity and optimal performance of your kitchen machine.
- Always unplug the appliance before cleaning.
- Motor Unit: Wipe the main unit with a soft, damp cloth. Do not use abrasive cleaners or immerse in water.
- Stainless Steel Bowl, Splash Guard, Mixing Tools (Dough Hook, Beater, Whisk): These parts can be washed in warm soapy water, rinsed, and dried thoroughly. They are not dishwasher safe.
- Meat Grinder Parts: Disassemble the meat grinder completely. Wash all parts (housing, screw, blade, plates, ring) in warm soapy water. Use a brush to remove any food residue. Rinse and dry immediately to prevent rust.
- Blender Jug: The blender jug can be washed in warm soapy water. For stubborn residue, fill with warm water and a drop of dish soap, then run on a low speed for a few seconds before rinsing. Not dishwasher safe.
- Storage: Store the appliance and its accessories in a dry, clean place.
Troubleshooting
| Problem | Possible Cause | Solution |
|---|---|---|
| Appliance does not start. | Not plugged in; power switch off; motor head not locked down. | Check power connection; ensure speed dial is not at "0"; ensure motor head is fully lowered and locked. |
| Motor stops during operation. | Overload protection activated; overheating. | Turn off, unplug, reduce load, and let cool for 30 minutes before restarting. |
| Attachments not mixing properly. | Incorrect attachment for mixture; too little or too much ingredient. | Ensure correct attachment is used; adjust ingredient quantities. |
| Meat grinder jams. | Meat pieces too large; bone or hard material. | Turn off, unplug, disassemble, clear obstruction, cut meat into smaller pieces. |
| Blender leaks. | Lid not secured; jug not properly seated. | Ensure lid is firmly closed; re-seat blender jug securely. |
Specifications
| Brand | LEHMANN |
| Model Name | Mastic (LHOPM-1305A-W) |
| Rated Power | 1300W (Efficiency Power: 3000W) |
| Voltage & Frequency | 220-240V / 50Hz |
| Number of Speeds | 6 |
| Stainless Steel Bowl Capacity | 5 Liters |
| Blender Capacity | 1.5 Liters |
| Product Dimensions (D x W x H) | 9.8"D x 20.83"W x 15"H (Approx. 23cm D x 40cm W x 58cm H) |
| Item Weight | 15.4 pounds (Approx. 6.5 kg Net) |
| Blade Material | Aluminum |
| Special Features | Adjustable Speed Control, Anti-Skid Feet, Detachable Spindle, Lifting Mechanism, Removable Bowl, Planetary Beat System, Overheating Protection. |
| Dishwasher Safe Parts | No (Hand wash recommended for all parts) |
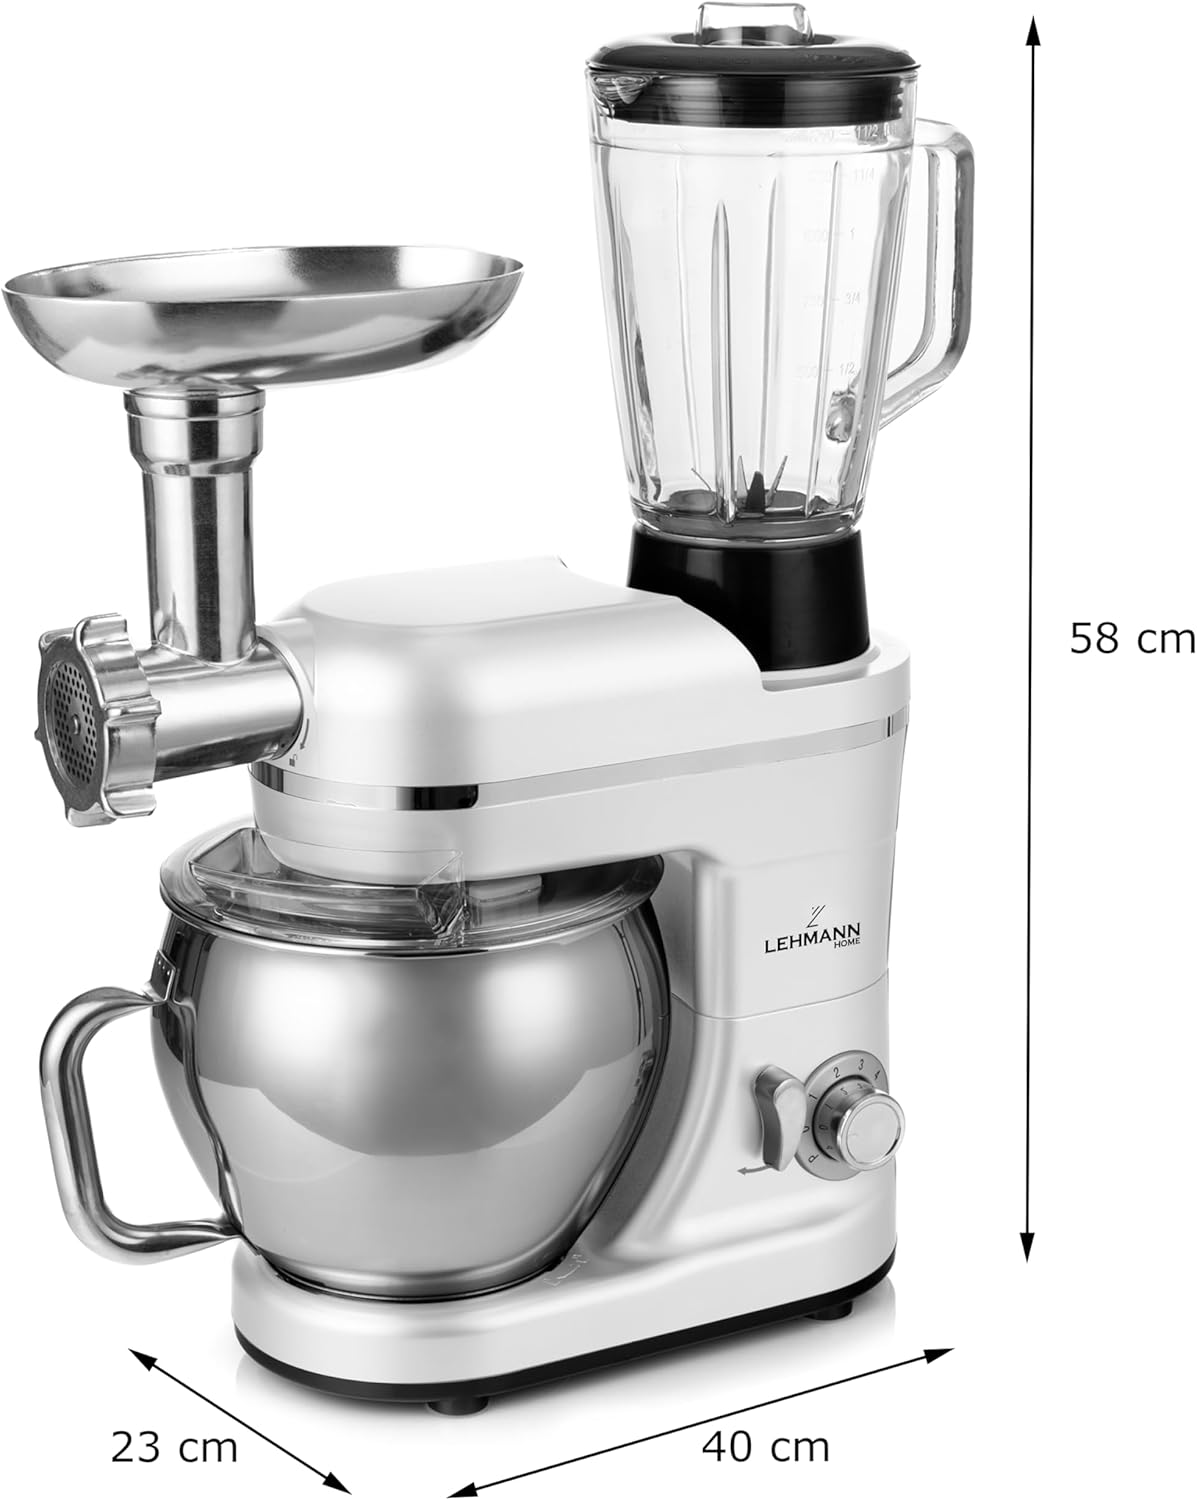
Image: A side view of the kitchen machine with clear labels indicating its approximate dimensions: 58 cm in height, 40 cm in width, and 23 cm in depth.
Warranty and Support
LEHMANN products are manufactured to high-quality standards. For warranty information, please refer to the warranty card included with your product or visit the official LEHMANN website. For technical support or service inquiries, please contact LEHMANN customer service through their official channels.
Manufacturer: Lehmann
Item Model Number: LHOPM-1305A-W
ASIN: B0DHLJQBKH
UPC: 5905999063638
Ask a question about this manual
Ask about setup, troubleshooting, compatibility, parts, safety, or missing instructions. Manuals+ will review the question and use this page’s manual context to help answer it.