
Electactic IMC9000-UL
Electactic Commercial Ice Maker User Manual
Model: IMC9000-UL
Brand: Electactic
Introduction
Thank you for choosing the Electactic Commercial Ice Maker. This machine is designed to provide a reliable and efficient supply of ice cubes for commercial environments such as restaurants, bars, cafes, and offices. With a daily ice production capacity of up to 100 pounds and a 33-pound storage bin, it ensures a consistent supply of ice. This manual provides detailed instructions for the safe and proper installation, operation, and maintenance of your ice maker.

Figure 1: Electactic Commercial Ice Maker
Safety Instructions
Please read all safety instructions carefully before operating the appliance to prevent injury or damage. Keep this manual for future reference.
- Ensure the power supply matches the specifications listed on the product label.
- Do not operate the machine with a damaged power cord or plug.
- Keep the appliance away from heat sources and direct sunlight.
- Ensure proper ventilation around the unit. Maintain at least 6 inches of clearance from walls and other objects.
- Do not use flammable liquids near the ice maker.
- Always disconnect the power before cleaning or performing maintenance.
- This appliance is intended for commercial use.
Setup and Installation
1. Unpacking
Carefully remove the ice maker from its packaging. Inspect the unit for any signs of damage during transit. Retain the packaging materials for future transport or if the unit needs to be returned.
2. Placement
Place the ice maker on a flat, stable surface capable of supporting its weight when full of ice and water. Ensure the location is well-ventilated and away from direct heat sources. The unit's dimensions are approximately 17.52 inches (D) x 15.87 inches (W) x 31.3 inches (H).

Figure 2: Product Dimensions
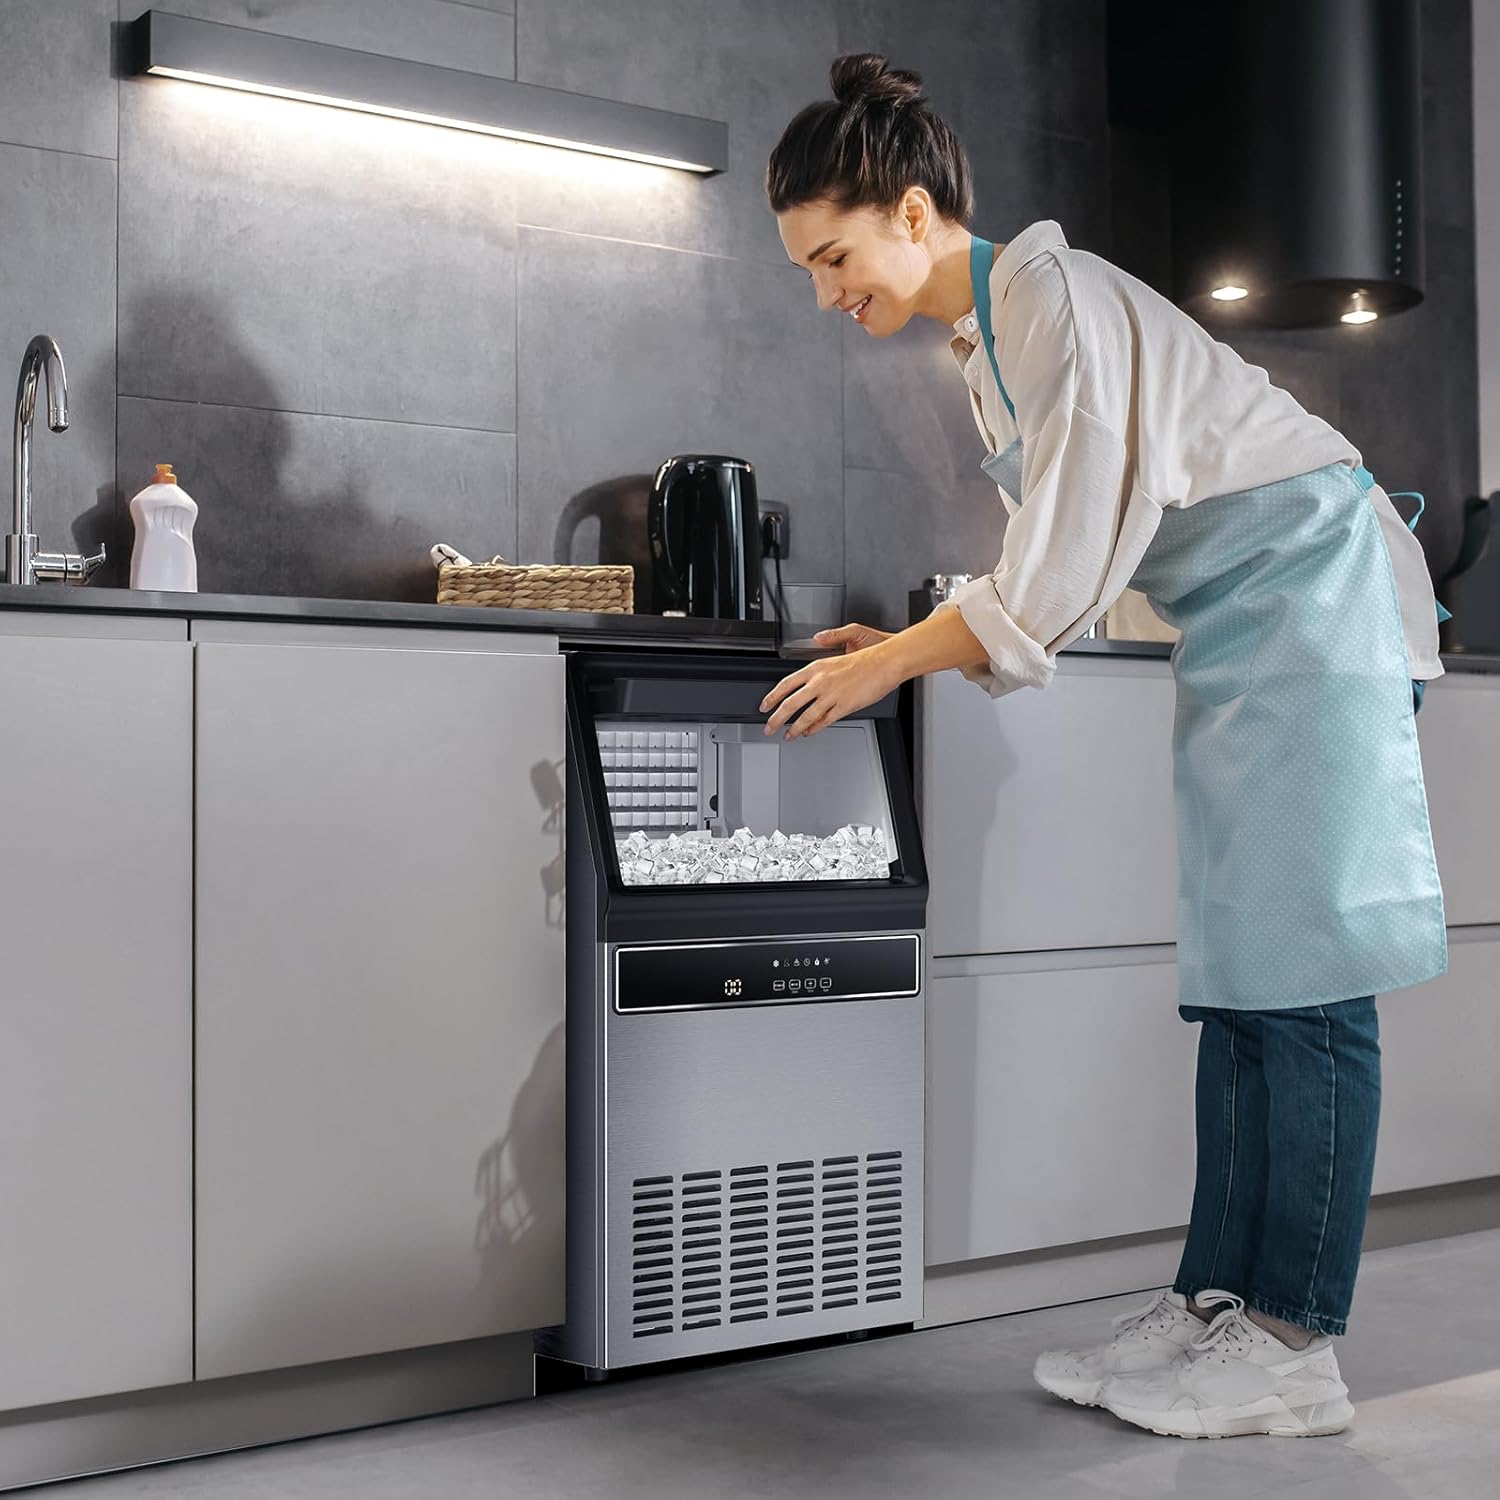
Figure 3: Example Placement in a Kitchen Environment
3. Water Connection
The ice maker requires a continuous water supply and a drain. Connect the water inlet pipe to a potable water source and the water outlet pipe to a suitable drain. Ensure all connections are secure to prevent leaks.

Figure 4: Water Inlet and Outlet Connections
4. Electrical Connection
Plug the ice maker into a grounded electrical outlet. The unit operates on 120 Volts and consumes 380 watts. Do not use extension cords or adapters.
Operating Instructions
1. Control Panel Overview
The ice maker features a simple LCD control panel for easy operation. The panel displays status indicators and allows for various settings adjustments.

Figure 5: Control Panel and Indicators
- POWER Button: Turns the unit on or off.
- MODE Button: Used to select different modes, including cleaning.
- + / - Buttons: Adjust ice thickness or set timer.
- Indicators: Ice Making, Clean, Timer, Full Ice Alert.
2. Initial Operation
After connecting water and power, the machine will perform an initial check. Ensure the water supply is open. The unit will begin ice production automatically or after pressing the POWER button.
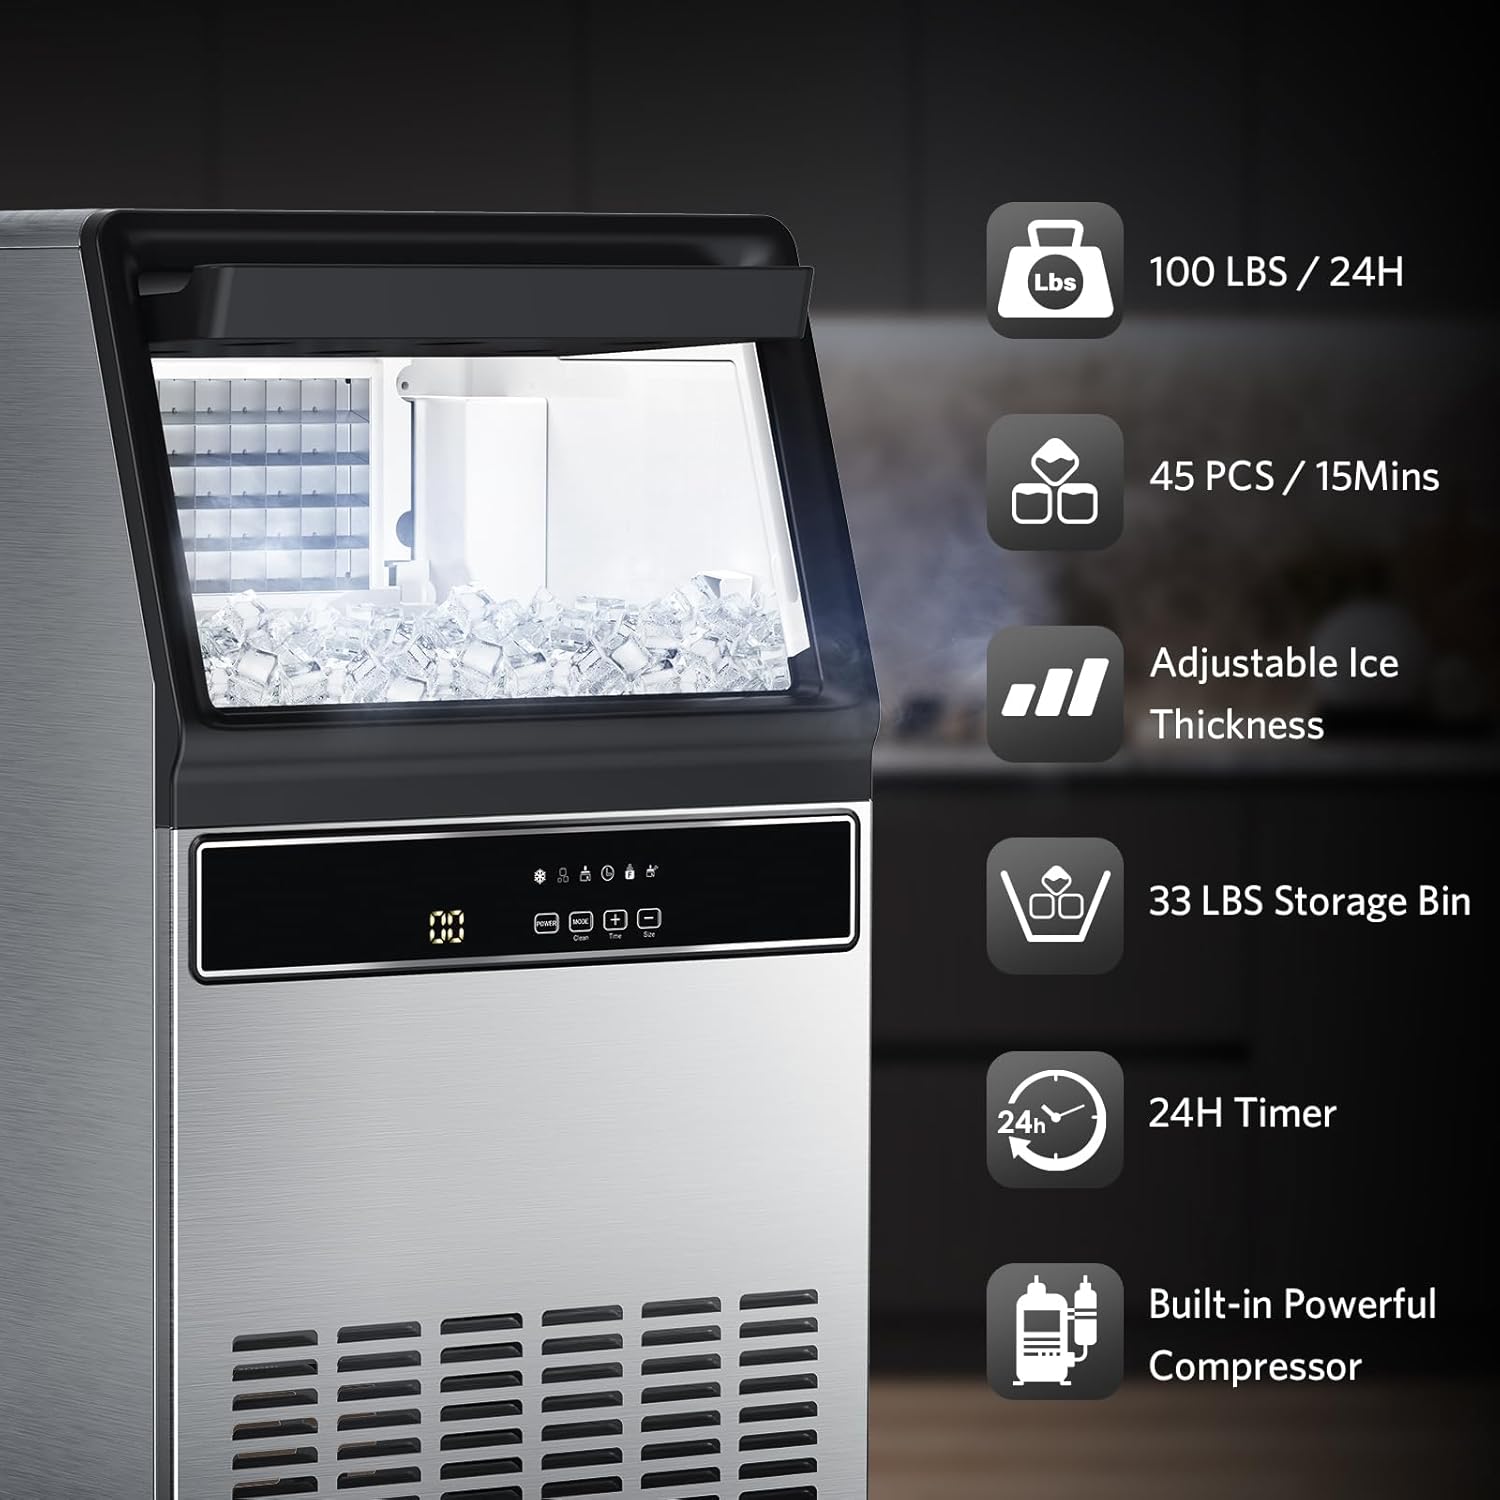
Figure 6: Key Operational Features
3. Adjusting Ice Thickness
The ice maker allows you to adjust the thickness of the ice cubes. Use the + and - buttons to cycle through the available thickness settings. Thicker ice melts slower, while thinner ice is produced faster.
4. Using the 24-Hour Timer
The integrated 24-hour timer allows you to schedule the ice maker's operation. Press the MODE button to access the timer setting, then use the + and - buttons to set the desired start or stop time. This feature helps in energy saving and ensures ice is ready when needed.
Maintenance
1. Automatic Self-Cleaning
The ice maker is equipped with an automatic self-cleaning function. To activate:
- Ensure the inlet and outlet pipes are correctly connected to a water source and drain.
- In standby mode, press and hold the MODE button for 3 seconds.
- The cleaning cycle will begin and typically takes about 15 minutes to complete.
2. Regular Cleaning
For optimal performance and hygiene, regular manual cleaning is recommended in addition to the self-cleaning function.
- Ice Bin: Periodically clean the ice storage bin with a mild detergent and warm water. Rinse thoroughly and dry before resuming operation.
- Exterior: Wipe the stainless steel exterior with a soft, damp cloth. Avoid abrasive cleaners.
- Condenser Coils: The condenser coils, located at the back or side of the unit, should be cleaned regularly to ensure efficient operation. Use a soft brush or vacuum cleaner to remove dust and debris.
Troubleshooting
This section addresses common issues you might encounter with your ice maker. If the problem persists after attempting these solutions, please contact customer support.
| Problem | Possible Cause | Solution |
|---|---|---|
| No ice production | No water supply; power issue; clogged water line. | Check water connection and supply valve. Ensure unit is plugged in. Inspect water lines for kinks or blockages. |
| Ice melts too quickly | High ambient temperature; poor ventilation; ice bin not insulated for long-term storage. | Ensure proper ventilation around the unit. The ice bin is for temporary storage; transfer ice to a freezer for long-term preservation. |
| Loud operation | Unit not level; fan obstruction; compressor noise. | Adjust leveling feet to ensure stability. Check for any obstructions around the fan. Some compressor noise is normal during operation. |
| Ice cubes stick together / form slabs | Ice thickness setting too high; water quality issues. | Adjust ice thickness setting to a thinner option. Consider using a water filter if water quality is poor. Break up ice with a scoop if necessary. |
Specifications
| Feature | Detail |
|---|---|
| Brand | Electactic |
| Model Name | IMC9000 |
| Product Dimensions | 17.52"D x 15.87"W x 31.3"H |
| Ice Storage Capacity | 33 Pounds |
| Daily Ice Production | 100 Pounds |
| Wattage | 380 watts |
| Voltage | 120 Volts |
| Refrigerant | R290a |
| Item Weight | 71.3 pounds |
| Included Components | Ice Machine |
Warranty and Support
Electactic products are manufactured to high-quality standards and are warranted against defects in materials and workmanship. For specific warranty terms and conditions, please refer to the warranty card included with your product or contact Electactic customer support.
For technical assistance, troubleshooting not covered in this manual, or warranty claims, please contact Electactic customer support through their official website or the contact information provided at the point of purchase.
Ask a question about this manual
Ask about setup, troubleshooting, compatibility, parts, safety, or missing instructions. Manuals+ will review the question and use this page’s manual context to help answer it.