
1. Introduction
Thank you for choosing the Contixo KS1 Mini Karaoke Machine. This portable Bluetooth speaker with two wireless microphones is designed to provide an engaging and fun karaoke experience. This manual provides detailed instructions for setup, operation, and maintenance to ensure optimal use of your device.
2. Package Contents
- Contixo KS1 Mini Karaoke Machine Speaker
- 2 Wireless Microphones
- Type-C Charging Cable
- User Manual
3. Product Overview
3.1 Speaker Controls and Ports
Familiarize yourself with the speaker's buttons and connection ports.

Figure 1: Speaker Top Controls - This image displays the top panel of the Contixo KS1 speaker, highlighting buttons for audio source selection, volume adjustment, vocal cut activation, LED light control, and the main power button.

Figure 2: Speaker Side Ports - This image illustrates the side panel of the Contixo KS1 speaker, showing the TF card slot, Type-C 5V charging port, headphone jack, USB plug-in, and the audio indicator light.
3.2 Microphone Controls and Features
Each wireless microphone includes the following controls and voice effects.

Figure 3: Microphone Controls - This image details the controls on the Contixo KS1 wireless microphone, including the power button, volume up/down buttons, the magic voices button, and the indicator light.

Figure 4: Magic Voice Effects - This image illustrates the five distinct voice modulation options available on the microphones: Female Voice, Male Voice, Monster Voice, Baby Voice, and Original Voice.
4. Setup and Charging
4.1 Initial Charging
Before first use, fully charge the speaker and microphones.
- Speaker: Connect the Type-C charging cable to the speaker's Type-C 5V port and a USB power adapter (not included). A full charge takes approximately 2.5 hours.
- Microphones: Connect the Type-C charging cable to each microphone's charging port and a USB power adapter. A full charge takes approximately 1 hour per microphone.
4.2 Power On/Off
- Speaker: Long press the power button on the speaker's top panel to turn it on or off.
- Microphones: Long press the power button on each microphone to turn it on or off. The microphones will automatically pair with the speaker when both are powered on and within range.
5. Operating Instructions
5.1 Bluetooth Connection
The Contixo KS1 speaker uses Bluetooth technology for wireless audio streaming.
- Ensure the speaker is powered on.
- Activate Bluetooth on your smartphone, tablet, or other compatible device.
- Search for "Contixo KS1" in your device's Bluetooth settings and select it to pair.
- A confirmation sound will indicate successful pairing.

Figure 5: Connectivity Options - This image highlights the versatile connectivity of the Contixo KS1, showing icons for Bluetooth, SD Card, USB, AUX, and compatibility with cellphones, laptops, and tablets.
5.2 Microphone Usage and Voice Effects
- Once microphones are powered on, they will automatically connect to the speaker.
- Use the Volume Increase and Volume Decrease buttons on the microphone to adjust your vocal volume.
- Press the Magic Voices button to cycle through the five voice modulation effects: Female Voice, Male Voice, Monster Voice, Baby Voice, and Original Voice.

Figure 6: Sing Together, Play Together - This image shows a mother and child enjoying the Contixo KS1, emphasizing the dual microphones and the five fun voice-changing effects for interactive play.
5.3 Karaoke Mode (Vocal Cut)
Activate the vocal cut feature to remove vocals from songs, allowing you to sing along.
- Press the Turn On/Off Vocal Cut button on the speaker's top panel to enable or disable this feature.
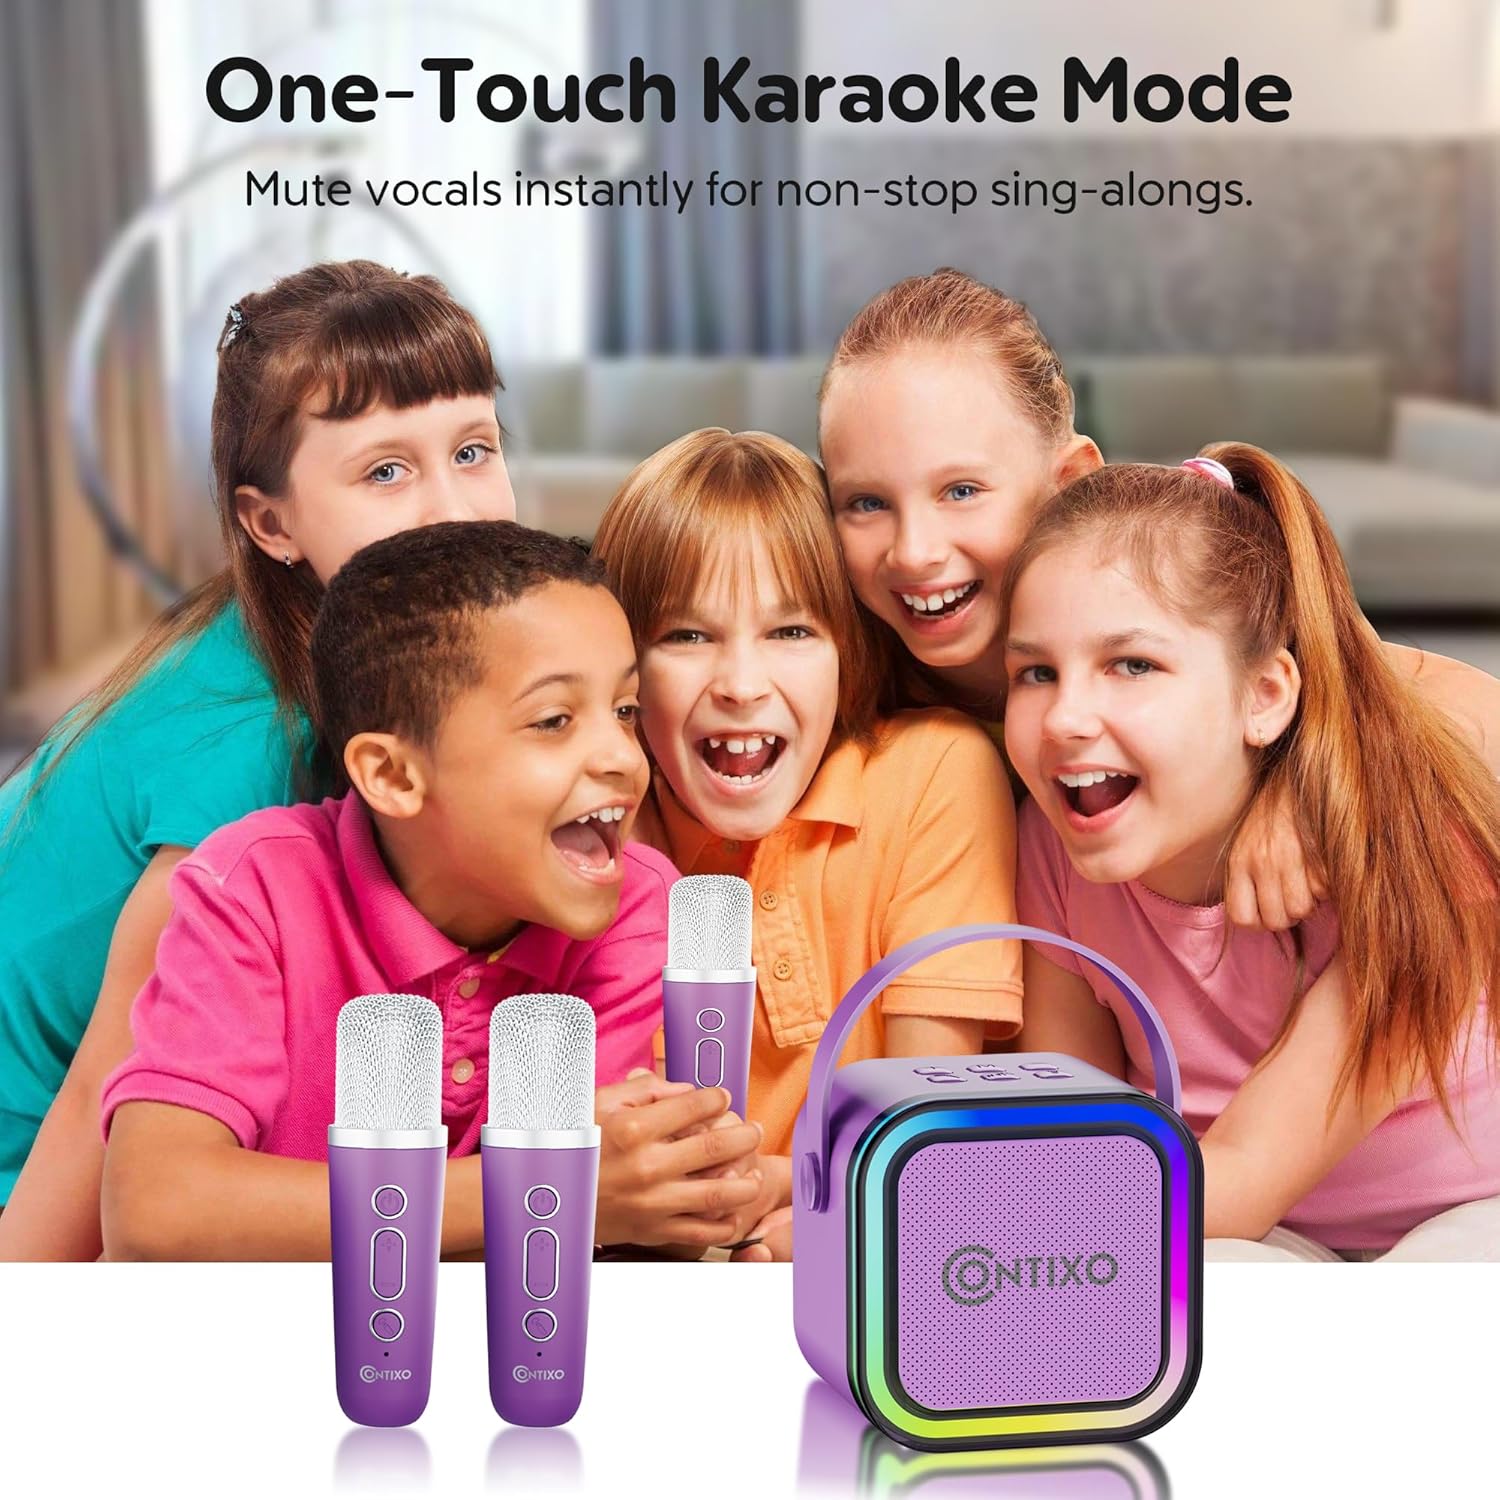
Figure 7: One-Touch Karaoke Mode - This image depicts a group of children enjoying the Contixo KS1, highlighting the ease of muting vocals instantly for sing-alongs using the one-touch karaoke mode.
5.4 LED Lights
The speaker features dynamic LED lights that sync with the music.
- Press the LED Lights Switch button on the speaker's top panel to turn the lights on or off.

Figure 8: Lights Sync with Music - This image shows children enjoying the Contixo KS1 speaker, illustrating how its dynamic LED lights sync to the beat, transforming any room into a lively party environment.
5.5 Other Connectivity Options
In addition to Bluetooth, the speaker supports other audio input methods:
- TF Card: Insert a TF (microSD) card into the TF Slot to play music directly from the card.
- USB: Insert a USB drive into the USB Plug-in port to play music.
- AUX: Connect an external audio device using a 3.5mm AUX cable (not included) to the Headphone Jack.
6. Maintenance
To ensure the longevity and performance of your Contixo KS1 Mini Karaoke Machine:
- Clean the device with a soft, dry cloth. Do not use abrasive cleaners or solvents.
- Avoid exposing the device to extreme temperatures, direct sunlight, or moisture.
- Store the device in a cool, dry place when not in use.
7. Troubleshooting
If you encounter any issues, refer to the following troubleshooting guide:
| Problem | Possible Cause | Solution |
|---|---|---|
| No sound from speaker | Low battery; Volume too low; Not connected via Bluetooth/AUX/USB/TF. | Charge speaker; Increase volume; Reconnect audio source. |
| Microphone not working | Microphone off; Low battery; Not paired with speaker. | Turn on microphone; Charge microphone; Ensure speaker is on for auto-pairing. |
| Bluetooth pairing failed | Speaker not in pairing mode; Device Bluetooth off; Too far from speaker. | Ensure speaker is on; Turn on device Bluetooth; Move device closer to speaker. |
| LED lights not working | LED lights switched off. | Press the LED Lights Switch button to turn them on. |
8. Specifications
- Brand: Contixo
- Model Name: KS1
- Dimensions (D x W x H): 2.64" x 3.35" x 3.35" (6.7 cm x 8.5 cm x 8.5 cm)
- Connectivity Technology: Bluetooth
- Connector Type: Type-C (for charging)
- Power Source: Battery Powered
- Speaker Battery: 1200mAh (7-10 hours playtime)
- Microphone Battery: 400mAh (approximately 11 hours playtime)
- Charging Time (Speaker): Approximately 2.5 hours
- Charging Time (Microphone): Approximately 1 hour
- Special Features: Portable, Dual Wireless Microphones, Dynamic LED Lights, Magic Voice Effects, Vocal Cut Function
- Compatible Devices: Smartphones, Tablets, Laptops, MP3 Players
9. Warranty and Support
The Contixo KS1 Mini Karaoke Machine comes with a 1-Year Warranty Against Manufacturer Defects. For warranty claims or technical support, please contact Contixo customer service through their official website or the retailer where the product was purchased.
10. Product Demonstration Video
Watch this video for a visual guide on the Contixo KS1 Mini Karaoke Machine's features and operation.
Video 1: Contixo KS1 Mini Karaoke Machine Overview - This video provides a comprehensive demonstration of the Contixo KS1 Mini Karaoke Machine, showcasing its design, features, and how to use the speaker and microphones.