
1. Introduction
This manual provides comprehensive instructions for the safe and efficient installation, operation, and maintenance of your ducrew 42-inch Dark Walnut Ceiling Fan. Please read all instructions carefully before beginning installation and retain this manual for future reference. Proper installation and use are essential for optimal performance and safety.
2. Product Overview
The ducrew 42-inch Dark Walnut Ceiling Fan is designed for both indoor and outdoor use, offering a blend of modern aesthetics and advanced functionality. Key features include a quiet reversible DC motor, an integrated dimmable LED light with adjustable color temperature, and convenient remote control operation.
2.1 Key Features
- Remote-Controlled Operation: Features forward/reverse functionality and 6-speed settings for customized airflow.
- Dimmable LED Light: Equipped with a 15W LED light providing 1500 lumens, equivalent to a 15W bulb. Offers adjustable three-color lighting (3000K Warm White, 4500K Natural Light, 6000K Cool White) with brightness control (25-100%) and a memory function.
- Quiet Reversible DC Motor: Operates at a maximum speed of 200r/min with noise levels below 30dB, ensuring quiet performance. The reversible motor allows for all-season use (downward airflow for summer, upward for winter).
- Solid Wood Blades: Features three durable solid wood blades in a dark walnut finish, paired with a matte black main body.
- Adjustable Hanging Height: Includes three extended hanging bars (5-inch, 10-inch, 14-inch) for flexible installation heights (12-inch, 17-inch, 21-inch from ceiling to fan's lowest point).
- Sloped Ceiling Compatibility: Can be installed on ceilings tilted up to 13 degrees.
- Smart Control: Compatible with a dedicated mobile application for enhanced control and integration with smart home systems like Alexa and Google Assistant.
2.2 Components
The fan package includes all necessary components for installation and operation. The blades are crafted from solid wood, while other parts like the motor housing and downrods are made from durable metal alloys.

Image: Detail of the solid wood fan blades, emphasizing their natural and durable construction.

Image: Fan dimensions and recommended installation settings for different room types and sloped ceilings.
3. Safety Information
- Always turn off power at the circuit breaker before installation or maintenance.
- Ensure all electrical connections comply with local codes and ordinances.
- Consult a qualified electrician if you are unsure about wiring or installation.
- Mount the fan to a ceiling joist or a suitable support structure capable of holding the fan's weight.
- Keep hands and objects clear of the fan blades during operation.
- Do not attempt to repair or modify the fan yourself. Contact customer support for assistance.
4. Setup and Installation
The installation process involves mounting the bracket, assembling the downrod and motor, connecting electrical wires, attaching the blades, and finally installing the LED light and cover. Detailed steps are provided in the included printed instructions.
4.1 Pre-Installation
- Unpack all components and verify against the parts list.
- Turn off power at the main circuit breaker.
- Prepare the mounting location, ensuring it can support the fan's weight.
4.2 Assembly Steps
- Assemble Downrod: Secure the chosen downrod to the motor housing. Pass the motor wires through the downrod.
- Mounting Bracket: Attach the mounting bracket securely to the ceiling junction box.
- Hang Fan Assembly: Carefully lift the motor assembly and hang it onto the mounting bracket.
- Electrical Connections: Connect the fan's electrical wires to the household wiring (white to white, black to black, ground to ground). Ensure the remote receiver is properly connected between the fan and the power supply.
- Secure Canopy: Slide the canopy up to cover the mounting bracket and secure it with screws.
- Attach Blades: Securely attach each of the three solid wood blades to the motor housing using the provided screws. It is recommended to insert screws into the blade holes first before attaching to the motor for easier alignment.
- Install LED Light: Connect the LED light module wires and secure the module to the fan body.
- Attach Light Cover: Secure the light cover to the fan body.
4.3 Smart App Setup
To utilize smart control features, download the dedicated mobile application. The app allows for pairing with the fan and integration with voice assistants like Alexa and Google Assistant. Refer to the app's instructions for detailed pairing steps, typically involving pressing a specific button on the remote (e.g., the 6-hour timer button) to initiate pairing mode while the app searches for the device.
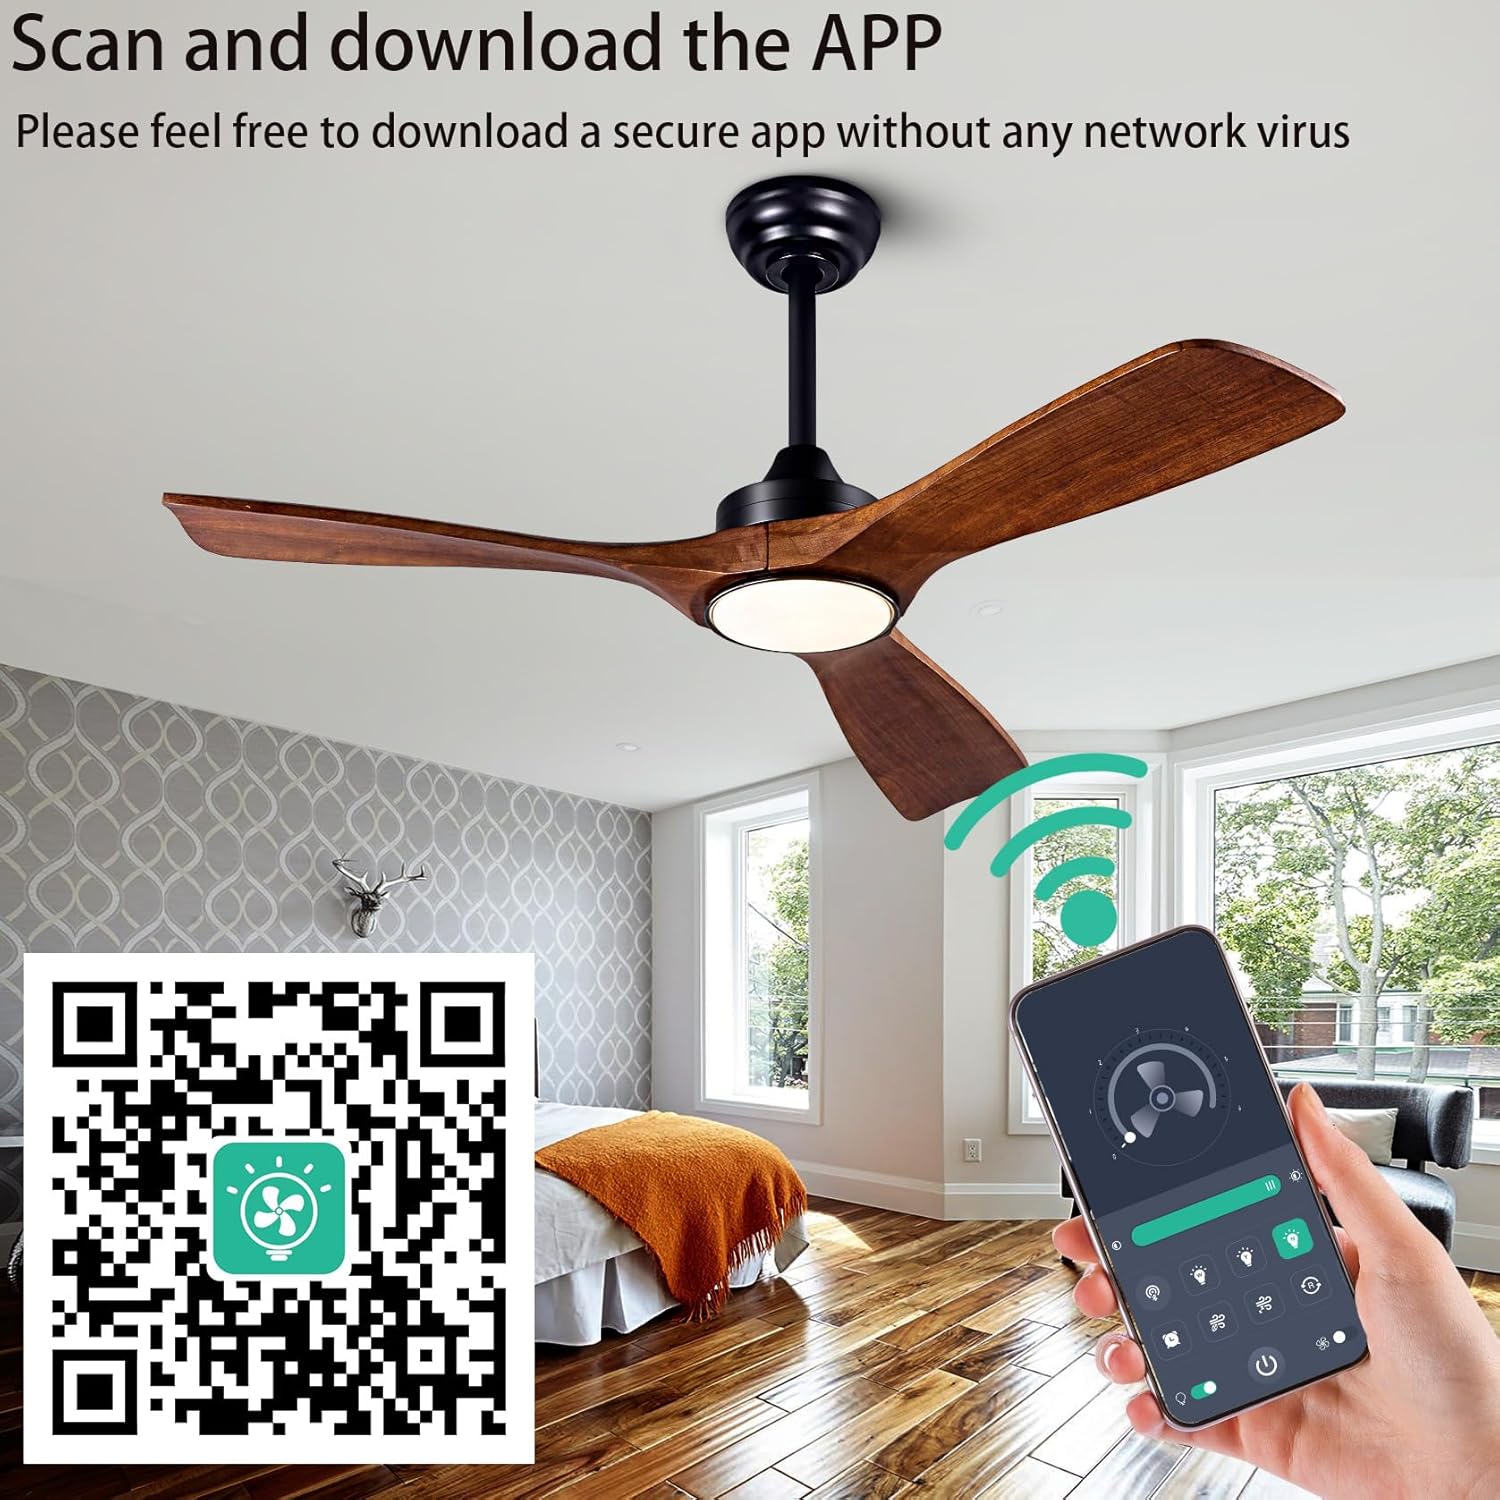
Image: Scan the QR code to download the control app for your fan. Link: https://www.jasonghost.com/fanlamppro/
5. Operation
Your ducrew ceiling fan can be operated using the included remote control or the dedicated mobile application.
5.1 Remote Control Functions
- Fan Speed: Select from 6 fan speeds (1-6) to adjust airflow intensity.
- Fan Direction: Toggle between forward (summer mode, downward airflow) and reverse (winter mode, upward airflow) for optimal air circulation.
- Light On/Off: Turn the integrated LED light on or off.
- Light Brightness: Adjust the light brightness from 25% to 100%.
- Light Color Temperature: Cycle through 3 color temperatures: Warm White (3000K), Natural Light (4500K), and Cool White (6000K).
- Timer: Set the fan to turn off automatically after 1, 3, or 6 hours.
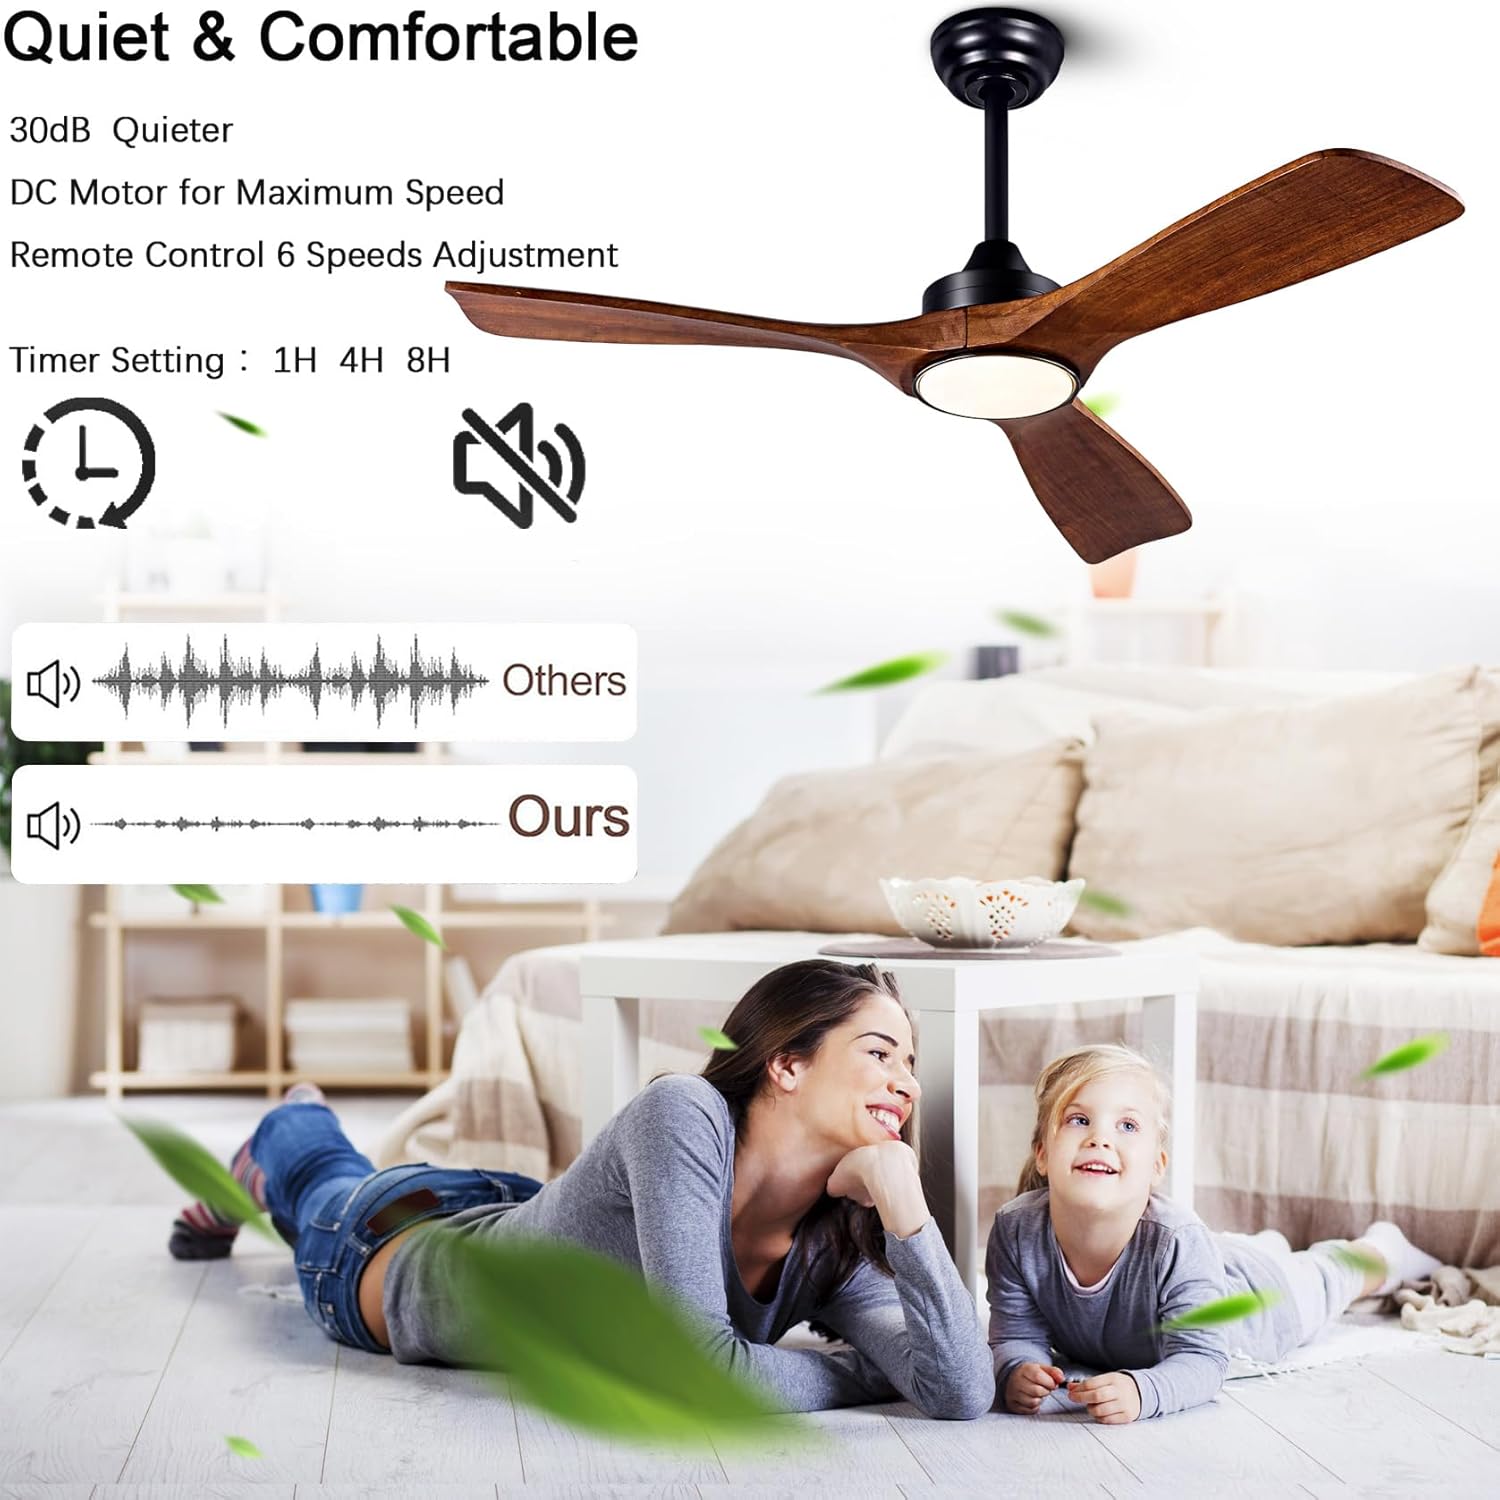
Image: Remote control features for fan speed and timer settings.

Image: Explanation of Winter Mode (upward air circulation) and Summer Mode (downward air circulation).

Image: Dimmable LED light with adjustable color temperatures.
6. Maintenance
Regular maintenance ensures the longevity and optimal performance of your ceiling fan.
- Cleaning: Use a soft, damp cloth to clean the fan blades and motor housing. Do not use abrasive cleaners or solvents.
- Blade Balance: Periodically check the fan blades for any wobbling. If wobbling occurs, ensure all blade screws are tightened. A balancing kit may be used if necessary.
- Electrical Connections: Annually inspect all electrical connections for tightness.
- Light Source: The integrated LED light module is designed for long life and is not user-replaceable. If the light fails, contact customer support.
7. Troubleshooting
Refer to the following table for common issues and their solutions.
| Problem | Possible Cause | Solution |
|---|---|---|
| Fan does not start | No power supply; Loose wiring; Remote not paired. | Check circuit breaker; Verify all wire connections; Re-pair remote control with fan. |
| Fan wobbles | Loose blades or mounting; Unbalanced blades. | Tighten all blade and mounting screws; Use a blade balancing kit. |
| Light does not work | Loose light wire connection; Faulty LED module. | Check light wire connections; Contact customer support if LED module is faulty. |
| Remote not responding | Dead batteries; Remote not paired. | Replace remote batteries; Re-pair remote control with fan. |
| Fan is noisy | Loose screws; Motor issue. | Ensure all screws are tight; If noise persists, contact customer support. |
8. Specifications
| Specification | Detail |
|---|---|
| Brand | ducrew |
| Model Number | 1698-42BD |
| Size | 42 Inch |
| Color | Dark Walnut |
| Material | Alloy Steel, Copper, Metal, Plastic, Wood |
| Style | Modern |
| Indoor/Outdoor Usage | Indoor, Outdoor |
| Power Source | DC |
| Control Method | Remote, App Control |
| Light Source | LED |
| Number of Light Sources | 1 |
| Light Color | Adjustable (3000K, 4500K, 6000K) |
| Brightness | 1500 Lumens (15W) |
| Efficiency | High Efficiency |
| Mounting Type | Ceiling Mount (Semi Flush Mount) |
| Water Resistance Level | Water Resistant |
| Required Assembly | Yes |
9. Warranty and Support
This ceiling fan features simple installation. For detailed installation instructions and videos, please refer to the resources provided with your purchase. Should you have any questions or require assistance, please contact our customer service team. Locate your product in your order history and click the Customer Support button for prompt assistance.