
Introduction
This manual provides detailed instructions for the safe and effective use of your BAOFENG DR-1802U DMR Digital Radio. Please read this manual thoroughly before operating the device to ensure optimal performance and to prevent damage.
Package Contents
Upon unboxing, verify that all items listed below are present:
- DMR DR-1802U Radio (x1)
- High Gain Antenna (x1)
- 2200mAh Battery (x1)
- USB-C Charging Cable (x1)
- Charging Dock (x1)
- Power Adapter (x1)
- Belt Clip (x1)
- Lanyard (x1)
- User's Manual (x1)
- 18.89in Tactical Antenna (x1)
- Shoulder Speaker Microphone (x1)
Setup
1. Attaching the Battery
- Align the battery with the battery compartment on the back of the radio.
- Slide the battery into place until it clicks securely.
- To remove, press the release latch (if present) and slide the battery out.
2. Attaching the Antenna
- Screw the desired antenna (High Gain or Tactical) clockwise onto the antenna connector at the top of the radio until it is finger-tight. Do not overtighten.
3. Attaching the Belt Clip and Lanyard
- Attach the belt clip to the designated slot on the back of the radio using the provided screws.
- Thread the lanyard through the loop on the radio for secure carrying.
4. Charging the Battery
Before first use, fully charge the battery. The radio supports USB-C charging directly or via the charging dock.
- Using the Charging Dock: Connect the power adapter to the charging dock and plug it into a power outlet. Place the radio with the battery installed into the charging dock. The indicator light will show charging status.
- Direct USB-C Charging: Connect the USB-C charging cable to the radio's USB-C port and to a compatible USB power source (e.g., laptop, car charger, power bank, or the provided power adapter).

Figure 1: Charging options for the BAOFENG DR-1802U, including direct USB-C connection and charging dock.
5. Attaching the Shoulder Speaker Microphone
Plug the shoulder speaker microphone into the 2-pin K Jack port on the side of the radio. Ensure it is securely connected for proper audio input and output.

Figure 2: Labeled diagram of the BAOFENG DR-1802U radio, highlighting the 2-pin K Jack for accessories.
Operation
1. Radio Controls Overview
Familiarize yourself with the main controls of your DR-1802U radio:
- Power/Volume Knob: Located at the top, turn clockwise to power on and increase volume, counter-clockwise to decrease volume and power off.
- Channel Switch: Located at the top, used to select channels.
- PTT (Push-To-Talk) Button: Located on the side, press and hold to transmit, release to receive.
- SK1/SK2/SK3 Keys: Programmable side keys for quick access to functions.
- MENU Key: Accesses the radio's menu system.
- EXIT Key: Exits menu or current function.
- Keypad: For direct frequency input, channel selection, and menu navigation.
- 1.77" Display: Shows channel information, battery status, and menu options.
2. Powering On/Off and Volume Adjustment
Rotate the Power/Volume knob clockwise until a click is heard to power on the radio. Continue rotating to adjust the volume. Rotate counter-clockwise until a click is heard to power off.
3. Channel Selection
Use the Channel Switch or the keypad to navigate through the 1024 available memory channels. The selected channel will be displayed on the 1.77-inch screen.
4. Transmitting and Receiving
- Receiving: Ensure the radio is powered on and tuned to the desired channel. The radio will automatically receive signals.
- Transmitting: Press and hold the PTT button. Speak clearly into the microphone. Release the PTT button to return to receive mode.
5. Digital and Analog Modes
The DR-1802U supports both DMR digital and traditional analog modes, allowing for smooth transition between systems. The radio can be configured to operate in either mode per channel or zone settings.

Figure 3: The DR-1802U supports both Digital and Analog modes for versatile communication.
6. AES256 Encryption
The radio features advanced AES256 encryption for secure communications. When enabled, this encryption protects your transmissions from unauthorized interception, ensuring privacy for sensitive information. Consult the programming software for detailed setup of encryption keys.
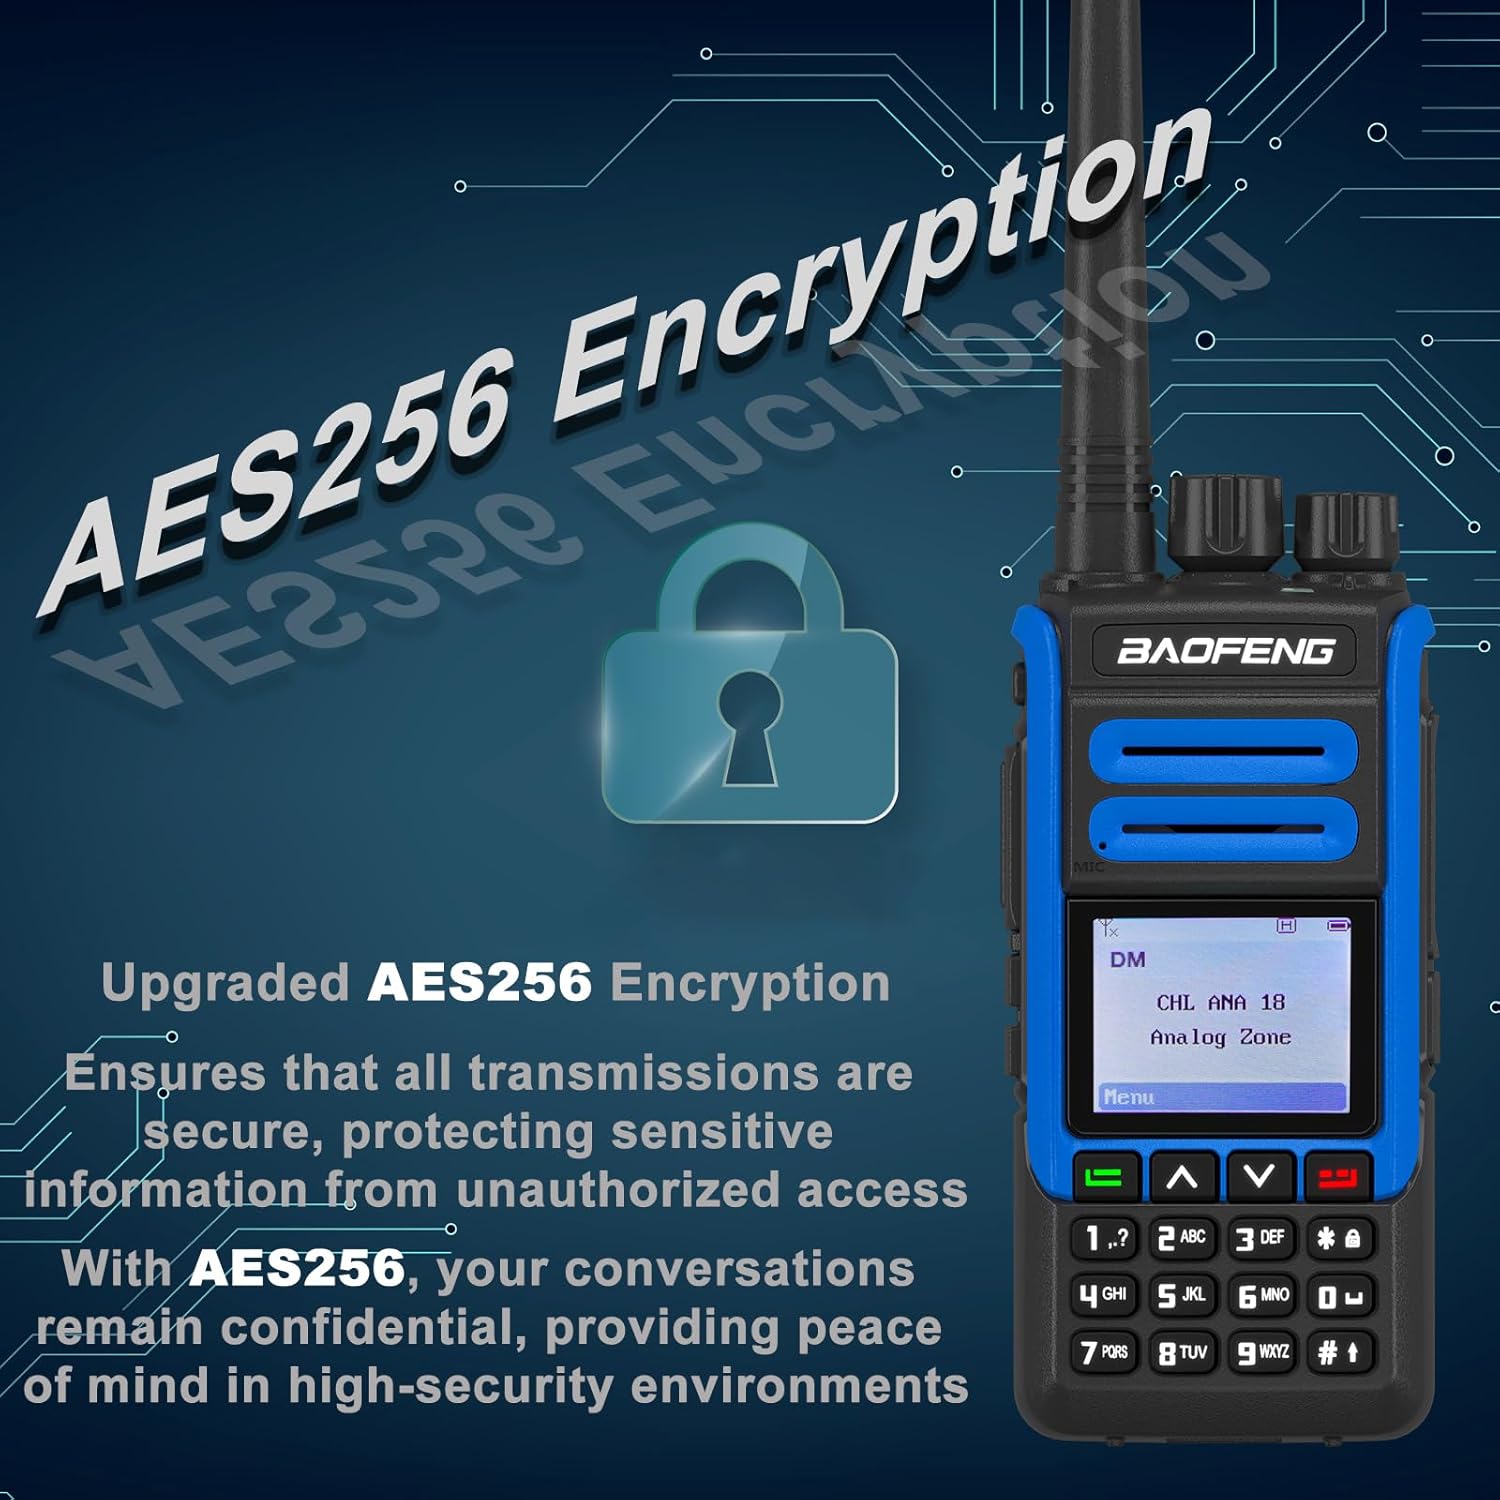
Figure 4: The DR-1802U provides AES256 encryption for secure and private communications.
7. VOX Voice Activation
The Voice Operated Exchange (VOX) function allows for hands-free transmission. When VOX is active, the radio will automatically transmit when it detects your voice, eliminating the need to press the PTT button. Adjust VOX sensitivity in the menu settings.
8. SMS Function
The DR-1802U supports SMS (Short Message Service) functionality, allowing users to send and receive text messages between compatible DMR radios. Refer to the full programming guide for SMS setup and usage.
9. Digital Alarm Function
The digital alarm function provides an emergency signaling capability, useful for alerting other team members in critical situations. This feature can be configured via the programming software.
10. PC Programming
The radio's advanced features, such as channel frequencies, encryption keys, VOX sensitivity, and digital alarm settings, can be customized using PC programming software. Connect the radio to a computer via a programming cable (sold separately) and use the official BAOFENG software.
Maintenance
1. Cleaning the Radio
Wipe the radio's surface with a soft, damp cloth. Do not use harsh chemicals, solvents, or abrasive cleaners. Ensure the radio is powered off and disconnected from any power source before cleaning.
2. Battery Care
- Avoid overcharging or completely discharging the battery.
- Store the battery in a cool, dry place when not in use.
- If the radio will not be used for an extended period, remove the battery.
- Replace the battery if its operating time significantly decreases.
3. Storage
Store the radio in a dry, dust-free environment, away from direct sunlight and extreme temperatures. Remove the battery if storing for long periods.
4. Water Resistance
The BAOFENG DR-1802U is not water resistant. Avoid exposing the radio to rain, splashes, or immersion in water. Water damage is not covered under warranty.
Troubleshooting
| Problem | Possible Cause | Solution |
|---|---|---|
| Radio does not power on. | Battery is low or not installed correctly. | Charge the battery or ensure it is properly seated. |
| Cannot transmit or receive. | Incorrect channel selected, antenna not attached, or out of range. | Verify channel, check antenna connection, move closer to other radios. |
| Poor audio quality. | Low signal strength, volume too low, or microphone/speaker obstruction. | Adjust volume, check antenna, ensure clear path for audio, move to a better location. |
| Battery drains quickly. | Battery nearing end of life, or excessive transmission. | Replace battery if old, reduce transmission time, or charge more frequently. |
Specifications
| Feature | Detail |
|---|---|
| Model Number | DR-1802U |
| Brand | BAOFENG |
| Number of Channels | 1024 |
| Encryption | AES256 |
| Modes | DMR Digital & Analog Dual Mode |
| Charging | USB-C Charging, Charging Dock |
| Display | 1.77 inch |
| DMR Features | True 2-Slot, Rich digital signaling, SMS function, Private Call, Digital alarm function |
| Dimensions (D x W x H) | 1.37 x 2.16 x 4.72 inches (radio body) |
| Water Resistance Level | Not Water Resistant |

Figure 5: Physical dimensions of the BAOFENG DR-1802U radio.
Warranty Information
A 1-year warranty is provided exclusively through "Shiqun Electronics Co., Ltd". Please retain your proof of purchase for warranty claims. The warranty covers manufacturing defects but does not cover damage caused by misuse, accidents, or unauthorized modifications.
Support and Contact
For technical assistance, troubleshooting beyond this manual, or warranty inquiries, please contact the vendor or authorized service center. Refer to your purchase documentation for specific contact details.
For additional resources and software downloads, visit the official BAOFENG website.


