
1. Introduction
This manual provides detailed instructions for the setup, operation, and maintenance of your MSI G274QPF 27-inch WQHD IPS 170Hz Gaming Monitor. This monitor is designed to deliver a high-performance visual experience with its WQHD (2560x1440) resolution, 170Hz refresh rate, and 1ms GtG response time. It features an IPS panel for wide viewing angles and vibrant colors, G-Sync compatibility for smooth gameplay, and multiple connectivity options. Also included is a Docztorm USB HUB for enhanced connectivity.
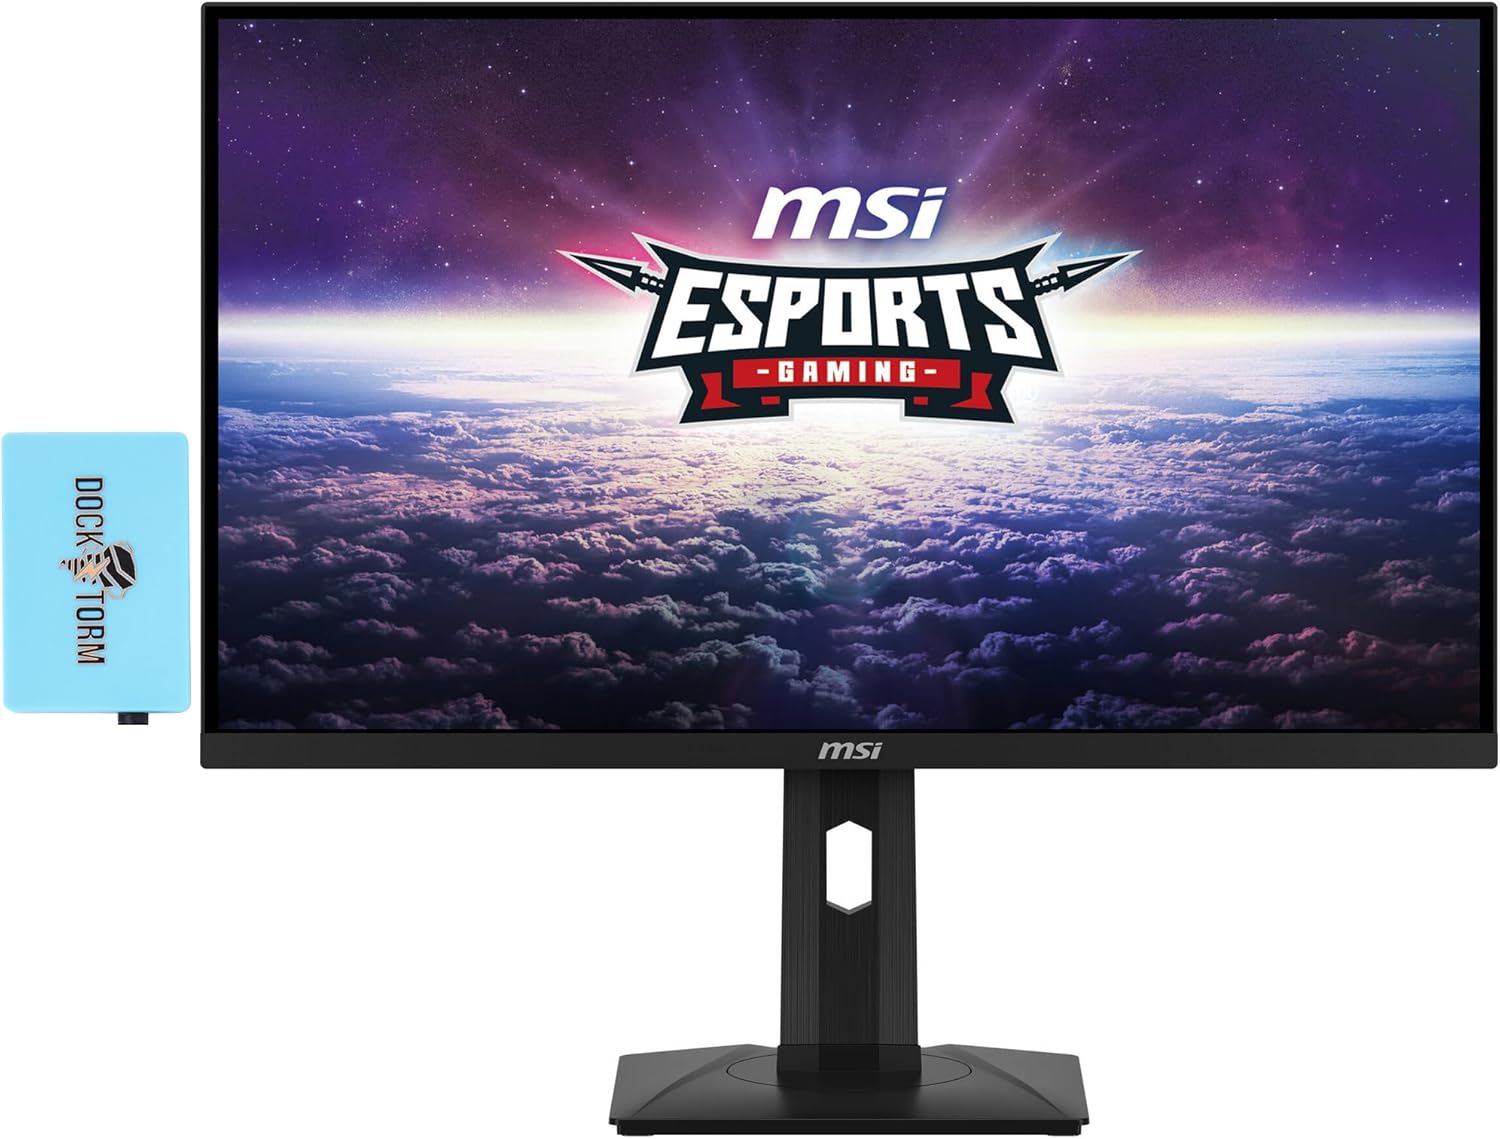
Image 1.1: Front view of the MSI G274QPF Gaming Monitor with the included Docztorm Dock connected.
2. Safety Information
Please read all instructions carefully before using the monitor. Keep this manual for future reference.
- Do not expose the monitor to rain or moisture to prevent fire or shock hazards.
- Do not open the monitor casing. There are no user-serviceable parts inside. Refer all servicing to qualified personnel.
- Place the monitor on a stable, flat surface to prevent it from falling.
- Ensure proper ventilation around the monitor. Do not block ventilation openings.
- Use only the power adapter and cables provided or specified by the manufacturer.
- Disconnect the power plug from the wall outlet if the monitor will not be used for an extended period.
3. Package Contents
Verify that all items are present in your package:
- MSI G274QPF Gaming Monitor
- Monitor Stand (Base and Neck)
- Power Adapter and Power Cord
- HDMI Cable
- DisplayPort Cable
- Docztorm USB HUB
- User Manual (this document)
- Warranty Card (if applicable)
4. Setup
4.1 Assembling the Monitor Stand
- Carefully remove the monitor and stand components from the packaging.
- Attach the stand neck to the monitor panel. Ensure it clicks securely into place or is fastened with screws as indicated in the quick start guide.
- Attach the stand base to the stand neck. Tighten the thumb screw or screws at the bottom of the base until secure.
- Place the assembled monitor on a stable, flat surface.
4.2 Connecting the Monitor
Connect the monitor to your computer and power source using the provided cables.
- Power Connection: Connect the power adapter to the monitor's power input port, then plug the power cord into a wall outlet.
- Video Connection: Choose one of the following options:
- DisplayPort: Connect one end of the DisplayPort cable to your computer's graphics card and the other end to the monitor's DisplayPort input. This is recommended for optimal performance (170Hz).
- HDMI: Connect one end of the HDMI cable to your computer's graphics card and the other end to one of the monitor's HDMI input ports.
- USB Type-C (DP Alt Mode): If your device supports DisplayPort Alternate Mode over USB-C, connect a USB-C cable from your device to the monitor's Type-C port.
- Docztorm USB HUB: Connect the Docztorm USB HUB to an available USB port on your computer for additional USB connectivity.

Image 4.1: Rear view of the MSI G274QPF monitor showing the input ports, including DisplayPort, HDMI, and USB Type-C.

Image 4.2: Rear view of the MSI G274QPF monitor, highlighting the VESA mount compatibility area (75x75mm).
4.3 VESA Mount Installation (Optional)
The monitor supports a 75x75mm VESA mount for wall or arm mounting. To install, remove the stand and attach the VESA-compatible bracket (not included) to the monitor's mounting holes.
5. Operating the Monitor
5.1 Power On/Off
Press the power button, usually located on the back or bottom right of the monitor, to turn it on or off. The power LED will indicate the monitor's status.
5.2 On-Screen Display (OSD) Menu
The OSD menu allows you to adjust various monitor settings. Access it using the joystick or buttons typically found on the back or bottom of the monitor.
- Navigation: Use the joystick or directional buttons to navigate through the menu options.
- Selection: Press the joystick or a dedicated button to select an option.
- Exit: Move the joystick left or press an exit button to go back or exit the OSD.
5.3 Key Features and Settings
- Refresh Rate: The monitor supports up to 170Hz refresh rate. Ensure your graphics card settings are configured to utilize this refresh rate for the smoothest experience.
- Response Time: With a 1ms GtG (Gray-to-Gray) response time, motion blur is significantly reduced. This setting is often managed automatically or can be adjusted in the OSD under 'Response Time' or 'Overdrive'.
- Adaptive Sync (G-Sync Compatible/AMD FreeSync): Enable this feature in the OSD and your graphics card control panel to synchronize the monitor's refresh rate with your GPU's frame rate, eliminating screen tearing and stuttering.
- Night Vision: This feature enhances details in dark areas of the screen, improving visibility in dimly lit game scenes. It can be toggled on/off or adjusted in the OSD.
- Display Mode: Select from various display modes (e.g., Standard, Gaming, Movie, FPS, RTS) to optimize visual settings for different content types.
- Picture Settings: Adjust brightness, contrast, color temperature, and gamma to your preference.
- Input Source: Manually select the active input source (DisplayPort, HDMI 1, HDMI 2, Type-C) if the monitor does not auto-detect.
6. Maintenance
6.1 Cleaning the Monitor
- Always unplug the monitor from the power outlet before cleaning.
- Use a soft, lint-free cloth slightly dampened with water or a mild, non-abrasive screen cleaner.
- Do not spray cleaner directly onto the screen. Apply it to the cloth first.
- Avoid using harsh chemicals, abrasive pads, or solvents, as these can damage the screen or casing.
6.2 General Care
- Avoid placing heavy objects on the monitor or its cables.
- Keep the monitor away from direct sunlight, heat sources, and extreme temperatures.
- Ensure adequate airflow around the monitor to prevent overheating.
7. Troubleshooting
If you encounter issues with your monitor, refer to the following common problems and solutions:
- No Power:
- Ensure the power cord is securely connected to the monitor and a working power outlet.
- Check if the power adapter is properly connected.
- Press the power button on the monitor.
- No Signal:
- Verify that the video cable (DisplayPort, HDMI, or USB-C) is securely connected to both the monitor and your computer.
- Ensure the correct input source is selected in the monitor's OSD menu.
- Check if your computer is powered on and not in sleep mode.
- Try connecting the monitor to another computer or device to rule out a computer issue.
- Flickering or Distorted Image:
- Check the video cable for damage or loose connections.
- Adjust the refresh rate in your computer's display settings.
- Disable or enable Adaptive Sync (G-Sync/FreeSync) in the OSD and graphics card settings.
- Reset the monitor to factory default settings via the OSD menu.
- Dead Pixels:
- A small number of bright or dark pixels are common in LCD/LED technology and do not necessarily indicate a defect. Refer to MSI's pixel policy for more information.
8. Specifications
| Feature | Specification |
|---|---|
| Display Size | 27 inches |
| Panel Type | IPS |
| Resolution | WQHD (2560 x 1440) |
| Refresh Rate | 170Hz |
| Response Time | 1ms GtG |
| Aspect Ratio | 16:9 |
| Contrast Ratio | 1000:1 |
| Color Support | 1.07 Billion colors |
| Brightness | 400 nits |
| Viewing Angle | 178° (H) / 178° (V) |
| Surface Treatment | Anti-glare |
| Video Ports | 2x HDMI 2.0b, 1x DisplayPort 1.4a, 1x Type-C (DP Alt Mode) |
| Variable Refresh Rate | AMD FreeSync, G-Sync Compatible |
| VESA Mount Compatibility | 75x75mm |
| Adjustments | Tilt: -5° to +20°, Swivel: -45° to +45°, Pivot: -90° to +90°, Height: 130mm |
| Dimensions (WxDxH) | 24.2 x 7.7 x 15.8 inches (61.47 x 19.56 x 40.13 cm) |
| Weight | 13.34 lbs (6.05 kg) |
| Included Dock | Docztorm USB HUB (5Gbps data sync) |
9. Warranty and Support
Your MSI G274QPF monitor is covered by a manufacturer's warranty. Please refer to the warranty card included in your package for specific terms and conditions, including warranty period and coverage details.
For technical support, driver downloads, or further assistance, please visit the official MSI website or contact MSI customer service. Keep your purchase receipt and product serial number handy when seeking support.
MSI Official Website: www.msi.com


