
Important Safety Information
WARNING: Keep out of reach of children. This product is designed for outdoor watering purposes only. Do not use with potable water systems unless specifically approved. Always turn off the water supply before making adjustments or performing maintenance.
Product Overview
The Melnor 65152AMZ Pulsating Sprinkler on Metal Spike is designed to provide efficient and customizable watering for lawns and gardens. It features a durable plastic head and a sturdy metal spike for stable placement. The sprinkler can cover an area up to an 85-foot diameter (approximately 5,600 sq. ft.) and includes a Quick Connect Starter Set for easy hose attachment.
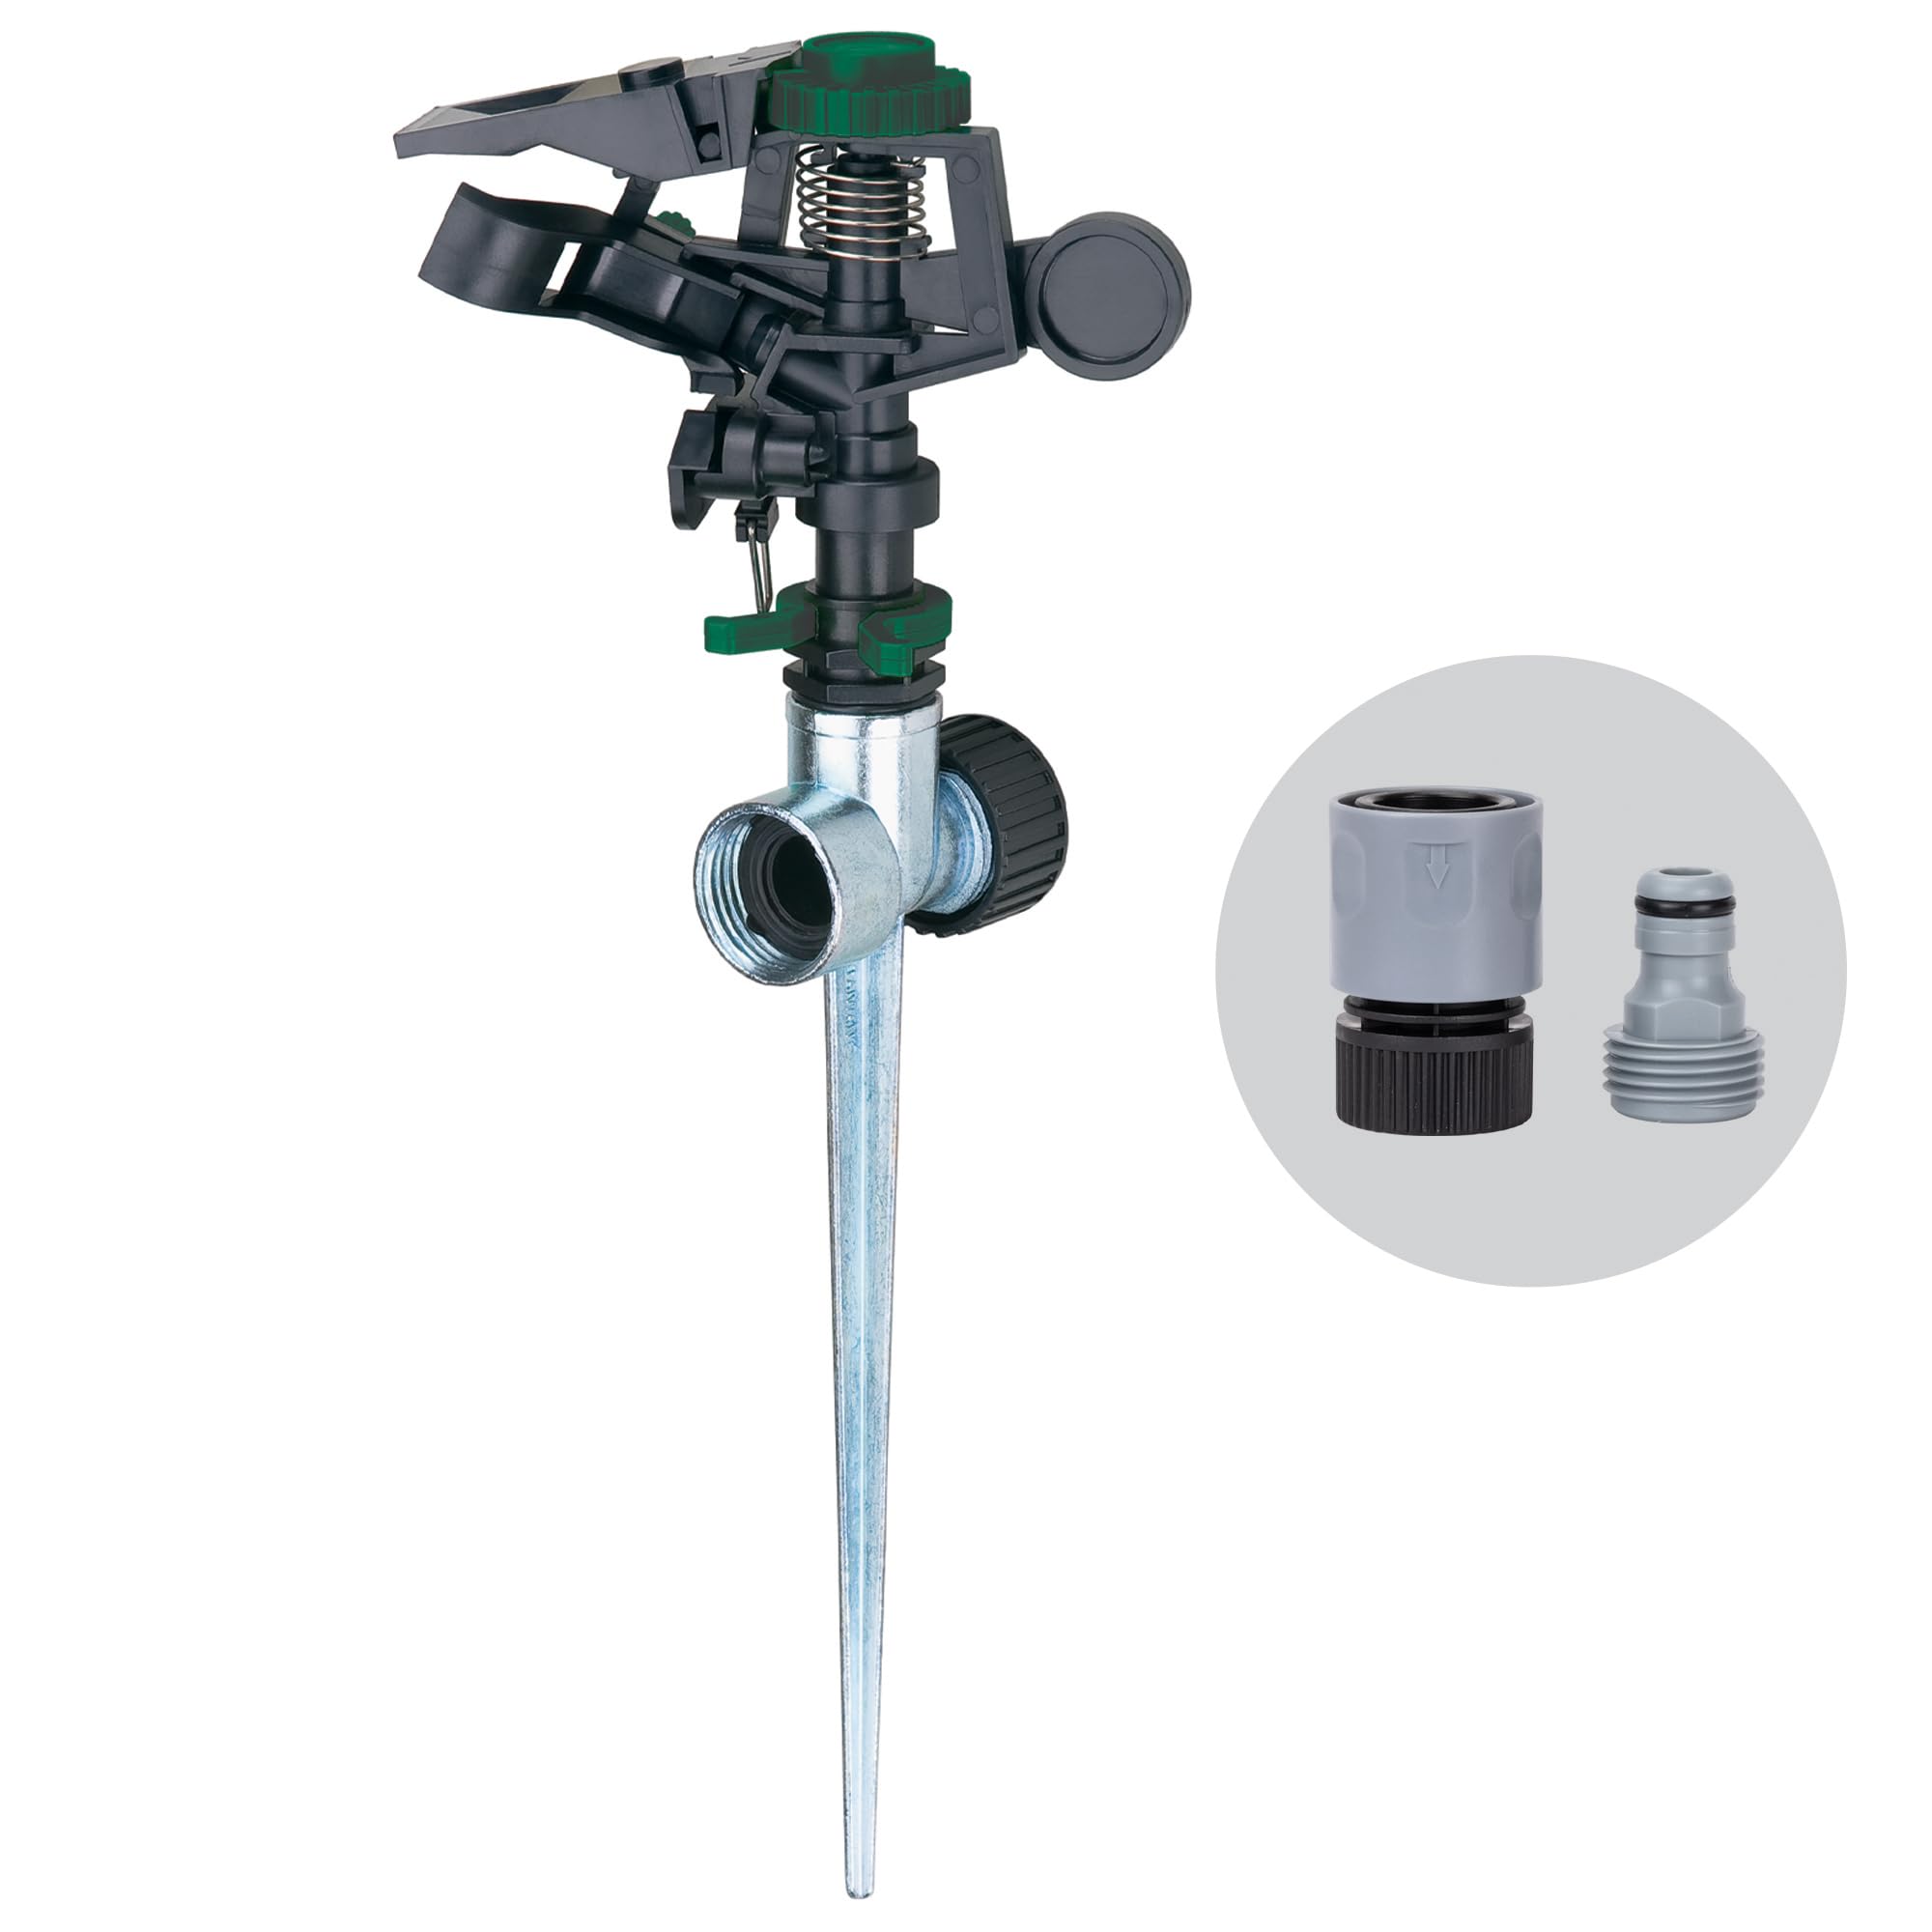
Figure 1: Melnor 65152AMZ Pulsating Sprinkler with metal spike and quick connect adapter.
Key Features:
- Extensive Coverage: Waters up to an 85’ diameter (5,600 sq. ft.).
- Customizable Spray: Adjustable spray distance and angle.
- Sturdy Metal Spike: Provides stable support in various soil types.
- Quick Connect System: Facilitates fast and easy tool attachment and detachment.
Setup Instructions
- Attach Quick Connect Adapter:
Screw the Quick Connect Product Adapter (included) onto the base of the sprinkler. Ensure it is hand-tightened to prevent leaks.

Figure 2: Illustration of the Quick Connect system, showing how the adapter connects to the hose.
- Insert Spike into Ground:
Select a desired watering location. Firmly push the metal spike into the soil until the base of the sprinkler is stable and upright. Ensure the spike is fully inserted to prevent tipping during operation.
- Connect Water Hose:
Attach your garden hose, equipped with a Quick Connect Faucet Adapter (sold separately or part of a starter kit), to the Quick Connect Product Adapter on the sprinkler. A click indicates a secure connection.
- Position Sprinkler:
Orient the sprinkler head to direct the initial spray pattern towards the desired area. Fine adjustments can be made during operation.
Operating Instructions
- Turn On Water Supply:
Slowly turn on the water supply to the garden hose. The sprinkler will begin to operate.

Figure 3: The pulsating sprinkler actively watering a lawn.
- Adjust Spray Distance:
The spray distance can be adjusted by rotating the diffuser screw located on the sprinkler head. Turning it clockwise will decrease the distance, while turning it counter-clockwise will increase it.
- Adjust Spray Angle (Pattern):
To set the desired watering arc, lift the trip levers on the sprinkler head and position them to define the start and end points of the spray pattern. For continuous 360-degree watering, disengage the trip levers by pushing them both to one side.

Figure 4: Close-up of the sprinkler head showing the diffuser screw and trip levers for spray adjustment.
- Connect Multiple Units (Series):
For larger areas, multiple Melnor pulsating sprinklers can be connected in series. Attach an additional hose to the outlet port of the first sprinkler and connect it to the inlet of the next sprinkler. Ensure all connections are secure.
Maintenance
- Cleaning: Periodically check the sprinkler nozzle for debris or mineral buildup. If necessary, gently clean with a soft brush or a small pin to ensure proper water flow.
- Storage: Before freezing temperatures, disconnect the sprinkler from the hose and drain any remaining water. Store the sprinkler in a dry, protected area to prevent damage from frost.
- Inspection: Regularly inspect the sprinkler head and spike for any signs of wear or damage. Replace components if they are cracked or broken to maintain optimal performance.
Troubleshooting
| Problem | Possible Cause | Solution |
|---|---|---|
| Sprinkler head does not rotate or rotates intermittently. |
|
|
| Water leaks from connections. |
|
|
| Limited spray distance or uneven pattern. |
|
|
| Sprinkler falls over or is unstable. |
|
|
Specifications
| Model Number | 65152AMZ |
| Brand | Melnor |
| Material | Plastic (Head), Metal (Spike) |
| Coverage Area | Up to 85 ft. diameter (5,600 sq. ft.) |
| Item Dimensions (L x W x H) | 12.5 x 5.5 x 30.2 cm |
| Item Weight | 170 Grams |
| Maximum Flow Rate | 2.8 Gallons Per Minute |
| Inlet Connection Size | 5 Inches (Standard Garden Hose) |
| UPC | 042206651525 |
Warranty and Support
This Melnor product is backed by a Limited 2-Year Warranty. For warranty claims, technical assistance, or additional support, please contact Melnor customer service. Retain your proof of purchase for warranty validation.
For further information or to provide feedback, please visit the official Melnor website or refer to the contact details provided with your product packaging.


