1. Introduction
The Dcorn 7'' Digital Microscope is a versatile tool designed for detailed observation and analysis. It features a 7-inch HD LCD display, 10X-1200X magnification, and a 12MP camera for capturing high-quality photos and videos. Equipped with 8 built-in LED lights and 2 adjustable side lights, it provides ample illumination for various applications.
This manual provides essential information for the proper setup, operation, and maintenance of your digital microscope. Please read it thoroughly before use to ensure optimal performance and longevity of the device.

Figure 1: Dcorn 7'' Digital Microscope in operation, showing electronic components on the screen.
2. What's in the Box
Verify that all components are present in the package:
- Microscope x 1
- User Manual x 1
- CD x 1
3. Setup Instructions
3.1 Assembly
- Place the metal base on a stable, flat surface.
- Attach the microscope stand to the base, ensuring it is securely fastened.
- Mount the 7-inch LCD display unit onto the microscope stand. The screen can be rotated up to 90 degrees for optimal viewing angle.
- Connect the two adjustable side lights to their designated ports on the microscope unit. Position them to provide auxiliary illumination.
- Connect the wired remote control to the microscope unit.

Figure 2: Key components and adjustable features of the microscope.
3.2 Powering On
Connect the microscope to a power source using the provided adapter. The device includes a Lithium Polymer battery for portable use.
3.3 Connecting to a PC (Optional)
For a larger viewing experience, the Dcorn digital microscope can be connected to a Windows 10 or Mac OS computer via USB. Once connected, you can use default applications like "Windows Camera" (for Windows) or "Photo Booth" (for Mac) to access the microscope's live feed and features.

Figure 3: Connecting the microscope to a PC for an expanded view.
4. Operating Instructions
4.1 Adjusting Magnification and Focus
The microscope offers a magnification range of 10X to 1200X. Adjust the focus knob on the microscope body to achieve a clear image of your specimen. The actual magnification observed may vary based on the distance between the lens and the object, and the size of the display screen.

Figure 4: Observing a circuit board under magnification with enhanced lighting.
4.2 Illumination Control
Utilize the 8 built-in adjustable LED lights and the 2 flexible side lights to illuminate your specimen. Adjust the brightness and angle of the side lights to eliminate shadows and enhance visibility of fine details.
4.3 Photo and Video Capture
The microscope supports capturing photos up to 12MP and videos up to 1080FHD. Use the buttons on the wired remote or the display unit to initiate photo or video recording. Captured media can be saved to a TF card (not included, supports up to 64GB).

Figure 5: Photo and video recording capabilities.
4.4 Applications
The Dcorn digital microscope is suitable for a wide range of applications, including:
- Coin collection inspection
- Soldering and electronics repair
- Plant and textile examination
- Gem and jewelry inspection
- Clock repair
- Skin inspection
- Reading assistance
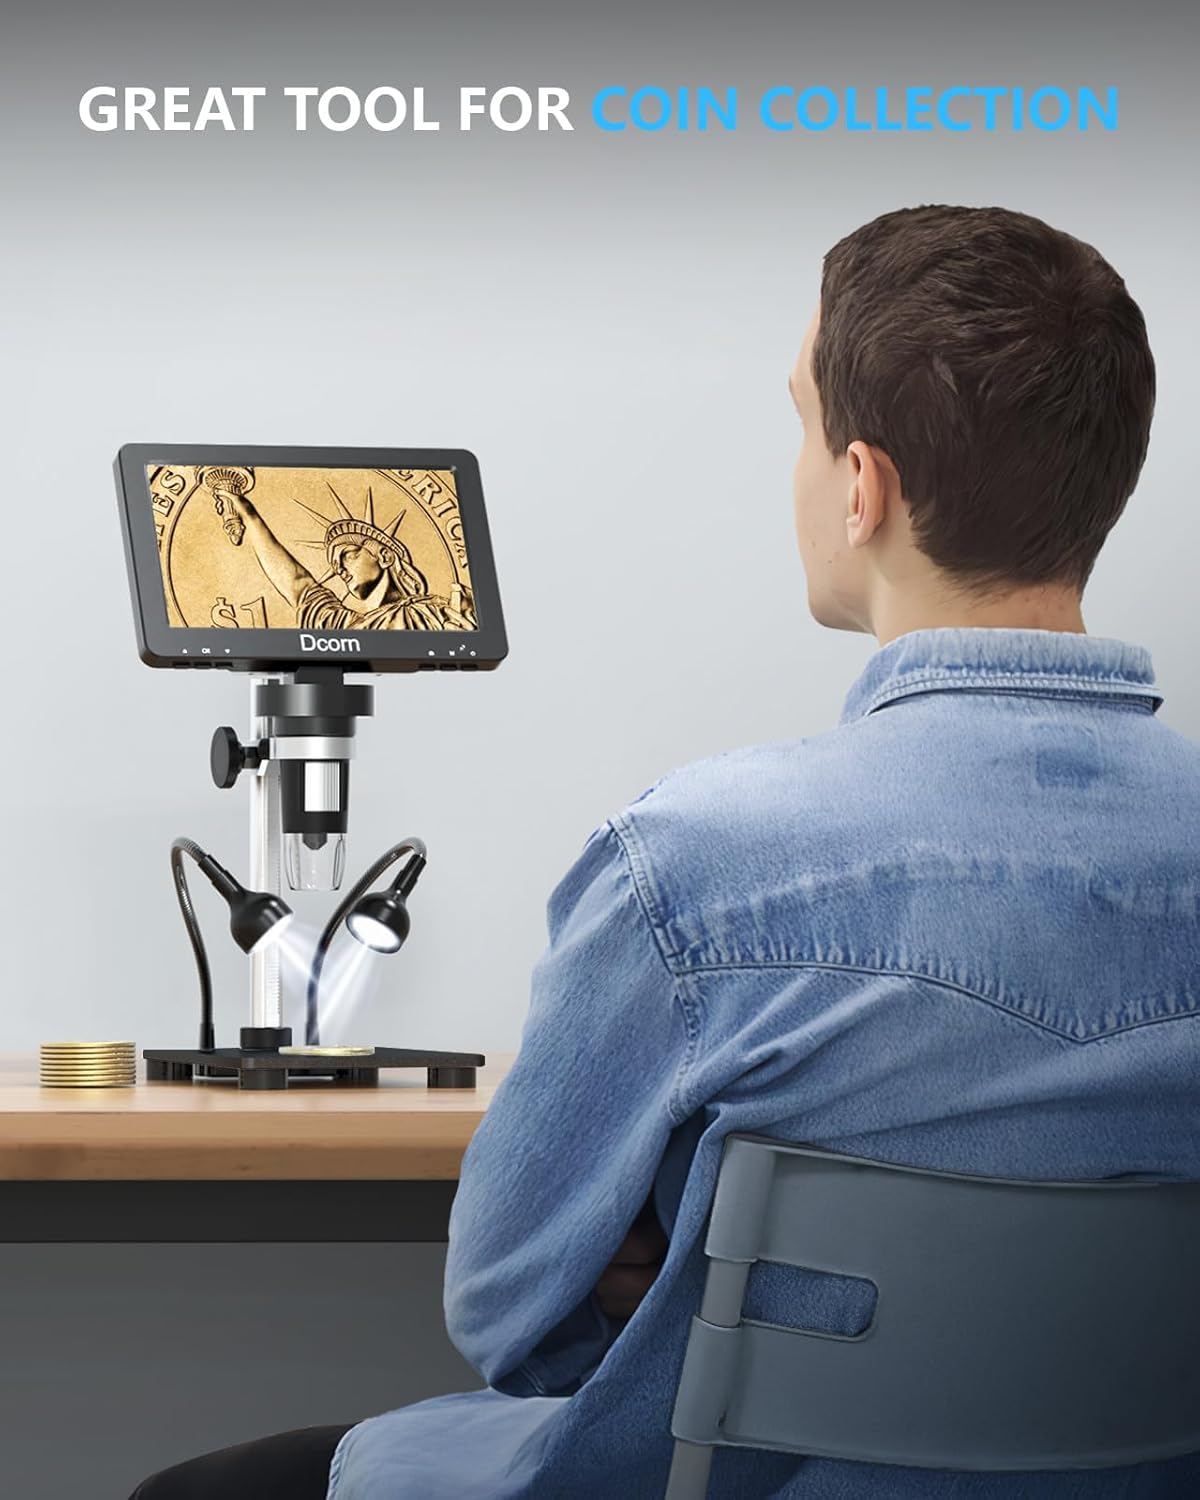
Figure 6: Microscope being used for coin collection.

Figure 7: Microscope assisting with soldering tasks.
5. Maintenance
- Cleaning the Lens and Screen: Use a soft, lint-free cloth specifically designed for optical surfaces to clean the microscope lens and LCD screen. Avoid abrasive materials or harsh chemicals.
- Storage: Store the microscope in a clean, dry environment away from direct sunlight and extreme temperatures. When not in use, cover the lens to prevent dust accumulation.
- Battery Care: If the device has a built-in rechargeable battery, ensure it is charged regularly, even during periods of non-use, to maintain battery health.
- Handling: Handle the microscope with care to prevent drops or impacts that could damage internal components or the display.
6. Troubleshooting
| Problem | Possible Cause | Solution |
|---|---|---|
| No image on screen | Power not connected; Device not turned on; Loose cable connection. | Check power adapter and connection; Press power button; Ensure all cables are securely plugged in. |
| Image is blurry | Out of focus; Lens dirty; Insufficient lighting. | Adjust the focus knob; Clean the lens; Adjust LED lights or add external lighting. |
| Cannot save photos/videos | No TF card inserted; TF card full or corrupted; Incorrect file format. | Insert a compatible TF card; Delete unnecessary files or format the card (backup data first); Check manual for supported formats. |
| PC connection issues | Incorrect USB port; Driver issues; Software not recognizing device. | Try a different USB port; Reinstall drivers from the provided CD or manufacturer's website; Ensure PC software (e.g., Windows Camera) is updated and correctly configured. |
7. Specifications
- Model Number: DMR-02-BK
- Magnification: 10X-1200X
- Display: 7-inch HD LCD
- Photo Resolution: Up to 12MP
- Video Resolution: Up to 1080FHD
- Illumination: 8 built-in adjustable LED lights + 2 adjustable side lights
- Storage: Supports up to 64GB TF card (not included)
- Connectivity: USB (for PC connection)
- Compatible OS: Windows 10, Mac OS
- Power Source: 3.7 Volts (Lithium Polymer battery included)
- Material: Metal (base)
- Item Weight: 2.27 pounds (1.03 Kilograms)
- Dimensions: 9.65 x 8.11 x 3.5 inches (Package)
8. Warranty and Support
For warranty information and technical support, please refer to the documentation included with your product or contact Dcorn customer service directly. Details may also be available on the official Dcorn website.
Note: Protection plans may be available for purchase separately. Please check with your retailer for details.
9. Product Videos
Watch these official product videos for additional guidance and demonstrations:
No official seller videos are available in the provided data.


