
Toolsempire NP11229CF
Toolsempire Window Awning Door Canopy User Manual
Model: NP11229CF
1. Introduction
This manual provides detailed instructions for the assembly, installation, and maintenance of your Toolsempire Window Awning Door Canopy. Designed to offer practical protection from sun, rain, and snow, this canopy is a functional addition to various outdoor spaces.
Please read these instructions carefully before beginning installation to ensure safe and correct setup.
2. Safety Information
- Ensure proper anchoring to withstand wind and snow loads. Consult local building codes for load-bearing capacity requirements.
- Always wear appropriate safety gear, including gloves and eye protection, during assembly and installation.
- It is recommended to have at least two people for installation due to the size and need for stability.
- Regularly inspect all parts and connections. Tighten if loose to maintain structural integrity.
- Do not hang heavy objects from the awning.
- Measure your window or door size accurately before purchase and installation to ensure proper fit.
3. Package Contents
Verify that all components are present before beginning assembly:
- 2 x PC Sheet (Polycarbonate Panels)
- 2 x Bracket (ABS Brackets)
- 3 x Fixing Bar (Aluminum Fixing Bars)
- 4 x Expansion Bolt Set (for mounting)
- 1 x User’s Manual (this document)

4. Specifications
| Feature | Detail |
|---|---|
| Brand | Toolsempire |
| Model Number | NP11229CF |
| Overall Dimensions | 48"W x 40"D x 11"H |
| Material | Polycarbonate, Aluminum, ABS |
| Sheet Thickness | 0.2 inches |
| Color | Coffee |
| Weight Capacity (Snow Load) | 44 lbs |
| Net Weight | 6.5 lbs |
| Operation Mode | Manual |
| Assembly Required | Yes |
5. Setup and Installation
Follow these steps for proper assembly and installation of your awning. It is recommended to have assistance during installation.
5.1. Assembly
- Prepare Polycarbonate Sheets: Carefully remove the protective plastic film from both sides of the polycarbonate sheets.
- Connect PC Boards: Slide the two polycarbonate sheets into the H-shaped aluminum fixing bar. Ensure they are securely joined.
- Attach Brackets: Insert the ends of the assembled polycarbonate sheets (with the H-bar) into the grooves of the ABS brackets. The curved design of the sheets should align with the brackets.
- Secure with Screws: Use the provided screws to fix the polycarbonate sheets to the brackets at the designated points. This will hold the entire structure together.
- Install End Bars: Slide the remaining aluminum fixing bars onto the front and back edges of the assembled polycarbonate sheets. These bars provide additional stability and finish.

For a visual guide on assembly, please refer to the video below:
Video 1: Assembly demonstration for a similar awning, showing the process of connecting panels and brackets.
5.2. Wall Mounting
- Position the Awning: With assistance, hold the assembled awning against the wall in the desired position above your door or window. Ensure it is level.
- Mark Drilling Points: Mark the locations for drilling through the pre-drilled holes in the ABS brackets onto your wall.
- Drill Holes: Drill pilot holes at the marked locations. The type of drill bit and drilling technique will depend on your wall material (cement, wood, brick, or stone).
- Insert Expansion Bolts: Insert the expansion bolt sets into the drilled holes.
- Secure Awning: Align the awning brackets with the expansion bolts and tighten them securely. Ensure the awning is firmly attached to the wall.

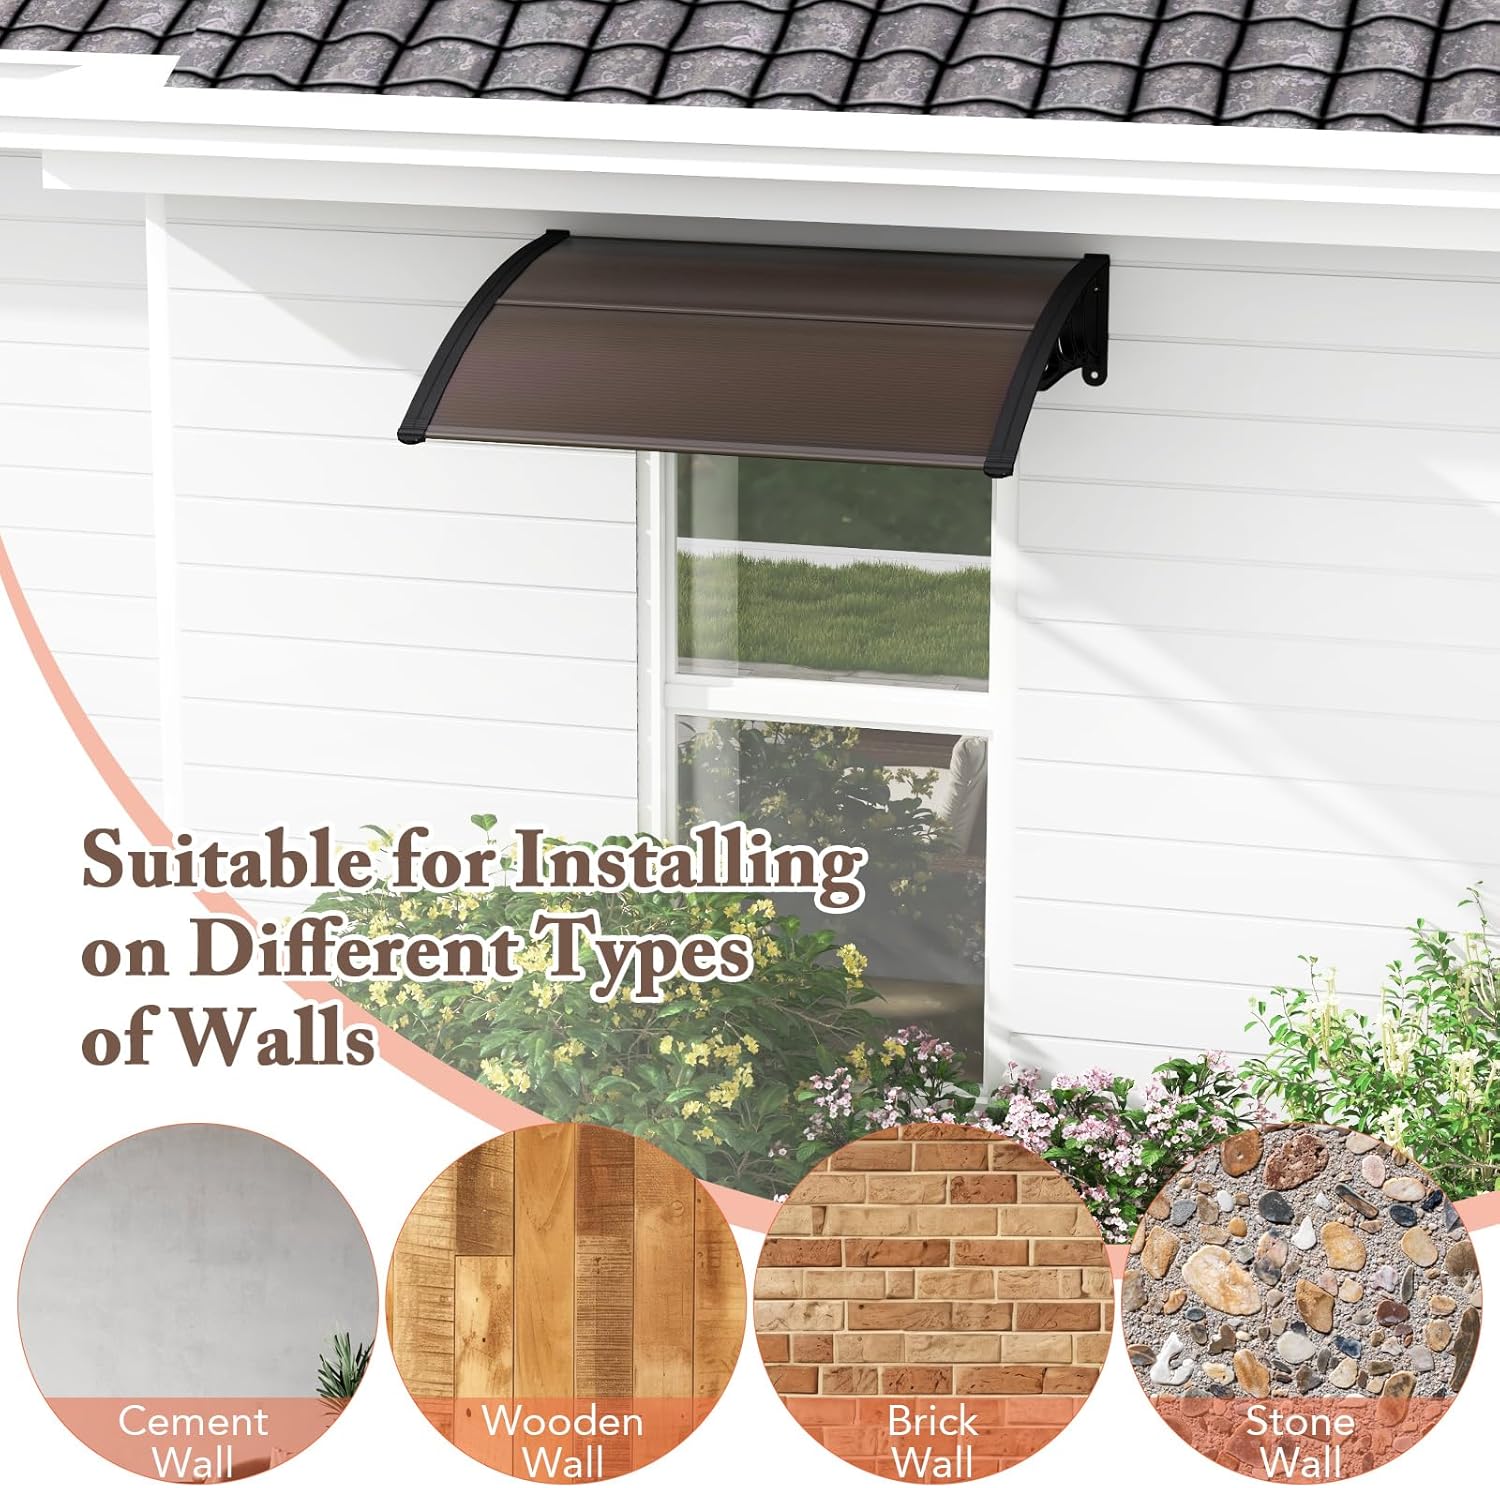
For a visual guide on installation, please refer to the video below:
Video 2: Installation process of a door awning, showing how to mount it to a wall.
6. Operating Instructions
The Toolsempire Window Awning Door Canopy operates manually. Once installed, it provides continuous protection from the elements. No further operational steps are required.
- The curved design facilitates natural drainage of rainwater and snow, preventing accumulation.
- The UPF50+ protective layers on the PC sheets offer sun protection while allowing light transmission.
7. Maintenance
- Cleaning: Clean the polycarbonate sheets periodically with mild soap and water. Avoid abrasive cleaners or harsh chemicals that could damage the material.
- Inspection: Regularly check all mounting points, screws, and connections for tightness. Re-tighten any loose fasteners to ensure the awning remains secure.
- Damage Check: Inspect the polycarbonate sheets and brackets for any signs of cracks, damage, or wear. Replace damaged components as necessary.
- Snow Removal: While the awning is designed to withstand up to 44 lbs of snow, heavy snowfall should be gently removed to prevent excessive load and potential damage.
8. Troubleshooting
| Problem | Possible Cause | Solution |
|---|---|---|
| Awning feels unstable or loose. | Mounting bolts are not sufficiently tightened or have loosened over time. | Check all expansion bolts and screws. Tighten them firmly. If the wall material is compromised, consider re-drilling in a new location or using stronger anchors. |
| Water accumulation on the canopy. | Incorrect angle during installation or obstruction preventing water runoff. | Ensure the awning is installed with a slight downward slope to allow water to drain. Clear any debris that might be blocking the runoff path. |
| Polycarbonate sheets appear cloudy or scratched. | Protective film not fully removed, or abrasive cleaning agents used. | Ensure all protective film is removed. Clean with a soft cloth and mild, non-abrasive soap and water. |
| Awning damaged by heavy wind or snow. | Exceeded weight capacity or insufficient anchoring for local weather conditions. | Reinforce mounting points if local weather is severe. Regularly clear heavy snow. Consider professional installation if unsure about load-bearing requirements. |
9. Warranty and Support
For warranty information or technical support, please contact Toolsempire customer service through the retailer where the product was purchased. Keep your purchase receipt and model number (NP11229CF) handy for faster service.
Ask a question about this manual
Ask about setup, troubleshooting, compatibility, parts, safety, or missing instructions. Manuals+ will review the question and use this page’s manual context to help answer it.