
1. Safety Information
Please read all instructions carefully before installation and use. Retain this manual for future reference.
- Electrical Safety: Always disconnect power at the circuit breaker before installing or servicing the fixture. Ensure all wiring connections are secure and comply with local electrical codes. If you are unsure about wiring, consult a qualified electrician.
- IC Rated: This fixture is IC rated, meaning it is suitable for direct contact with insulation.
- Dimmable: This product is dimmable. Use only compatible LED dimmers to avoid damage and ensure optimal performance.
- Indoor Use Only: This product is designed for indoor use in dry locations. Do not expose to moisture or outdoor elements.
- Operating Temperature: Ensure the operating environment temperature is within the specified range to prevent overheating.
2. Package Contents
Verify that all components are present before beginning installation:
- 4 x 10W LED Recessed Lights
- J-Box (integrated with each light)
- Installation Template
- Instruction Manual
3. Specifications
| Model Number | A-93086 |
| Power | 10 Watts |
| Voltage | 120 Volts AC |
| Color Temperature (CCT) | 2700K/3000K/3500K/4000K/5000K Selectable |
| Luminous Flux | 370 Lumens |
| Beam Angle | 35° |
| Color Rendering Index (CRI) | 90+ |
| Dimmability | 0%-100% (with compatible dimmers) |
| Average Life | 50,000 Hours |
| Dimensions (L x W x H) | 3.27 x 3.27 x 3.82 inches |
| Cut-out Hole Size | 3 inches (75mm) |
| Material | Aluminum, Polycarbonate |
| Certifications | ETL, FCC, IC Rated |
4. Setup & Installation
Follow these steps for proper installation of your recessed lights:
- Prepare the Ceiling: Use the provided template to mark and cut a 3-inch (75mm) diameter hole in the ceiling at the desired location. Ensure there are no obstructions (e.g., joists, pipes) in the ceiling space.
- Wiring the J-Box: Open the J-Box cover. Connect the household electrical wires to the corresponding wires in the J-Box (black to black, white to white, ground to ground) using wire nuts. Secure all connections.
- Select Color Temperature: Before placing the J-Box into the ceiling, use the CCT selector switch located on the J-Box to choose your desired color temperature (2700K, 3000K, 3500K, 4000K, or 5000K).
- Position the J-Box: Carefully place the wired J-Box into the ceiling hole.
- Install the Light Fixture: Bend the spring clips on the light fixture upwards. Push the light fixture into the ceiling hole until the clips snap into place, securing the light flush with the ceiling.
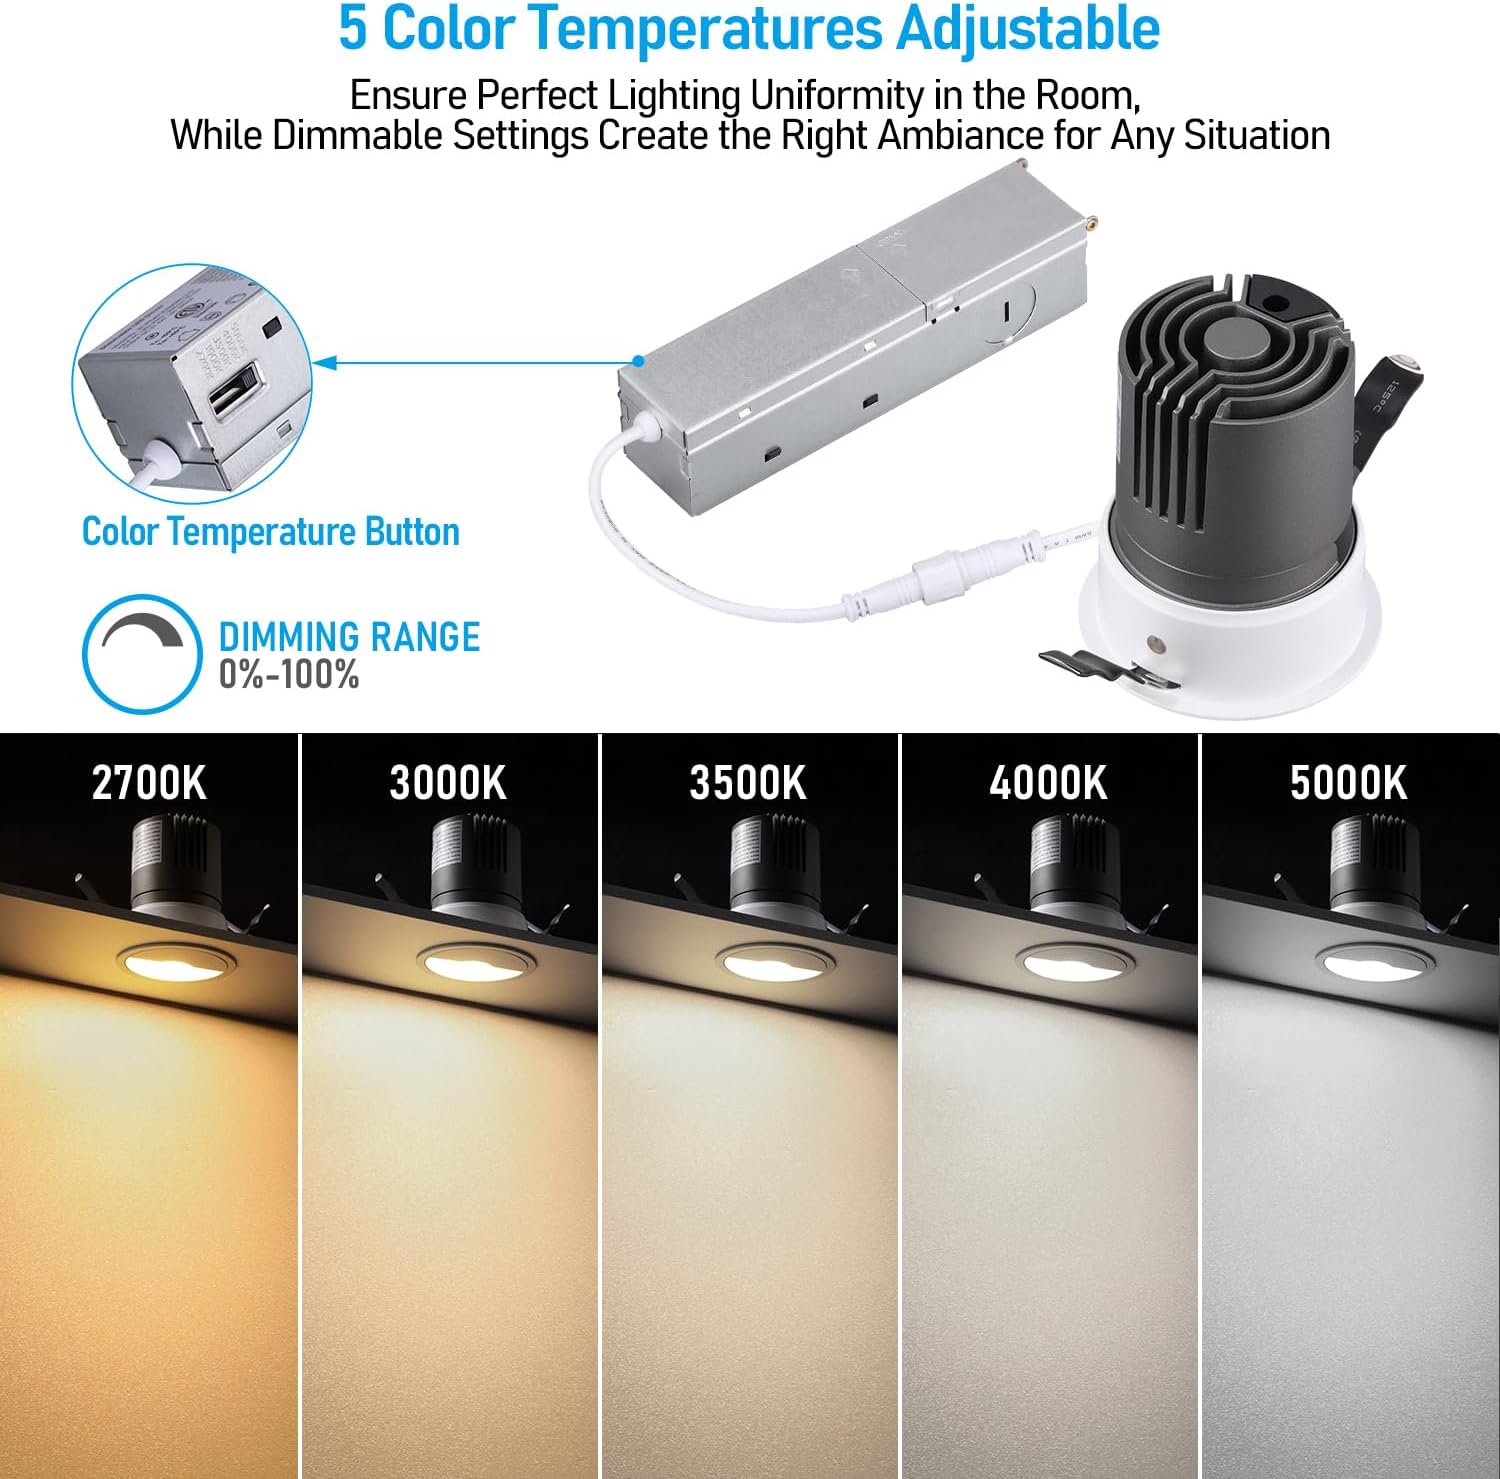
Figure 1: Product Dimensions and J-Box Connections. This image illustrates the physical dimensions of the light fixture and J-box, along with the recommended 3-inch cut-out size for installation.

Figure 2: Installation and Removal Instructions. This image provides a visual guide for cutting the ceiling hole, wiring the J-box, and securing the light fixture with spring clips. It also shows how to remove the light by squeezing the clips.
5. Operating Instructions
Your TORCHSTAR Asymmetric Wallwasher Recessed Lights offer versatile lighting options:
- Color Temperature Selection: As described in the installation section, the CCT switch on the J-Box allows you to choose between five color temperatures: 2700K (Soft White), 3000K (Warm White), 3500K (Neutral White), 4000K (Cool White), and 5000K (Daylight). Select the setting that best suits your environment and preference.
- Dimming Function: These lights are 0%-100% dimmable. When connected to a compatible LED dimmer switch (sold separately), you can adjust the light output to create the desired ambiance.
- Asymmetric Wallwashing: The unique optical design provides an asymmetric light distribution, creating a 'waterfall-like' effect that evenly illuminates walls from top to bottom, ideal for highlighting artwork or architectural features.

Figure 3: 5 Color Temperatures Adjustable. This image demonstrates the visual difference between the five selectable color temperatures, from warm 2700K to cool 5000K.

Figure 4: 0-100% Smooth Dimming. This image highlights the smooth dimming range of the light, allowing for adjustable brightness.
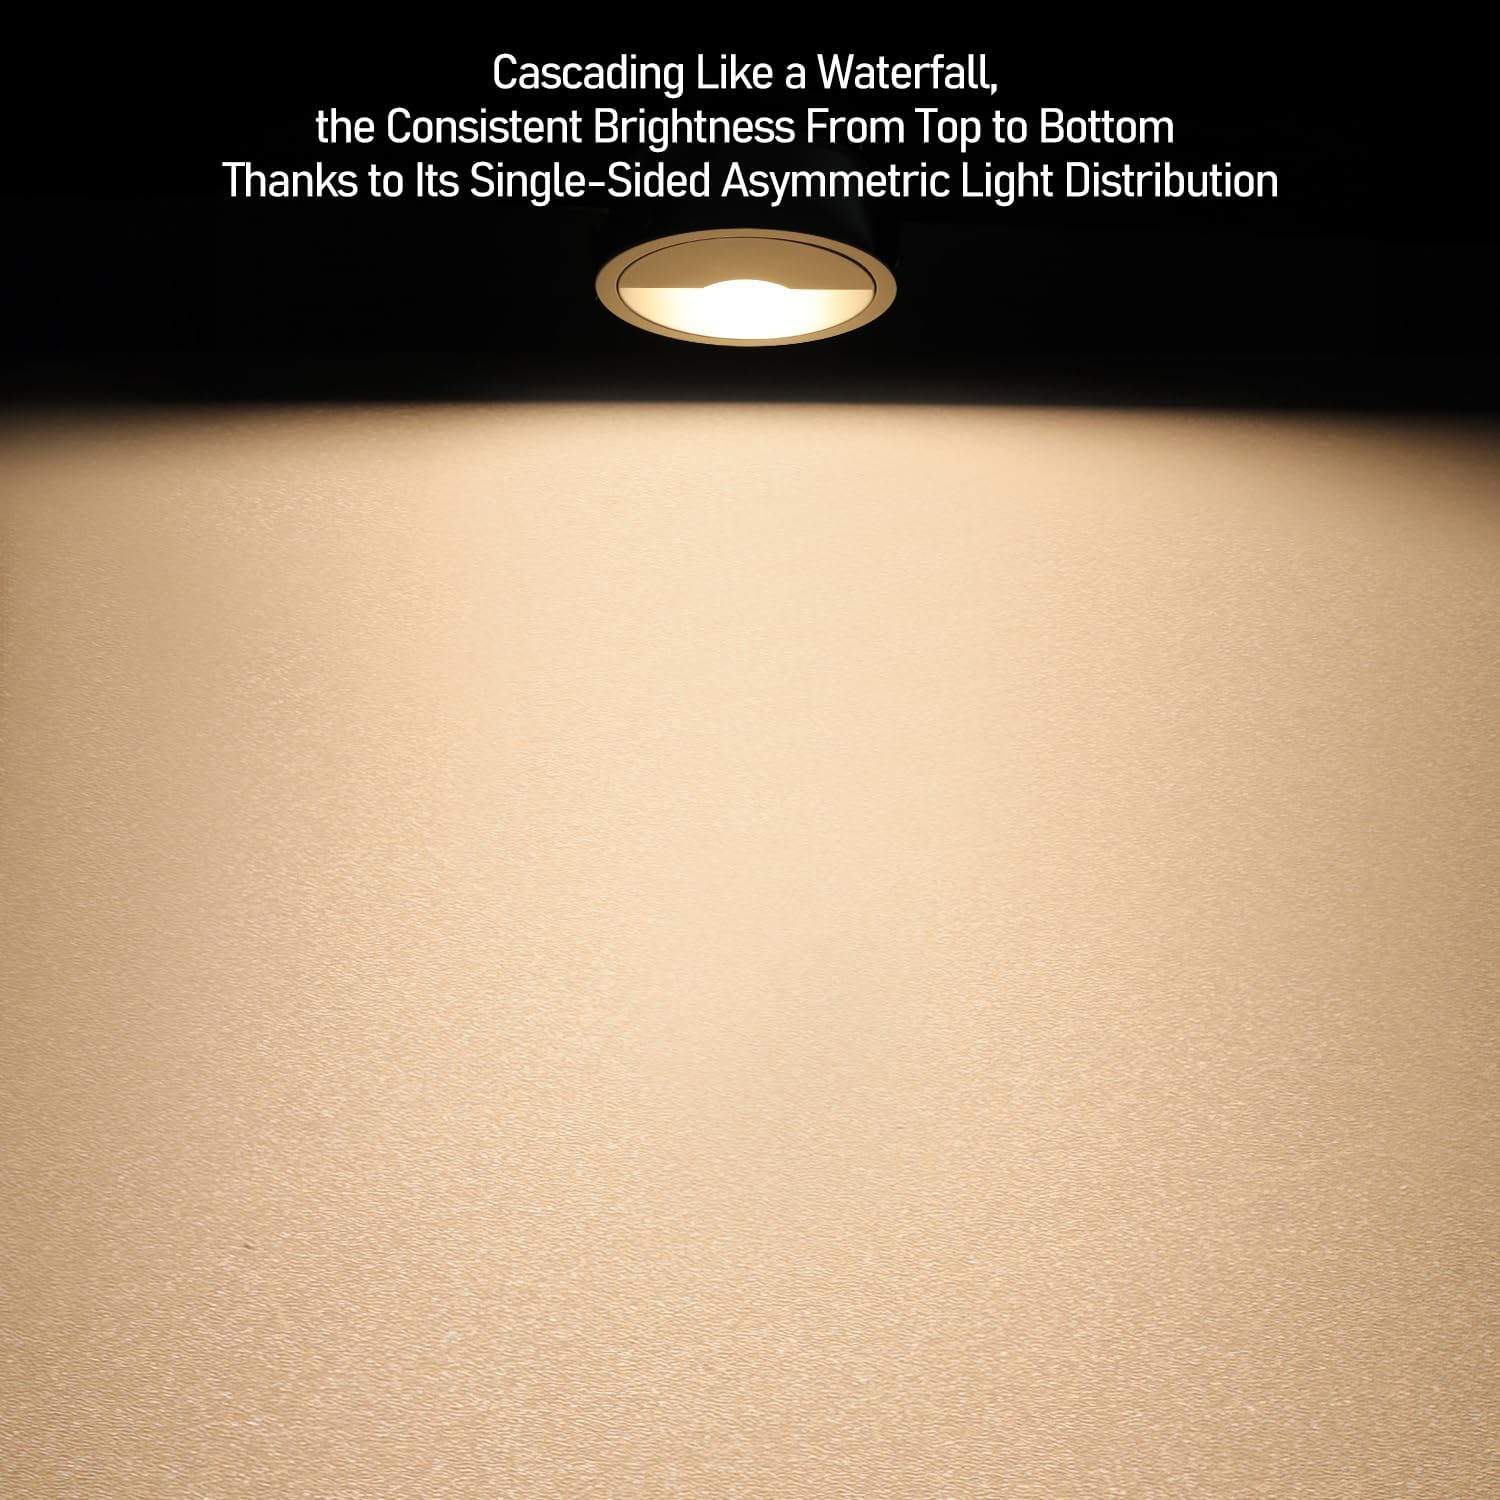
Figure 5: Cascading Like a Waterfall. This image demonstrates the consistent brightness from top to bottom on a wall, achieved by the single-sided asymmetric light distribution.
Video 1: Product Overview and Features. This video provides a visual demonstration of the TORCHSTAR 3-Inch 5CCT LED Recessed Lights, showcasing their design, dimming capabilities, color temperature options, and the asymmetric wallwasher effect.
6. Maintenance
These LED recessed lights require minimal maintenance:
- Cleaning: Ensure the power is off before cleaning. Wipe the fixture gently with a soft, dry cloth. Do not use abrasive cleaners or solvents, as they may damage the finish or electrical components.
- No User-Serviceable Parts: The LED light source is integrated and not replaceable. Do not attempt to disassemble the fixture.
7. Troubleshooting
If you encounter issues with your recessed lights, refer to the following common problems and solutions:
| Problem | Possible Cause | Solution |
|---|---|---|
| Light does not turn on | No power, loose wiring, faulty switch | Check circuit breaker. Verify all wiring connections in the J-Box are secure. Test the switch. |
| Light flickers | Incompatible dimmer, loose wiring, power fluctuations | Ensure a compatible LED dimmer is used. Check wiring connections. Consult an electrician if power fluctuations are suspected. |
| Incorrect color temperature | CCT switch set incorrectly | Turn off power, remove the fixture, and adjust the CCT switch on the J-Box to the desired setting. |
| Light output is too low/high | Dimmer setting, CCT setting | Adjust the dimmer switch. Ensure the CCT setting is appropriate for the desired brightness perception. |
If problems persist after attempting these solutions, please contact TORCHSTAR customer support.
8. Warranty & Support
TORCHSTAR products are designed for quality and durability. This product is covered by a standard warranty. For specific warranty details, please refer to the product packaging or contact TORCHSTAR customer service.
- Protection Plans: Extended protection plans may be available for purchase.
- Customer Support: For technical assistance, troubleshooting, or warranty claims, please visit the official TORCHSTAR website or contact their customer support team.

