1. Introduction
This manual provides essential instructions for setting up, operating, maintaining, and troubleshooting your Blackview BV4800 Rugged Phone. Please read this guide thoroughly to ensure proper use and to maximize the device's features and longevity. The Blackview BV4800 is designed for durability, featuring IP68/IP69K waterproof and MIL-STD-810H drop-proof certifications, a 6.56-inch HD+ display, a 5180mAh battery, and running on Android 13 with Doke OS 3.1.
2. Package Contents
Verify that all items are present in your product package:
- Blackview BV4800 Rugged Phone
- USB Type-C Cable
- Power Adapter
- SIM Ejector Tool
- Quick Start Guide
- Warranty Card
3. Device Overview
Familiarize yourself with the physical components of your Blackview BV4800 phone.
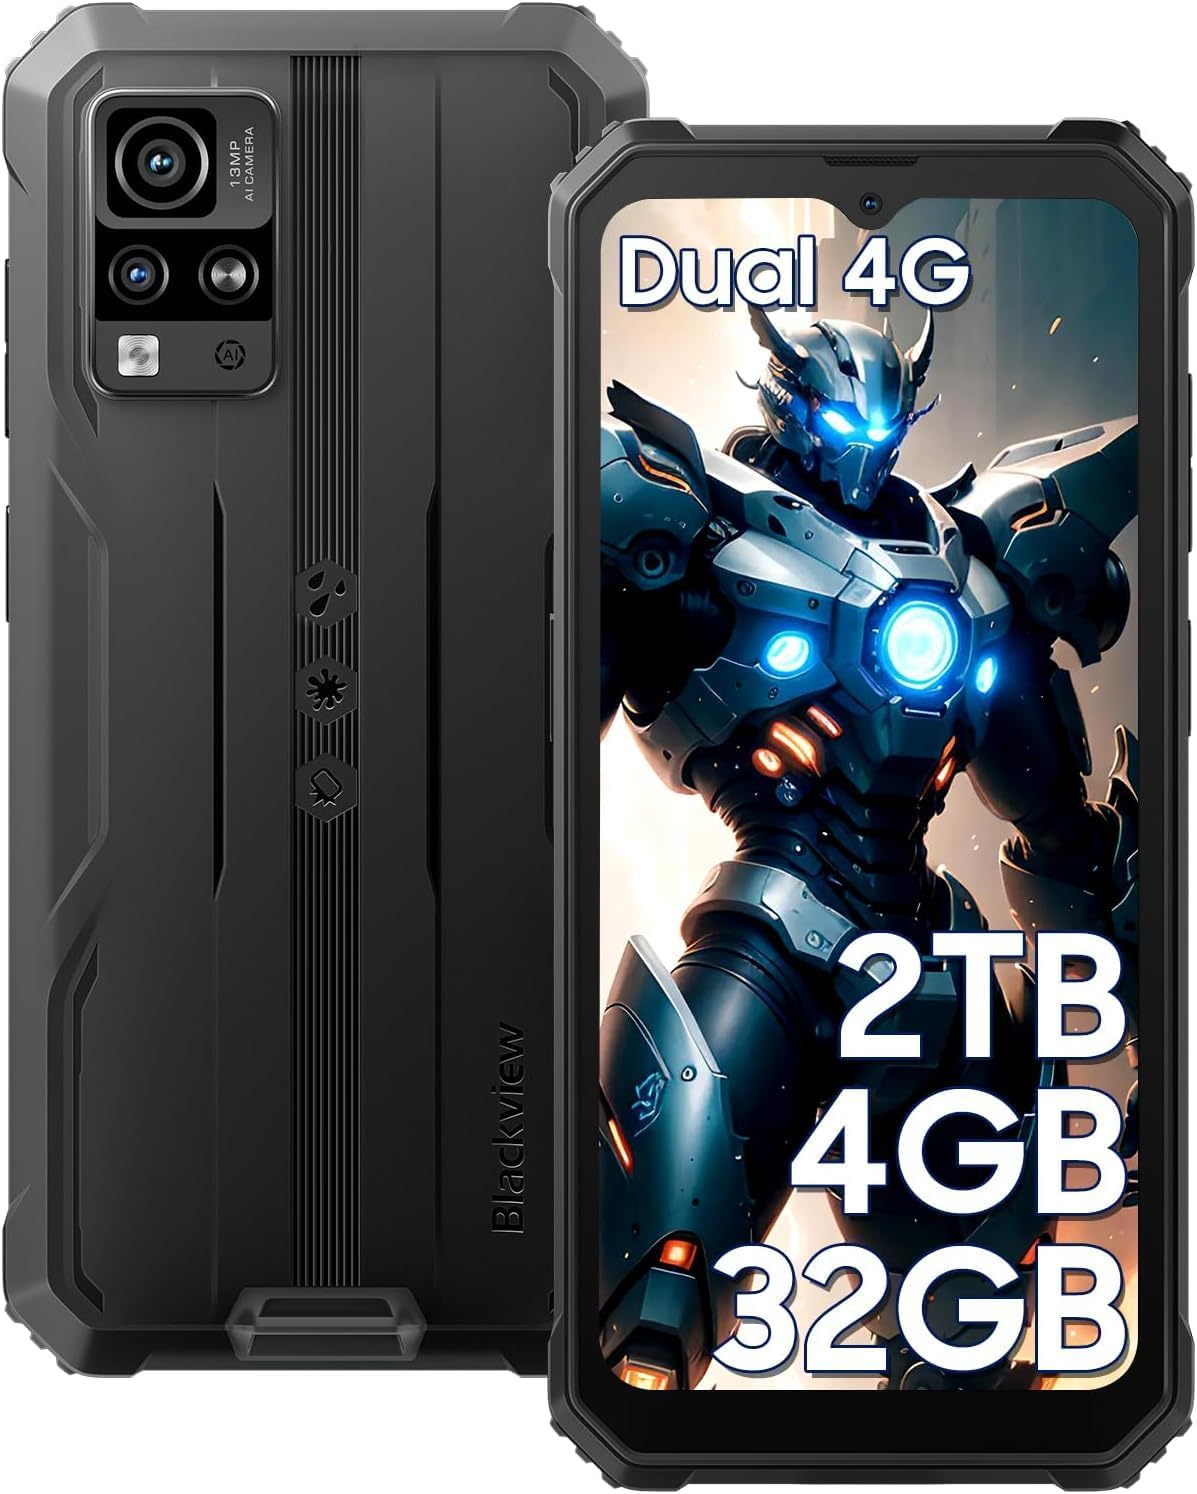
Figure 3.1: Front and Rear View of the Blackview BV4800. This image displays the phone's rugged exterior, including the rear camera module and the display.
- Front Camera: Located at the top center of the display.
- Display: 6.56-inch HD+ touchscreen.
- Volume Buttons: On the side, for adjusting audio levels.
- Power Button: On the side, for turning the device on/off and screen lock/unlock.
- USB Type-C Port: At the bottom, protected by a flap, for charging and data transfer.
- Speaker: Located at the bottom.
- Rear Cameras: Located on the back, including the 13MP main camera.
- Flashlight: Adjacent to the rear cameras.
- SIM/MicroSD Card Slot: On the side, accessible with the SIM ejector tool.
4. Setup
4.1. SIM Card and MicroSD Card Installation
The Blackview BV4800 supports two Nano SIM cards and one MicroSD/TF card simultaneously. Ensure the phone is powered off before installation.
- Locate the SIM card tray on the side of the phone.
- Insert the SIM ejector tool into the small hole next to the tray and press firmly until the tray pops out.
- Carefully place your Nano SIM cards and MicroSD card into the designated slots on the tray. Ensure they are correctly oriented as indicated on the tray.
- Gently push the tray back into the phone until it is flush with the device's side.
- After inserting a storage card, restart the cellphone for proper recognition.
4.2. Initial Power On
To power on your device for the first time:
- Press and hold the Power button located on the side of the phone until the Blackview logo appears on the screen.
- Follow the on-screen prompts to complete the initial setup, including language selection, Wi-Fi connection, and Google account setup.
4.3. Charging the Device
Before first use, fully charge your Blackview BV4800.

Figure 4.3.1: Charging the Blackview BV4800. The image shows the phone connected to a charger via its USB-C port, highlighting its 5180mAh battery capacity.
- Open the protective flap covering the USB Type-C port at the bottom of the phone.
- Connect the USB Type-C cable to the phone's port and the other end to the power adapter.
- Plug the power adapter into a wall outlet.
- The charging indicator will appear on the screen. A full charge may take several hours.
- In case of low battery, if the smartphone cannot power on, keep the charger connected for at least 30 minutes before attempting to power it on.
5. Operating Your Blackview BV4800
5.1. Basic Navigation
The BV4800 uses a touchscreen interface. Common gestures include:
- Tap: Select an item or open an app.
- Swipe: Scroll through screens or lists.
- Pinch: Zoom in or out on images and web pages.
- Long Press: Access contextual menus or move icons.
5.2. Android 13 & Doke OS 3.1 Features
Your BV4800 runs on Android 13, enhanced with Blackview's Doke OS 3.1, offering improved privacy, personalization, and additional functionalities.

Figure 5.2.1: Android 13 and Doke OS 3.1 Interface. This image illustrates the user interface with features like notification permissions, privacy controls, and app customization.
- Privacy Controls: Manage app permissions, notification access, and clipboard history.
- Personalization: Customize themes, icons, and widgets to suit your preferences.
- Per-App Language: Set different languages for individual applications.
- Call Recording: Utilize the built-in call recording feature (check local regulations).
- Exercise Index Tracking: Monitor your physical activity directly from the device.
5.3. Connectivity
The BV4800 supports 4G cellular networks and Wi-Fi connectivity.
- Wi-Fi: Go to Settings > Network & internet > Wi-Fi to connect to available Wi-Fi networks.
- Mobile Data (4G): Ensure your SIM card is active and mobile data is enabled in Settings > Network & internet > Mobile network.
- Bluetooth: Connect to wireless accessories via Settings > Connected devices > Bluetooth.
5.4. Camera Features
Capture moments with the 13MP rear camera and 5MP front camera, featuring various modes.

Figure 5.4.1: Blackview BV4800 Camera Modes. This image displays the phone's camera capabilities, including Night Mode, Panorama Mode, Beauty Mode, and Underwater Mode.
- 13MP Main Camera: For high-resolution photos.
- 5MP Front Camera: For selfies and video calls.
- Underwater Mode: Allows photography in aquatic environments.
- Night Mode: Enhances photos taken in low-light conditions.
- Panorama Mode: Captures wide-angle scenic views.
- Improved HDR: Balances exposure in challenging lighting.
- 0.1s Ultra-fast PDAF: For quick and accurate focusing.
5.5. Special Features
- Glove Mode: Enables sensitive screen operation even when wearing gloves. Activate this feature in Settings > Smart assistance > Glove mode.
- Face ID Recognition: Unlock your phone securely using facial recognition. Set up in Settings > Security & privacy > Face unlock.
- GPS Navigation: Supports GPS, Beidou, GLONASS, and Galileo for accurate positioning and navigation.
- OTG Function: Use your BV4800 as a power bank to charge other devices or connect USB peripherals.
6. Maintenance
Proper maintenance ensures the longevity and optimal performance of your Blackview BV4800.
6.1. Durability Features and Guidelines

Figure 6.1.1: Blackview BV4800 Durability. This image highlights the phone's IP68/IP69K waterproof and MIL-STD-810H drop-proof ratings, showing it resistant to dust, shocks, and water.
- IP68/IP69K Waterproof: The phone can withstand immersion in water up to 1.5 meters deep for 30 minutes. Ensure all port covers are securely closed before exposing the device to water.
- MIL-STD-810H Drop-proof: Certified to withstand drops from up to 1.5 meters. While rugged, avoid intentional drops or extreme impacts.
- Dustproof: The device is protected against dust ingress.
Note: While the phone is rugged, extreme conditions or improper handling can still cause damage. Always ensure port covers are sealed when in wet or dusty environments.
6.2. Cleaning
To clean your phone, use a soft, lint-free cloth. For stubborn dirt, slightly dampen the cloth with water. Avoid using harsh chemicals or abrasive materials.
6.3. Software Updates
Regularly check for and install software updates to ensure your device has the latest features, security patches, and performance improvements. Go to Settings > System > System update.
7. Troubleshooting
This section addresses common issues you might encounter with your Blackview BV4800.
| Problem | Possible Solution |
|---|---|
| Phone does not power on. | Ensure the battery is charged. Connect to a charger for at least 30 minutes before attempting to power on. |
| Cannot detect SIM card. | Ensure the SIM card is correctly inserted and the tray is fully closed. Restart the phone. Verify SIM card is active with your carrier. |
| Poor network signal. | Move to an area with better network coverage. Check if mobile data is enabled. Contact your carrier for network issues. |
| Touchscreen unresponsive. | Restart the phone. If the issue persists, perform a factory reset (backup data first). |
| Apps freezing or crashing. | Clear app cache (Settings > Apps > [App Name] > Storage & cache > Clear cache). Update the app or the phone's software. |
| Battery drains quickly. | Reduce screen brightness, close background apps, disable unnecessary features (GPS, Bluetooth, Wi-Fi when not in use). Check battery usage in settings. |
If you encounter issues not listed here or if the suggested solutions do not resolve the problem, please contact Blackview customer support.
8. Specifications
Key technical specifications for the Blackview BV4800 Rugged Phone:
| Feature | Detail |
|---|---|
| Model | BV4800 |
| Operating System | Android 13.0 with Doke OS 3.1 |
| Display | 6.56-inch HD+ (720 x 1612 resolution) |
| RAM | 4GB (2GB physical + 2GB virtual) |
| Internal Storage | 32GB |
| Expandable Storage | Up to 2TB via MicroSD/TF card |
| Rear Camera | 13MP |
| Front Camera | 5MP |
| Battery Capacity | 5180mAh |
| Connectivity | 4G LTE, Wi-Fi, Bluetooth, GPS (GPS, Beidou, GLONASS, Galileo) |
| SIM Slots | Dual Nano SIM + 1 MicroSD/TF card slot |
| Durability | IP68/IP69K Waterproof & Dustproof, MIL-STD-810H Drop-proof |
| Dimensions | 7.28 x 3.58 x 2.05 inches (Package) |
| Item Weight | 1.1 pounds |
9. Warranty and Support
Blackview offers a 2-year guarantee service for all Blackview phones. For any issues or inquiries regarding your BV4800, please contact Blackview customer support.
- Warranty Period: 2 Years from the date of purchase.
- Support Contact: Refer to the contact information provided in your Quick Start Guide or on the official Blackview website.
- Online Resources: Visit the Blackview Store on Amazon for additional product information and support.
Please retain your proof of purchase for warranty claims.