
Introduction
This instruction manual provides guidance for the installation and maintenance of the PEUTIER Seal Gasket Set, designed as a replacement and repair kit for Chapin 20000 series sprayers. Proper installation of these components ensures optimal sealing performance and extends the life of your sprayer.
Package Contents
The PEUTIER Seal Gasket Set includes the following components:
- 6 x Gaskets (in 4 different sizes)
- 1 x Rubber Base Pad

Figure 1: Contents of the PEUTIER Seal Gasket Set.
Compatibility
This seal gasket set is designed to be compatible with Chapin 20000 series sprayers. It serves as a replacement for the original O-rings and piston repair components in these models. Please verify your sprayer model number to ensure compatibility.

Figure 2: Compatibility information for Chapin 20000 series sprayers.
Product Specifications
| Material | Rubber |
| Color | Black |
| Gasket Outer Diameters | 1cm (0.39 inch), 2.6cm (1.02 inch), 3.7cm (1.46 inch), 6.1cm (2.40 inch) |
| Rubber Base Pad Diameter | 2.5cm (0.98 inch) |
| Number of Pieces | 7 (6 gaskets, 1 base pad) |
| Model Number | 17101 |
| Part Number | 1032004 |
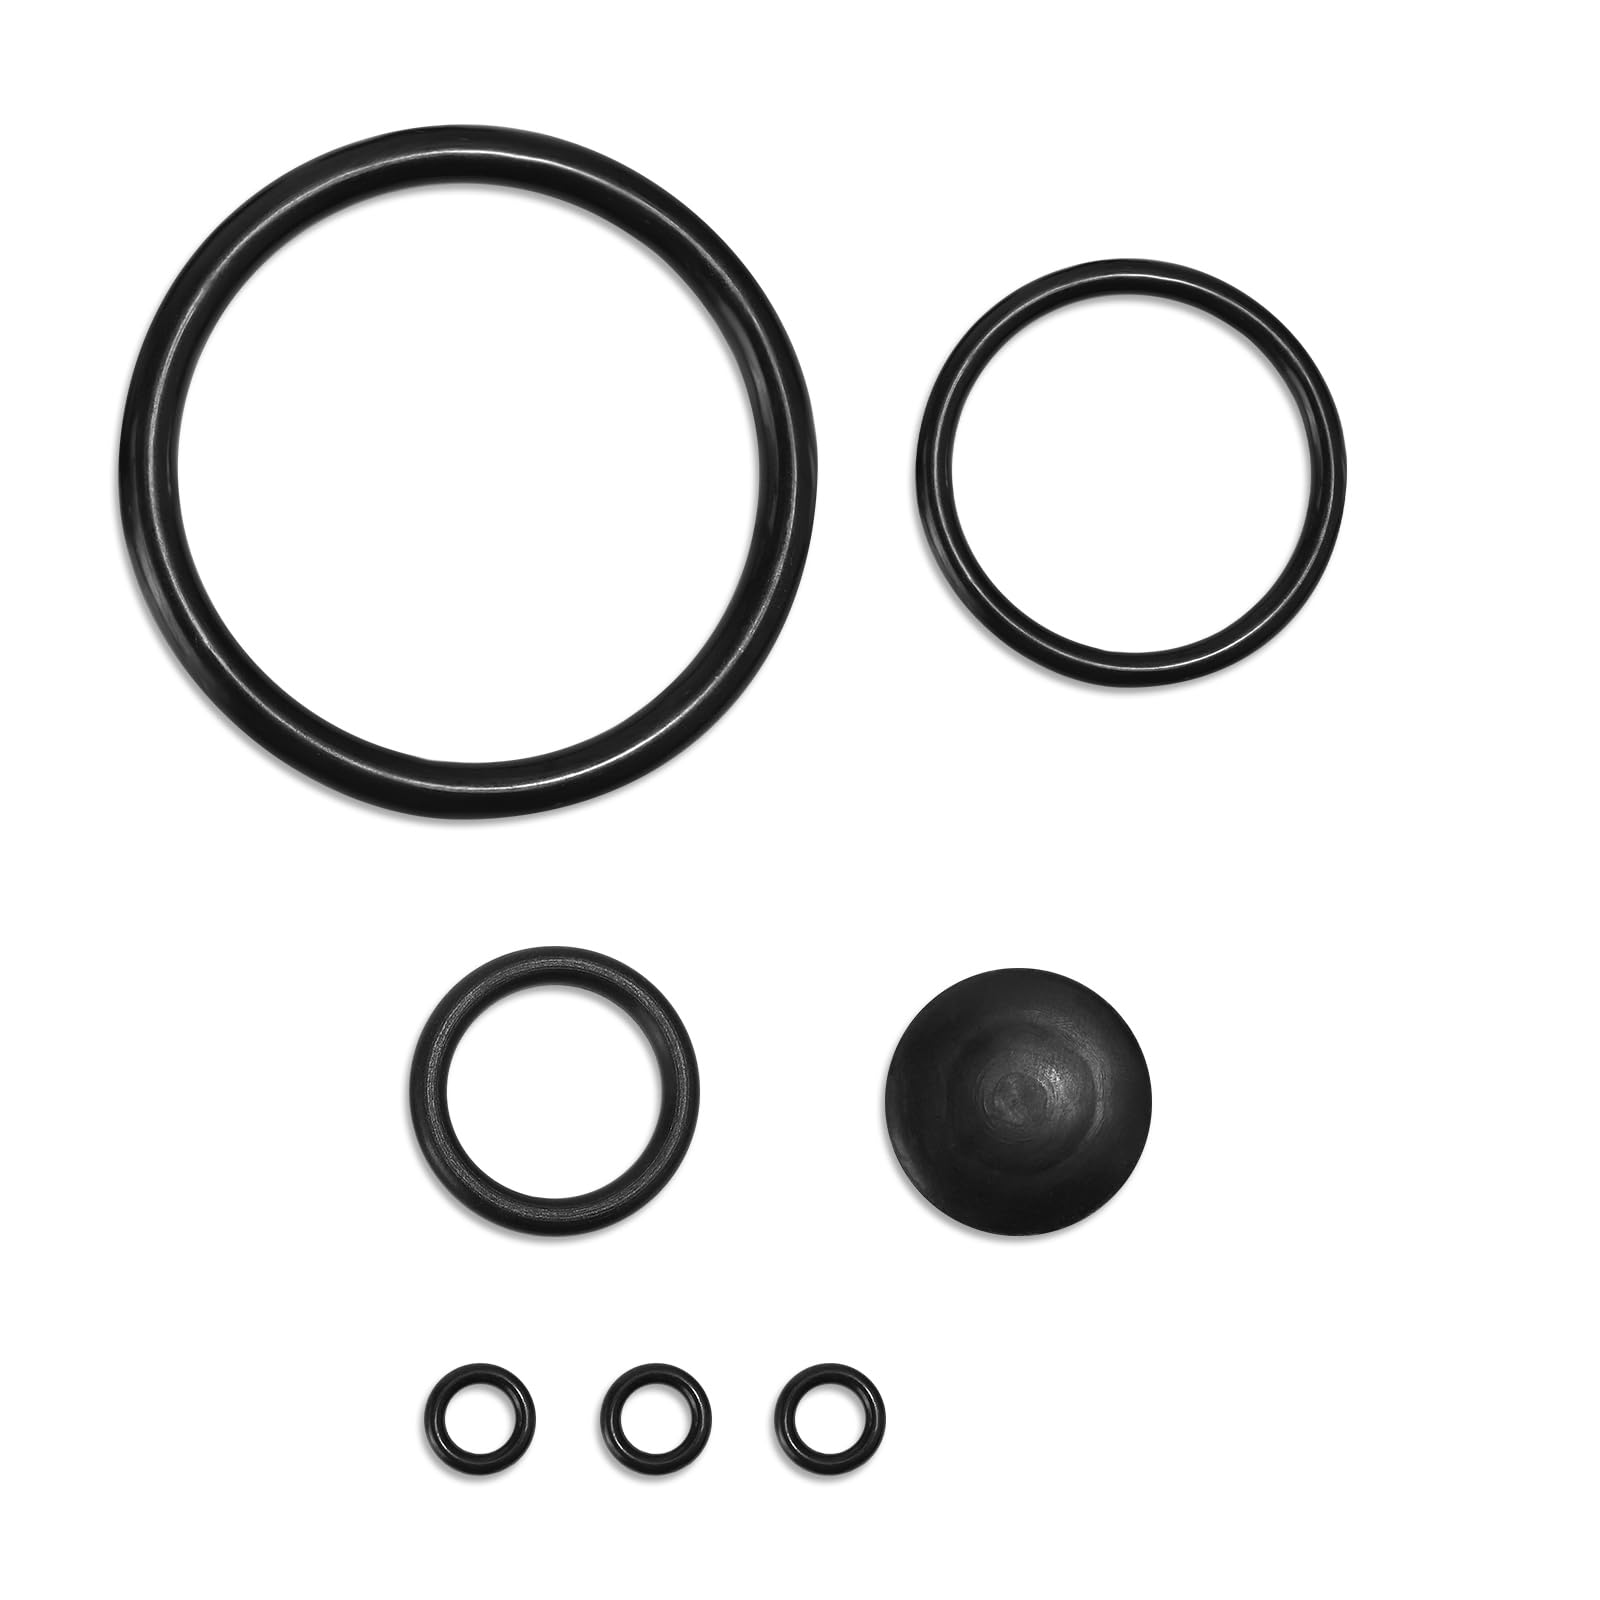
Figure 3: Detailed product dimensions.
Installation and Replacement Guide
Follow these steps to replace the seals and gaskets in your Chapin 20000 series sprayer. Always ensure the sprayer is depressurized and empty before beginning any maintenance.
- Depressurize and Empty: Before starting, ensure the sprayer is completely depressurized and empty of any liquids.
- Disassemble the Pump Assembly: Carefully unscrew and remove the pump assembly from the sprayer tank. You may need a screwdriver or pliers to gently pry components apart if they are stuck.
- Locate Worn Seals: Identify the old or damaged O-rings and gaskets within the pump mechanism and at the base of the pump where it seals with the tank.
- Remove Old Seals: Use a small, non-abrasive tool (like a plastic pick or a small flathead screwdriver) to carefully remove the old seals. Avoid scratching the plastic components.
- Clean Components: Clean all components thoroughly to remove any debris or residue.
- Install New Seals: Select the appropriate size replacement gaskets and the rubber base pad from the PEUTIER kit. Gently press the new seals into their respective grooves. Ensure they are seated correctly and not twisted. A small amount of silicone grease (not included) can aid in installation and improve sealing.
- Reassemble the Pump Assembly: Carefully reassemble the pump, ensuring all parts fit snugly.
- Test for Leaks: Fill the sprayer with water, pressurize it, and check for any leaks before using it with chemicals.

Figure 4: Visual guide for sprayer pump disassembly.
Troubleshooting
If you encounter issues after replacing the gaskets, refer to the following common problems and solutions:
- Sprayer Leaks:
- Ensure all new gaskets are correctly seated and not pinched or twisted.
- Verify that the correct size gasket was used for each component.
- Check for any cracks or damage on the sprayer's plastic components that might prevent a proper seal.
- Apply a thin layer of silicone grease to the O-rings to improve sealing and reduce friction.
- Loss of Pressure:
- Confirm that the pump piston O-ring is properly installed and lubricated.
- Check the rubber base pad at the bottom of the pump for proper seating and condition.
- Inspect the check valve (if applicable to your sprayer model) for obstructions or damage.

Figure 5: Comparison of sprayer performance before and after seal replacement.
Maintenance Tips
- Regular Cleaning: After each use, rinse your sprayer thoroughly with clean water, especially if using chemicals.
- Lubrication: Periodically apply a small amount of silicone-based lubricant to the pump O-rings and piston seal to maintain flexibility and sealing effectiveness.
- Storage: Store your sprayer in a cool, dry place away from direct sunlight and extreme temperatures, which can degrade rubber components.
- Inspection: Regularly inspect all seals and gaskets for signs of wear, cracking, or hardening. Replace them as needed to prevent leaks and maintain sprayer efficiency.
Important Information
While this product is compatible with Chapin 20000 series sprayers, PEUTIER is an independent brand and is not sponsored, endorsed, or affiliated with Chapin. For further assistance or inquiries, please contact PEUTIER customer support.