
1. Product Overview
The Katalic Automatic Cat Feeder and Water Fountain system is designed to provide scheduled meals and continuous fresh water for your pets. This system includes a programmable food dispenser with a 4-liter (16-cup) capacity and a water fountain featuring a multi-stage filtration system.

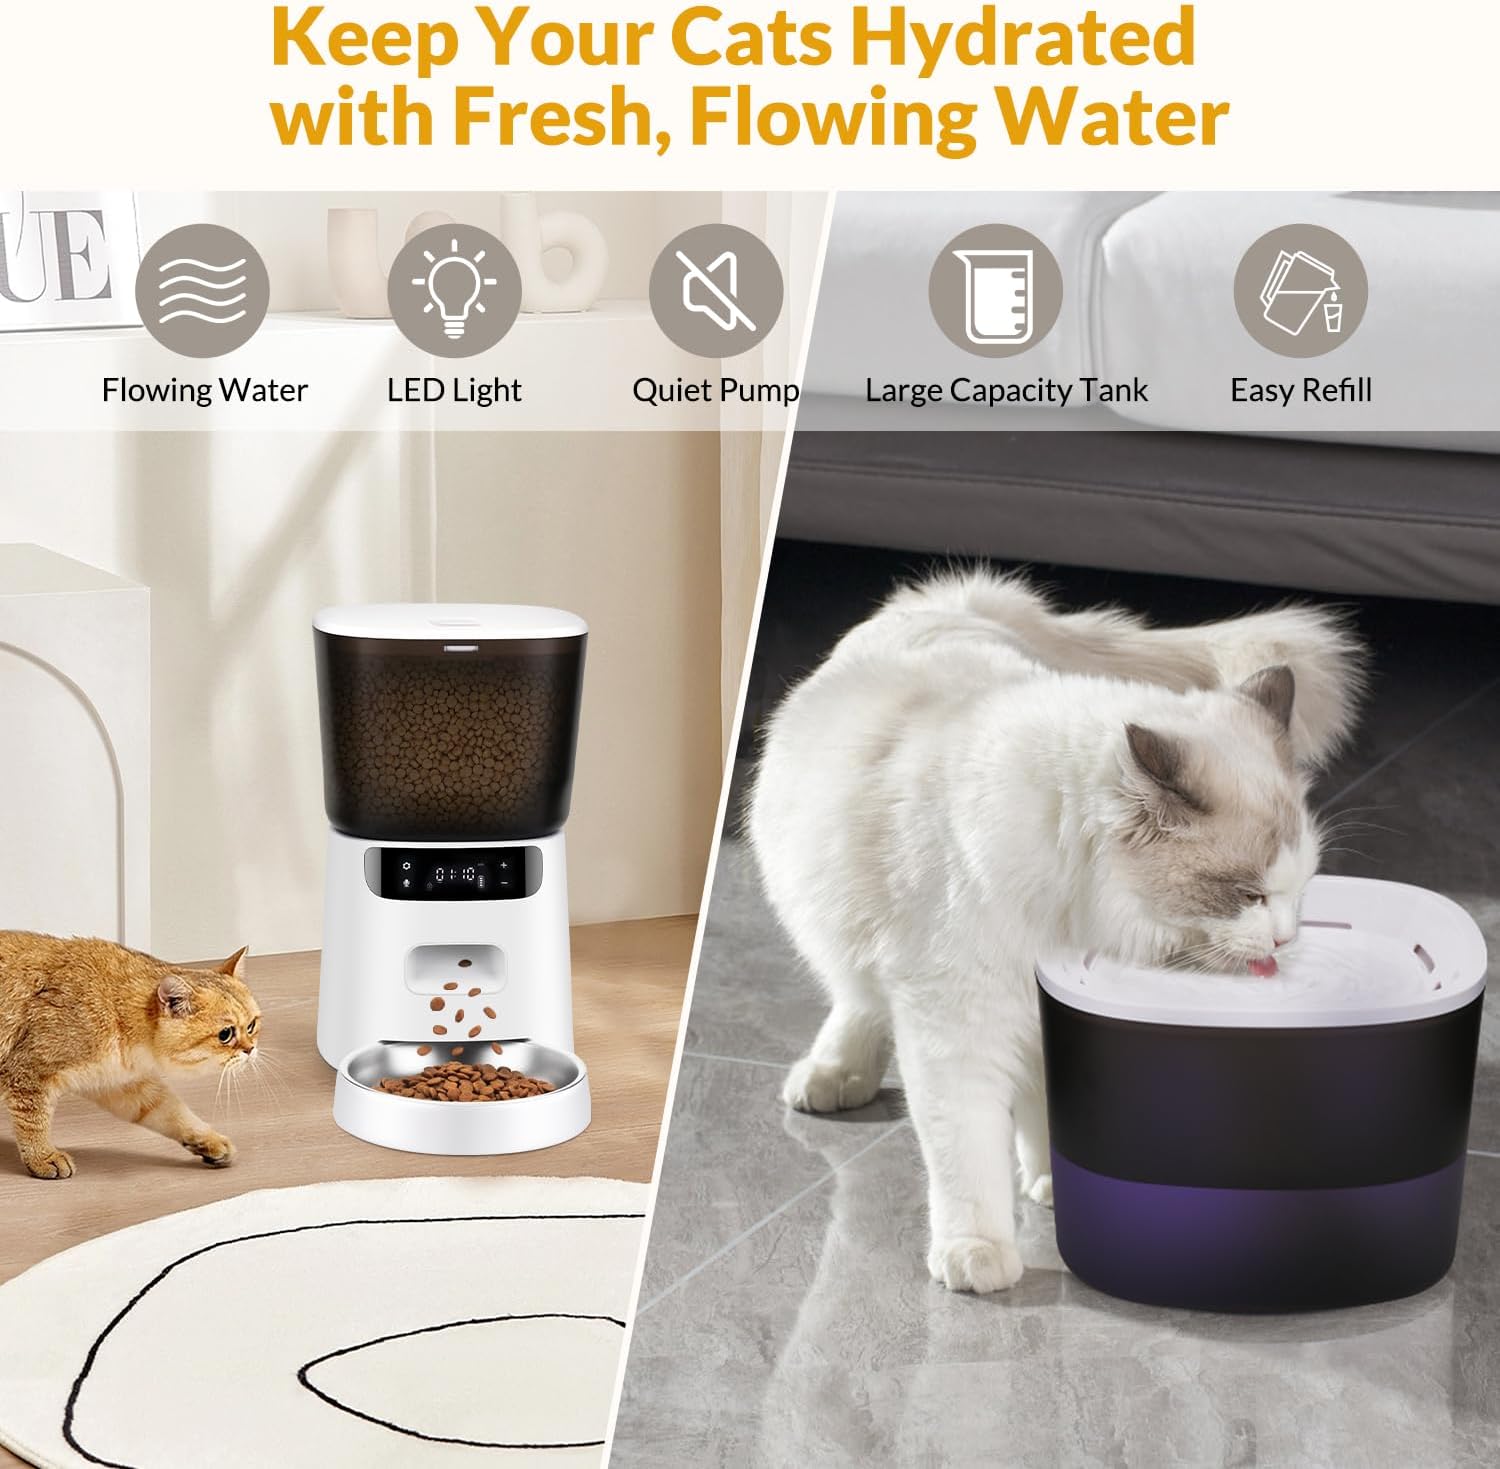
The Katalic Automatic Cat Feeder and Water Fountain, showcasing both units in white and black/purple respectively.
2. Safety Instructions
- Read all instructions carefully before use.
- Keep the device away from children and pets when not in use or during assembly.
- Use only the provided power adapter.
- Do not immerse the main feeder unit in water. The water fountain components are washable.
- Ensure the power cord is not damaged or chewed by pets.
- Place the device on a level surface to prevent tipping.
- Only use dry pet food with the feeder. Do not use wet food, canned food, or treats larger than 12mm.
- Regularly clean all components to maintain hygiene.
3. Package Contents
Verify that all items are present in the package:
- Automatic Pet Feeder Unit (Base, Food Container, Lid)
- Stainless Steel Food Bowl
- Pet Water Fountain Unit (Water Tank, Pump, Filter Tray, Filter, Spout)
- Power Adapter
- User Manual
Exploded view of the feeder and water fountain components, including the food container, base, stainless steel bowl, water tank, pump, and filter.
4. Setup Instructions
4.1 Feeder Assembly
- Place the feeder base on a stable, level surface.
- Insert the stainless steel food bowl into the designated slot at the front of the base.
- Attach the food container to the top of the base, ensuring it is securely seated.
- Fill the food container with dry pet food. The container holds up to 16 cups (4 liters).
- Close the lid securely.

A close-up view of the feeder's transparent food tank, demonstrating its 16-cup capacity as dry food is poured in.
4.2 Water Fountain Assembly
- Rinse the water tank, pump, and filter tray thoroughly.
- Install the pump at the bottom of the water tank, ensuring the suction cups are firmly attached.
- Place the filter into the filter tray, then position the filter tray over the pump.
- Fill the water tank with clean water up to the maximum fill line.
- Attach the spout or desired water flow accessory to the filter tray.
4.3 Power Supply
The feeder supports dual power options:
- AC Adapter: Plug the power adapter into the feeder's power port and then into a wall outlet.
- Battery Backup: For power outage protection, install 3 D-cell batteries (not included) into the battery compartment at the bottom of the feeder. The feeder will automatically switch to battery power if AC power is lost.
The water fountain is powered by its own USB cable, which should be connected to a suitable USB power source (e.g., wall adapter, not included).

Illustration of the dual power supply feature, showing the feeder connected to an AC outlet and the battery compartment for backup power (batteries not included).
5. Operating Instructions
5.1 Setting the Current Time
- Press and hold the 'SET' button until the clock display flashes.
- Use the '+' and '-' buttons to adjust the hour. Press 'SET' to confirm.
- Use the '+' and '-' buttons to adjust the minute. Press 'SET' to confirm.
- The time is now set.
5.2 Programming Feeding Schedule
The feeder allows up to 6 meals per day, with adjustable portions for each meal.
- Press the 'SET' button once to enter meal programming mode (Meal 1 will flash).
- Use '+' and '-' to set the desired feeding time for Meal 1 (hour then minute). Press 'SET' after each adjustment.
- After setting the time, the portion size will flash. Use '+' and '-' to select the number of portions (1-20). Refer to the feeding chart for guidance. Press 'SET' to confirm.
- Repeat steps 2-3 for additional meals (Meal 2 to Meal 6). If a meal is not required, set its time to 'OFF'.
- After programming all desired meals, press and hold 'SET' to exit programming mode.

A graphic illustrating the programmable feeding schedule, showing up to 6 meals per day with adjustable portions, alongside a cat eating from the feeder.

A chart providing recommended daily feeding guidelines, correlating cup measurements with portion settings on the feeder.

A visual guide to compatible food sizes (4x4mm to 12x12mm) and types (dry, freeze-dried, mixed, air-dried) for the automatic feeder.
5.3 Recording a Voice Message
You can record a 10-second voice message to call your pet at feeding times.
- Press and hold the 'REC' button. The display will show 'REC'.
- Speak your message into the microphone.
- Release the 'REC' button to save the message. The message will play automatically during scheduled feeding times.
5.4 Manual Feeding
To dispense food manually, press the 'MANUAL' button. One portion will be dispensed each time the button is pressed.
5.5 Water Fountain Operation
Once assembled and filled with water, plug in the water fountain's USB power cable. The pump will begin circulating water. The water flow strength can be adjusted, and different spouts can be used to change the drinking mode (e.g., shower or fountain).

An image detailing the water fountain's features: continuous fresh water, dual flow options (shower and fountain modes), and an ultra-quiet pump for peaceful operation.
6. Maintenance
6.1 Feeder Cleaning
- Unplug the feeder and remove any remaining food.
- Remove the food container and stainless steel bowl. These parts can be washed with mild soap and water.
- Wipe the feeder base with a damp cloth. Do not immerse the base in water.
- Ensure all parts are completely dry before reassembling and refilling.
6.2 Water Fountain Cleaning and Filter Replacement
- Unplug the water fountain.
- Disassemble the fountain components (water tank, pump, filter tray, spout).
- Wash all components with mild soap and water. Clean the pump thoroughly, removing any debris.
- Replace the filter every 2-4 weeks, or as needed, depending on water quality and pet usage.
- Rinse the new filter before placing it in the filter tray.
- Reassemble the fountain and refill with fresh water.
7. Troubleshooting
- Feeder not dispensing food: Check if the food container is empty. Ensure the feeder is powered on (AC or battery). Verify that the food chute is not clogged. Clean the rotor mechanism if necessary.
- Incorrect feeding times: Re-check the programmed feeding schedule and the current time setting. If the clock consistently loses time, try replacing the D-cell batteries even if using AC power, as they help maintain time settings.
- Voice message not playing: Ensure the message was recorded correctly. Re-record the message if needed.
- Water fountain not flowing: Check if the pump is properly connected and powered. Ensure the water level is sufficient. Disassemble and clean the pump and filter to remove any blockages or debris.
- Water flow is weak: Clean the pump and filter. Ensure the filter is not clogged. Adjust the water flow setting if applicable.
8. Specifications
| Feature | Detail |
|---|---|
| Brand | Katalic |
| Model Number | APF02 |
| Feeder Capacity | 4 Liters (approx. 16 cups) |
| Meals Per Day | Up to 6 |
| Portions Per Meal | 1-20 (approx. 8-10 kibbles per portion) |
| Voice Recording | 10 seconds |
| Power Supply | AC Adapter, 3x D-cell batteries (backup, not included) |
| Water Fountain Filtration | Triple filtration system |
| Material | Plastic, Stainless Steel |
| Product Dimensions | 6.8 x 10.8 x 6.8 inches (Feeder) |
| Item Weight | 3.65 pounds (Feeder) |
9. Warranty and Support
Warranty information for this product is typically provided with the purchase or can be found on the manufacturer's official website. Please refer to the documentation included in your product packaging for specific warranty terms and conditions.
For technical support, troubleshooting assistance, or to inquire about replacement parts, please contact Katalic customer service through their official channels, usually found on their website or product packaging.