
PerGar PerGaqd4o7vnhyu
PerGar 10W 5V Solar Charging Panel User Manual
Model: PerGaqd4o7vnhyu
Product Overview
The PerGar 10W 5V Solar Charging Panel is designed to provide continuous and stable charging energy for various low-power electrical appliances. Utilizing high-efficiency monocrystalline silicon, this panel ensures optimal charging performance even with limited direct sunlight. Its robust IP65 weatherproof design makes it suitable for outdoor use, capable of withstanding diverse environmental conditions. Equipped with a Micro USB interface, it offers convenient connectivity for devices such as security cameras, cellphones, and power banks, as well as supporting applications like emergency lights, advertising lights, and small solar systems.
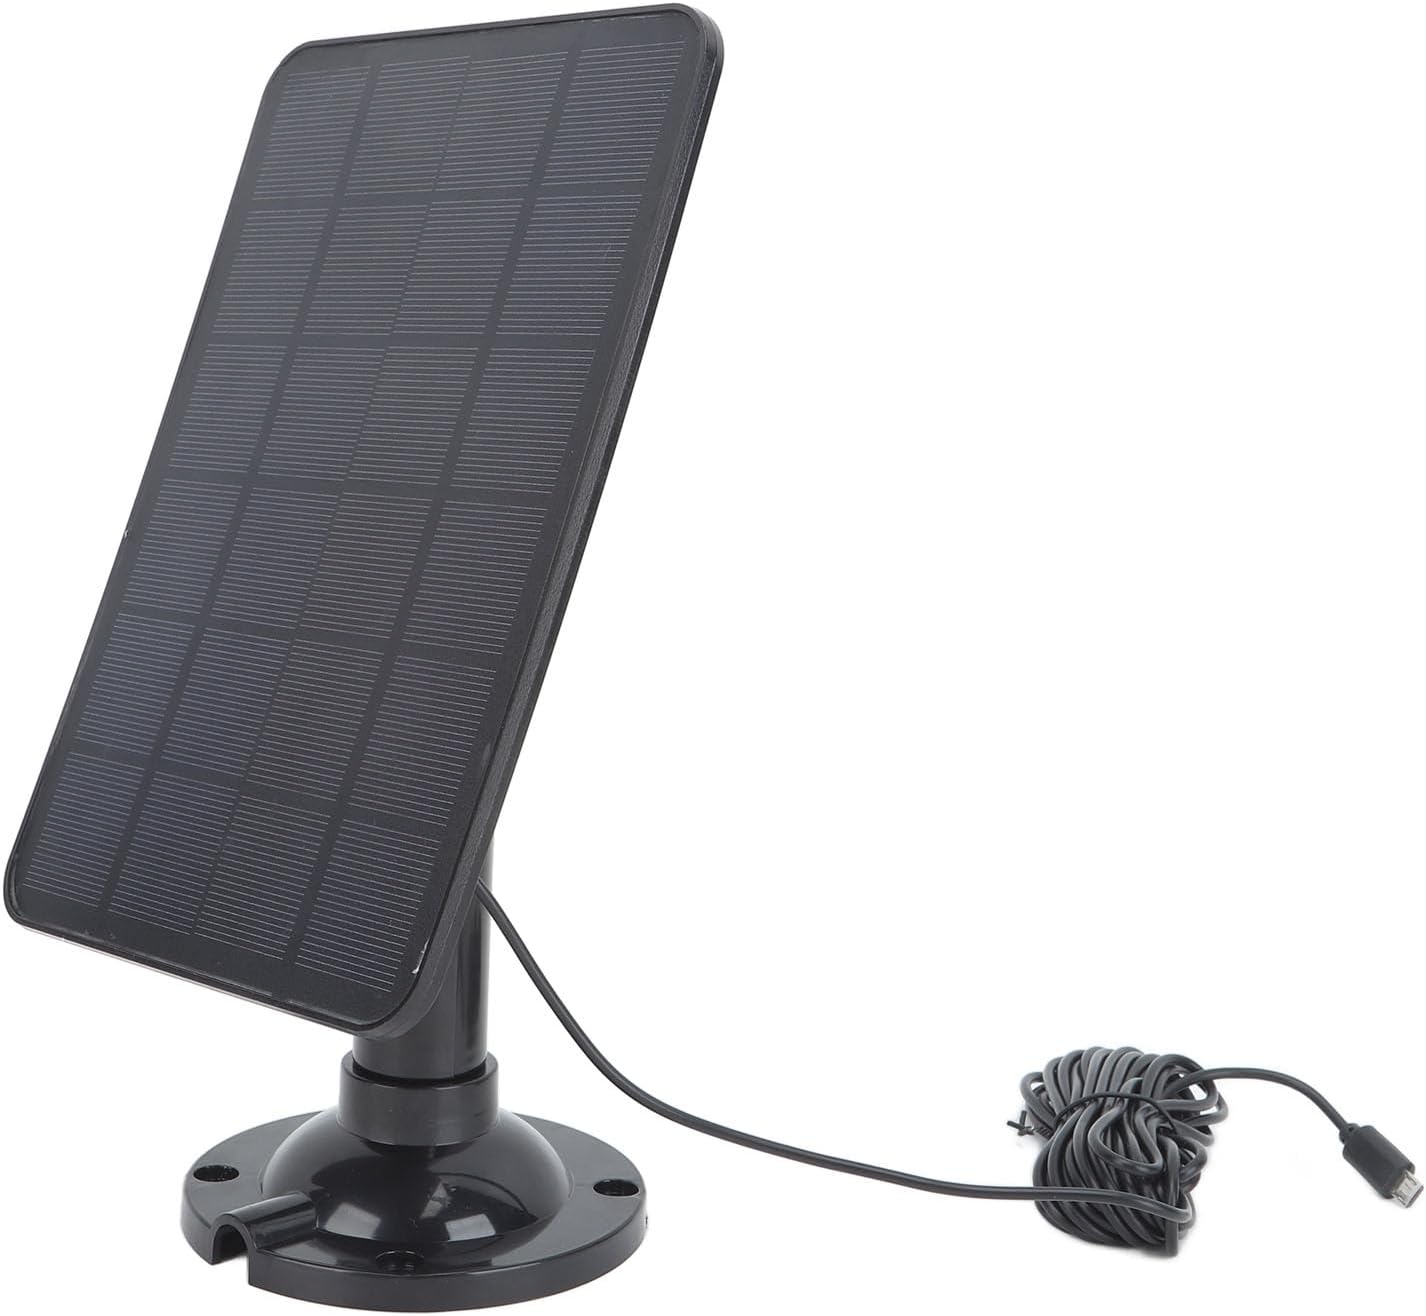
Figure 1: Front view of the PerGar 10W 5V Solar Charging Panel, showing the solar cells and the integrated mounting base.
Package Contents
Please verify that all items listed below are included in your package:
- 1 x Solar Charging Panel
- 2 x Fixed Bracket Accessories
- 4 x Screws
- 4 x Expansion Tubes

Figure 2: Included accessories: mounting bracket components, screws, and expansion tubes, alongside the main solar panel unit.
Setup and Installation
Follow these steps to properly set up and install your solar charging panel:
- Choose a Location: Select an outdoor location that receives several hours of direct sunlight daily. Ensure the panel is not obstructed by trees, buildings, or other objects that could cast shadows.
- Mounting the Bracket:
- Assemble the fixed bracket accessories.
- Position the base of the bracket on the desired mounting surface (e.g., wall, fence).
- Mark the drilling points through the holes in the base.
- Drill pilot holes at the marked points. Insert the expansion tubes into the drilled holes.
- Secure the bracket base to the surface using the provided screws.
- Attaching the Solar Panel: Attach the solar panel to the assembled bracket. Ensure it is securely fastened.
- Adjusting the Angle: Adjust the angle of the solar panel to maximize exposure to direct sunlight. The panel's design allows for flexible positioning to capture optimal solar energy throughout the day.

Figure 3: The solar panel mounted outdoors, providing power to a security camera. This illustrates a typical installation scenario.

Figure 4: Illustration of the solar panel's adjustable mounting mechanism, allowing for rotation and tilt to optimize sun exposure.
Operating Instructions
Once installed, the solar panel operates automatically. Follow these guidelines for optimal performance:
- Connecting Devices: Use the integrated Micro USB cable to connect the solar panel to your compatible device (e.g., security camera, cellphone, power bank). Ensure the connection is secure.
- Sunlight Exposure: The panel requires direct sunlight to charge efficiently. Even a few hours of direct sunlight can provide continuous and stable charging energy.
- Automatic Charging: The panel will automatically begin charging your connected device when sufficient sunlight is available. No manual operation or configuration is required.

Figure 5: Side view of the solar panel, highlighting the Micro USB cable for connecting to various devices.
Maintenance
To ensure the longevity and optimal performance of your solar charging panel, follow these maintenance tips:
- Cleaning: Periodically clean the surface of the solar panel to remove dust, dirt, leaves, or other debris that may accumulate and reduce efficiency. Use a soft, damp cloth and mild soap if necessary. Avoid abrasive cleaners or harsh chemicals.
- Weather Resistance: The panel has an IP65 protection level, meaning it is protected against dust ingress and low-pressure water jets from any direction. It is designed to work normally even in adverse weather conditions. However, extreme weather events may require inspection for damage.
- Cable Inspection: Regularly inspect the Micro USB cable and connections for any signs of wear, fraying, or damage. Ensure connections remain secure.

Figure 6: The solar panel with water droplets on its surface, demonstrating its IP65 weatherproof rating and ability to function in rain.
Troubleshooting
If you encounter issues with your solar charging panel, refer to the following common problems and solutions:
| Problem | Possible Cause | Solution |
|---|---|---|
| Panel not charging device. | Insufficient sunlight. Panel surface is dirty. Cable connection is loose or damaged. Device is not compatible or fully charged. | Relocate panel to an area with more direct sunlight. Clean the panel surface. Check and secure cable connections; replace if damaged. Verify device compatibility and charging status. |
| Charging is slow or intermittent. | Partial shading on the panel. Panel angle is not optimal. Low light conditions (e.g., cloudy day). | Ensure no shadows fall on the panel. Adjust panel angle for maximum sun exposure. Charging efficiency will naturally be lower in poor light; this is normal. |
| Panel or cable appears damaged. | Physical impact or wear and tear. | Discontinue use if significant damage is present. Contact customer support for assistance. |
Specifications
Detailed technical specifications for the PerGar 10W 5V Solar Charging Panel:
| Item Type | Solar Charging Panel |
| Material | Monocrystalline Silicon |
| Power | 10W |
| Interface | Micro USB |
| Weight | Approx. 339g / 12oz |
| Product Dimensions | 22 x 15 x 5 cm |
| Protection Level | IP65 |
| Model Number | PerGaqd4o7vnhyu |
Warranty and Support
For warranty information or technical support, please refer to the purchase documentation or contact your retailer. Keep your proof of purchase for any warranty claims.
Ask a question about this manual
Ask about setup, troubleshooting, compatibility, parts, safety, or missing instructions. Manuals+ will review the question and use this page’s manual context to help answer it.