
TABYIK DH-CS10-B
TABYIK 30-Pint High-Capacity Dehumidifier
Model: DH-CS10-B
Introduction
The TABYIK 30-Pint High-Capacity Dehumidifier is designed to efficiently remove excess moisture from your indoor environment, creating a more comfortable and healthier living space. This unit is suitable for various areas, including living rooms, bedrooms, closets, basements, bathrooms, and laundry rooms, covering up to 1500 sq.ft.
It features a 31-pint daily dehumidification capacity (at 86°F, 80% humidity), customizable humidity settings, a built-in 24-hour timer, and quiet operation. Please read this manual thoroughly before operation to ensure proper use and maintenance.

Image: Front view of the TABYIK 30-Pint High-Capacity Dehumidifier, showcasing its compact design and water tank.
Important Safety Information
WARNING: To prevent potential damage to the built-in compressor, it is crucial to let the dehumidifier stand upright for at least 24 hours before plugging it in and powering it on for the first time.
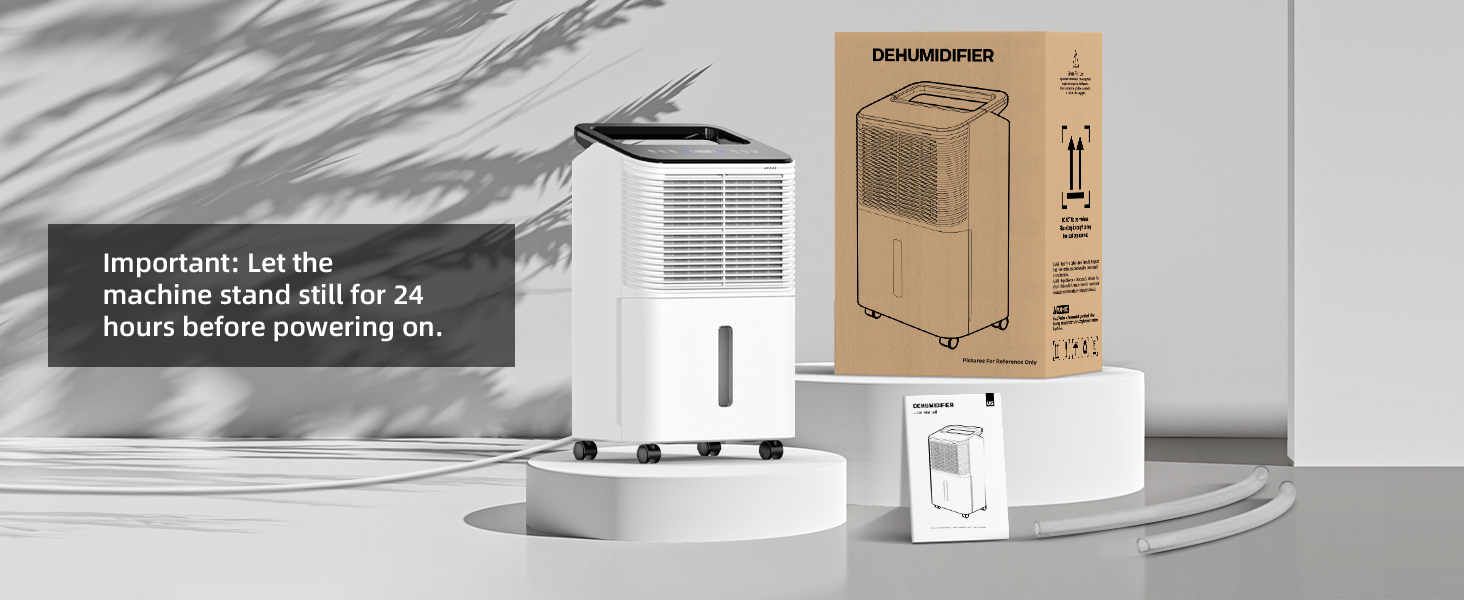
Image: A visual reminder to let the dehumidifier stand for 24 hours before initial power-on, showing the unit next to its packaging.
- Always place the unit on a stable, level surface.
- Ensure proper ventilation around the unit; do not block air inlets or outlets.
- Do not operate the unit with a damaged power cord or plug.
- Keep children and pets away from the unit during operation.
- Unplug the unit before cleaning or performing any maintenance.
Package Contents
Verify that all items are present in the package:
- TABYIK 30-Pint High-Capacity Dehumidifier Unit
- 0.66-Gallon Water Tank (integrated)
- Drain Pipe (3.28 feet)
- Drain Pipe (1.64 feet)
- User Manual
Setup
- Unpacking: Carefully remove the dehumidifier from its packaging.
- Positioning: Place the unit upright in the desired location. Ensure there is at least 8 inches of space around the unit for proper airflow. The unit features 360-degree rotating wheels and an ergonomic handle for easy movement.
- Initial Standby: As noted in the safety section, allow the dehumidifier to stand upright for 24 hours before plugging it into a power outlet. This allows the refrigerant to settle, preventing damage to the compressor.
- Power Connection: After the 24-hour standby period, plug the power cord into a grounded electrical outlet.

Image: The dehumidifier highlighting its dimensions (11.4 x 8.2 x 18.9 inches), 360-degree rotating wheels, and carry handle for easy portability.
Operating Instructions
Control Panel Overview

Image: Close-up of the user-friendly touchscreen control panel, showing icons for Sleep Mode, Auto Adjust Humidity Level, Continuous Dehumidification (two-speed), Real-time Humidity display, Light On/Off Control, Set Timer Duration (1-24 hrs), and Power On/Off Control.
Powering On/Off
- Press the ON/OFF button to turn the unit on or off.
Setting Humidity Levels and Modes
The dehumidifier features a real-time humidity display. You can select from various operating modes:
- Automatic Mode (Auto): Press the AUTO button. In this mode, the unit will automatically maintain a comfortable humidity level between 35% and 70%.
- Continuous Mode (Speed): Press the SPEED button. This mode provides continuous dehumidification at either low or high fan speed, ideal for quick drying or very damp conditions.
- Sleep Mode: Press the SLEEP button. In sleep mode, the airflow decreases, and the control panel lights dim to ensure a peaceful and undisturbed rest, with noise levels as low as 40 dB.

Image: The dehumidifier's display showing real-time humidity levels and indicating different humidity ranges (Very High, High, Moderate, Low, Very Low).

Image: A visual representation of smart humidity adjustment, showing recommended humidity levels for various items like food, clothes, and plants, ranging from 35% to 70%.
Timer Function
- Press the TIMER button to set the desired operating time (1-24 hours). The unit will automatically turn off once the set time is reached, promoting energy efficiency.
Drainage Options
The dehumidifier offers two methods for water collection:
- Continuous Drainage (Water Pipe): For continuous operation or in high humidity areas, connect one of the provided drain pipes to the drainage outlet on the back of the unit. Ensure the pipe is sloped downwards to allow gravity drainage into a floor drain or larger container.
- Manual Drainage (Water Tank): When the 0.66-gallon water tank is full, the unit will automatically stop operating and alert you. Carefully remove the water tank, empty it, and reinsert it into the unit. The unit will resume operation.

Image: Illustrations showing correct (downward slope) and incorrect (kinked or upward slope) setups for the continuous drainage pipe, alongside the water tank for manual emptying.

Image: A visual comparison of the two drainage methods: continuous water pipe drainage into a floor drain and manual emptying of the 0.66-gallon water tank.
Official Product Video: Setup and Operation
Video: This official product video demonstrates the initial setup, including the 24-hour waiting period, powering on the unit, selecting operating modes (Automatic, Continuous, Sleep), monitoring humidity, and utilizing both continuous drainage and manual water tank emptying methods.
Maintenance
Cleaning the Air Filter
Regular cleaning of the air filter helps maintain the dehumidifier's efficiency and prolong its lifespan. It is recommended to clean the filter every two weeks or more frequently depending on usage and air quality.
- Turn off the dehumidifier and unplug it from the power outlet.
- Locate the air filter cover (usually on the back or side of the unit).
- Remove the filter.
- Clean the filter with warm, soapy water. Rinse thoroughly and allow it to air dry completely before reinserting. Do not use a dishwasher.
- Reinsert the dry filter and close the cover.
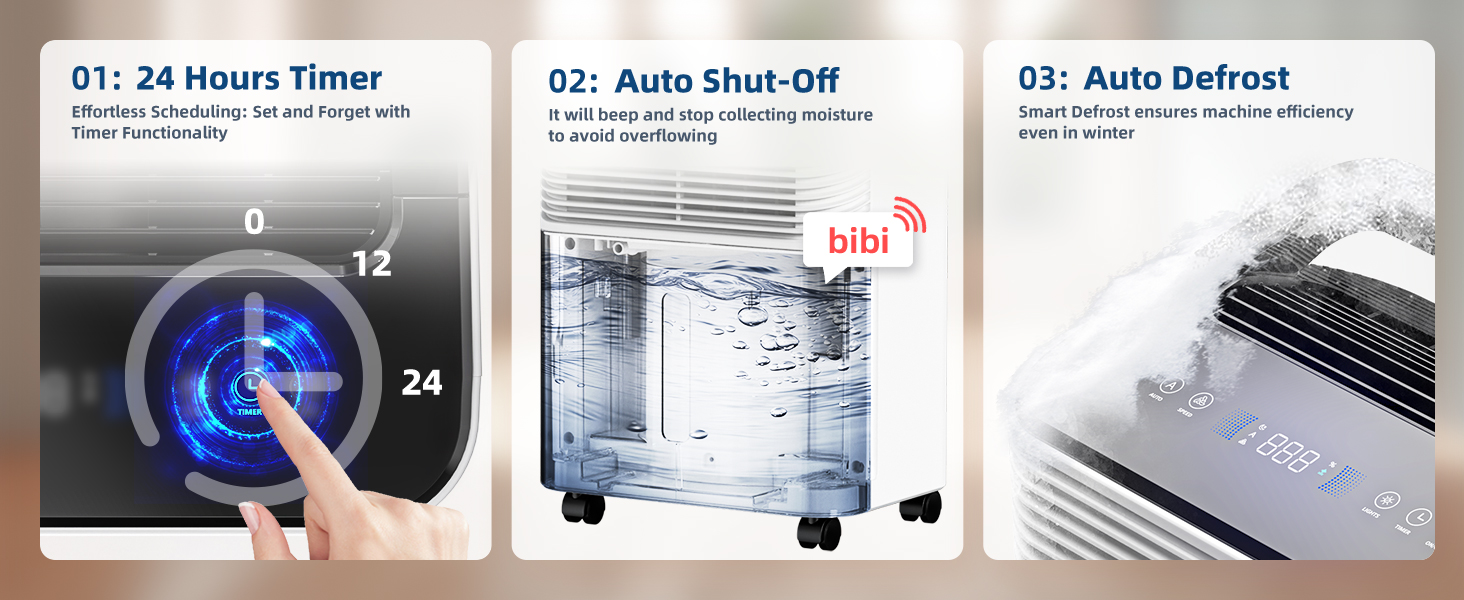
Image: A visual guide demonstrating how to remove and clean the air filter of the dehumidifier, showing the filter being rinsed under water.
Cleaning the Water Tank
Clean the water tank regularly to prevent mold and mildew growth.
- Remove the water tank from the unit.
- Wash the tank with warm water and a mild detergent.
- Rinse thoroughly and dry before placing it back into the dehumidifier.
Troubleshooting
| Problem | Possible Cause | Solution |
|---|---|---|
| Dehumidifier does not turn on. | No power supply; power cord not properly connected. | Ensure the unit is plugged into a working outlet. Check for tripped circuit breakers. |
| Unit stops working and beeps (E1 error). | Water tank is full or improperly installed. | Empty the water tank and ensure it is correctly reinserted. |
| No water collected or low dehumidification. | Humidity level is already low; air filter is clogged; room temperature is too low; doors/windows are open. | Check current humidity level; clean the air filter; ensure room temperature is above 41°F (5°C); close all doors and windows. |
| Unit is noisy. | Unit is not on a level surface; air filter is clogged. | Place the unit on a flat, stable surface; clean the air filter. |
| Water pipe drainage not working. | Pipe is kinked or not sloped downwards; silicone plug not properly installed. | Ensure the drain pipe is straight and has a continuous downward slope. Verify the silicone plug is correctly positioned if not using continuous drainage. |
Specifications
| Feature | Specification |
|---|---|
| Brand | TABYIK |
| Model Name | DH-CS10-B |
| Dehumidification Capacity | 31 Pints per Day |
| Floor Area Coverage | Up to 1500 Square Feet |
| Water Tank Volume | 0.66 Gallons (2 Liters) |
| Product Dimensions | 10.2"D x 13.4"W x 20.5"H |
| Item Weight | 26.5 pounds |
| Wattage | 145 watts |
| Number of Speeds | 3 (Low, High, Sleep) |
| Special Feature | Adjustable Humidity Control, Auto Shut-Off, Built-In Timer, Auto Defrost |
| Included Components | Two drain pipes (3.28 feet and 1.64 feet) |
Warranty and Support
TABYIK is committed to providing customers with a happy and comfortable family environment. If you encounter any confusion or dissatisfaction during usage, please feel welcome to reach out to us at any time. We will make every effort to resolve any issues for you.
For support, please refer to the contact information provided with your purchase or visit the official TABYIK store on Amazon: TABYIK Store
Ask a question about this manual
Ask about setup, troubleshooting, compatibility, parts, safety, or missing instructions. Manuals+ will review the question and use this page’s manual context to help answer it.