
1. Introduction
The SGPRO Dual Wireless Microphone System SG-82HH is designed for professional audio applications, offering reliable performance for singing, events, and public speaking. This system features metal handheld microphones and a receiver with adjustable UHF channels (520-590 MHz) and antenna diversity technology to ensure interference-free sound. Key features include automated frequency scanning, one-touch mute, precise digital volume control, and a durable metal build.

Figure 1: The SGPRO Dual Wireless Microphone System SG-82HH, showcasing the receiver unit and two handheld microphones.
2. Setup
2.1 Unpacking and Component Check
Carefully unpack all components and ensure the following items are present:
- 1 x SGPRO SG-82 Receiver
- 2 x SGPRO Handheld Microphones
- 2 x BNC Antennas
- 1 x Power Adapter
- 1 x 6.35mm Audio Cable
- User Manual
2.2 Connecting the Receiver
- Connect the two BNC antennas to the ANT A and ANT B ports on the rear of the receiver. Ensure they are securely tightened.
- Connect the power adapter to the DC INPUT 12V port on the receiver and plug it into a power outlet.
- Connect the receiver to your audio mixer, amplifier, or active speakers using the provided 6.35mm audio cable (MIX OUT) or XLR cables (BALANCE OUT CH.A/CH.B, not included).
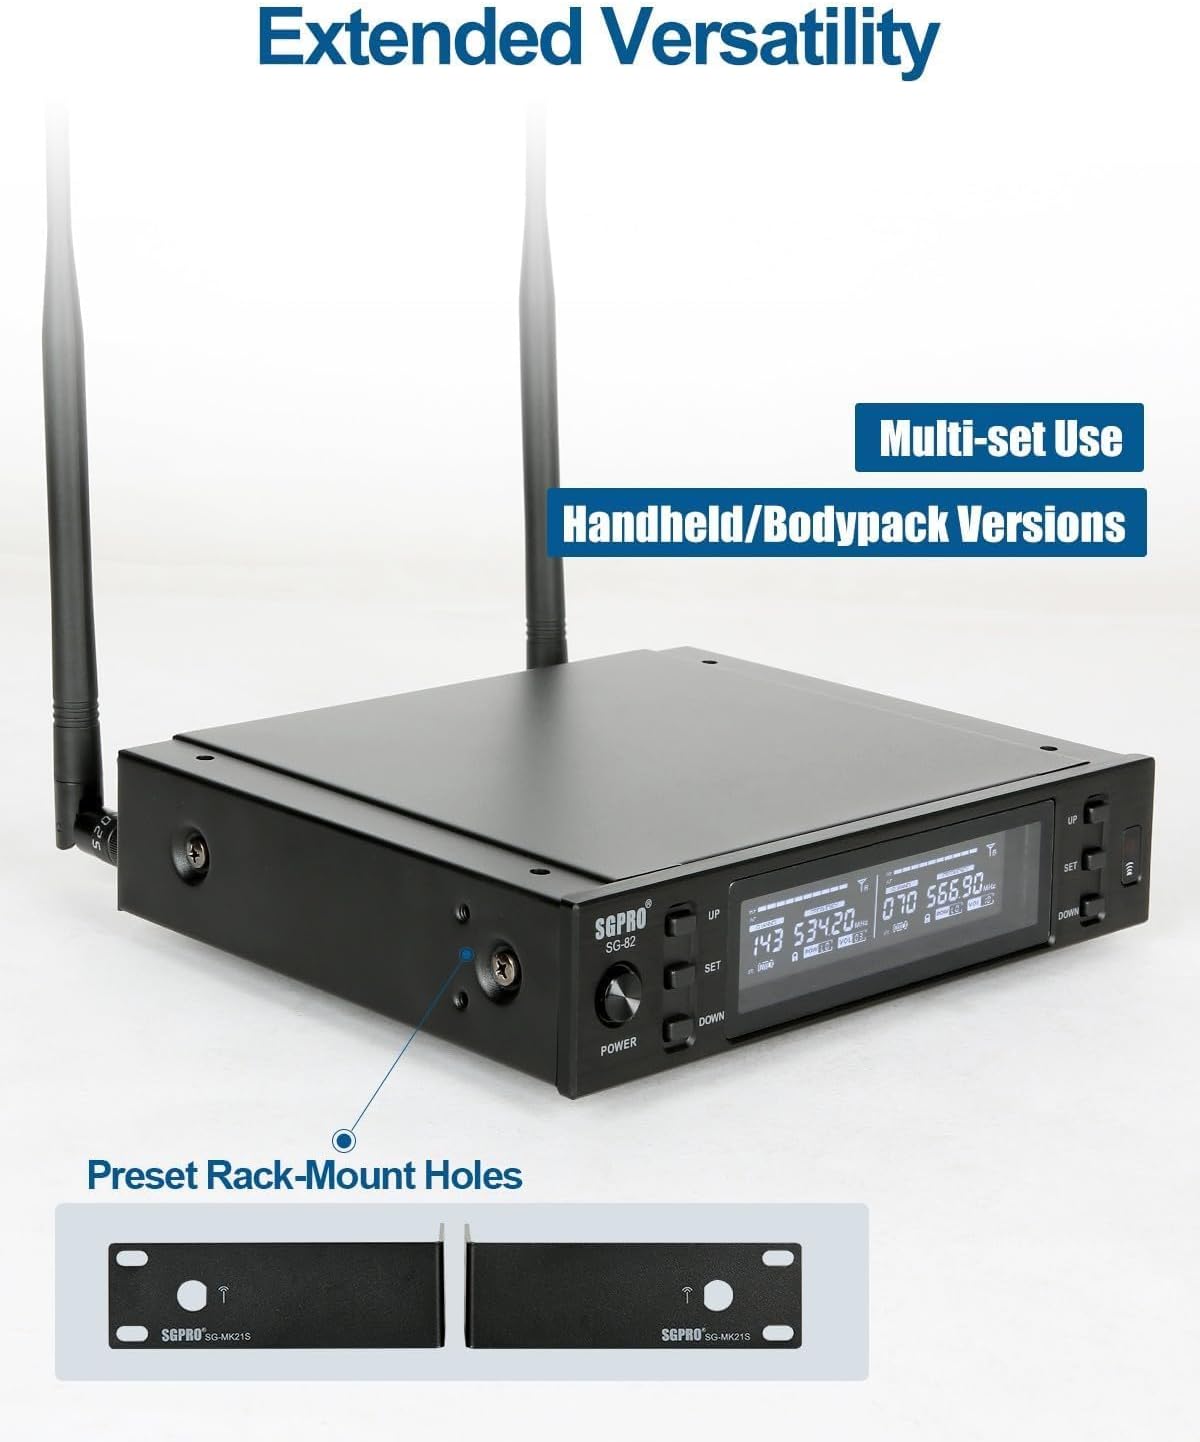
Figure 2: Rear panel of the SGPRO SG-82 receiver, illustrating the BNC antenna connections and audio output ports.
2.3 Installing Batteries in Microphones
Each handheld microphone requires two AA batteries (not included). Unscrew the bottom part of the microphone, insert the batteries according to the polarity markings, and then re-attach the bottom part.
2.4 Pairing Microphones with the Receiver (IR Sync)
The SGPRO system features an infrared (IR) synchronization function for easy pairing:
- Power on the receiver by pressing the 'POWER' button.
- Select the desired channel on the receiver using the 'UP' or 'DOWN' buttons for Channel A or Channel B.
- Press the 'SET' button on the receiver for the selected channel. The IR indicator on the receiver's display will start blinking.
- Unscrew the bottom cover of the handheld microphone to expose the IR sensor.
- Align the microphone's IR sensor with the receiver's IR window (usually located near the 'SET' button) within a few centimeters.
- The microphone and receiver will synchronize automatically. Once paired, the IR indicator on the receiver will stop blinking, and the microphone's display will show the matched frequency.
- Repeat the process for the second microphone on its respective channel.
Video 1: This official SGPRO video demonstrates the setup process, including battery installation and IR synchronization for the wireless microphones.
3. Operating Instructions
3.1 Power On/Off
- To power on the receiver, press the 'POWER' button on the front panel.
- To power on each microphone, slide the power switch located on the microphone body.
- To power off, reverse these steps.
3.2 Mute Function
Each handheld microphone is equipped with a one-touch mute button. Press this button to instantly mute the microphone's output without powering it off. Press again to unmute.

Figure 3: The handheld microphone displaying the mute function, indicated by a speaker icon with a cross.
3.3 Frequency Adjustment and Scanning
The receiver allows for automatic frequency scanning to find clear channels and manual adjustment:
- Automatic Scan: Press and hold the 'SET' button on the receiver for a few seconds. The receiver will scan for available frequencies. Once a clear frequency is found, perform IR sync as described in Section 2.4.
- Manual Adjustment: Use the 'UP' and 'DOWN' buttons on the receiver to manually select a frequency. After selecting, perform IR sync to pair the microphone.

Figure 4: The receiver's display showing the automatic frequency locking feature, ensuring stable signal acquisition.
3.4 Volume Control
Each channel on the receiver has independent volume controls. Use the dedicated 'VOL+' and 'VOL-' buttons on the receiver to adjust the output volume for each microphone.
3.5 Memory Settings
The system retains your last used frequency and volume settings even after being powered off, ensuring quick setup for recurring use.

Figure 5: The receiver's display confirming that memory settings are saved and will be recalled upon next power-on.
4. Maintenance
- Cleaning: Use a soft, dry cloth to clean the receiver and microphones. Avoid using liquid cleaners or solvents.
- Battery Care: Remove batteries from the microphones if they will not be used for an extended period to prevent leakage.
- Storage: Store the system in a cool, dry place away from direct sunlight and extreme temperatures.
- Antennas: Handle antennas with care to avoid bending or breaking.
5. Troubleshooting
5.1 No Sound or Low Volume
- Check Power: Ensure both the receiver and microphones are powered on and have fresh batteries.
- Verify Pairing: Confirm that the microphones are correctly paired with the receiver using the IR sync function (Section 2.4). The receiver display should show a matched frequency for each active microphone.
- Adjust Volume: Increase the volume on both the receiver (using the 'VOL+' buttons) and your connected audio device (mixer, amplifier).
- Microphone Proximity: For optimal sound capture, speak directly into the microphone with close proximity. The microphone's super-cardioid pickup pattern is designed for focused sound input.
- Audio Cable: Ensure all audio cables connecting the receiver to your sound system are securely plugged in and functional.
5.2 Interference or Dropouts
- Change Frequency: Use the automatic frequency scanning feature on the receiver to find a clear channel with less interference.
- Antenna Placement: Ensure the receiver's antennas are fully extended and positioned for optimal reception, away from large metal objects or other wireless devices.
- Distance: Maintain an optimal operating distance between the microphones and the receiver. While the system offers a good range, excessive distance or obstacles can affect signal quality.
6. Specifications
| Feature | Detail |
|---|---|
| Brand | SGPRO |
| Model Name | SG-82HH |
| Connectivity Technology | UHF |
| Connector Type | 6.35 mm Jack, XLR |
| Special Feature | 600 Preset Frequencies, Frequency Scan, Full-metal Cased Receiver, Mute Function, Noise Reduction |
| Compatible Devices | Active Speakers, Amplifier, Audio Interface, Audio Mixer |
| Color | Silver |
| Included Components | Corded Electric Receiver, Transmitters (Battery Not Included) |
| Polar Pattern | Unidirectional |
| Microphone Form Factor | Handheld |
| Power Source | Battery Powered |
| Number of Channels | 2 |
| Frequency Range | 520-590 MHz |
| Enclosure Material | Metal |
| Item Weight | 2.22 Kilograms |
7. Warranty and Support
The SGPRO Dual Wireless Microphone System SG-82HH comes with a 1-Year Manufacturer Warranty. For technical support, service, or warranty claims, please refer to the contact information provided in your product packaging or visit the official SGPRO website.