1. Introduction
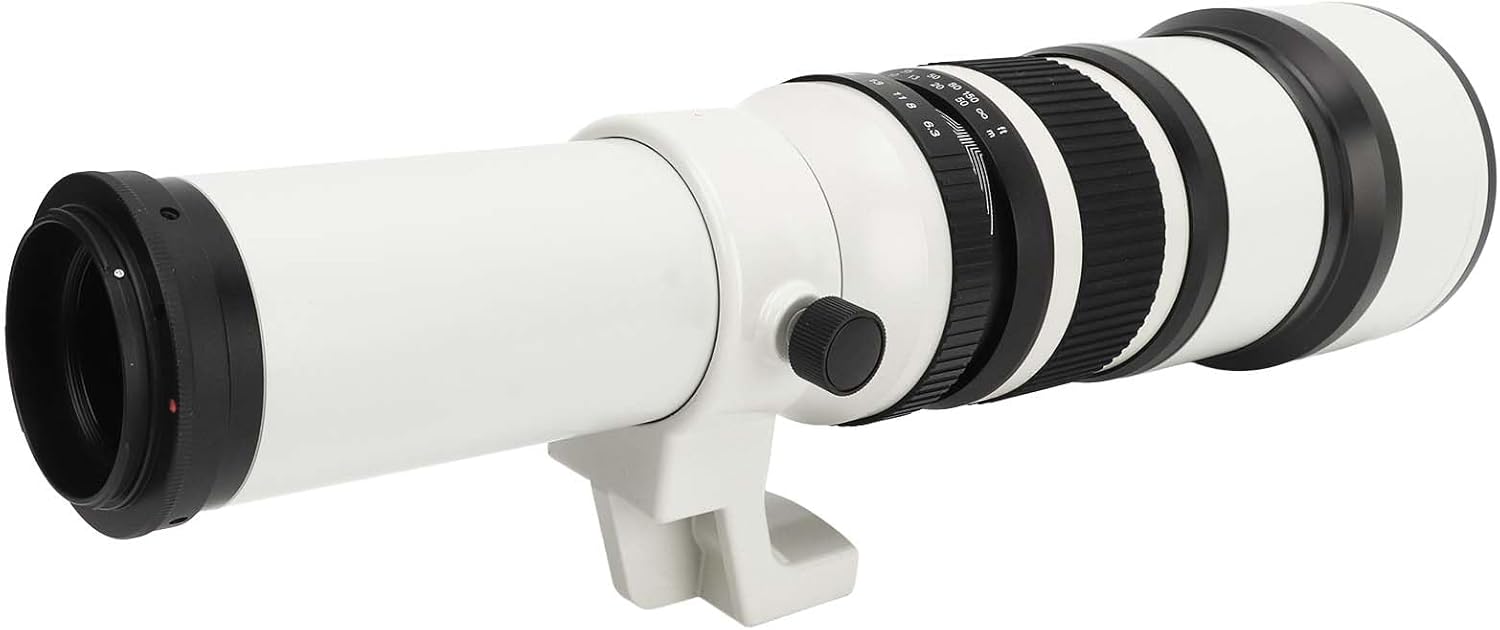
This manual provides essential information for the proper use and care of your Pomya F6.3 500mm Manual Focus Telephoto Lens. This ultra-long fixed focus lens is designed for bird and wildlife photography, as well as other ultra-long distance shooting applications. It features an achromatic refractor design for enhanced contrast and flare control. Please read this manual thoroughly before using the lens to ensure optimal performance and longevity.
2. Package Contents
Verify that all items listed below are included in your package:
- 1 x 500mm F6.3 Manual Focus Telephoto Lens
- 2 x Lens Caps (Front and Rear)
- 1 x T2 Adapter Ring (for EF Bayonet)
- 1 x Wrench (for adapter ring installation)
- 1 x Storage Bag
- 1 x Instructions Manual (this document)

3. Product Overview and Features
3.1 Optical Design
The lens features an optical structure of 4 elements in 4 groups. It incorporates multi-layer MC coating to effectively suppress lens flare and ghosting, thereby improving image contrast and color authenticity. The achromatic refractor design contributes to excellent peak contrast and precise flare control.

3.2 Manual Focus Design
This lens is designed for manual focus operation. It includes an accurate scale, depth of field scale, and distance scale to assist in precise focusing. The pre-focus technology allows for sharp and clear images by setting focus before composition.

3.3 Physical Design
The lens features an excellent-grade alloy body, providing a strong texture and beautiful appearance. It includes an integrated tripod mount for stable support, which is rotatable to allow for quick and easy vertical format shooting while maintaining optimal balance. A removable lens hood is also included to help minimize lens flare and ghosting.

3.4 Compatibility
This lens is compatible with EF bayonet cameras when used with the included T2 port adapter ring. The fine process ensures a secure and reliable connection.
4. Setup
4.1 Attaching the T2 Adapter Ring
- Unscrew the rear lens cap from the telephoto lens.
- Carefully align the T2 adapter ring with the lens's T2 mount threads.
- Gently screw the adapter ring onto the lens until it is securely fastened. Use the provided wrench if necessary to tighten it firmly, but do not overtighten.
4.2 Mounting the Lens to Your Camera
- Ensure your camera is turned off.
- Remove the body cap from your camera and the rear cap from the lens (now with the T2 adapter attached).
- Align the red dot on the T2 adapter ring with the corresponding red dot on your camera's EF bayonet mount.
- Insert the lens into the camera mount and rotate it clockwise until it clicks into place.
4.3 Mounting to a Tripod
- Locate the tripod mount on the underside of the lens.
- Attach the lens's tripod mount directly to your tripod head's quick-release plate or screw.
- Tighten the tripod screw securely to prevent movement.
- The tripod mount can be rotated to switch between horizontal and vertical shooting orientations. Loosen the locking knob on the tripod collar, rotate the lens to the desired position, and then re-tighten the knob.
5. Operating Instructions
This lens operates in manual exposure mode (M) on your camera.
5.1 Manual Focusing
- Look through your camera's viewfinder or use Live View on the LCD screen.
- Rotate the large, ribbed focus ring on the lens until your subject appears sharp.
- Utilize the distance scale (in meters and feet) and depth of field scale on the lens barrel to assist with pre-focusing or zone focusing.
- For critical focus, especially with telephoto lenses, use your camera's focus peaking or magnification features in Live View.

5.2 Adjusting Aperture
- The aperture ring is located near the camera mount.
- Rotate the aperture ring to select your desired F-stop, ranging from F6.3 to F32.
- A wider aperture (smaller F-number like F6.3) allows more light and creates a shallower depth of field. A narrower aperture (larger F-number like F32) allows less light and creates a greater depth of field.
5.3 Using the Lens Hood
Attach the removable lens hood to the front of the lens by aligning it and twisting until it locks into place. The lens hood helps to block stray light from entering the lens, reducing flare and improving contrast. It also offers some physical protection to the front element.
6. Maintenance
6.1 Cleaning the Lens
- Always use a soft, lint-free microfiber cloth specifically designed for optical surfaces.
- For dust, use a blower brush first to remove loose particles. Avoid wiping dry dust as it can scratch the lens coating.
- For smudges or fingerprints, apply a small amount of lens cleaning solution to the microfiber cloth (not directly to the lens) and gently wipe in a circular motion from the center outwards.
- Never use harsh chemicals or abrasive materials.
6.2 Storage
- When not in use, always attach both front and rear lens caps.
- Store the lens in the provided storage bag or a padded camera bag to protect it from impacts and dust.
- Keep the lens in a cool, dry place, away from direct sunlight and extreme temperatures or humidity.
- Consider using desiccant packets in your storage area to prevent mold growth, especially in humid climates.
7. Troubleshooting
| Problem | Possible Cause | Solution |
|---|---|---|
| Images are blurry/out of focus. | Incorrect manual focus setting. Camera shake. | Carefully adjust the focus ring. Use a tripod or increase shutter speed to minimize camera shake. Utilize Live View magnification for precise focus. |
| Dark or underexposed images. | Aperture too narrow. Insufficient light. Incorrect camera exposure settings. | Open the aperture (smaller F-number). Increase ISO or use a slower shutter speed on your camera. Ensure camera is in Manual (M) mode and settings are appropriate for lighting. |
| Lens not attaching to camera. | T2 adapter not properly installed. Incorrect alignment. | Ensure the T2 adapter ring is securely fastened to the lens. Align the red dots on the adapter and camera mount before twisting. |
| Dust or smudges on images. | Dirty lens elements. | Clean the front and rear lens elements carefully using a blower brush and a microfiber cloth with lens cleaning solution. |
8. Specifications
| Feature | Specification |
|---|---|
| Model Number | Pomyasaguct085r-12 |
| Lens Structure | 4 elements in 4 groups |
| Focal Length | 500mm |
| Aperture Range | F6.3 - F32 |
| Nearest Focusing Distance | 5m (16.4ft) |
| Front Filter Diameter | 86mm |
| Item Weight | 1.69 kg (3.72 pounds) |
| Product Dimensions | 18.11 x 5.91 x 5.51 inches |
| Material | Alloy and optical glass |
9. Warranty and Support
For warranty information or technical support, please refer to the documentation provided at the time of purchase or contact Pomya customer service through the retailer where the product was acquired. Keep your purchase receipt as proof of purchase.