
Gemmac XLN-297WB
Gemmac Portable Emergency Radio
Model: XLN-297WB
Brand: Gemmac
1. Introduction
This manual provides comprehensive instructions for the safe and efficient operation of your Gemmac Portable Emergency Radio (Model XLN-297WB). This multi-functional device is designed for emergency preparedness and outdoor activities, offering radio reception, multiple charging options, illumination, and an SOS alarm. Please read this manual thoroughly before use and retain it for future reference.
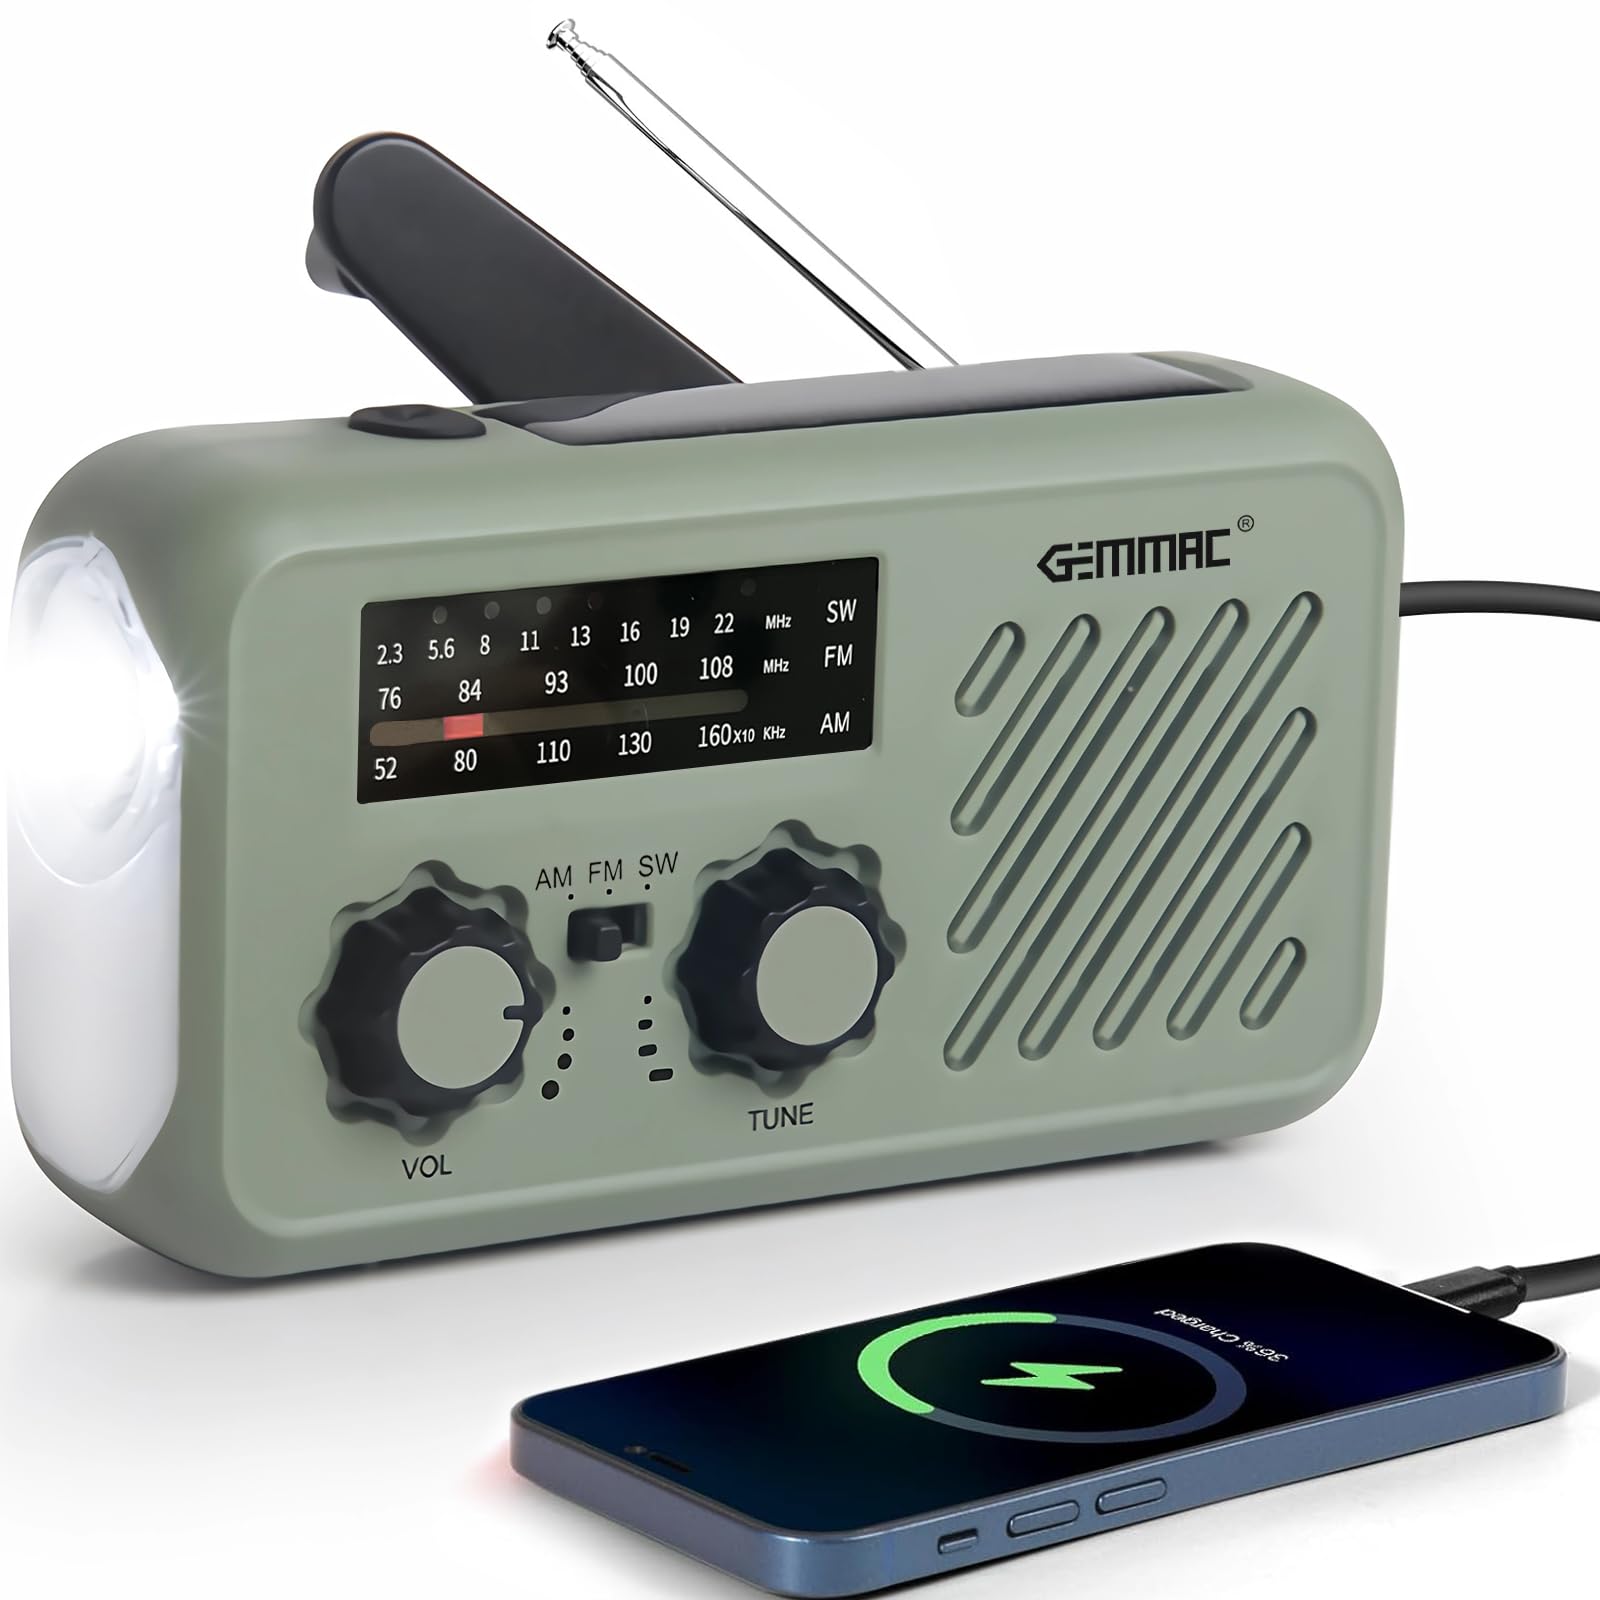
Figure 1: Gemmac Portable Emergency Radio (Model XLN-297WB)
2. Product Overview
2.1 Components

Figure 2: Labeled Components of the Emergency Radio
- Antenna: Extendable for improved radio reception.
- Solar Panel: For solar charging.
- Flashlight / SOS Button: Activates flashlight and SOS alarm.
- Volume / Radio Switch: Controls power and volume.
- AM/FM/SW Switch: Selects radio band.
- Tuning Knob: Adjusts radio frequency.
- Frequency Dial: Displays current radio frequency.
- Speaker: Audio output.
- Type-C Input: For USB charging the radio.
- Headphone Jack (3.5mm): For private listening.
- USB Output: For charging external devices (power bank function).
- Battery Container: Houses the removable Lithium-ion battery.
- Crank Handle: For hand-crank charging.
- LED Flood Light: Provides broader illumination.
2.2 Key Features
- Multi-Band Radio: Receives AM (530-1710 kHz), FM (87-108 MHz), and SW (7-19 MHz) frequencies.
- Multiple Charging Options: Supports USB Type-C input, solar panel, and hand crank dynamo.
- 2000mAh Power Bank: Built-in rechargeable battery to charge mobile phones and other USB-compatible devices.
- Emergency Lighting: Features a bright 3W flashlight and an LED reading lamp.
- SOS Alarm: Activates a loud siren and flashing light for emergency signaling.
- Portable Design: Compact, lightweight, and includes a lanyard for easy carrying.
- Water-Resistant: Designed to withstand splashes and light rain.
3. Setup
3.1 Initial Battery Check and Installation
The radio comes with a pre-installed 2000mAh Lithium-ion battery. Before first use, ensure the battery is securely placed in its compartment. If the battery needs to be installed or replaced, open the battery container cover, insert the battery with correct polarity, and close the cover securely.
3.2 Initial Charging
For optimal performance, fully charge the radio before its first use. Use the provided USB Type-C cable to connect the radio to a 5V DC USB power source (e.g., wall adapter, computer USB port). The charging indicator will illuminate. Charging methods are detailed in Section 4.2.
4. Operating Instructions
4.1 Radio Operation
- Power On/Off and Volume: Rotate the Volume / Radio Switch clockwise to turn on the radio and increase volume. Rotate counter-clockwise to decrease volume and turn off.
- Select Band: Slide the AM/FM/SW Switch to select your desired frequency band (AM, FM, or SW).
- Tune Station: Extend the Antenna for better reception. Rotate the Tuning Knob to scan for stations. The selected frequency will be indicated on the Frequency Dial.
- Headphone Use: Insert 3.5mm headphones into the Headphone Jack for private listening. The speaker will automatically mute.

Figure 3: Radio receiving weather alerts
4.2 Charging Methods
The radio offers three ways to recharge its internal battery:

Figure 4: Multiple Charging Options
- USB Charging: Connect the supplied USB Type-C cable to the Type-C Input port and a 5V DC power source. This is the fastest charging method.
- Hand Crank Charging: Unfold the Crank Handle and rotate it clockwise or counter-clockwise at a steady pace (approximately 120-180 cycles per minute). This generates power to charge the internal battery.
- Solar Charging: Place the radio with the Solar Panel facing direct sunlight. This method is ideal for maintaining charge or for slow charging in emergencies. Charging efficiency depends on sunlight intensity.
4.3 Flashlight and Reading Lamp
Press the Flashlight / SOS Button once to turn on the flashlight. Press again to switch to the LED reading lamp. Press a third time to turn off the light. The flashlight provides focused illumination, while the reading lamp offers broader, softer light.
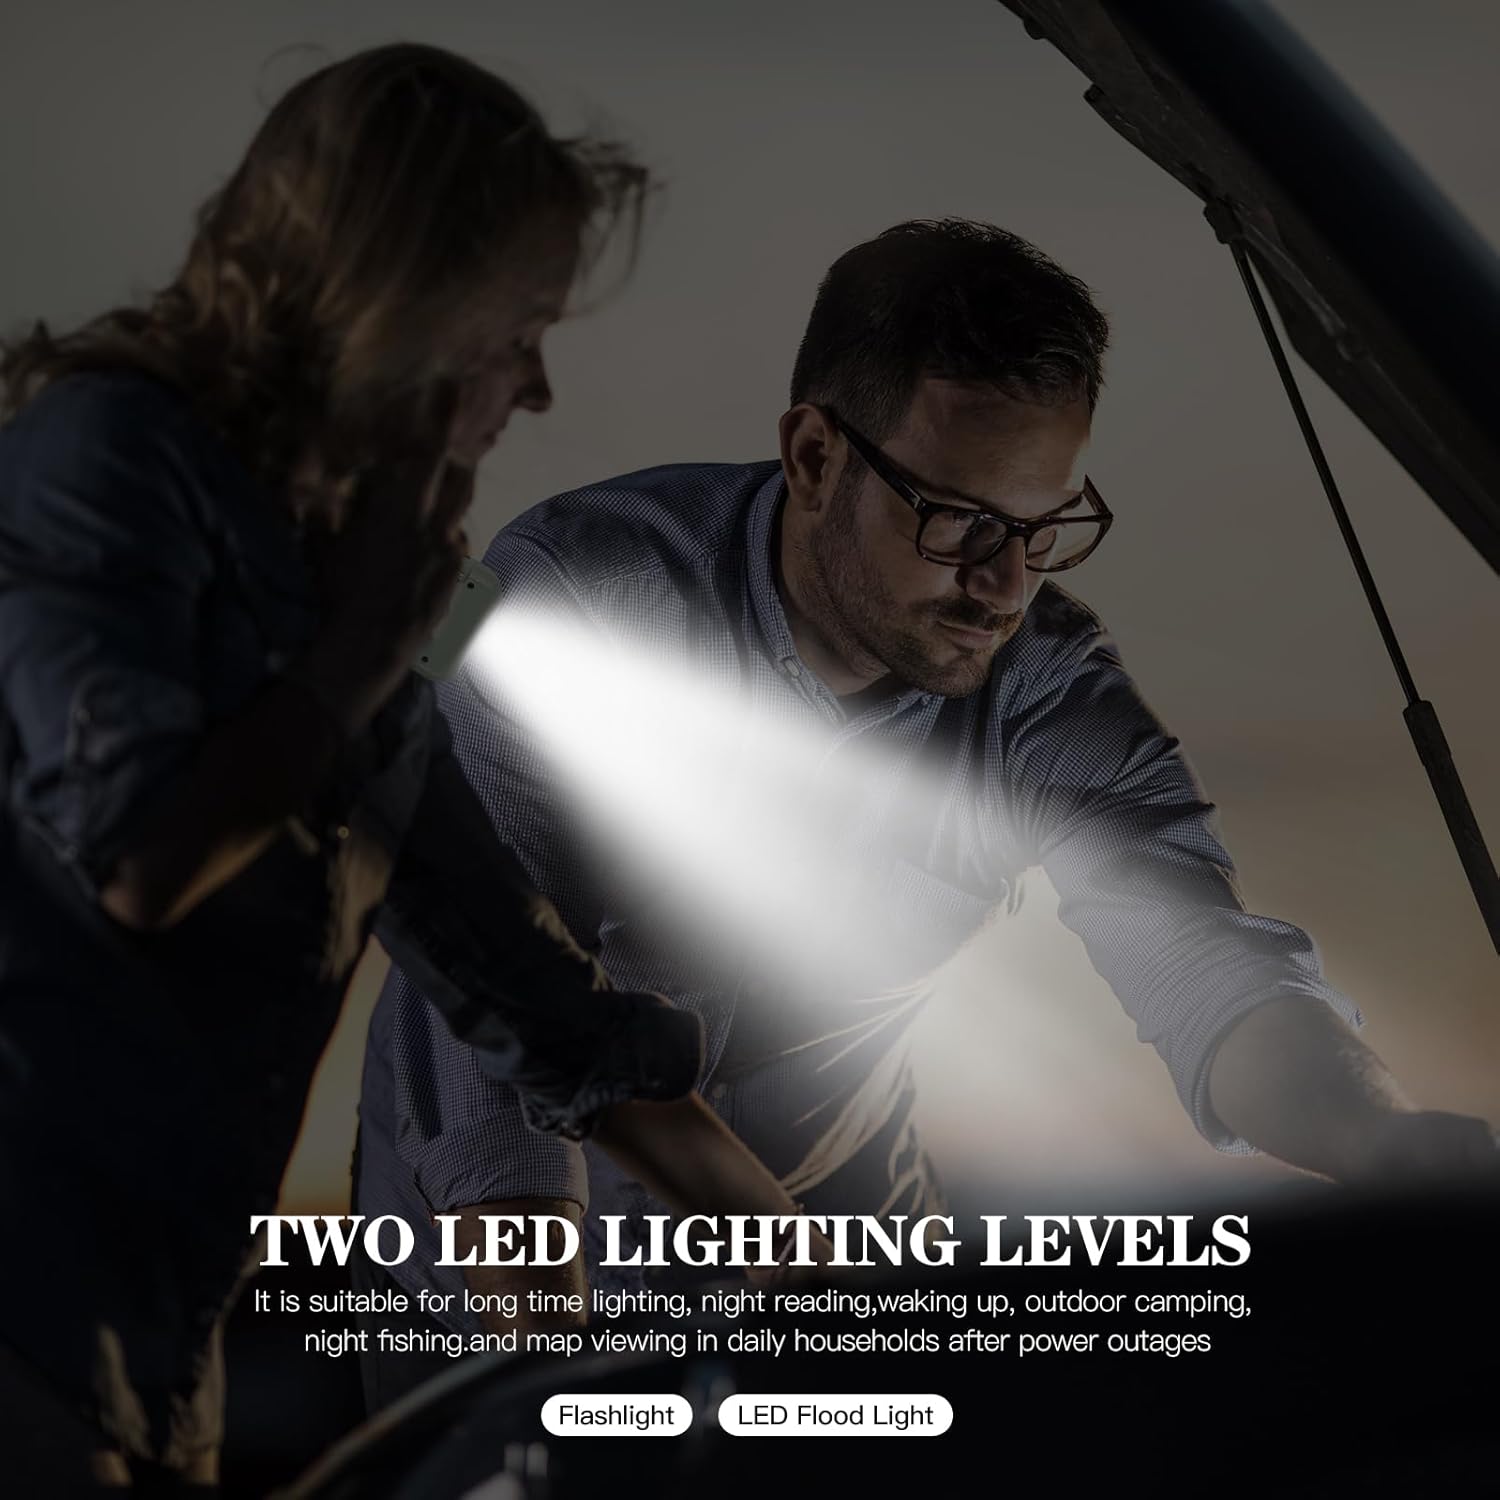
Figure 5: Flashlight and LED Reading Lamp in use
4.4 SOS Alarm Function
In an emergency, press and hold the Flashlight / SOS Button for 3 seconds to activate the SOS alarm. This will trigger a loud siren and a flashing light to attract attention. Press the button again briefly to deactivate the alarm.
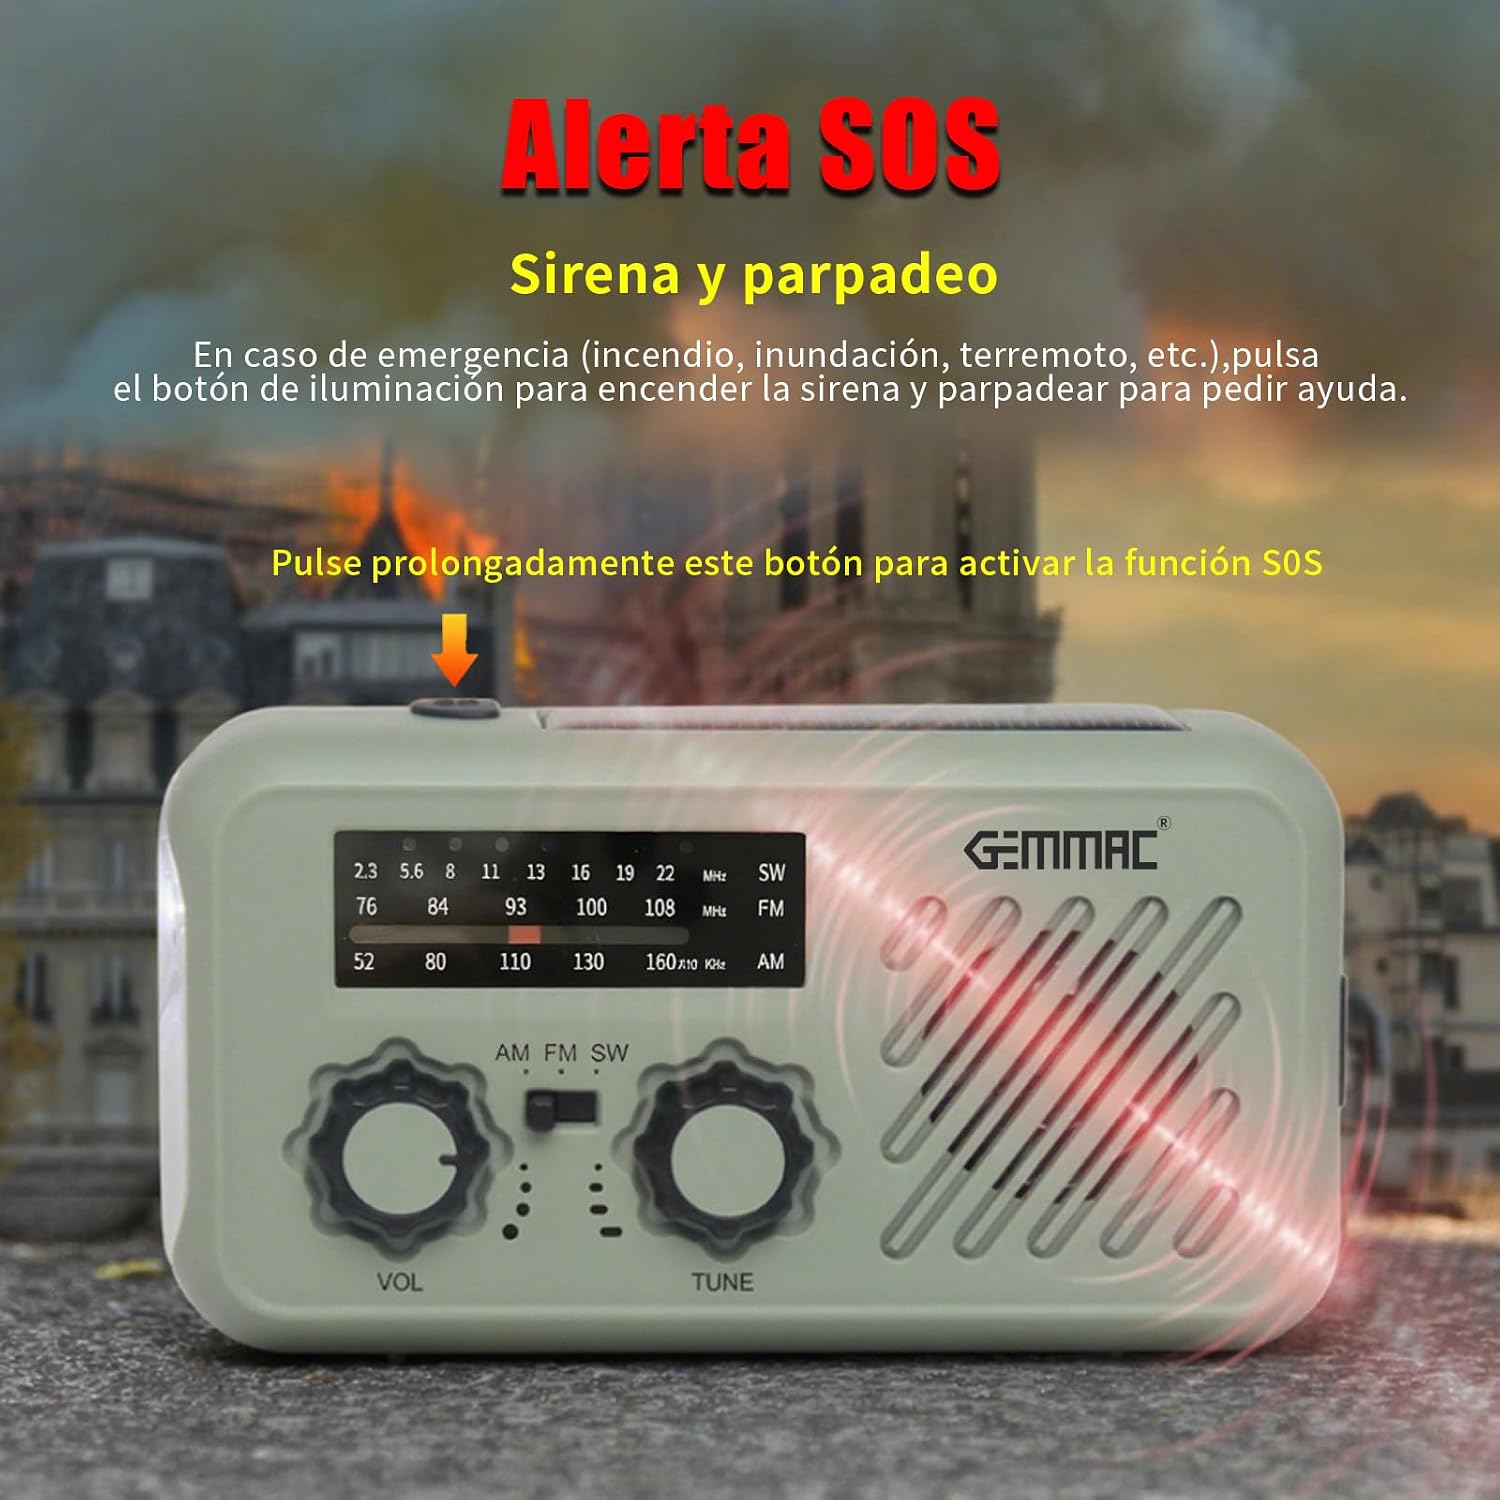
Figure 6: SOS Alarm Activation
4.5 Power Bank Function
To charge external devices, connect your device's USB charging cable to the USB Output port on the radio. The radio's internal 2000mAh battery will begin charging your device. This feature is crucial for keeping your mobile phone powered during outages.
5. Maintenance
5.1 Cleaning
Wipe the radio with a soft, damp cloth. Do not use abrasive cleaners or solvents, as these can damage the surface. Ensure all ports are dry before charging or using the device.
5.2 Storage
Store the radio in a cool, dry place away from direct sunlight and extreme temperatures. If storing for an extended period, fully charge the battery every 3-6 months to maintain battery health.
6. Troubleshooting
- No Power: Ensure the radio is turned on. Check the battery level. If low, charge the radio using any of the three methods (USB, hand crank, solar).
- Poor Radio Reception: Extend the antenna fully. Try repositioning the radio. Ensure you have selected the correct frequency band (AM/FM/SW).
- Flashlight/Lamp Not Working: Check battery level. Ensure the button is pressed correctly.
- External Device Not Charging: Ensure the radio has sufficient battery charge. Verify the USB cable connection. Some devices may require more power than the radio can provide.
- Hand Crank is Stiff: Ensure the crank handle is fully extended and rotates freely. Do not force it.
7. Specifications
| Model Number | XLN-297WB |
| Brand | Gemmac |
| Radio Bands | AM (530-1710 kHz), FM (87-108 MHz), SW (7-19 MHz) |
| Battery Type | 1 x 2000mAh Lithium-ion (included) |
| Charging Inputs | USB Type-C (DC 5V), Solar Panel, Hand Crank |
| Power Bank Output | USB |
| Flashlight Power | 3W |
| Material | Acrylonitrile Butadiene Styrene (ABS) |
| Dimensions (L x W x H) | 40mm x 70mm x 130mm |
| Water Resistance | Water-resistant |
| Interface | USB 3.0 Type-C |
| Display Type | LCD |
8. Warranty and Support
This product is eligible for return or refund within 30 days of purchase. For any issues or support inquiries, please contact your retailer or the manufacturer directly. Please refer to your purchase documentation for specific contact details.
Ask a question about this manual
Ask about setup, troubleshooting, compatibility, parts, safety, or missing instructions. Manuals+ will review the question and use this page’s manual context to help answer it.