
1. Introduction
The Tapo C410 KIT is a solar-powered security camera system designed for outdoor use. This kit provides a wireless solution for home security, featuring 2K 3MP resolution, smart person detection, color night vision, and flexible storage options. The integrated solar panel ensures continuous power, reducing the need for manual recharging.
Key features include:
- Endless Solar Power: Continuous charging from the included solar panel.
- Wire-Free Installation: Flexible placement without power outlet limitations.
- Smart Detection: Free person and vehicle detection to minimize false alerts.
- 2K Color Night Vision: Clear, detailed video even in low-light conditions.
- Versatile Storage: Supports local microSD card storage (up to 512GB) and cloud service.
- IP65 Weatherproof: Durable design for various outdoor environments.

Image 1.1: The Tapo C410 KIT Solar-Powered Security Camera, showing the camera unit and the attached solar panel.
2. What's in the Box
Verify that all components are present in your package:
- Tapo C410 Camera (x1)
- Tapo A201 Solar Panel (x1)
- Tapo A201 Solar Panel Bracket (x1)
- Mounting Screws (x6)
- Mounting Anchors (x6)
- Waterproof Seals (x4)
- Mounting Templates (x2)
- Quick Start Guide (x1)
- Screw Caps (x2)
- Cable Zip Tie (x1)
- USB Adapter Cable (x1)
- Base Cover (x1)
- Extension Wire (x1)

Image 2.1: The retail packaging for the Tapo C410 KIT, indicating the contents and key features.
3. Setup
3.1 Initial Charging and App Installation
- Before installation, ensure the camera's internal battery is sufficiently charged.
- Download the Tapo app from your mobile device's app store (available for Android and iOS).
- Follow the in-app instructions to create a Tapo account and add your new C410 KIT camera.
3.2 Mounting the Camera and Solar Panel
The Tapo C410 KIT offers flexible installation options. The camera and solar panel can be installed as a unified unit or separately using the included 13-foot extension cable for optimal solar exposure.
- Choose a Location: Select a mounting location that provides a clear view of the area you wish to monitor and receives ample direct sunlight for the solar panel.
- Use Mounting Templates: Utilize the provided mounting templates to mark drill holes accurately.
- Secure Mounting: Use the included screws and anchors to securely attach the camera and solar panel bracket to the desired surface.
- Connect Solar Panel: If installing separately, connect the solar panel to the camera using the extension wire. Ensure waterproof seals are properly used.

Image 3.1: Examples of flexible installation, showing the camera and solar panel mounted together and separately with an extension cable.
3.3 Solar Power Optimization
For optimal performance, ensure the solar panel receives at least 45 minutes of direct sunlight daily. This helps maintain continuous power to the camera's battery.
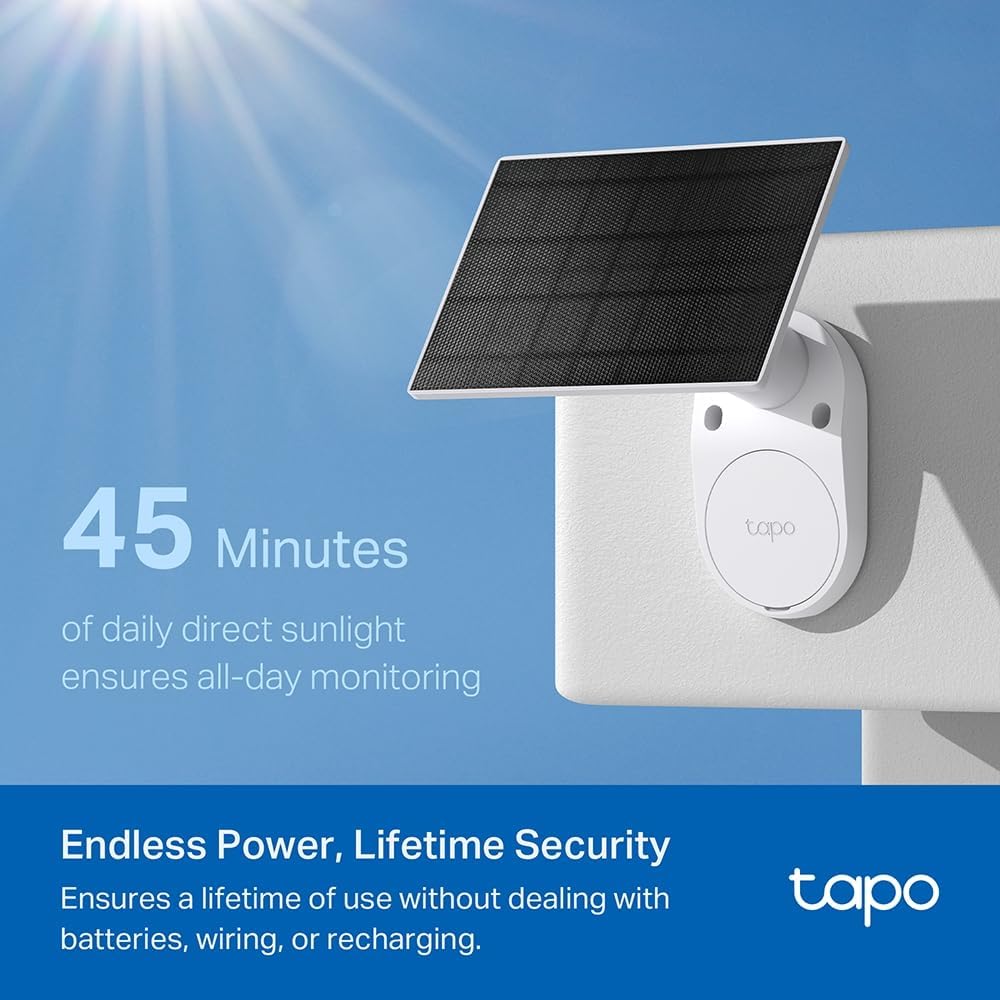
Image 3.2: The solar panel positioned to capture direct sunlight, illustrating the continuous charging capability.
4. Operating the Tapo C410 KIT
4.1 Using the Tapo App
The Tapo app is the primary interface for controlling and monitoring your camera. It allows for live view, playback, settings adjustments, and receiving notifications.
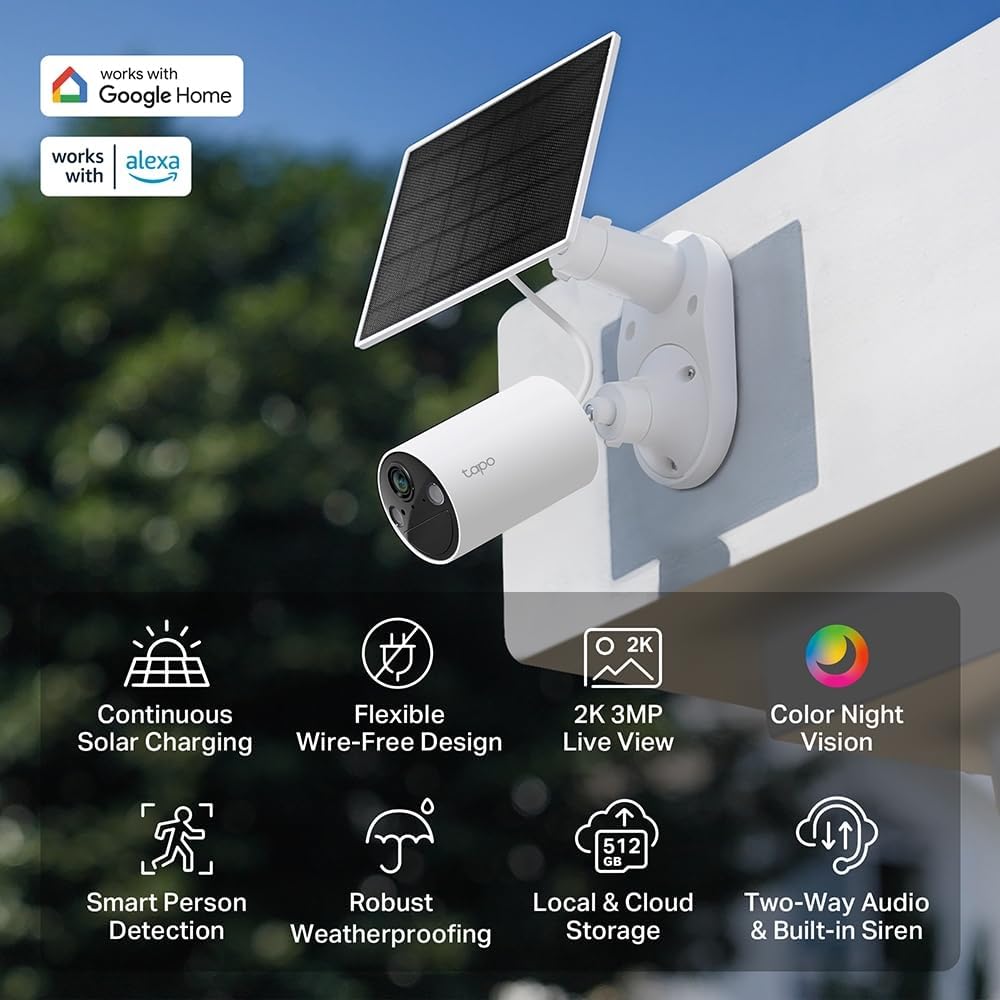
Image 4.1: An overview of the Tapo C410 KIT's features, including app integration, solar charging, and various detection capabilities.
4.2 Smart Detection
The camera features smart person and vehicle detection to reduce false alarms. You can define activity zones within the app to focus monitoring on specific areas.
- Person Detection: Receive alerts when a person is detected in the camera's field of view.
- Vehicle Detection: Get notifications for vehicle movement.
- Activity Zones: Customize areas where motion detection is active.

Image 4.2: A smartphone screen displaying a live feed from the Tapo camera, with a detected person highlighted by a blue box.
4.3 Night Vision
The Tapo C410 KIT provides 2K Color Night Vision, allowing for detailed and vivid nighttime recordings up to 30 feet (9 meters) away, even in complete darkness, thanks to its large aperture lens and built-in spotlights.
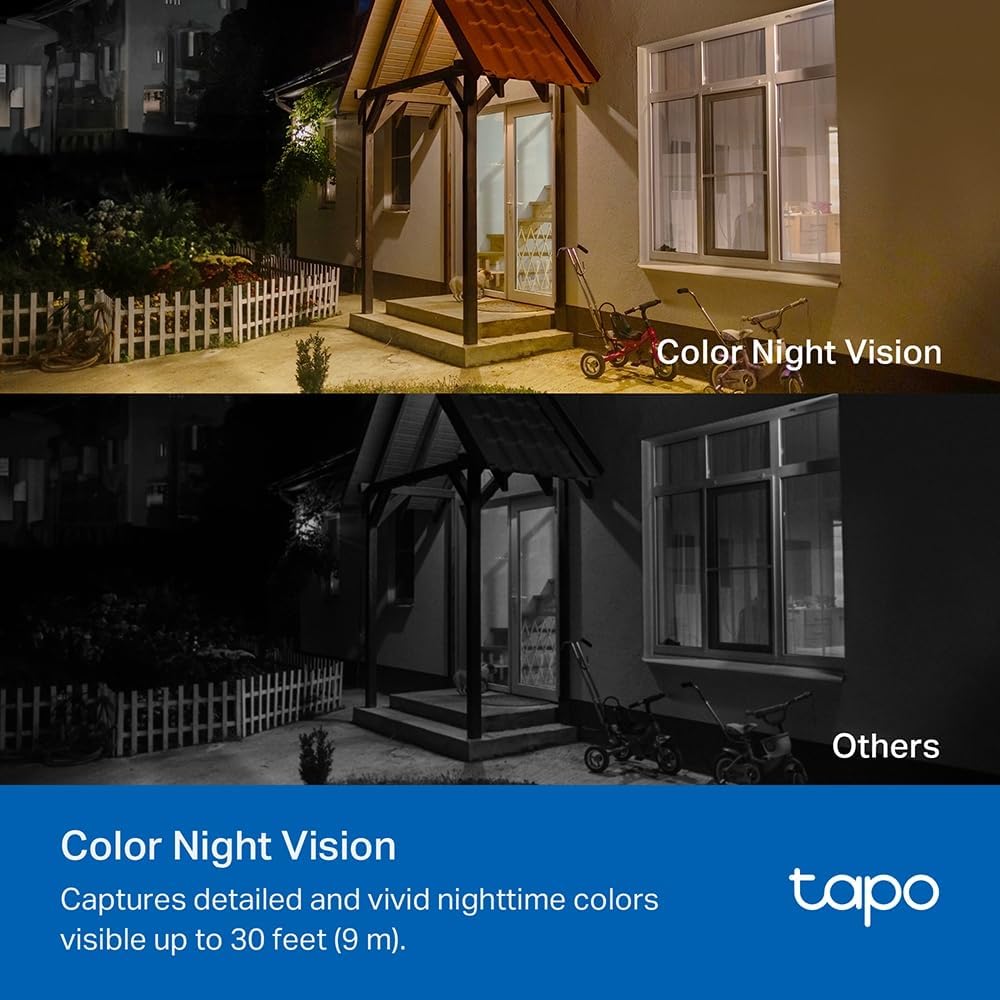
Image 4.3: A comparison showing the clarity and color detail provided by the camera's Color Night Vision compared to standard night vision.
4.4 Two-Way Audio
Communicate directly through the camera using the two-way audio feature. This allows you to speak to visitors or deter unwanted guests from your mobile device.
4.5 Video Storage
Recorded footage can be stored in two ways:
- Local Storage: Insert a microSD card (up to 512GB, sold separately) into the camera for local recording.
- Cloud Storage: Subscribe to Tapo Care cloud service for secure online storage and additional features.
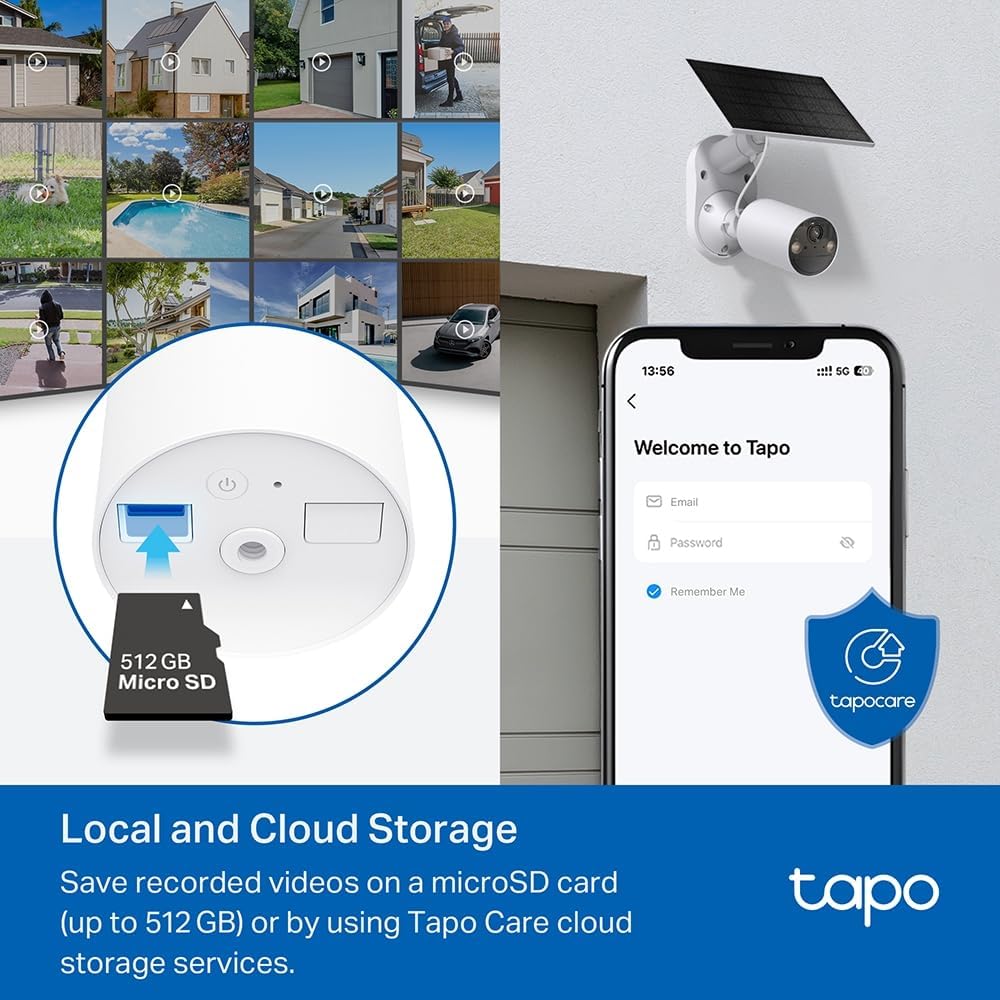
Image 4.4: A visual representation of the camera's microSD card slot for local storage and the Tapo Care cloud service option.
5. Maintenance
5.1 Weather Resistance
The Tapo C410 KIT is IP65 weatherproof, designed to withstand various outdoor conditions including rain, snow, and dust. Regular checks for debris on the lens or solar panel are recommended to ensure optimal performance.

Image 5.1: The Tapo C410 KIT shown operating effectively in rainy, snowy, and sunny conditions, demonstrating its IP65 weatherproof rating.
5.2 Cleaning
To maintain clear image quality and efficient solar charging:
- Gently wipe the camera lens and solar panel surface with a soft, damp cloth.
- Avoid using harsh chemicals or abrasive materials that could damage the surfaces.
6. Troubleshooting
If you encounter issues with your Tapo C410 KIT, consider the following common solutions:
- No Power/Low Battery: Ensure the solar panel is receiving sufficient direct sunlight. Check the battery level in the Tapo app. If necessary, temporarily bring the camera indoors for a full charge using the USB adapter cable.
- Offline Camera: Verify your Wi-Fi network is active and the camera is within range. Restart your router and the camera.
- Poor Video Quality: Check for obstructions on the camera lens. Ensure the camera's firmware is up to date via the Tapo app.
- Motion Detection Issues: Review activity zone settings in the Tapo app. Adjust sensitivity levels if needed.
- MicroSD Card Not Recording: Ensure the microSD card is correctly inserted and formatted within the Tapo app. Check if the card is full or corrupted.
For more detailed troubleshooting or persistent issues, refer to the support section of the Tapo app or visit the official Tapo support website.
7. Specifications
| Feature | Detail |
|---|---|
| Model Name | Tapo C410 KIT |
| Video Capture Resolution | 2K 3MP |
| Night Vision Range | 30 Feet |
| Special Features | 2 Way Audio, Built-In Light, HD Resolution, Local Recording, Night Vision |
| Power Source | Solar Powered (2 Lithium Ion batteries included) |
| Connectivity Technology | Wireless (Wi-Fi) |
| Indoor/Outdoor Usage | Outdoor |
| Compatible Devices | Smartphone, Tablet |
| Controller Type | Amazon Alexa, Android, Google Assistant |
| Mounting Type | Wall Mount |
| Color | White |
| Material | Metal |
| Dimensions (L x W x H) | 8.89 x 5.99 x 5.99 cm |
| Weight | 1.02 kg |
| Manufacturer | TP-Link |
| Country of Origin | China |
8. Warranty and Support
For warranty information, technical support, or further assistance, please visit the official Tapo website or contact Tapo customer service. You can also find additional resources and FAQs within the Tapo app.
Visit the Tapo Store for more products and information.


