Introduction
This user manual provides comprehensive instructions for the safe and efficient operation, maintenance, and troubleshooting of your Acekool Commercial Slushy Machine. Please read this manual thoroughly before operating the appliance to ensure optimal performance and longevity.
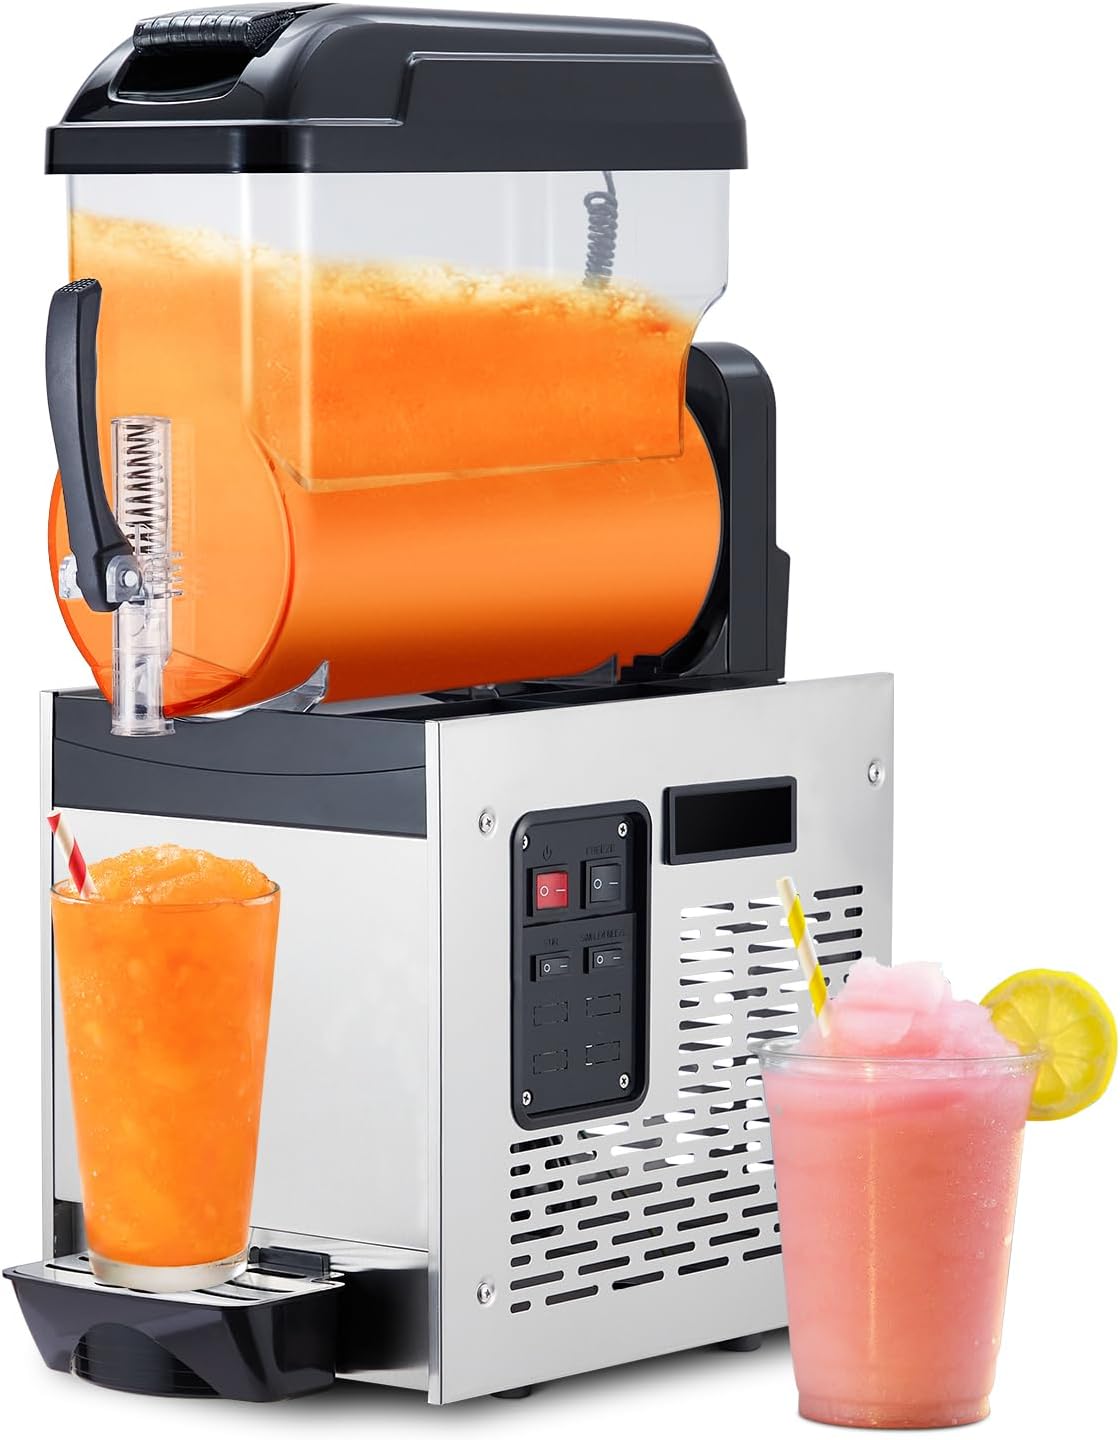
Figure 1: Acekool Commercial Slushy Machine with prepared beverages.
Important Safety Instructions
To reduce the risk of fire, electric shock, or injury, always follow basic safety precautions when using electrical appliances.
- Read all instructions before using the appliance.
- Do not immerse the machine base, cord, or plug in water or other liquids.
- Close supervision is necessary when any appliance is used by or near children.
- Unplug from outlet when not in use and before cleaning. Allow to cool before putting on or taking off parts.
- Do not operate any appliance with a damaged cord or plug, or after the appliance malfunctions or has been damaged in any manner.
- The use of accessory attachments not recommended by the appliance manufacturer may cause injuries.
- Do not use outdoors.
- Do not let cord hang over edge of table or counter, or touch hot surfaces.
- Do not place on or near a hot gas or electric burner, or in a heated oven.
- Always attach plug to appliance first, then plug cord into the wall outlet. To disconnect, turn any control to "off", then remove plug from wall outlet.
- Do not use appliance for other than intended use.
Product Overview and Components
Familiarize yourself with the various parts of your Acekool Commercial Slushy Machine.
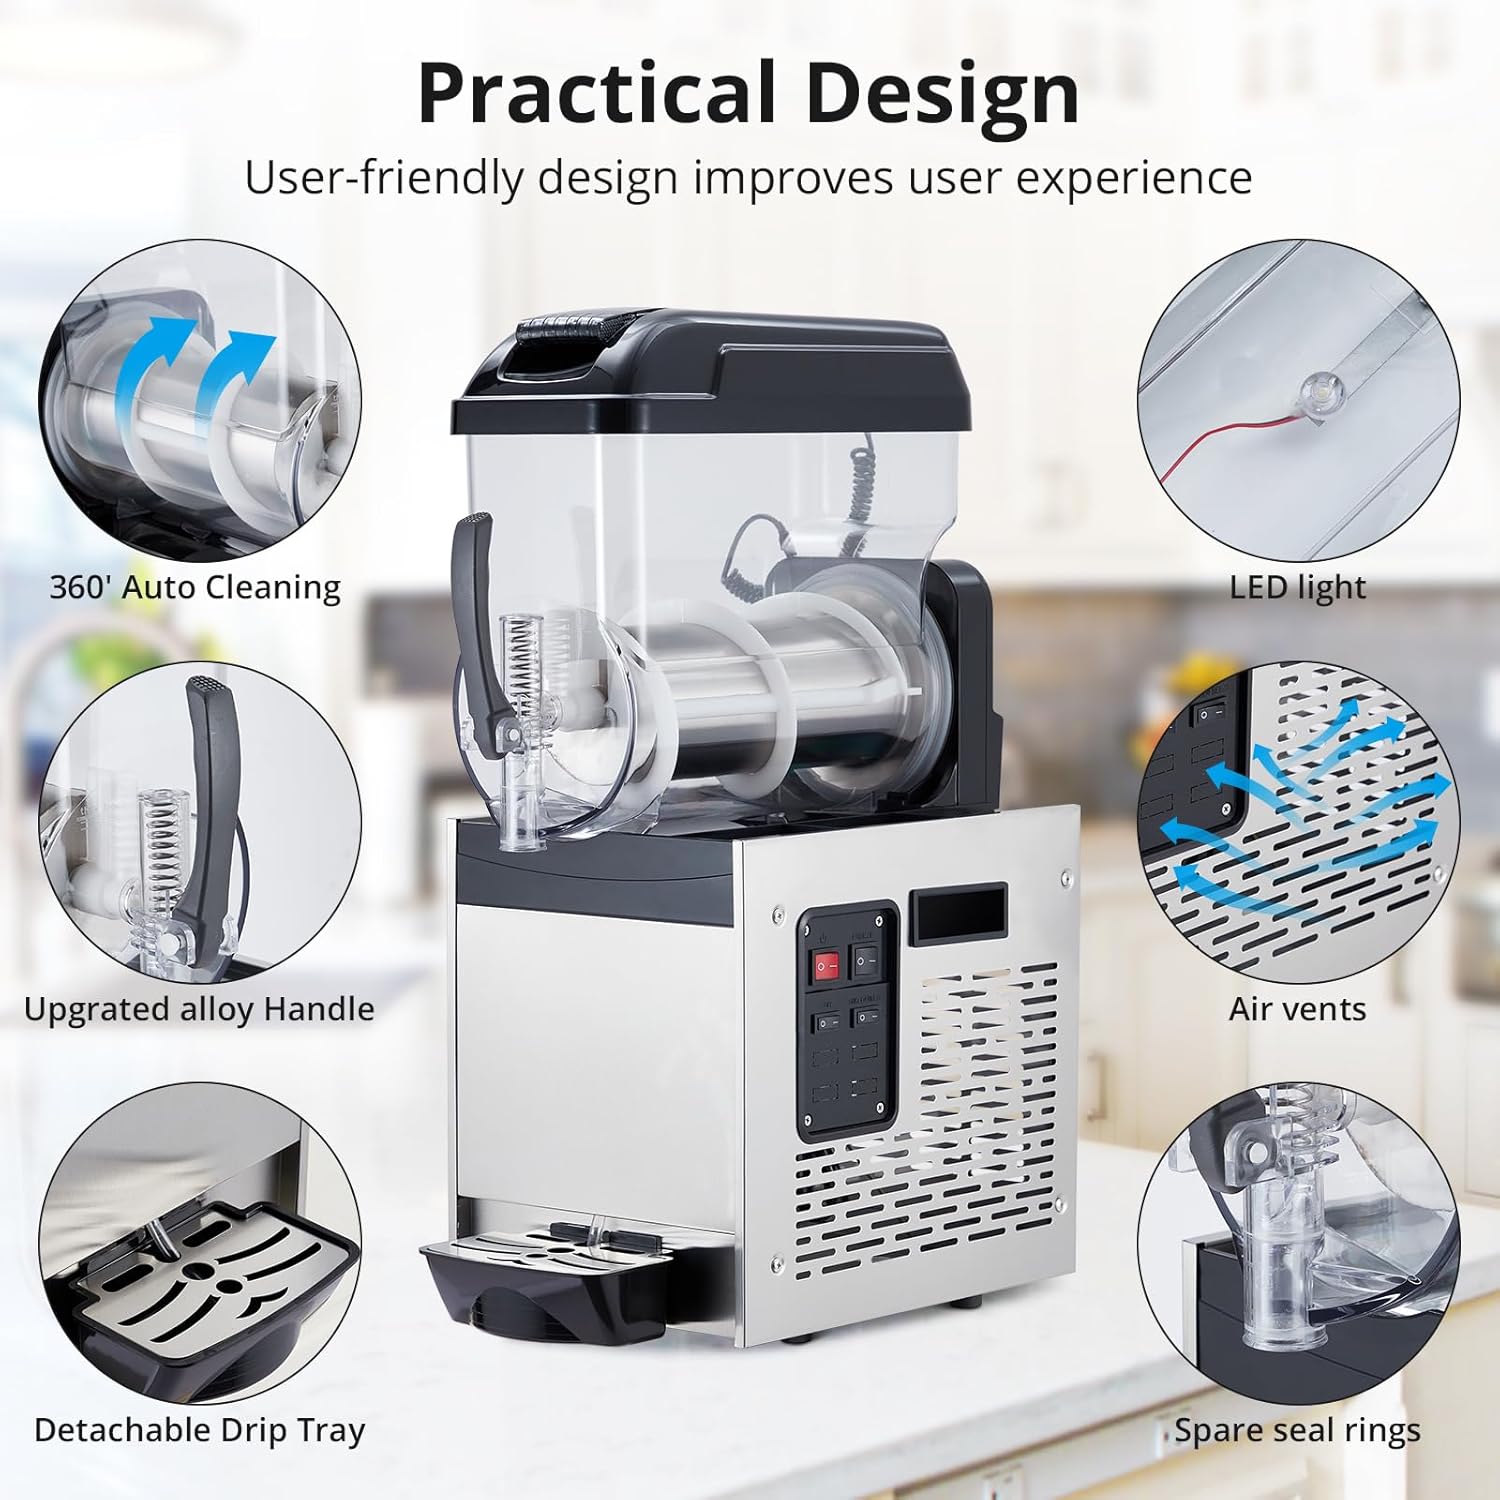
Figure 2: Practical Design Features of the Slushy Machine.
- Premium Food-grade PC Tank: The transparent tank holds the beverage mixture. Capacity: 12L (3.2 Gallons).
- Stainless Steel Body: Durable and corrosion-resistant main unit housing the cooling system.
- Upgraded Alloy Handle: Ergonomically designed handle for dispensing beverages.
- Detachable Drip Tray: Collects spills and drips, easily removable for cleaning.
- Control Panel: Intuitive interface for operating the machine (Power, Freeze, Stir, Single Freeze).
- LED Light: Illuminates the tank for clear visibility of the beverage.
- Air Vents: Ensures proper ventilation for the cooling system.
- 360° Auto Cleaning Function: Simplifies the cleaning process of the tank.
- Stable Compressor & Efficient Condenser: Components of the premium cooling system for quick and consistent freezing.

Figure 3: Machine Dimensions and Key Components.
Setup Instructions
- Unpacking: Carefully remove the slushy machine from its packaging. Retain packaging materials for future storage or transport.
- Placement: Place the machine on a stable, level, and dry surface. Ensure there is adequate ventilation around the machine, especially near the air vents. Avoid placing it near heat sources or in direct sunlight.
- Initial Cleaning: Before first use, thoroughly clean all parts that will come into contact with beverages.
- Remove the tank and lid.
- Wash the tank, lid, and stirring components with mild soap and warm water. Rinse thoroughly.
- Wipe down the exterior of the machine with a damp cloth.
- Ensure all parts are completely dry before reassembling.
- Power Connection: Plug the power cord into a grounded electrical outlet. Ensure the voltage matches the machine's requirements (500W).
Operating Instructions
Follow these steps to prepare and dispense your frozen beverages.

Figure 4: Control Panel Overview.
- Prepare Beverage Mixture: Mix your desired beverage (juice, cocktail mix, etc.) according to its instructions. Ensure the sugar content is sufficient (typically above 13%) for proper freezing and slush consistency.
- Fill the Tank: Open the independently opening lid and pour the prepared mixture into the premium food-grade PC tank. Do not overfill beyond the maximum fill line.
- Power On: Press the Power switch (red switch) on the control panel to turn on the machine. The LED light inside the tank will illuminate.
- Select Mode:
- Freeze Mode: Press the Freeze switch (white switch) to begin the freezing process. The stirring mechanism will activate automatically to ensure even freezing.
- Stir Mode: If you only want to stir the liquid without freezing (e.g., for chilling or mixing), press the Stir switch.
- Single Freeze Mode: This option may be available for specific freezing requirements. Consult the control panel for its specific function if present.
- Monitor Progress: The machine will continuously stir and freeze the mixture until it reaches the desired slush consistency. This typically takes minutes, depending on the initial temperature of the liquid and ambient conditions.
- Dispense Beverage: Once the slush is ready, place a cup under the dispensing spout and pull down the upgraded alloy handle to release the frozen beverage.
- Turn Off: After use, or when the tank is empty, turn off the Power switch and unplug the machine.
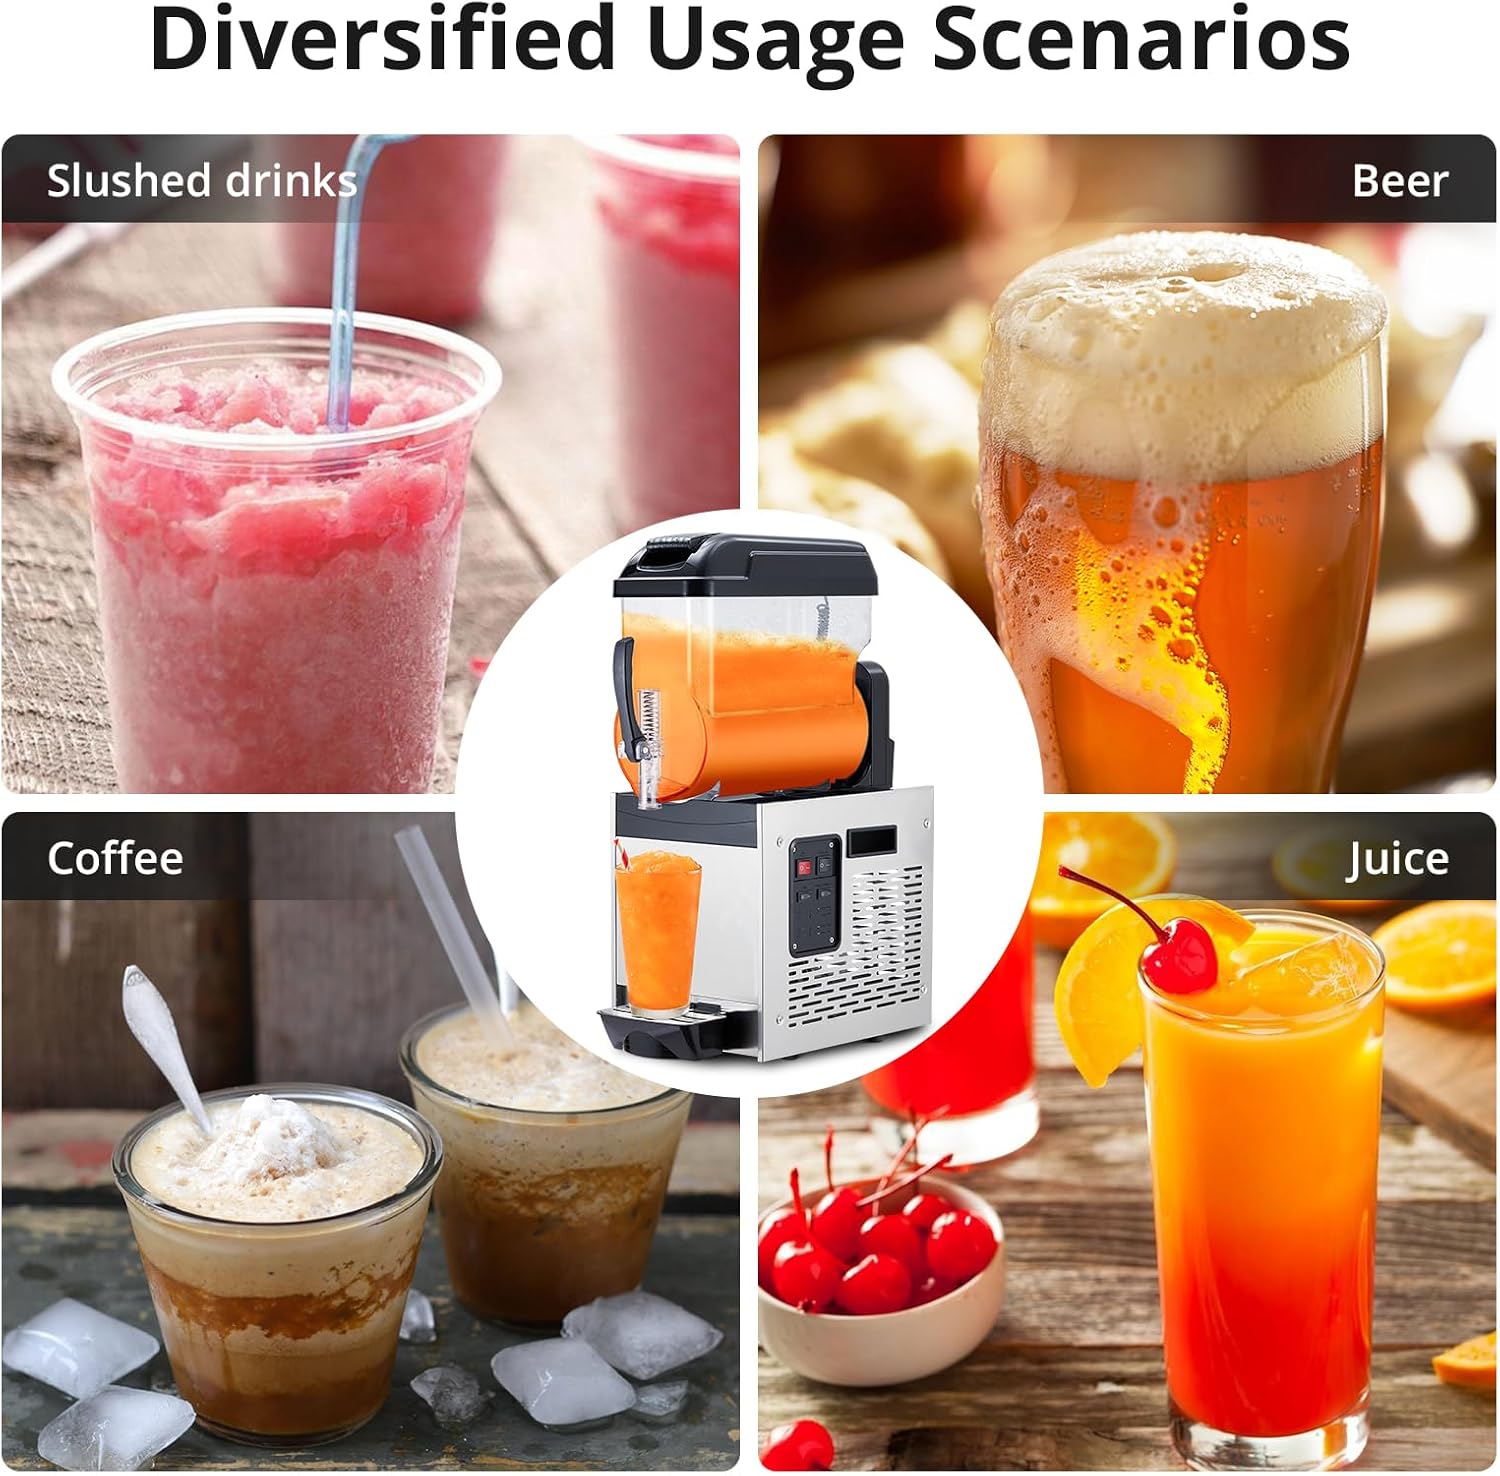
Figure 5: Diversified Usage Scenarios for the Slushy Machine.
Maintenance and Cleaning
Regular cleaning and maintenance will ensure the longevity and hygienic operation of your slushy machine.
- Daily Cleaning (Self-Cleaning Function):
- Empty any remaining beverage from the tank.
- Fill the tank with clean water (and a small amount of food-grade sanitizer if desired).
- Activate the 360° Auto Cleaning function (refer to control panel or specific instructions if a dedicated button exists, otherwise use Stir mode).
- Allow the machine to run for a few minutes to circulate the cleaning solution.
- Drain the cleaning solution through the dispensing spout.
- Rinse the tank with clean water and drain again.
- Deep Cleaning: Periodically, or as needed, perform a deep clean.
- Unplug the machine.
- Disassemble the tank, lid, stirring auger, and dispensing handle components.
- Wash all removable parts with warm, soapy water. Use a brush for hard-to-reach areas.
- Rinse thoroughly and allow all parts to air dry completely before reassembly.
- Wipe down the exterior of the stainless steel body with a damp cloth and then dry with a soft towel.
- Clean the detachable drip tray regularly.
- Air Vents: Ensure the air vents on the machine's body are clear of dust and debris to maintain proper cooling system efficiency. Use a soft brush or vacuum cleaner if necessary.
- Storage: When not in use for extended periods, ensure the machine is clean and dry. Store it in a cool, dry place, preferably in its original packaging.
Troubleshooting
Refer to this section for common issues and their potential solutions.
| Problem | Possible Cause | Solution |
|---|---|---|
| Machine does not turn on. | No power supply; Power switch off; Damaged cord/plug. | Check power outlet; Ensure power switch is ON; Inspect cord/plug for damage (do not use if damaged, contact support). |
| Beverage not freezing or too watery. | Freeze mode not activated; Insufficient sugar content in mixture; Ambient temperature too high; Overfilled tank. | Ensure Freeze mode is ON; Adjust sugar content (min 13%); Ensure proper ventilation; Do not overfill. |
| Machine is noisy. | Normal operation sound; Machine not level; Obstruction in stirring mechanism. | Some noise is normal; Ensure machine is on a level surface; Check for foreign objects in the tank. |
| Leaking from dispensing spout. | Dispensing handle not fully closed; Worn or improperly seated seal rings. | Ensure handle is fully closed; Inspect and replace seal rings if necessary (spare seal rings are provided). |
| Slush is too thick or icy. | Mixture too concentrated; Machine running too long in freeze mode. | Add a small amount of water to dilute; Turn off freeze mode once desired consistency is reached. |
Specifications
| Feature | Detail |
|---|---|
| Model Number | SECXRJ15X263 |
| Capacity | 12 Liters (3.2 Gallons) |
| Power | 500W |
| Product Dimensions | 22.83 x 14.96 x 36.14 inches |
| Item Weight | 86.6 pounds |
| Material | Stainless Steel (body), Food-grade PC (tank) |
| Manufacturer | Acekool |

Figure 6: Premium Cooling System Components.
Warranty and Customer Support
For warranty information, technical assistance, or any questions regarding your Acekool Commercial Slushy Machine, please contact Acekool Customer Support.
Refer to your purchase documentation or the Acekool official website for specific warranty terms and contact details.
You can also visit the Acekool Store on Amazon for more information and support resources.


