
PGYTECH P-CB-256
PGYTECH Large Camera Insert Bag User Manual
Model: P-CB-256
Introduction
This manual provides comprehensive instructions for the PGYTECH Large Camera Insert Bag (Model: P-CB-256). Designed for photographers and travelers, this waterproof lens pouch offers robust protection and versatile organization for your camera gear, including DSLR/SLR cameras, lenses, and accessories.

Image: The PGYTECH Large Camera Insert Bag, shown open with multiple camera bodies and lenses neatly organized within its padded compartments.
Key Features
- Stable and Non-Deformable: Features a unique frame structure with an embedded steel frame at the opening to prevent deformation, ensuring stable and sturdy protection.

Image: Detail of the bag's sturdy metal frame structure, highlighting its robust construction.
- Enhanced Protection, Lightweight Design: Constructed with a high-density foam body and dividers for effective shock absorption. The surface features a water-resistant treatment, and the interior is lined with soft Velcro to prevent scratches.
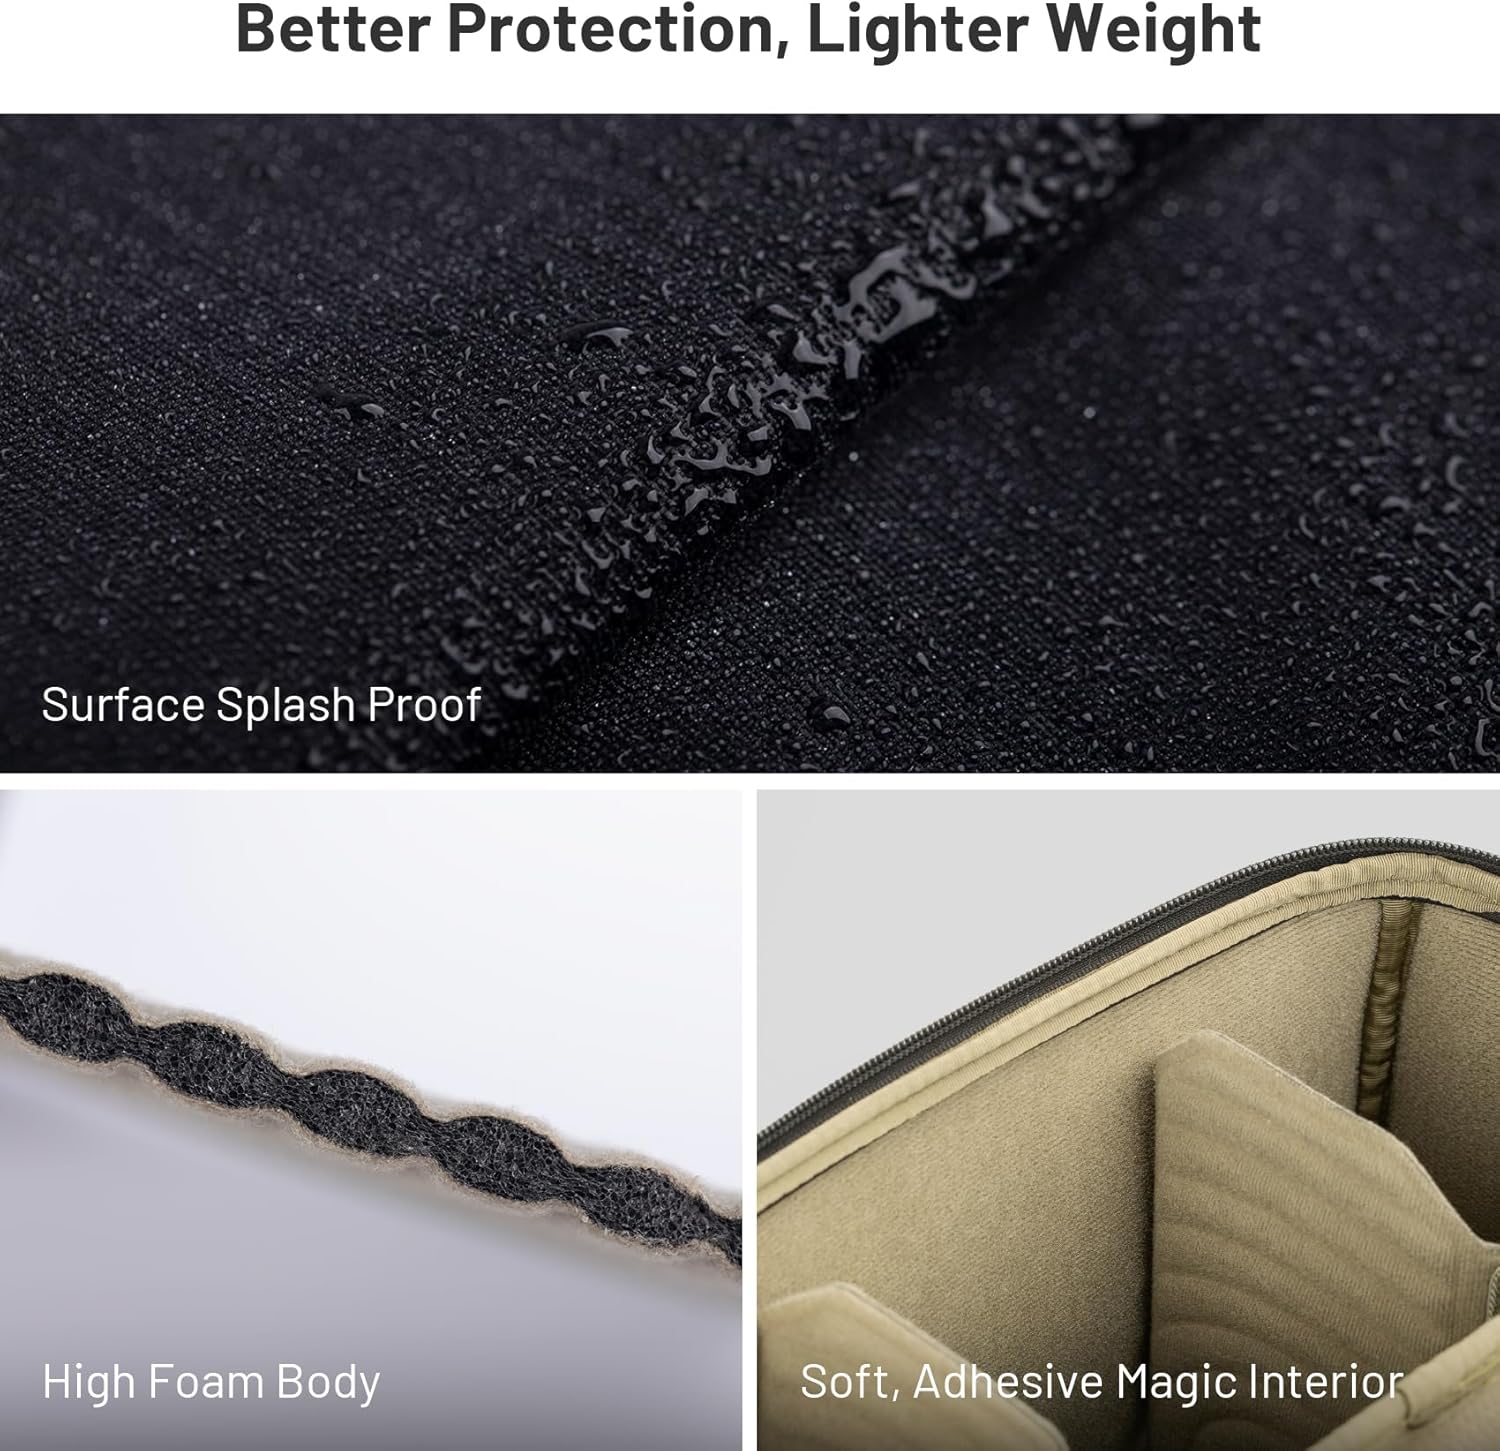
Image: Visual representation of the bag's splash-proof exterior, high-density foam padding, and soft interior lining.
- DIY Dividers for Organized Storage: Includes a molded DIY compartment system with adjustable dividers, allowing for customized organization and secure storage of various equipment, preventing bumps and damage.

Image: The bag's interior with flexible dividers arranged to accommodate different camera equipment.
- Convertible to Shoulder Bag: Comes with a shoulder strap (Note: Size L does not include a shoulder strap, recommended for use as an insert bag only), allowing easy conversion into a shoulder bag for convenient access to photographic equipment.

Image: Demonstrates the bag being used as a shoulder bag and as a convenient workstation for quick access to gear.
- YKK Zippers for Reliability: Equipped with YKK splash-proof zippers for enhanced quality, safety, and stability. Features a horn buckle design on the side for easy attachment to a camera bag or shoulder strap.

Image: Detailed view of the durable YKK zipper and the practical horn buckle for attachment.
Setup and Configuration
1. Configuring Internal Dividers
The PGYTECH Camera Insert Bag comes with adjustable dividers to customize the internal layout according to your equipment. These dividers attach securely with Velcro.
- Open the main zipper of the bag to access the interior.
- Identify your camera bodies, lenses, and accessories. Plan their arrangement to maximize space and protection.
- Attach the dividers to the soft Velcro lining inside the bag. Ensure they are firmly pressed against the lining for secure placement.
- Adjust the position of the dividers as needed to create snug compartments for each item, preventing movement during transport.
Image: The bag's interior with flexible dividers arranged to accommodate different camera equipment.
2. Converting to a Shoulder Bag (Sizes XS, S, M only)
For sizes XS, S, and M, the insert bag can be transformed into a convenient shoulder bag using the included shoulder strap. The Large (L) size is primarily designed as an insert and does not include a shoulder strap.
- Locate the buckle attachment points on the sides of the insert bag.
- Attach each end of the shoulder strap to these buckle points, ensuring they are securely fastened.
- Adjust the length of the shoulder strap for comfortable carrying.
Video: Demonstrates how to attach the shoulder strap to the camera insert bag, converting it into a shoulder bag. It also shows how to tighten the shoulder straps to keep the bag stable and prevent equipment from falling during quick lens changes.
Image: The bag configured as a shoulder bag, ready for transport or use as a portable workstation.
Operation and Usage
1. Organizing Your Gear
Utilize the adjustable dividers to create custom compartments that snugly fit your camera body, lenses, and other accessories. This prevents items from shifting and provides optimal protection.
Image: An overhead view of the bag's interior, showcasing a well-organized arrangement of camera equipment using the flexible dividers.
2. Quick Access and Lens Changes
When used as a shoulder bag or inserted into a larger backpack, the bag's design allows for quick and easy access to your equipment, facilitating rapid lens changes or camera retrieval.

Image: A user demonstrating quick access to camera gear through the top opening of a backpack, where the PGYTECH insert bag is stored.
Video: Illustrates the ease of accessing equipment for quick lens changes when the bag is used as a shoulder bag. It emphasizes keeping equipment evenly placed and tightening straps for stability.
Maintenance
To ensure the longevity and performance of your PGYTECH Camera Insert Bag, follow these maintenance guidelines:
- Cleaning: For minor dirt or dust, wipe the exterior with a soft, damp cloth. For more stubborn stains, use a mild soap solution and a soft brush, then wipe clean with a damp cloth. Allow to air dry completely.
- Water Resistance: The bag features a water-resistant surface treatment. While it offers protection against splashes, it is not fully submersible. Avoid prolonged exposure to heavy rain or submersion in water.
Image: Detail showing water droplets beading on the bag's surface, demonstrating its splash-proof characteristic.
- Storage: Store the bag in a cool, dry place away from direct sunlight when not in use.
- Zipper Care: Periodically check the YKK zippers for any debris and clean if necessary to ensure smooth operation.
Troubleshooting
If you encounter any issues with your PGYTECH Camera Insert Bag, consider the following common scenarios:
- Bag Deforms/Loses Shape: Ensure the bag is not overpacked. The embedded steel frame provides structural integrity, but excessive force or improper packing can temporarily affect its shape. Repack items evenly.
- Dividers Not Staying in Place: Ensure the Velcro on the dividers and the interior lining are clean and free of lint or debris. Press the dividers firmly against the lining to ensure a strong adhesion.
- Zippers Sticking: Clean the zipper teeth with a small brush to remove any dirt. A small amount of zipper lubricant (e.g., beeswax or silicone spray) can be applied if needed, but avoid getting it on the fabric.
- Equipment Not Fitting: Refer to the specifications section for external and internal dimensions. Adjust dividers to optimize space. If you have the L size, remember it is designed for larger setups and does not include a shoulder strap for conversion.
Specifications
| Attribute | Detail |
|---|---|
| Brand | PGYTECH |
| Model Number | P-CB-256 |
| Item Weight | 3.08 pounds (approx. 1.4 kg) |
| Package Dimensions | 18.9 x 13 x 7.3 inches (approx. 48 x 33 x 18.5 cm) |
| Material | High-density foam, water-resistant exterior, soft Velcro lining, steel frame, YKK zippers |
| Compatibility (L Size) | For regular DSLR and mirrorless cameras: 2 cameras + 8 lenses; DJI drones. |

Image: A diagram illustrating the external and internal dimensions and typical capacities for all available sizes (XS, S, M, L) of the PGYTECH Camera Insert Bag.
Warranty and Support
For warranty information, product support, or to inquire about replacement parts, please visit the official PGYTECH website or contact their customer service directly. Keep your purchase receipt as proof of purchase for any warranty claims.
Official PGYTECH Store: PGYTECH Store on Amazon
Ask a question about this manual
Ask about setup, troubleshooting, compatibility, parts, safety, or missing instructions. Manuals+ will review the question and use this page’s manual context to help answer it.