
1. Safety Information
Risk of Electric Shock
- Before installing this ceiling fan, disconnect the power supply by turning off the circuit breaker.
- All electrical connections must be in accordance with local and National Electric Code (N.E.C.) standards and ANSI/NFPA 70.
- Consult a qualified electrician if you are unfamiliar with proper electrical wiring connections.
- Do not alter, re-locate, or remove wiring when nothing goes wrong with the product.
- Double-check all connections and screws to be sure they are tight and correct.
- Verify whether the supply voltage is correct by comparing it with the product information (120V).
- To avoid fire, shock, and serious personal injury, please read the following instructions carefully.
Important Safety Instructions
- Before installing the fan, disconnect the power by removing fuses or turning off circuit breakers.
- Make sure the installation site you choose allows a minimum of 7.5 feet from the blades to the floor.
- This fan is designed for use with a conventional ON/OFF wall switch only. Do not use a gear switch or dimmer switch.
- Both fans are powered by a controller and DC motor. It is not possible to control the fan independently with multiple wall switches. If you have more than one live wire, connect one of them and insulate the other.
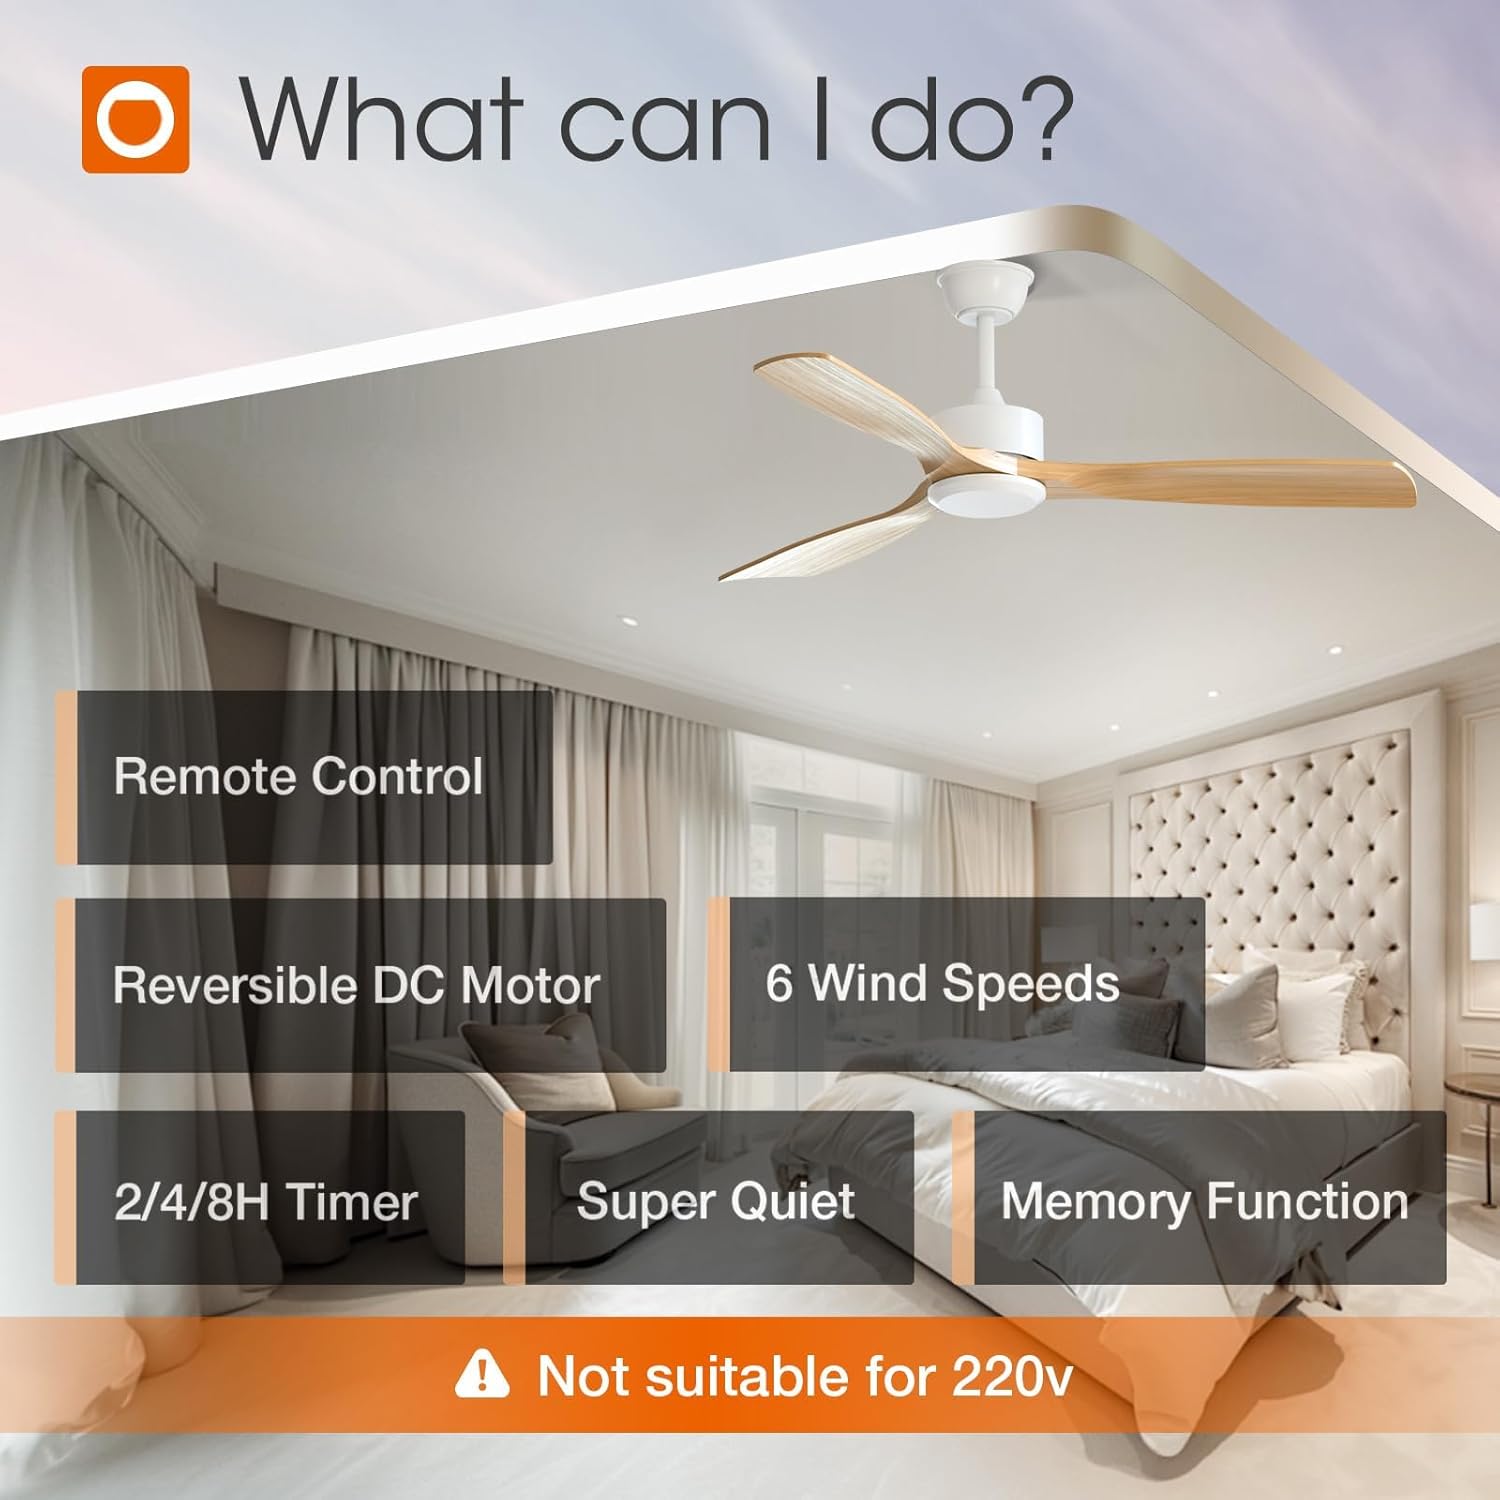
Image: Remote control features and warnings about compatible switch types and voltage (120V).
2. Package Contents
Please check the list of accessories in the manual to ensure all components are present and complete before beginning installation.

Image: Two addlon 52 inch white ceiling fans with wood blades and remote controls, as included in the 2-pack.
Components Included:
- Ceiling Fan Motor Assembly (2 units)
- Wood Blades (3 per fan, 6 total)
- Downrods (5-inch and 10-inch options per fan)
- Canopy and Canopy Cover
- Hanger Bracket
- Remote Control (2 units, with AAA batteries)
- Mounting Hardware (screws, washers, wire connectors)
- Instruction Manual
3. Setup and Installation
Follow these steps carefully to ensure proper and safe installation of your addlon ceiling fan. Always ensure power is disconnected before starting any electrical work.
3.1. Preparation
- Disconnect the power supply to the fan location at the circuit breaker.
- Separate the mounting bracket from the canopy by loosening the screws.
3.2. Hanger Bracket Installation
- According to your ceiling type, choose the appropriate screws to secure the provided addlon hanger bracket to the ceiling junction box. Ensure it is firmly attached.
3.3. Downrod & Motor Assembly
- String the decorative cover, canopy cover, and canopy onto the downrod.
- Remove the 3 motor protection plates from the top of the motor.
- Thread the motor's cord through the downrod. Plug the pin into the motor, insert the fixing back, and tighten the screws to secure the downrod to the motor.
- Hang the downrod and motor assembly onto the ceiling bracket. Make sure the downrod ball engages the ridge on the hanger bracket.
- Insert the receiver into the bracket for wiring.
- Connect the wires: White wire to Neutral, Black wire to Live, Green wire to Ground. Plug the wire connectors tightly, ensuring wires of the same color are connected.
- Slide up the canopy and tighten the screws, then push the canopy cover upward until it snaps into place.
3.4. Blade Installation
- Install each blade with 2 screws. Don't forget that spacers are required on all screws.
- Install all 3 blades and tighten all 6 screws to ensure the stability of the fan.
Video: Installation Guide for addlon 52 inch Downrod Mount Ceiling Fan Without Light. This video demonstrates the step-by-step process of assembling and installing the ceiling fan, including securing the hanger bracket, attaching the downrod and motor, wiring connections, and installing the blades.
4. Operating Instructions
Your addlon ceiling fan is controlled by the included remote control. Ensure the remote has fresh AAA batteries installed.
4.1. Remote Control Functions
- Power Button: Turns the fan ON/OFF.
- Fan Speed Buttons (1-6): Adjusts the fan speed from Level 1 (low comfortable wind) to Level 6 (high cooling wind).
- Reverse Button (R): Changes the direction of the fan blades for summer (downward airflow) or winter (upward airflow) modes. The fan will take some time to slowly stop before starting to reverse.
- Timer Buttons (1H, 2H, 4H, 8H): Sets the fan to automatically turn off after the selected duration.
- Memory Function: The fan has a memory function to keep the last working state (speed and direction) when powered off and on again.

Image: Diagram illustrating the 6 selectable wind speeds, categorized into Low, Medium, and High for different comfort levels.

Image: Illustration of the reversible DC motor function, showing downward airflow for cooling in summer and upward airflow for improved air circulation in winter.
Video: Demonstration of addlon Ceiling Fan features including remote control, 6 wind speeds, reversible function, and timer setting. Note: This product variant does not include a light kit, so light-related functions shown in the video are not applicable.
5. Maintenance
Regular maintenance ensures optimal performance and longevity of your ceiling fan.
- Cleaning: Clean the fan blades and motor housing periodically with a soft, damp cloth. Do not use abrasive cleaners or solvents.
- Tightness Check: Periodically check all screws and connections to ensure they are secure. Loose connections can cause noise or malfunction.
- Blade Balance: If the fan wobbles, check that all blades are securely attached and balanced. A balancing kit (not included) may be used if necessary.
- Damp Rated: This fan is damp rated, suitable for indoor and covered outdoor use. Avoid direct exposure to rain.
6. Troubleshooting
If you experience issues with your fan, refer to the following common problems and solutions:
| Problem | Possible Cause | Solution |
|---|---|---|
| Fan does not start | No power to the fan; Loose wire connections; Remote control battery low. | Check circuit breaker and wall switch; Verify all wire connections are secure; Replace remote control batteries. |
| Fan makes noise | Loose screws on motor housing or blades; Improperly installed blades. | Tighten all screws on the motor housing and blades; Ensure blades are installed correctly and securely. |
| Fan wobbles | Loose blade screws; Unbalanced blades; Loose mounting bracket. | Tighten all blade screws; Check blade balance (a balancing kit may be needed); Ensure mounting bracket is securely fastened to the ceiling. |
| Remote control not working | Low or dead batteries; Remote not paired with fan. | Replace AAA batteries; Refer to remote pairing instructions in the manual (if applicable, usually involves pressing a button combination). |
7. Specifications
| Feature | Detail |
|---|---|
| Brand | addlon |
| Model Name | KDM52WOO3B03R0-D |
| Color | White |
| Electric Fan Design | Ceiling Fan |
| Power Source | AC |
| Style | No Light |
| Product Dimensions | 51.97"D x 51.97"W x 15.75"H |
| Room Type | Bedroom, Dining Room, Living Room, Study Room |
| Special Features | 6 Speeds, Quiet Operation, Remote Control, Reversible |
| Recommended Uses | Air Circulation, Cooling |
| Wattage | 19.5 watts |
| Finish Type | Unfinished (Wood Blades) |
| Number of Blades | 3 |
| Air Flow Capacity | 3288 Cubic Feet Per Minute |
| Speed | 6 RPM (6 speed settings) |
| Voltage | 120 Volts |
| Included Components | Ceiling Fan, Cord, Mounting Hardware, Remote |
| Indoor/Outdoor Usage | Indoor, Outdoor (Damp Rated) |
| Control Method | Remote |
| Efficiency | Energy Efficient (DC Motor) |
| Motor Type | DC |
| Installation Type | Ceiling Mount (Downrod Mount) |
| Item Weight | 21.3 pounds |
| Batteries | 2 AAA batteries required (included) |

Image: Diagram illustrating the ceiling fan dimensions (52 inch diameter, 13.3-18.3 inch height with downrod), recommended room size (12-18FT), and compatible mount types (downrod and angled up to 15 degrees).
8. Warranty and Support
addlon is committed to providing high-quality products and excellent customer service.
- Motor Warranty: We offer up to 120 months (10 years) warranty on the motor.
- Fan Warranty: A 2-year warranty is provided on the rest of the fan components.
- Customer Support: We offer 24-hour customer support. Please feel free to contact us with any questions you may have during installation or use, and we will be happy to assist you.
If your remote control or other accessories are damaged or lost, please contact us for assistance.