
Introduction
Thank you for choosing the KERDE TJ01-G 24-Hour Mechanical Timer. This device is designed to automate the on/off switching of electrical appliances over a 24-hour cycle, providing convenience and energy efficiency. It features 15-minute interval settings for precise control. Please read this manual thoroughly before installation and operation to ensure safe and correct usage.
Safety Information
WARNING: This product involves electrical wiring. Improper installation or use can result in electric shock, fire, or personal injury. Always follow these safety guidelines:
- Professional Installation Recommended: If you are not familiar with electrical wiring, consult a qualified electrician.
- Disconnect Power: Always turn off power at the circuit breaker or fuse box before installing, servicing, or removing the timer.
- Voltage Compatibility: Ensure the timer's voltage rating (110-120V AC, 60Hz) matches your electrical supply.
- Load Capacity: Do not exceed the maximum switch rating of 20 Amps.
- Indoor Use Only: This timer is designed for indoor use in dry locations. Do not expose to water or extreme humidity.
- No Grounding: Note that this timer does not include a ground terminal. Ensure your installation environment accounts for this.
- Exposed Wiring: Be aware that wiring terminals may be exposed. Mount the timer in an appropriate enclosure to prevent accidental contact.
Product Overview
The KERDE TJ01-G is a compact 24-hour mechanical timer designed for fixed mounting. It features a rotating dial with 15-minute segments for setting ON/OFF times.
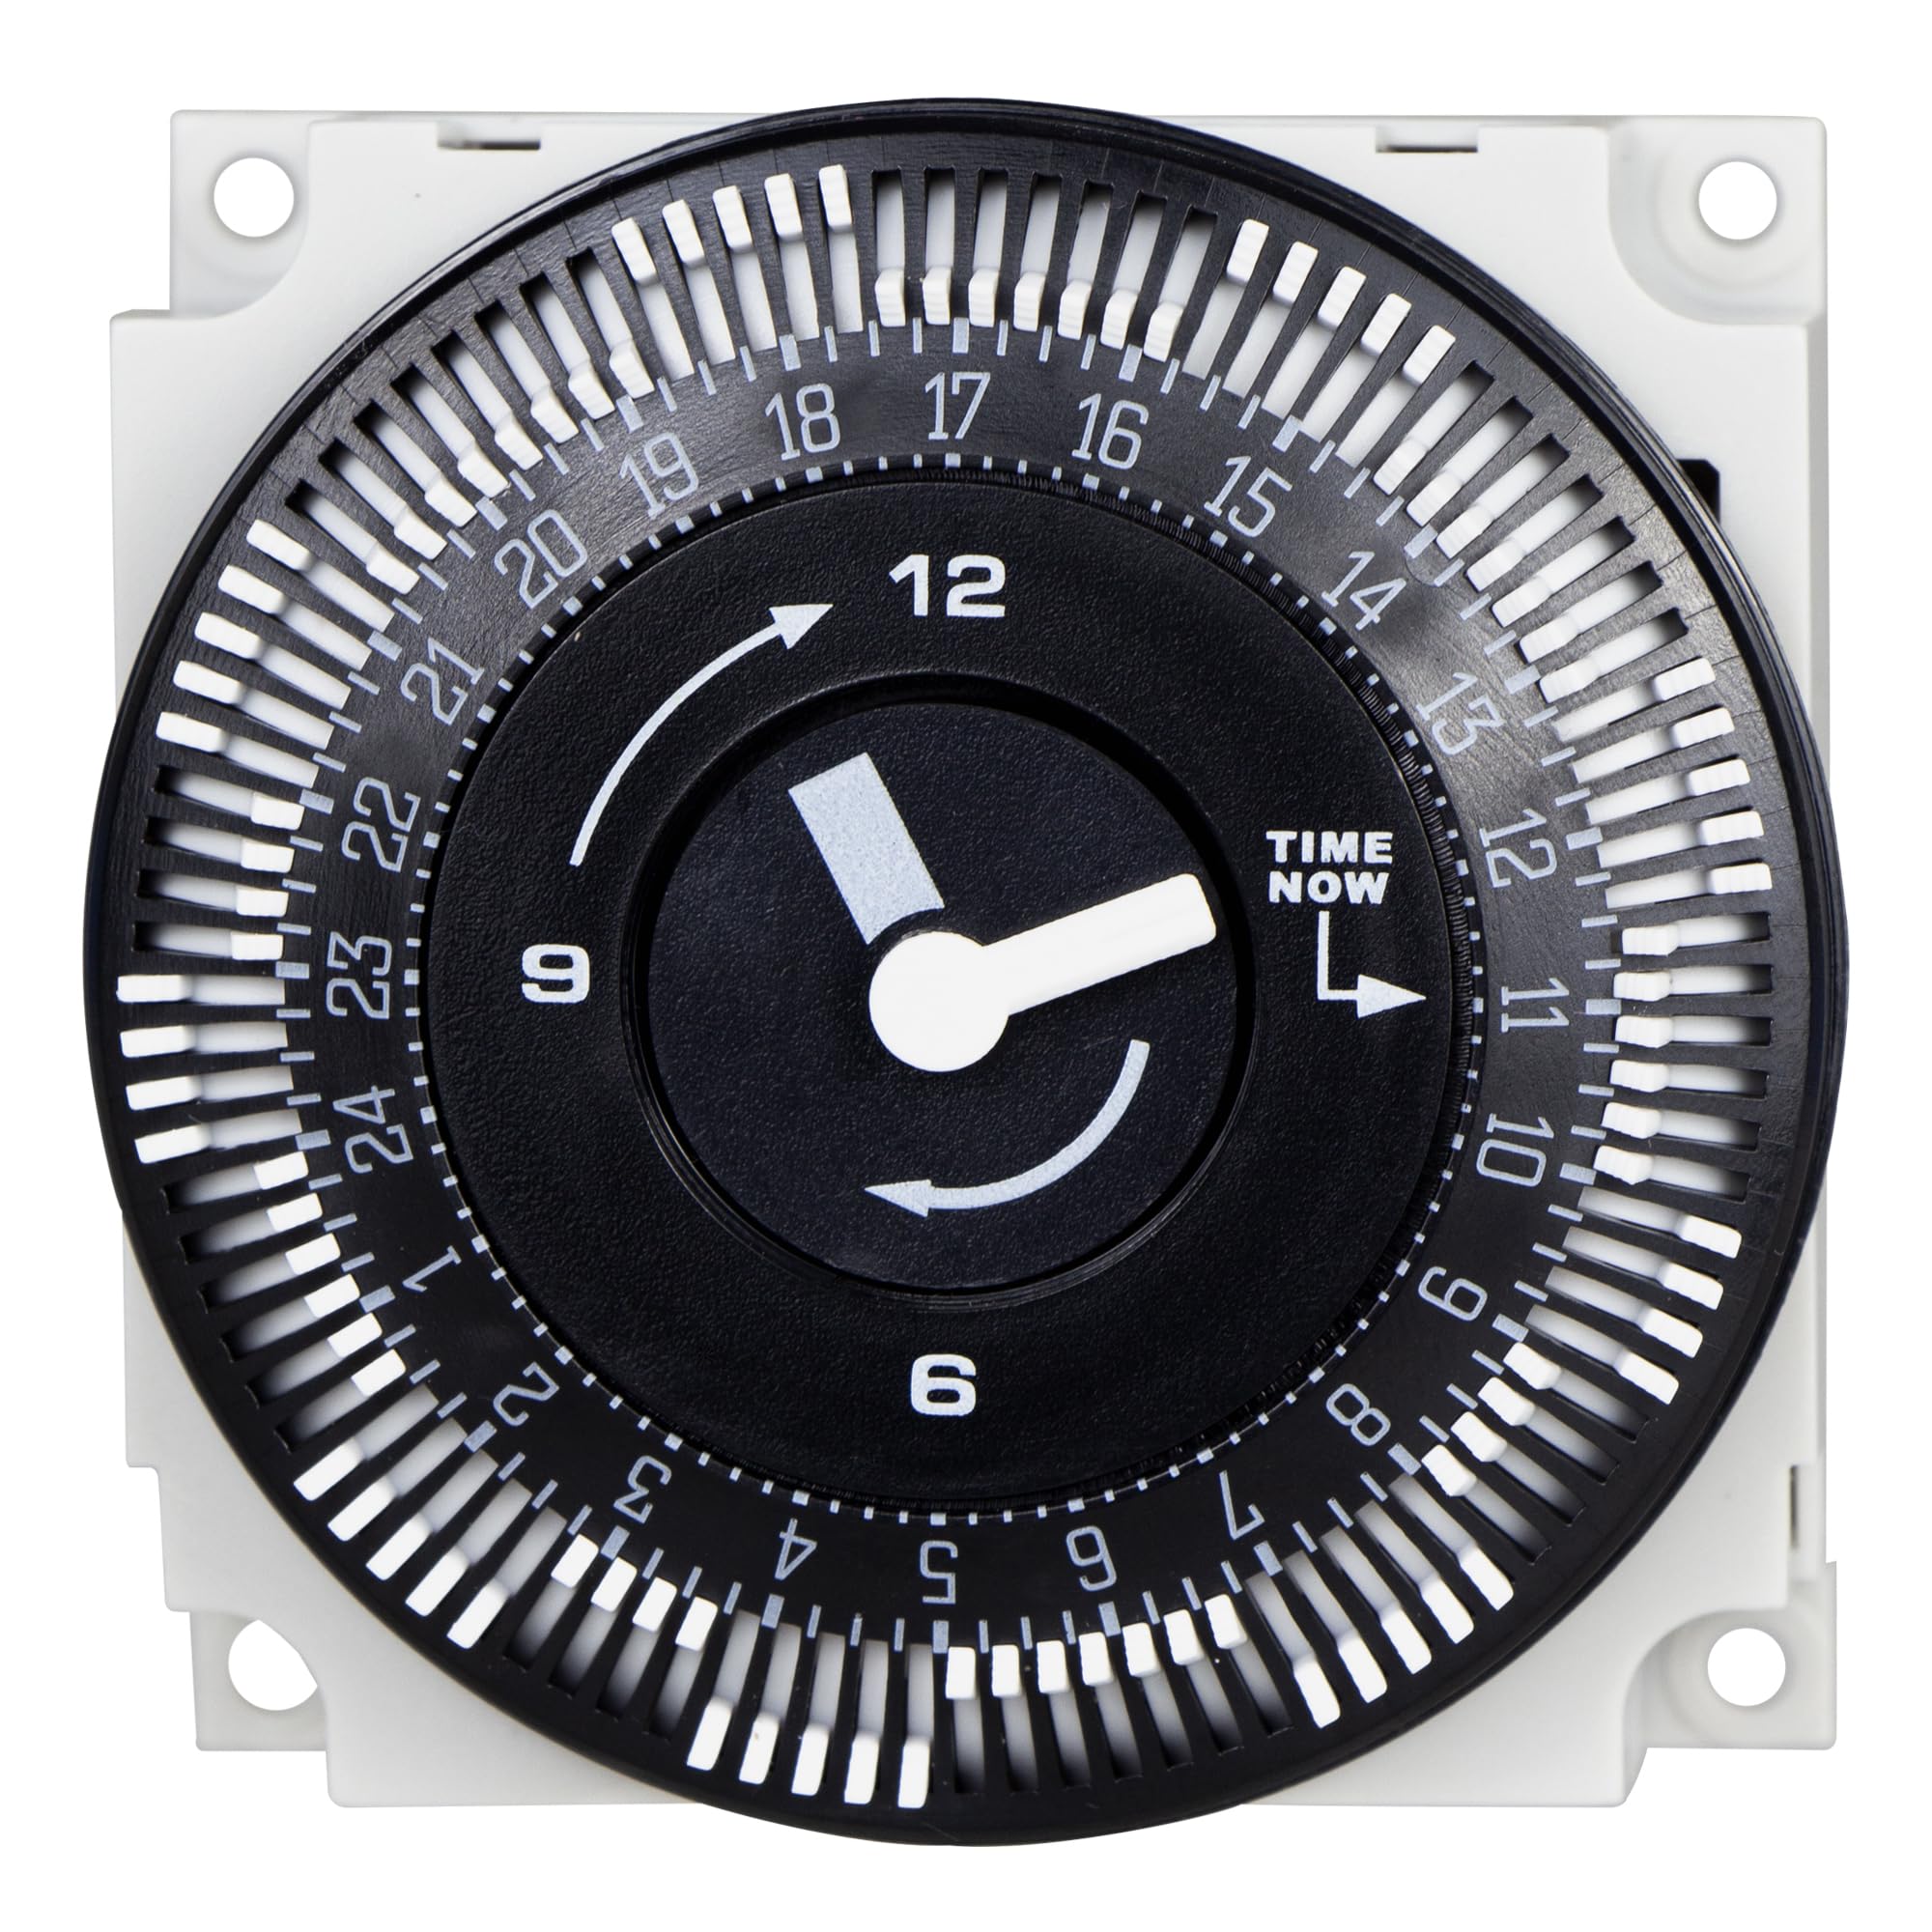
Figure 1: Front View of the KERDE TJ01-G Timer. This image displays the timer's front face, featuring a black dial with white numbers indicating hours (1-24) and a central clock-like mechanism with a "TIME NOW" arrow. Around the dial, numerous white pins are visible, which are used to set the on/off intervals.
Key Components:
- 24-Hour Dial: The central rotating dial marked with hours from 1 to 24.
- Time Now Arrow: Indicates the current time on the dial.
- ON/OFF Pins: Small, movable pins around the dial. Each pin represents a 15-minute interval. Pushing a pin outwards activates the timer during that interval; pushing it inwards deactivates it.
- Wiring Terminals: Located on the back of the unit for electrical connections.
Setup and Installation
The KERDE TJ01-G timer is designed for fixed wiring installation. It is not a plug-and-play device. Ensure power is disconnected before proceeding.

Figure 2: Back View with Wiring Terminals. This image shows the reverse side of the timer, detailing the electrical specifications (125Vac, 20A, 1Hp, 1200W Tungsten, 60Hz) and the wiring terminals. The terminals are labeled 'Nc' (Normally Closed), 'NO' (Normally Open), 'COM' (Common), 'L' (Line/Live), and 'N' (Neutral). This diagram is crucial for correct electrical installation.
Wiring Instructions:
- Disconnect Power: Turn off the main power supply to the circuit where the timer will be installed.
- Mounting: Securely mount the timer in a suitable electrical enclosure. The timer dimensions are approximately 2.4"D x 2.4"W x 1.25"H.
- Identify Terminals: Refer to Figure 2 for the terminal layout.
- L (Line/Live): Connect the incoming live wire from your power source.
- N (Neutral): Connect the incoming neutral wire from your power source.
- COM (Common): This is the common terminal for the switched load.
- NO (Normally Open): Connect this to the live wire of the appliance you want to control if you want it to turn ON when the timer is active.
- Nc (Normally Closed): Connect this to the live wire of the appliance you want to control if you want it to turn OFF when the timer is active (or ON when the timer is inactive).
- Connect Power Input: Connect the incoming 110-120V AC live wire to the 'L' terminal and the incoming neutral wire to the 'N' terminal.
- Connect Load:
- For a standard ON/OFF operation, connect the live wire of your appliance to either the 'NO' or 'Nc' terminal, and connect the 'COM' terminal to the live wire of your appliance. The neutral wire of your appliance should connect directly to the incoming neutral ('N').
- The timer can act as a Single Pole, Double Throw (SPDT) switch, switching power between 'NO' and 'Nc' from the 'COM' line.
- Secure Connections: Ensure all wire connections are tight and secure.
- Restore Power: Once all connections are made and verified, restore power to the circuit.
Operating Instructions
1. Setting the Current Time:
- Rotate the entire 24-hour dial clockwise until the "TIME NOW" arrow points to the current hour. The dial is marked from 1 to 24.
2. Setting ON/OFF Periods:
- The dial is surrounded by small, white pins. Each pin represents a 15-minute interval.
- To set an ON period, push the corresponding pins outwards towards the edge of the dial.
- To set an OFF period, push the corresponding pins inwards towards the center of the dial.
- For example, to turn an appliance ON from 6:00 AM to 7:00 AM, push out the four pins between the 6 and 7-hour marks.
- The timer will automatically cycle through the set ON/OFF periods once power is supplied and the dial rotates.
Maintenance
The KERDE TJ01-G timer requires minimal maintenance.
- Cleaning: Wipe the exterior with a soft, dry cloth. Do not use liquid cleaners or solvents.
- Inspection: Periodically check wiring connections for tightness and signs of wear.
- Environment: Ensure the timer remains in a dry, indoor environment, free from dust and extreme temperatures.
Troubleshooting
| Problem | Possible Cause | Solution |
|---|---|---|
| Timer not operating / Appliance not turning ON/OFF |
|
|
| Timer runs but appliance doesn't switch |
|
|
| Timer dial not rotating |
|
|
Specifications
- Model: TJ01-G
- Brand: KERDE
- Supply Voltage: 110-120V AC, 60Hz
- Switch Rating: 20 Amp (General & Resistive), 1 Hp, 1200W (Tungsten)
- Material: Plastic
- Product Dimensions: 2.4" (Depth) x 2.4" (Width) x 1.25" (Height)
- Number of Settings: 24 (hours) with 15-minute intervals
- Color: White
Warranty and Support
For warranty information or technical support, please contact KERDE customer service through the retailer where the product was purchased or visit the official KERDE website. Please have your model number (TJ01-G) and purchase date available when contacting support.
