
1. Introduction
Thank you for choosing the ArcticPro 22-inch Full HD 100Hz Computer Monitor. This manual provides essential information for setting up, operating, maintaining, and troubleshooting your monitor. Please read it thoroughly before use to ensure optimal performance and longevity of your device.
2. Package Contents
Verify that all items are present in the package:
- ArcticPro 22-inch Monitor
- Monitor Stand (Base and Neck)
- Power Adapter
- HDMI Cable
- User Manual (this document)
3. Setup Instructions
3.1. Assembling the Monitor Stand
- Carefully remove the monitor from its packaging, placing it face down on a soft, clean surface to prevent scratches.
- Attach the stand neck to the back of the monitor by aligning the tabs and pushing firmly until it clicks into place.
- Secure the stand base to the neck using the provided screw.
Note: Ensure the stand is securely attached before placing the monitor upright.
3.2. VESA Wall Mounting (Optional)
The monitor supports a 75x75mm VESA mounting pattern. To wall mount:
- Remove the stand from the monitor if it is already attached.
- Attach your VESA-compatible wall mount bracket (not included) to the four screw holes on the back of the monitor.
- Follow the instructions provided with your wall mount for secure installation.
Warning: Use appropriate VESA screws and ensure the wall mount can support the monitor's weight (approximately 6.69 pounds).
3.3. Connecting Cables
Connect the monitor to your computer or other devices using the available ports:
- HDMI Connection: Connect one end of the HDMI cable to the HDMI port on your computer's graphics card and the other end to the HDMI port on the monitor.
- VGA Connection: Connect one end of the VGA cable to the VGA port on your computer and the other end to the VGA port on the monitor.
- Power Connection: Connect the power adapter to the monitor's power input and then plug the adapter into a power outlet.
Note: The monitor supports both HDMI and VGA inputs. Use only one video input at a time for display.
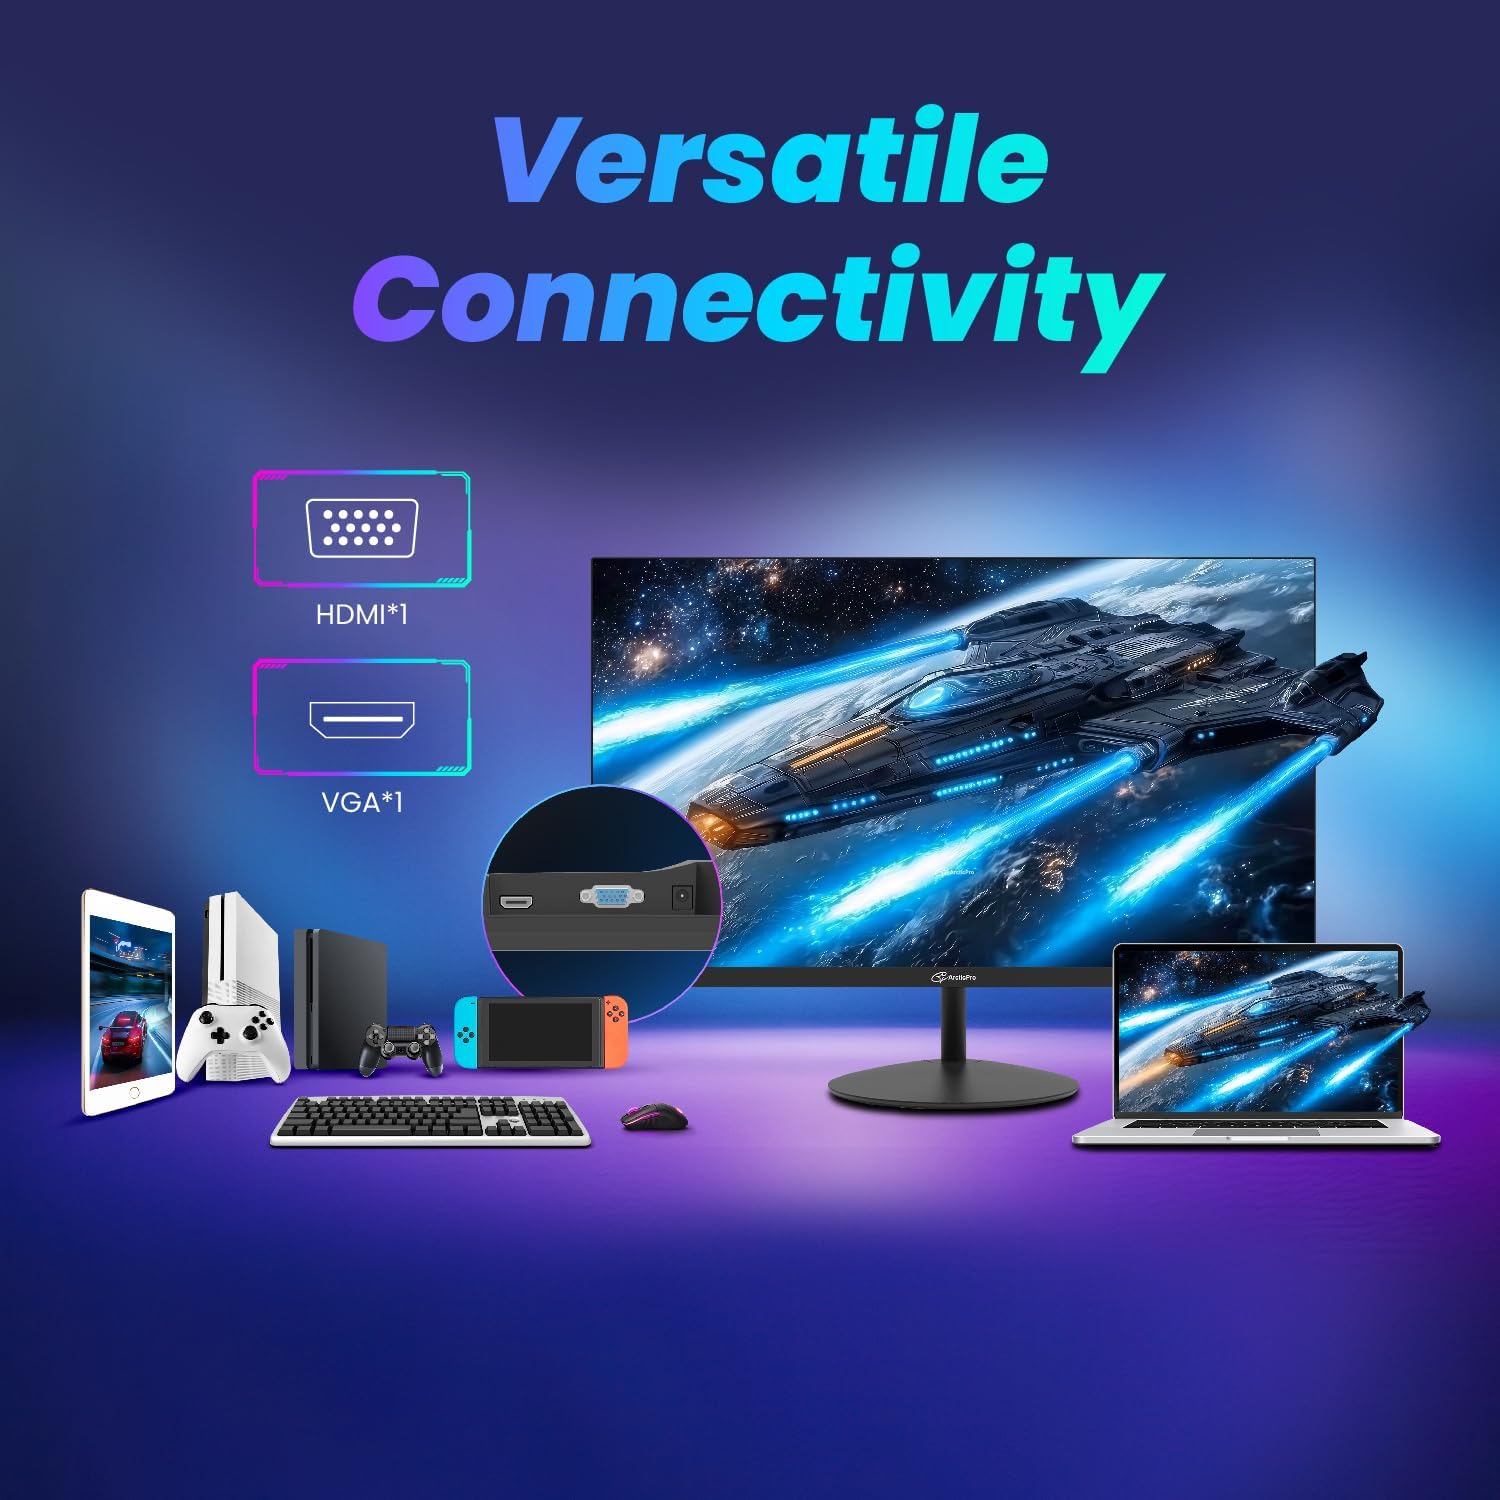
Image: Rear view of the ArcticPro monitor showing HDMI and VGA input ports, with examples of connected devices.
4. Operating Instructions
4.1. Powering On/Off
Press the power button located on the monitor to turn it on or off. The power indicator light will illuminate when the monitor is on.
4.2. Basic Display Settings
Upon initial connection, your computer should automatically detect the monitor and set the optimal resolution of 1920x1080p and a 100Hz refresh rate. If not, you may need to adjust these settings in your operating system's display settings.

Image: Front view of the ArcticPro 22-inch monitor highlighting its 100Hz refresh rate and Full HD resolution.

Image: Visual demonstration of the difference between 100Hz and 60Hz refresh rates, showing reduced motion blur at 100Hz.

Image: Illustration of the monitor's 1920x1080p Full HD resolution, demonstrating superior detail compared to 720p.
4.3. On-Screen Display (OSD) Menu
The monitor features an On-Screen Display (OSD) menu for advanced settings. Use the buttons on the monitor (typically located on the back or bottom right) to navigate and adjust settings such as brightness, contrast, color temperature, input source, and special features.
4.4. Eye Care Features
This monitor includes Flicker-Free Technology and Low Blue Light Mode to reduce eye strain during prolonged use.
- Flicker-Free Technology: Minimizes screen flickering, which can cause eye fatigue.
- Low Blue Light Mode: Reduces the emission of harmful blue light, promoting more comfortable viewing.
These features can typically be enabled or adjusted through the OSD menu.

Image: Demonstration of Flicker-Free Technology and Low Blue Light, showing a clear image versus one with visible flicker lines.
4.5. Viewing Angles and Tilt Adjustment
The VA panel provides 178° horizontal and vertical viewing angles for consistent image quality. The monitor also supports tilt adjustment from -5° to +15° to optimize your viewing position.

Image: Visual representation of the monitor's wide 178° viewing angles and adjustable tilt feature.
4.6. Frameless Design
The monitor features an ultra-narrow 3-sided bezel design, creating a near-borderless visual experience, especially beneficial in multi-monitor setups.
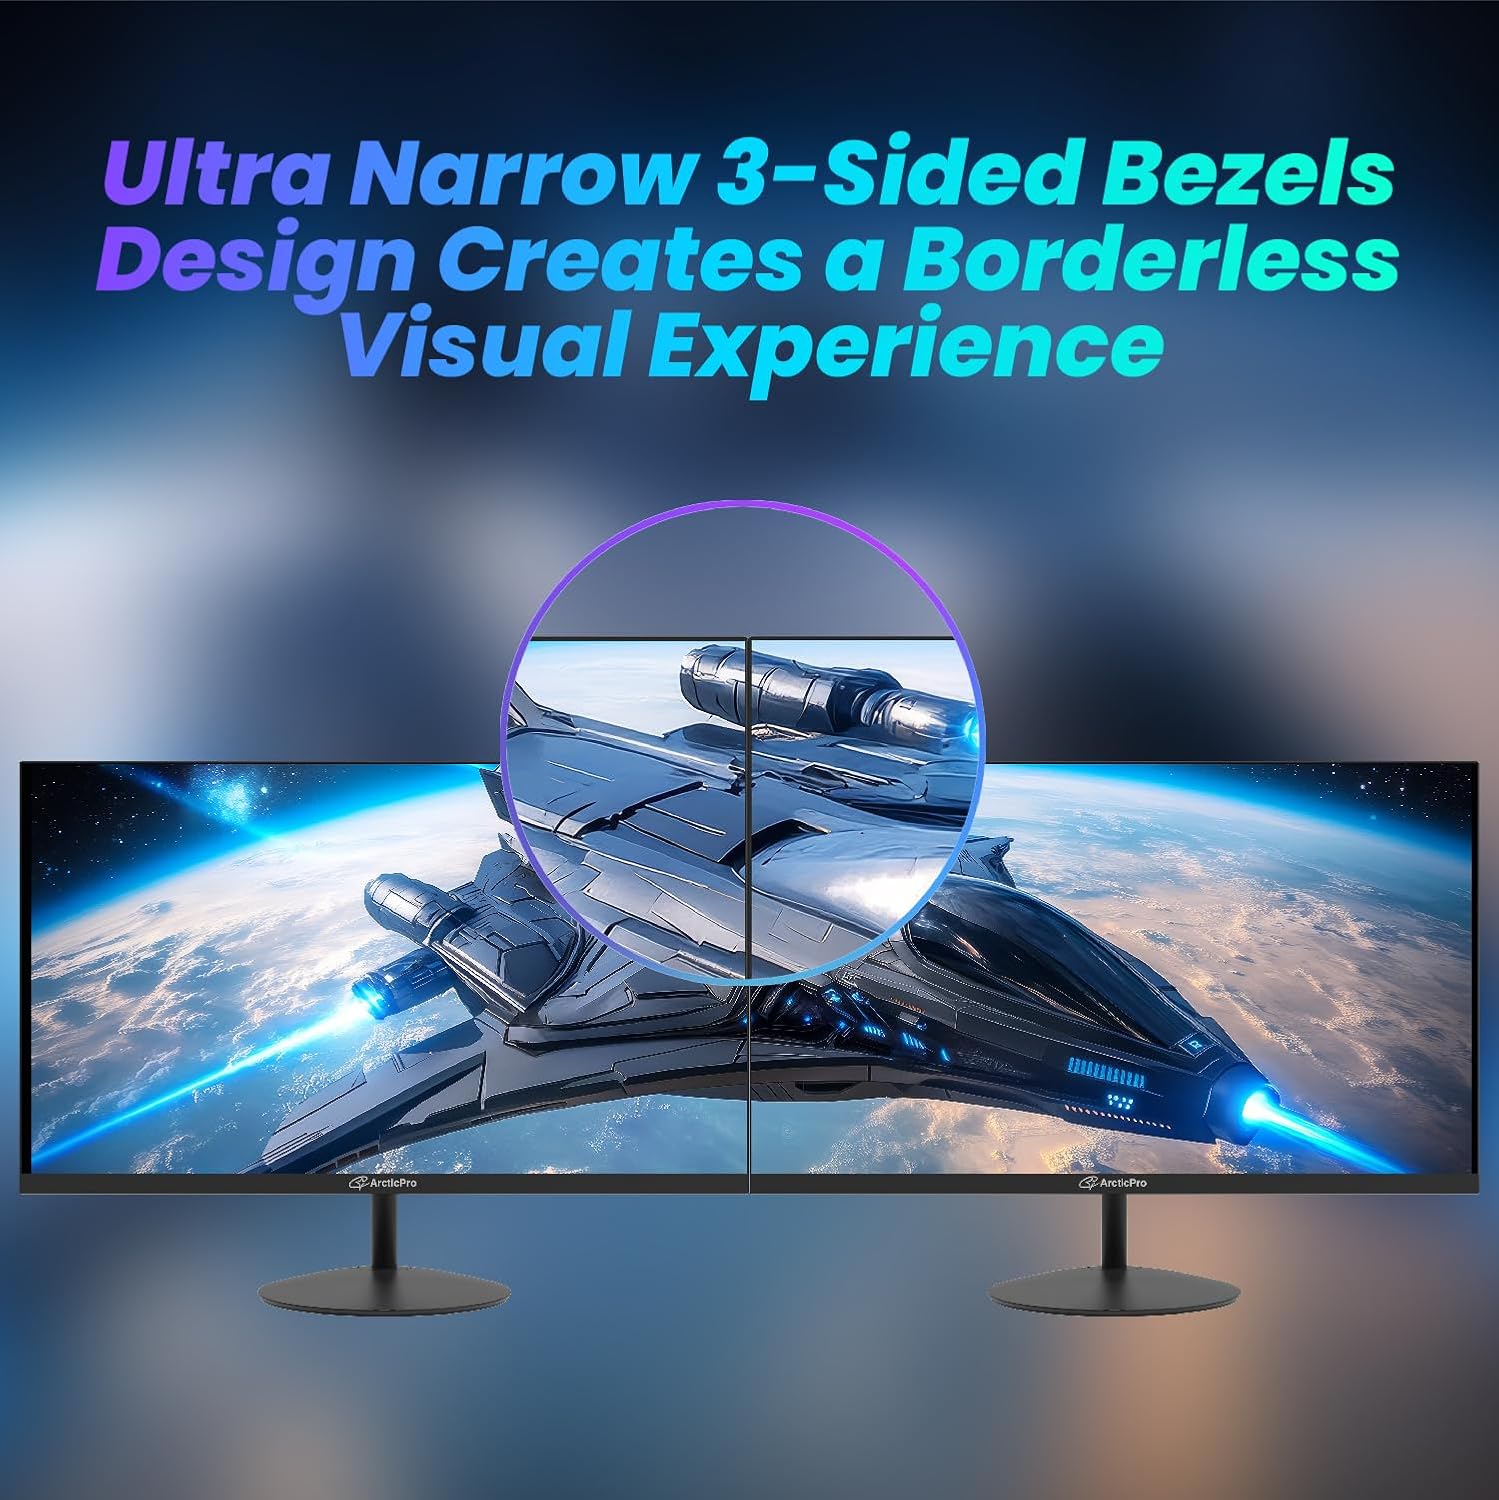
Image: Illustration of the monitor's 3-sided frameless design, enhancing multi-monitor configurations.
5. Maintenance
5.1. Cleaning the Monitor
To clean the monitor screen and casing:
- Turn off the monitor and unplug the power cord.
- Use a soft, lint-free cloth lightly dampened with water or a specialized screen cleaner.
- Wipe the screen gently. Avoid applying excessive pressure.
- Do not use abrasive cleaners, alcohol, or ammonia-based solutions, as these can damage the screen surface.
5.2. Storage
If storing the monitor for an extended period, ensure it is powered off, unplugged, and stored in a cool, dry place away from direct sunlight and extreme temperatures. Use original packaging if available for protection.
6. Troubleshooting
If you encounter issues with your monitor, refer to the following common problems and solutions:
- No Display / Black Screen:
- Ensure the monitor is powered on and the power indicator light is illuminated.
- Check that the video cable (HDMI or VGA) is securely connected to both the monitor and your computer.
- Try a different video cable or port on your computer/monitor if available.
- Verify that your computer's display output is enabled (e.g., press Windows key + P on Windows to cycle display modes).
- Image is Blurry or Distorted:
- Ensure the monitor's resolution is set to its native 1920x1080p.
- Check the video cable for damage or loose connections.
- No Sound (if applicable):
- This monitor does not have built-in speakers. Ensure external speakers or headphones are properly connected to your computer.
- Monitor Stand Unstable:
- Ensure all stand components are correctly assembled and screws are tightened. Refer to Section 3.1.
If the problem persists after trying these steps, please contact customer support.
7. Specifications
| Feature | Specification |
|---|---|
| Model Number | AD22ZFA |
| Screen Size | 22 Inches |
| Resolution | 1920 x 1080 Pixels (Full HD 1080p) |
| Refresh Rate | 100Hz |
| Aspect Ratio | 16:9 |
| Panel Type | VA |
| Viewing Angles | 178° (Horizontal) / 178° (Vertical) |
| Screen Surface | Matte |
| Connectivity | 1x HDMI, 1x VGA |
| VESA Mount | 75x75mm |
| Tilt Adjustment | -5° to +15° |
| Product Dimensions | 1.9 x 20 x 11.6 inches |
| Item Weight | 6.69 pounds |
| Manufacturer | Hangzhou Yulian Technology Co., Ltd |
8. Warranty and Support
8.1. Warranty Information
Please refer to the warranty card included with your product or visit the official ArcticPro website for detailed warranty terms and conditions. Keep your proof of purchase for warranty claims.
8.2. Customer Support
For technical assistance, troubleshooting, or service inquiries, please contact ArcticPro customer support through their official website or the contact information provided in your product packaging.