
1. Important Safety Information
- Do not expose the clock to extreme temperatures, direct sunlight, or high humidity.
- Avoid dropping the clock or subjecting it to strong impacts.
- Use only 1 AA alkaline battery. Do not mix old and new batteries or different types of batteries.
- Dispose of used batteries responsibly according to local regulations.
- Keep the clock away from strong magnetic fields, which may interfere with its atomic signal reception.
2. Package Contents
- AKCISOT Atomic 12 Inch Wall Clock
- Instruction Manual (this document)
Note: 1 AA alkaline battery is required and not included.
3. Setup
3.1 Battery Installation
- Locate the battery compartment on the back of the clock.
- Insert one (1) new AA alkaline battery, ensuring the correct polarity (+ and -) as indicated inside the compartment.

Image: Rear view of the clock, highlighting the battery compartment and control buttons.
3.2 Time Zone and Daylight Saving Time (DST) Settings
Before the clock attempts to synchronize with the atomic signal, set your desired time zone and DST preference using the switches on the back of the clock.
- ZONE Switch: Select your time zone from the available options: PT (Pacific), MT (Mountain), CT (Central), ET (Eastern).
- DST Switch: Toggle this switch to ON if your region observes Daylight Saving Time, or OFF if it does not.
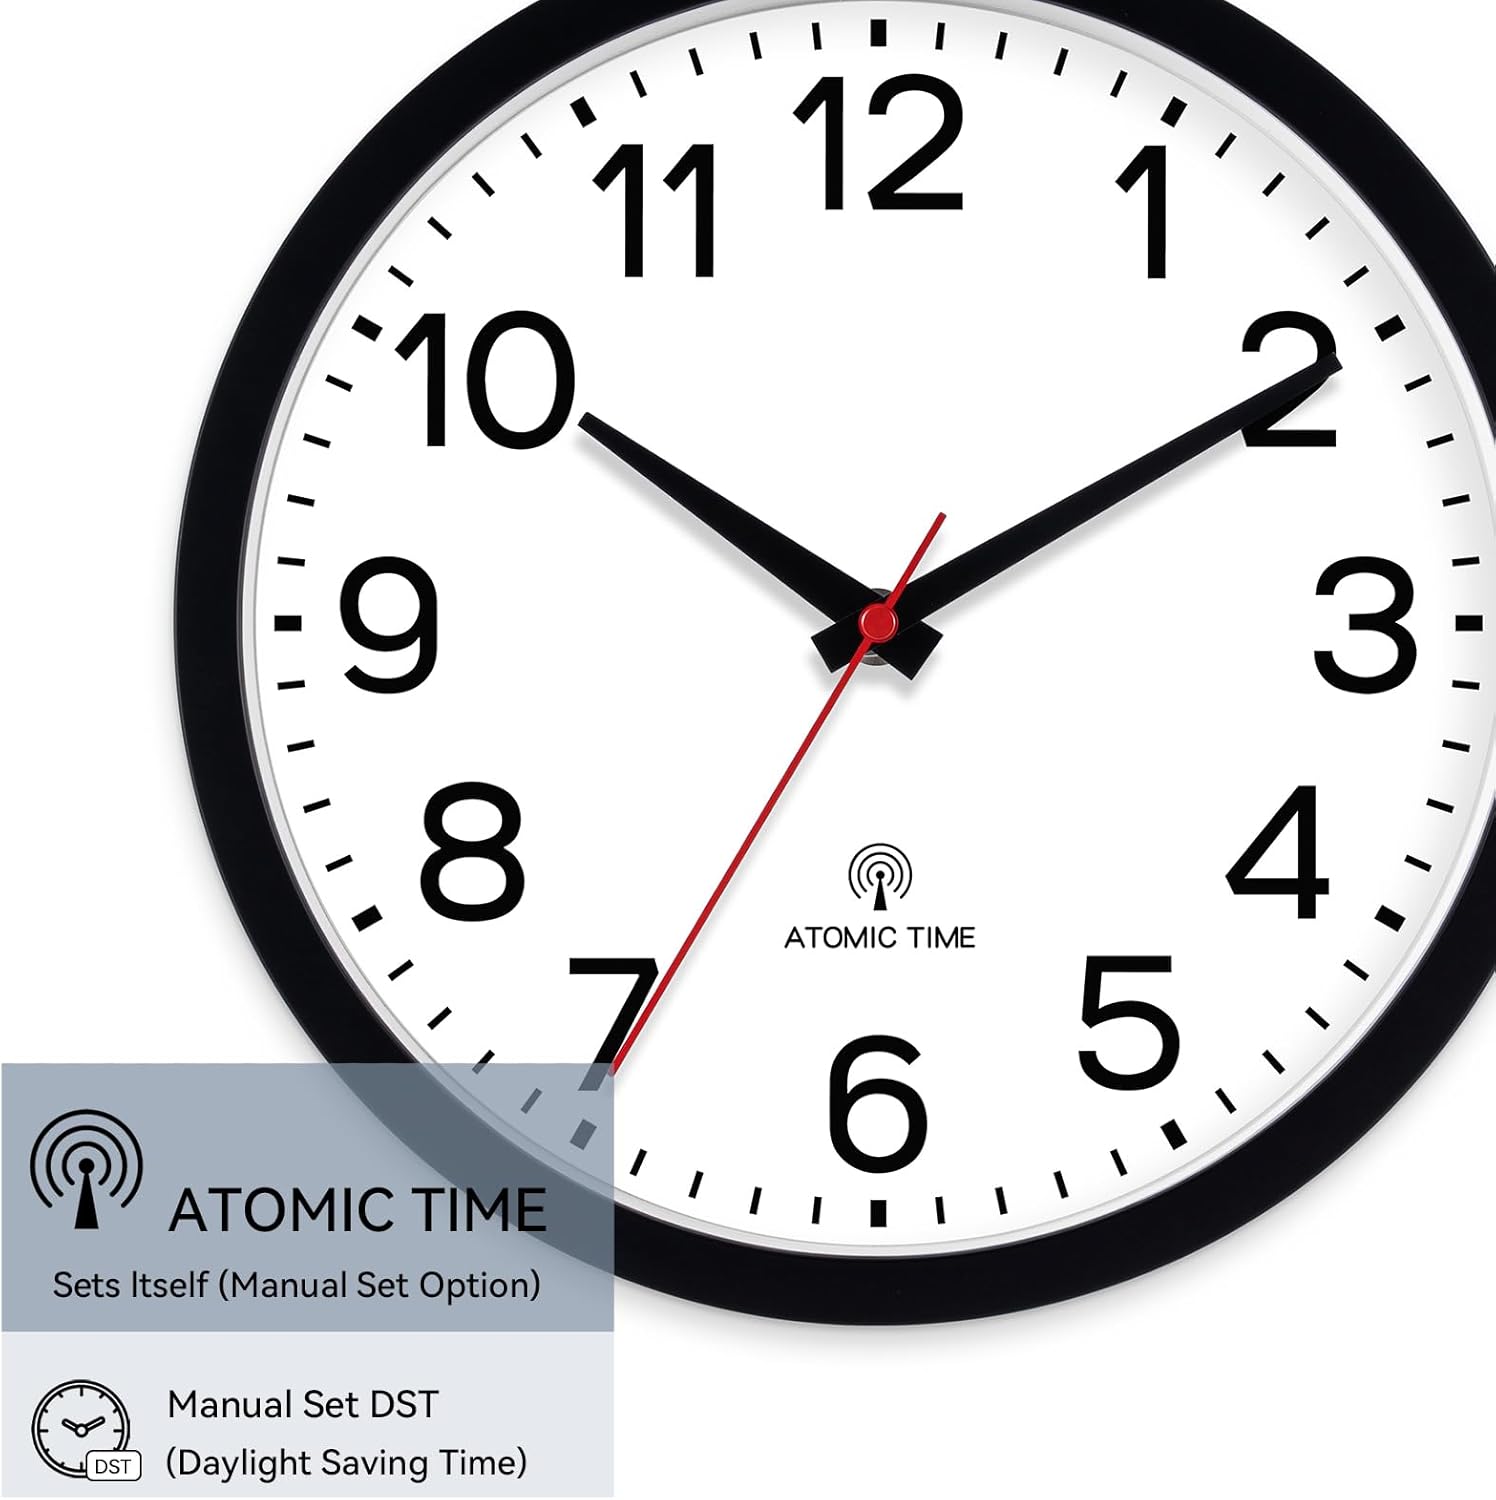
Image: Detail of the clock face, indicating Atomic Time functionality and DST setting options.
3.3 Initial Atomic Time Synchronization
After installing the battery and setting the time zone/DST, the clock will automatically attempt to receive the atomic time signal. The hands will typically move to 12:00 and then begin to set to the correct time. This process can take several minutes to several hours, depending on your location and signal strength. For optimal reception, place the clock near a window, away from electronic devices that may cause interference.
3.4 Mounting the Clock
The clock features an easy mounting hanging hole on the back. Use a suitable screw or hook (not included) securely fastened into your wall. Ensure the clock is hung level and stable.

Image: Front view of the AKCISOT 12-inch wall clock, ready for display.
4. Operating Instructions
4.1 Automatic Time Synchronization
The AKCISOT Atomic Wall Clock automatically synchronizes with the atomic clock radio signal to maintain precise time. This synchronization typically occurs overnight. If the clock loses signal or experiences a power interruption, it will attempt to resynchronize.
4.2 Manual Forced Reception (REC Button)
If you wish to manually initiate the atomic signal reception, press the REC button located on the back of the clock. The clock will then attempt to receive the signal and set the time.
4.3 Manual Time Adjustment (M.SET Button)
In rare cases where atomic signal reception is consistently poor, you can manually set the time. Press and hold the M.SET button to advance the clock hands. Release the button when the desired time is reached.
4.4 Resetting the Clock (RESET Button)
If the clock is not functioning correctly or you wish to restart the setup process, press the RESET button. This will reset the clock and initiate a new atomic signal search.
4.5 Silent Movement
This clock features a silent sweep second hand, designed to provide a peaceful environment without ticking noises. This makes it suitable for bedrooms, offices, and other quiet spaces.
5. Maintenance
5.1 Cleaning
To clean the clock, gently wipe the surface with a soft, dry cloth. Do not use abrasive cleaners, solvents, or chemical sprays, as these may damage the finish or internal components.
5.2 Battery Replacement
Replace the AA alkaline battery approximately every 12-18 months, or when the clock hands stop moving or the time becomes inaccurate. Follow the battery installation steps in Section 3.1.
6. Troubleshooting
- Clock not running after battery installation:
Ensure the battery is inserted with correct polarity. Try a new battery. Press the RESET button. - Clock not synchronizing with atomic time:
Atomic signal reception can be affected by location, weather, and electronic interference. Try moving the clock to a different location, preferably near a window and away from other electronics. The initial synchronization may take longer than expected (sometimes up to 24 hours). Ensure your time zone and DST settings are correct. Press the REC button for a manual attempt. - Time is incorrect after synchronization:
Verify that the time zone and DST switches are set correctly for your region. If the issue persists, try resetting the clock and allowing it to resynchronize. - Clock is making a ticking sound:
This model is designed with a silent sweep second hand. If you hear a ticking sound, ensure the clock is not damaged. If the issue persists, contact customer support.
7. Specifications
| Feature | Detail |
|---|---|
| Brand | AKCISOT |
| Model Number | AKCISOT484 |
| Display Type | Analog |
| Special Feature | Silent Clock, Atomic Time Synchronization |
| Product Dimensions | 12"W x 1.8"H |
| Power Source | Battery Powered (1 AA alkaline battery, not included) |
| Material | Plastic |
| Frame Material | Plastic |
| Color | Black |
| Indoor/Outdoor Usage | Indoor, Outdoor (covered areas recommended) |
| Item Weight | 1.39 pounds |
8. Warranty and Support
8.1 Warranty Information
This product is sold without an explicit manufacturer's warranty. Please refer to the retailer's return policy for any issues within the return period.
8.2 Customer Support
For further assistance or inquiries, please contact AKCISOT customer support through the retailer's platform or visit the official AKCISOT store page on Amazon: AKCISOT Store.