
Introduction
Thank you for purchasing the ACEBEAM Terminator M2-X Dual Head Spot/Flood EDC Flashlight. This manual provides detailed instructions for the safe and efficient operation, maintenance, and troubleshooting of your device. Please read this manual thoroughly before use and retain it for future reference.
The ACEBEAM Terminator M2-X is a versatile everyday carry (EDC) flashlight featuring dual heads for both spotlight and floodlight illumination, along with RGB auxiliary lights. It offers a maximum output of 3,200 lumens for floodlight and 900 lumens for spotlight, with various modes to suit different applications.
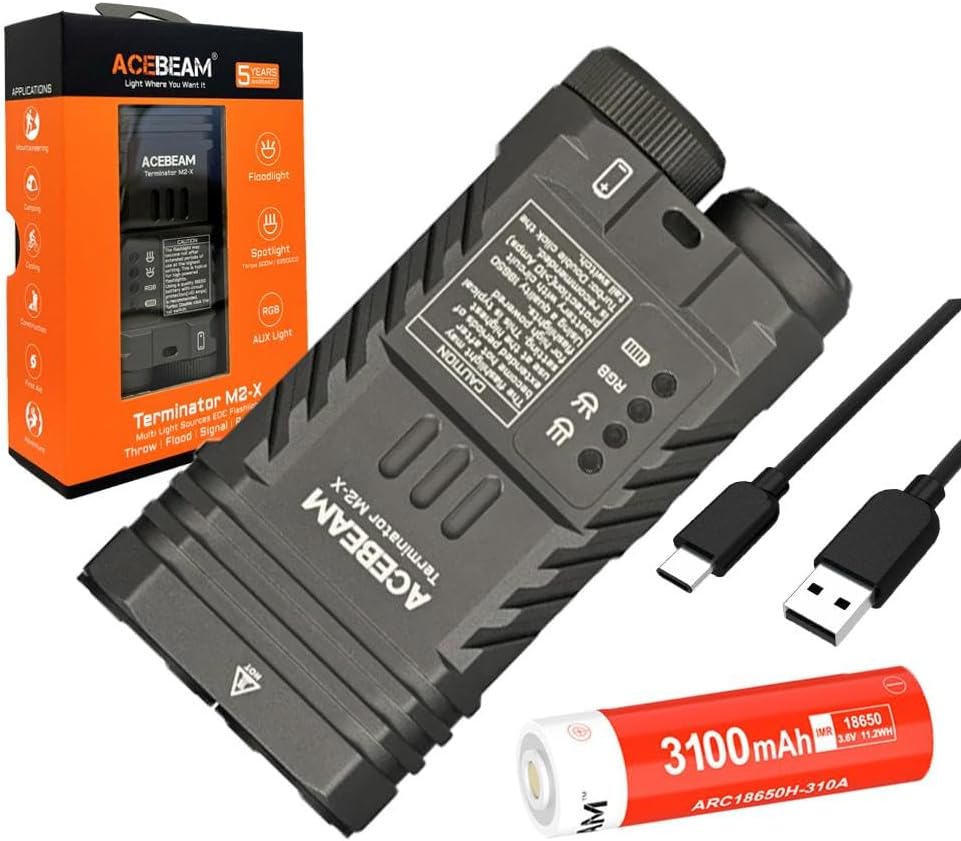
Image: The ACEBEAM Terminator M2-X flashlight shown with its packaging, a USB-C charging cable, and an 18650 3100mAh rechargeable lithium battery. The flashlight features a dual-head design and a side switch with indicator lights.
Setup and Initial Use
1. Battery Installation
- Unscrew the tail cap of the flashlight counter-clockwise.
- Insert the included 18650 USB-C rechargeable lithium battery with the positive (+) terminal facing towards the flashlight head.
- Screw the tail cap back on clockwise until it is securely tightened. Ensure a proper seal to maintain water resistance.
2. Charging the Battery
The included 18650 battery features a built-in USB-C charging port.
- Locate the USB-C port on the side of the 18650 battery.
- Connect the provided USB-C cable to the battery's charging port and the other end to a USB power source (e.g., computer, wall adapter).
- The indicator light on the battery will show charging status (typically red for charging, green for fully charged).
Caution: The flashlight itself does not have a built-in charging port. Only charge the battery directly using its integrated USB-C port.
Operating Instructions
The ACEBEAM Terminator M2-X features a single side switch for all operations.
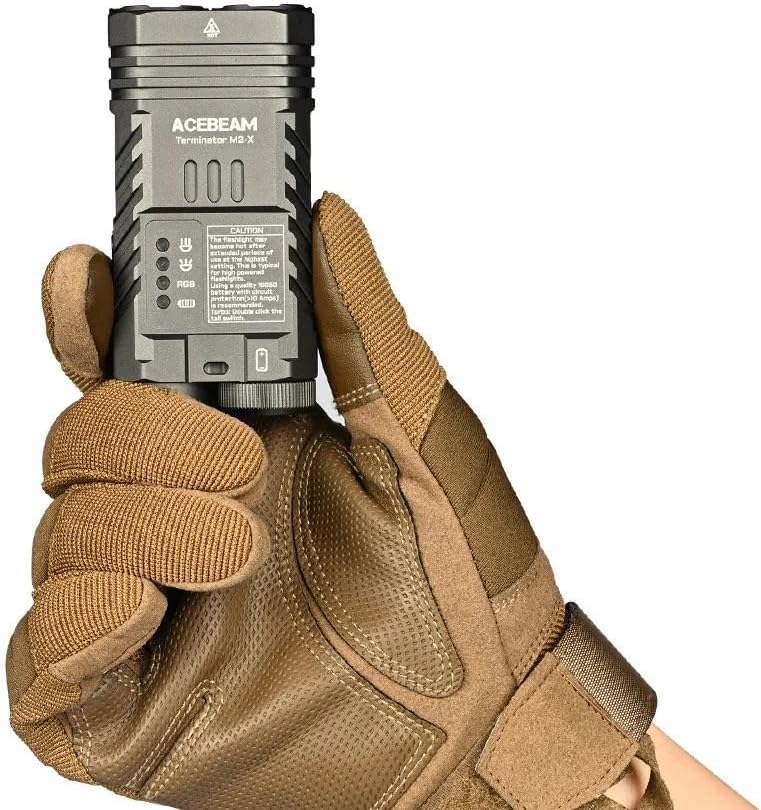
Image: The ACEBEAM Terminator M2-X flashlight comfortably held in a gloved hand, highlighting the ergonomic design and the position of the side switch and battery indicator lights.
1. Power On/Off
- Turn On: Press and hold the side switch for approximately 0.5 seconds. The flashlight will turn on in the last used mode (memory function).
- Turn Off: Press and hold the side switch for approximately 0.5 seconds.
2. Mode Selection (Floodlight, Spotlight, Aux Light)
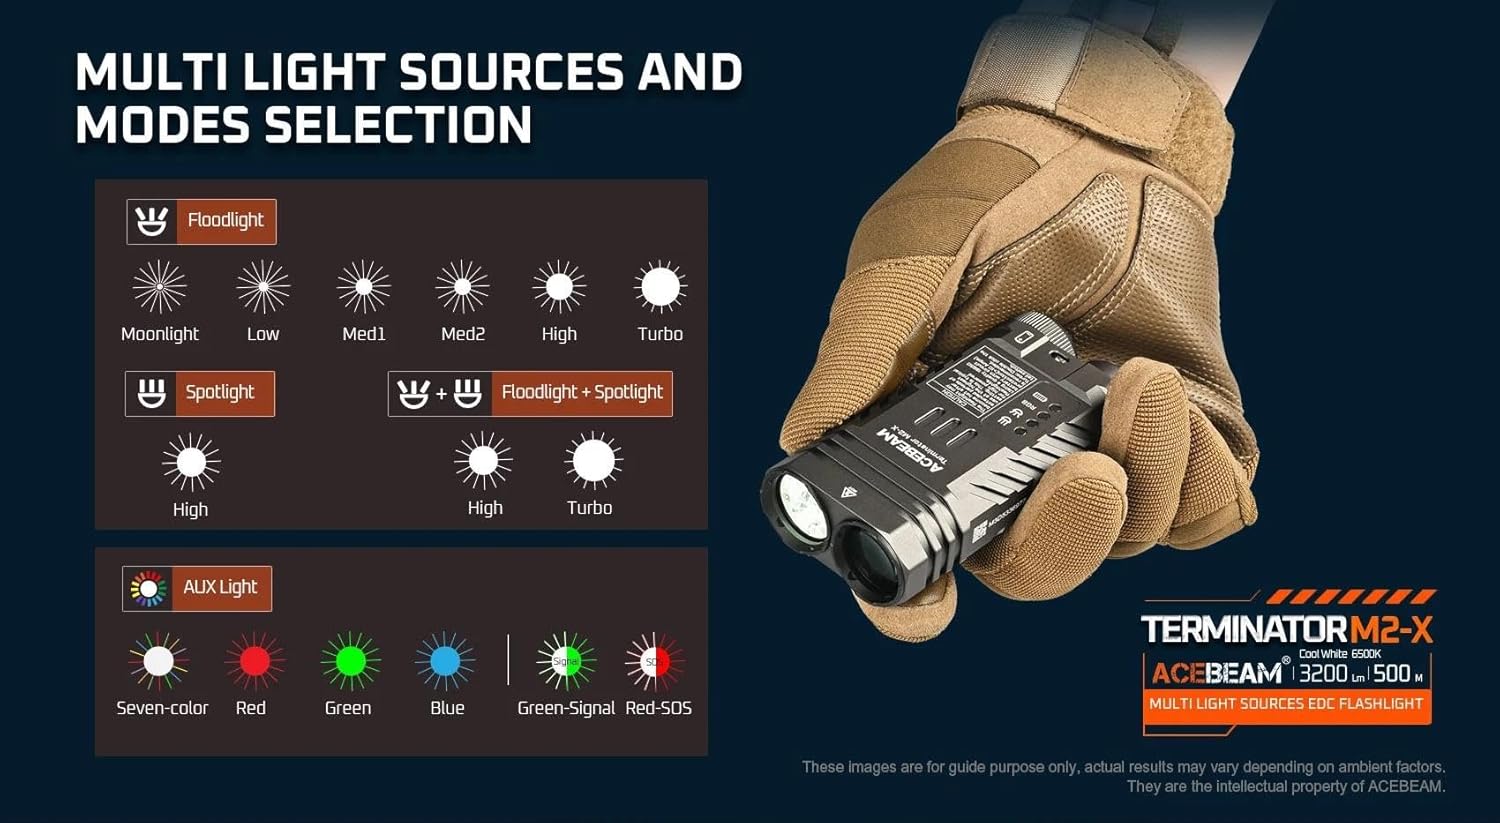
Image: A visual guide illustrating the different output levels for Floodlight (Moonlight, Low, Med1, Med2, High, Turbo), Spotlight (High), and combined Floodlight + Spotlight (High, Turbo). It also shows the AUX Light modes: Seven-color automatic cycle, Red, Green, Blue, Green-Signal Light, and Red-SOS.
- Switch between Floodlight, Spotlight, and Aux Light: When the flashlight is on, double-click the side switch to cycle through Floodlight, Spotlight, and Aux Light modes.
- Floodlight Modes: In Floodlight mode, single-click the switch to cycle through Moonlight, Low, Med1, Med2, High, Turbo.
- Spotlight Modes: In Spotlight mode, single-click the switch to cycle through High.
- Combined Floodlight + Spotlight: To activate both simultaneously, double-click the switch until this mode is reached in the cycle.
- Aux Light Modes: In Aux Light mode, single-click the switch to cycle through Seven-color automatic cycle, Red, Green, Blue, Green-Signal Light, Red-SOS.

Image: A detailed view of the flashlight's auxiliary light emitters displaying various colors: Seven-color automatic cycle, Red, Green, Blue, Green-Signal Light, and Red-SOS. This illustrates the multi-color capabilities of the AUX light.
3. Special Modes (Strobe, SOS)
- Strobe: From any mode, triple-click the side switch to activate Strobe. Single-click to exit Strobe.
- SOS: The Red-SOS mode is part of the Aux Light cycle. Navigate to Aux Light mode and cycle through to Red-SOS.
4. Lock/Unlock Function
- Lock: When the flashlight is off, press and hold the side switch for 3 seconds until the light flashes to indicate it is locked. This prevents accidental activation.
- Unlock: When locked, press and hold the side switch for 3 seconds until the light flashes to indicate it is unlocked.
Maintenance
1. Cleaning
- Clean the flashlight body with a soft, damp cloth.
- Keep the threads and O-rings clean. Apply silicone grease periodically to the O-rings to maintain water resistance.
- Clean the lens with a lens cleaning cloth to ensure optimal light output.
2. Battery Care
- Store the battery in a cool, dry place when not in use.
- Recharge the battery regularly, even if not frequently used, to prolong its lifespan.
- If the flashlight will not be used for an extended period, remove the battery to prevent potential leakage or damage.
- Only use the recommended 18650 battery with a discharge current of at least 10 Amps.
Troubleshooting
| Problem | Possible Cause | Solution |
|---|---|---|
| Flashlight does not turn on. |
|
|
| Light output is dim or flickers. |
|
|
| Flashlight gets hot quickly. |
|
|
Specifications

Image: A detailed table outlining the technical parameters for the ACEBEAM Terminator M2-X, including output levels (lumens), runtimes, and beam distances for both Floodlight (Nichia 519A 5000K High CRI90) and AUX Light modes.
| Feature | Detail |
|---|---|
| Model | ACEBEAM Terminator M2-X |
| Light Source | LED (Cool White 6500K for main lights) |
| Max Floodlight Output | 3,200 Lumens |
| Max Spotlight Output | 900 Lumens |
| Max Floodlight Beam Distance | 440 meters |
| Max Spotlight Beam Distance | 500 meters |
| Max Floodlight Intensity | 48400 cd |
| Max Spotlight Intensity | 62500 cd |
| Max Runtime (Floodlight Moonlight) | 38 hours |
| Max Runtime (Spotlight High) | 1 hour 50 minutes |
| Auxiliary Lights | RGB (Seven-color automatic cycle, Red, Green, Blue, Green-Signal Light, Red-SOS) |
| Battery Type | 1 x 18650 USB-C Rechargeable Lithium Battery (included) |
| Material | Aluminum |
| Dimensions (Length x Height x Width) | 95.4mm x 48.5mm x 29mm (3.75" x 1.90" x 1.14") |
| Weight (including battery) | 197.2g / 6.95 oz |
| Water Resistance Level | Not Water Resistant (Note: Please exercise caution as this product is specified as not water resistant.) |
| Special Features | Durable, Multi-color modes, SOS signal, Seven-color automatic cycle |

Image: A diagram illustrating the physical dimensions of the ACEBEAM Terminator M2-X flashlight, including its length (95.4mm / 3.75"), height (48.5mm / 1.90"), width (29mm / 1.14"), and weight (197.2g / 6.95 oz including battery). It also shows a detachable body clip.
Warranty and Support
ACEBEAM products typically come with a manufacturer's warranty. For specific warranty terms and conditions, please refer to the warranty card included with your product or visit the official ACEBEAM website.
For technical support, service, or inquiries, please contact ACEBEAM customer service through their official channels.
Manufacturer: Acebeam
Model Number: Acebeam-M2-X-6500K

