
1. Product Overview
The ECOWITT WS3821 is a multifunction home weather station system designed to monitor various environmental conditions. It comprises a 7-in-1 outdoor sensor (WS90) and a 7.5-inch indoor color LCD console. This system provides real-time weather data and supports integration into the Ecowitt ecosystem for smart home and garden management.
The WS3821 system is equipped with a range of sensors to detect outdoor temperature, humidity, wind speed and direction, precipitation, and UV light. The indoor console displays this data along with internal temperature, humidity, and barometric pressure trends. It features WiFi connectivity for data upload to cloud services and customizable weather alarms.
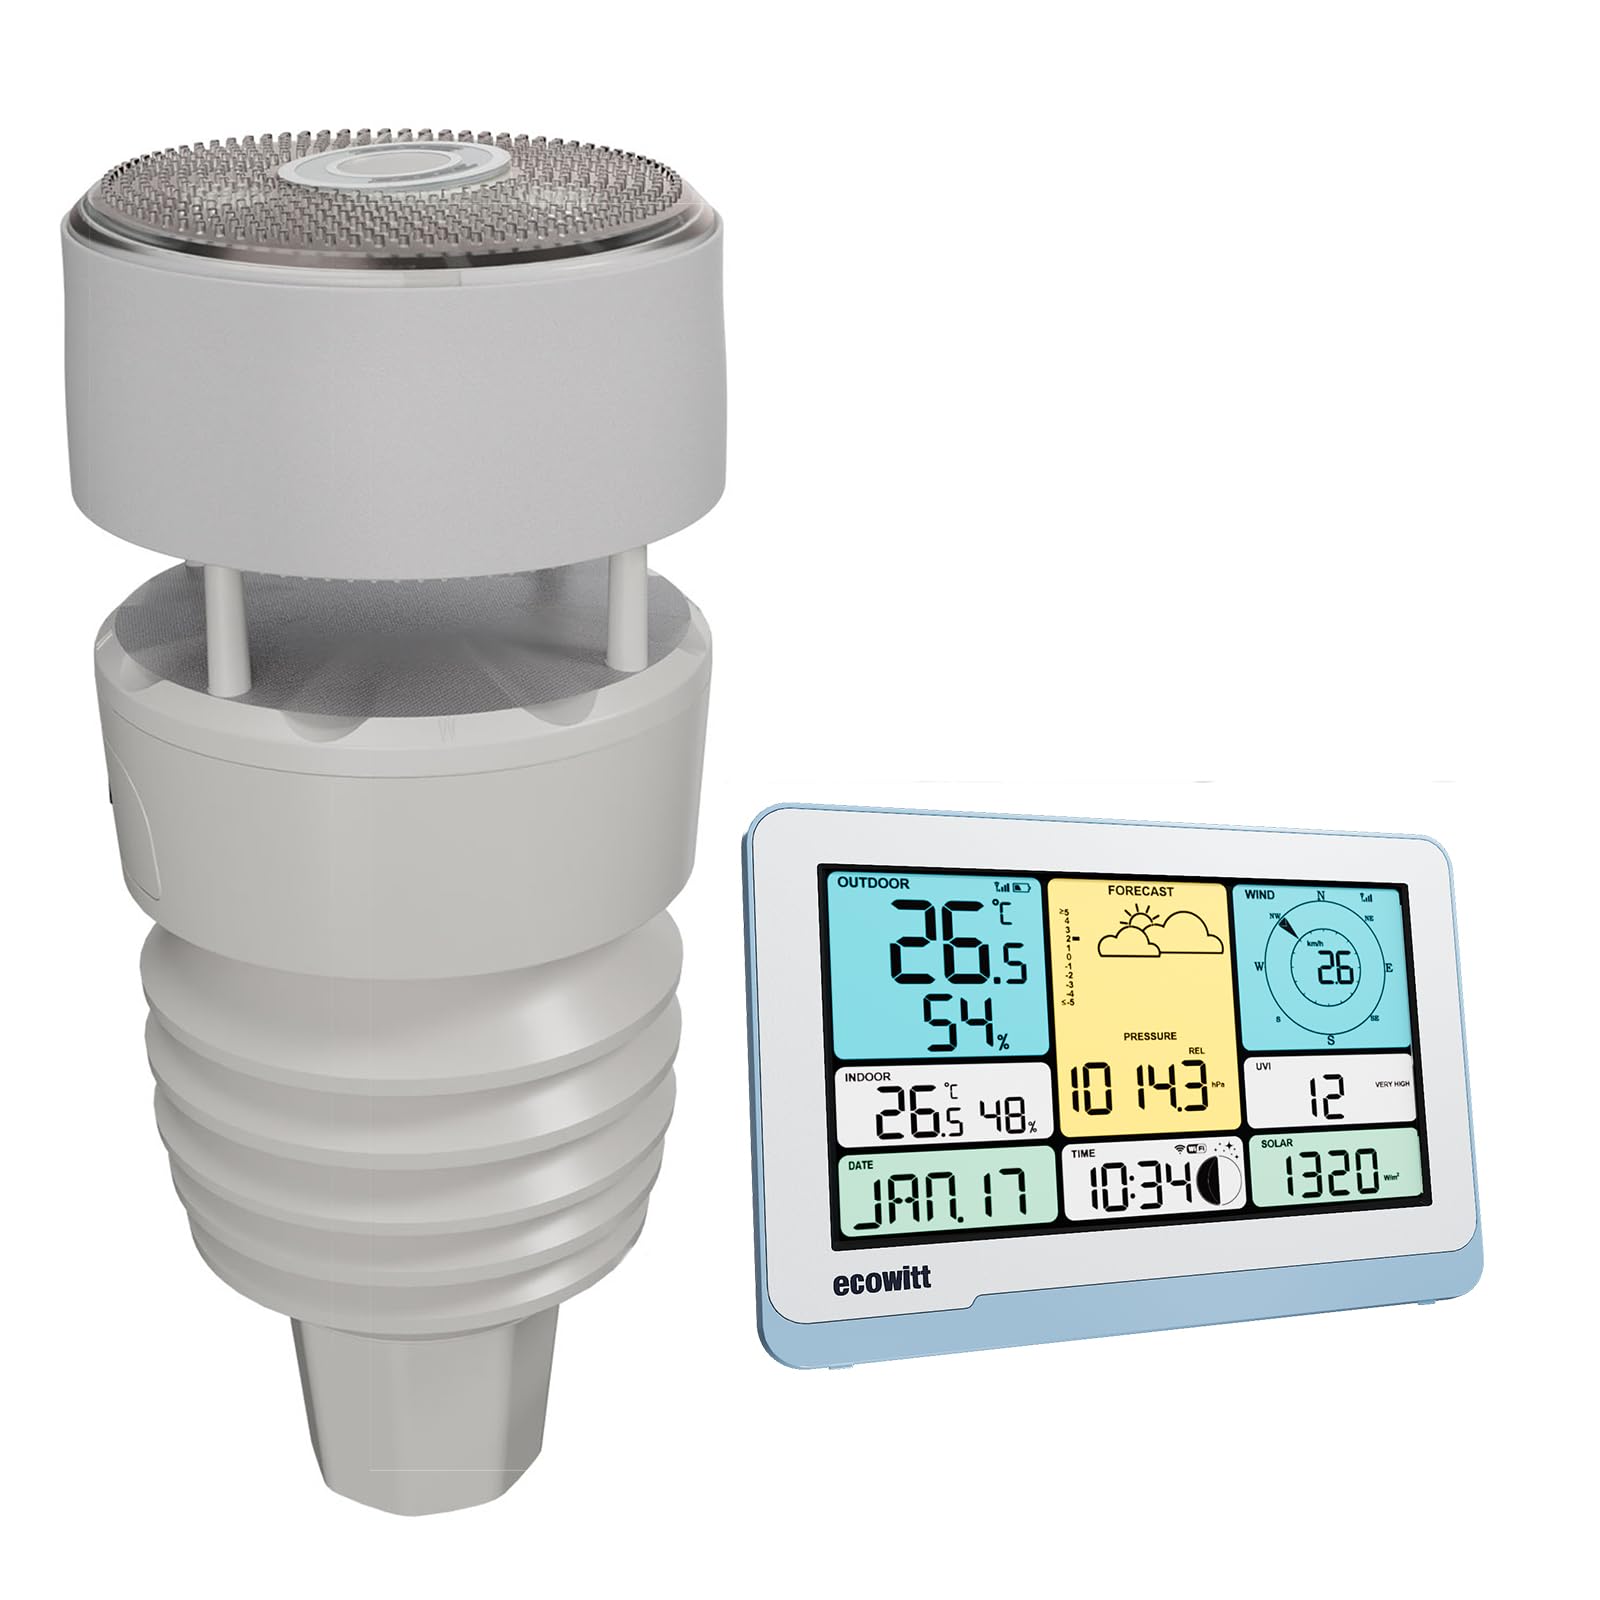
Image 1.1: ECOWITT WS3821 Weather Station, showing the WS90 outdoor sensor and the indoor LCD console.
2. Product Components
The ECOWITT WS3821 Weather Station includes the following main components:
- WS90 7-in-1 Outdoor Sensor: This integrated sensor unit measures multiple weather parameters.
- 7.5-inch Color LCD Console: The indoor display unit for viewing weather data and configuring settings.
- Mounting Accessories: Hardware required for installing the outdoor sensor.
2.1 WS90 Outdoor Sensor Details
The WS90 sensor integrates several measurement capabilities:
- Haptic Rain Sensor: Detects rainfall without moving parts, converting raindrop pressure into data.
- Light & UV Sensor: Measures ambient light and ultraviolet radiation levels.
- LED Indicator: Provides status feedback.
- Solar Panel: Powers the sensor and charges its internal battery.
- Ultrasonic Wind Speed Sensor: Measures wind speed accurately using ultrasonic technology.
- Temperature & Humidity Sensor: Measures outdoor ambient temperature and relative humidity.
- NORTH Alignment Indicator: Assists in correct directional orientation during installation.
- USB Port: For firmware updates.
- Heating Power Cable Connector: Optional connector for an external power source to provide heating in extremely cold weather (heating plate and cable not included).

Image 2.1: Detailed view of the WS90 Outdoor Sensor components.
2.2 Indoor Color LCD Console Details
The 7.5-inch LCD console serves as the primary interface for viewing data and managing the weather station:
- LCD Screen: Displays various weather parameters in color.
- Control Buttons: Eight buttons for navigation and setting adjustments.
- Integrated Sensors: Built-in temperature, humidity, and barometric pressure sensors for indoor readings.
- Power Options: Can be powered by 3 AAA batteries (not included) or a DC adapter.
- Backlight Adjustment: Supports adjustable backlight brightness.
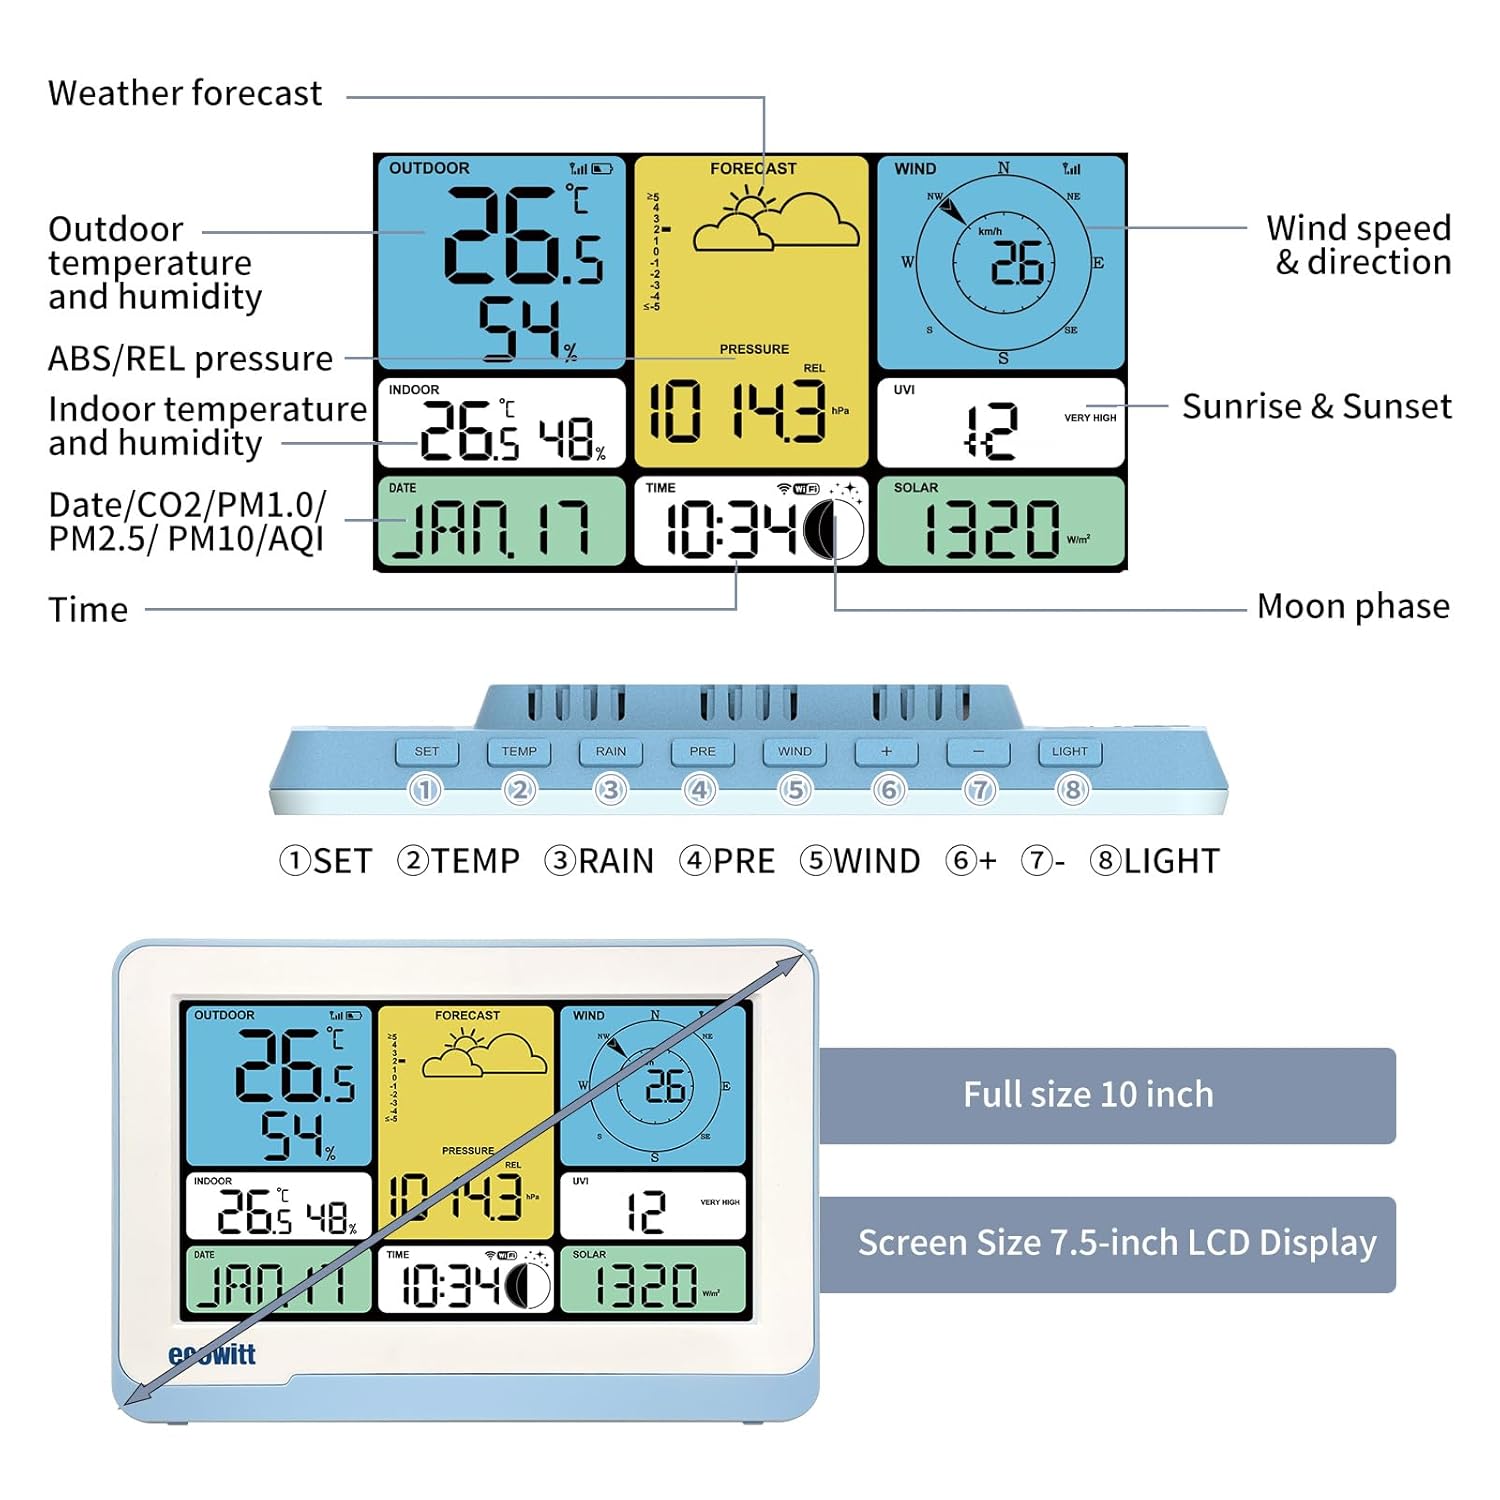
Image 2.2: Layout of the LCD Console display and control buttons.
3. Setup Instructions
3.1 Outdoor Sensor Installation (WS90)
- Choose a Location: Select an open area free from obstructions that could affect wind, rain, or sunlight measurements. Ensure good signal transmission to the indoor console (up to 100 meters line of sight).
- Mounting: Securely mount the WS90 outdoor sensor on a pole with a diameter of approximately 1 inch (2.54 cm) using the provided mounting accessories.
- Orientation: Use the NORTH alignment indicator on the sensor to ensure it is correctly oriented for accurate wind direction readings.
- Power: The WS90 sensor is solar-powered. Ensure the solar panel is exposed to direct sunlight for optimal operation and battery charging. For extremely cold climates, an optional heating plate can be connected via the heating power cable connector (heating plate and cable sold separately).

Image 3.1: Examples of WS90 outdoor sensor placement and wireless transmission range.
3.2 Indoor Console Setup
- Power Supply: Insert 3 AAA batteries (not included) into the battery compartment of the console, or connect the console to a DC power adapter.
- Placement: Place the console indoors in a location where it can receive a stable signal from the outdoor sensor and is easily visible.
- Initial Pairing: The console should automatically connect with the outdoor sensor upon power-up. If not, refer to the troubleshooting section.
3.3 WiFi Connection and Cloud Service
- Access WiFi Settings: Follow the console's on-screen instructions or refer to the detailed manual for accessing the WiFi configuration menu.
- Connect to Network: Select your home WiFi network and enter the password.
- Ecowitt Weather Service: Once connected to WiFi, the console can upload data to Ecowitt Weather or other custom weather servers. Create an account on the Ecowitt Weather website and register your device to view data online.
- Firmware Updates: The system supports automatic or manual firmware updates via the WiFi connection.
4. Operating Instructions
4.1 Console Display and Navigation
The 7.5-inch LCD console displays various weather parameters. Use the 8 control buttons located below the screen to navigate through menus and adjust settings.
- SET Button: Enters setup mode or confirms selections.
- TEMP Button: Cycles through temperature display modes or units.
- RAIN Button: Displays rainfall data (e.g., hourly, daily, weekly, monthly).
- WIND Button: Shows wind speed and direction data.
- LIGHT Button: Adjusts backlight brightness.
- '+' and '-' Buttons: Used for adjusting values or navigating menu options.
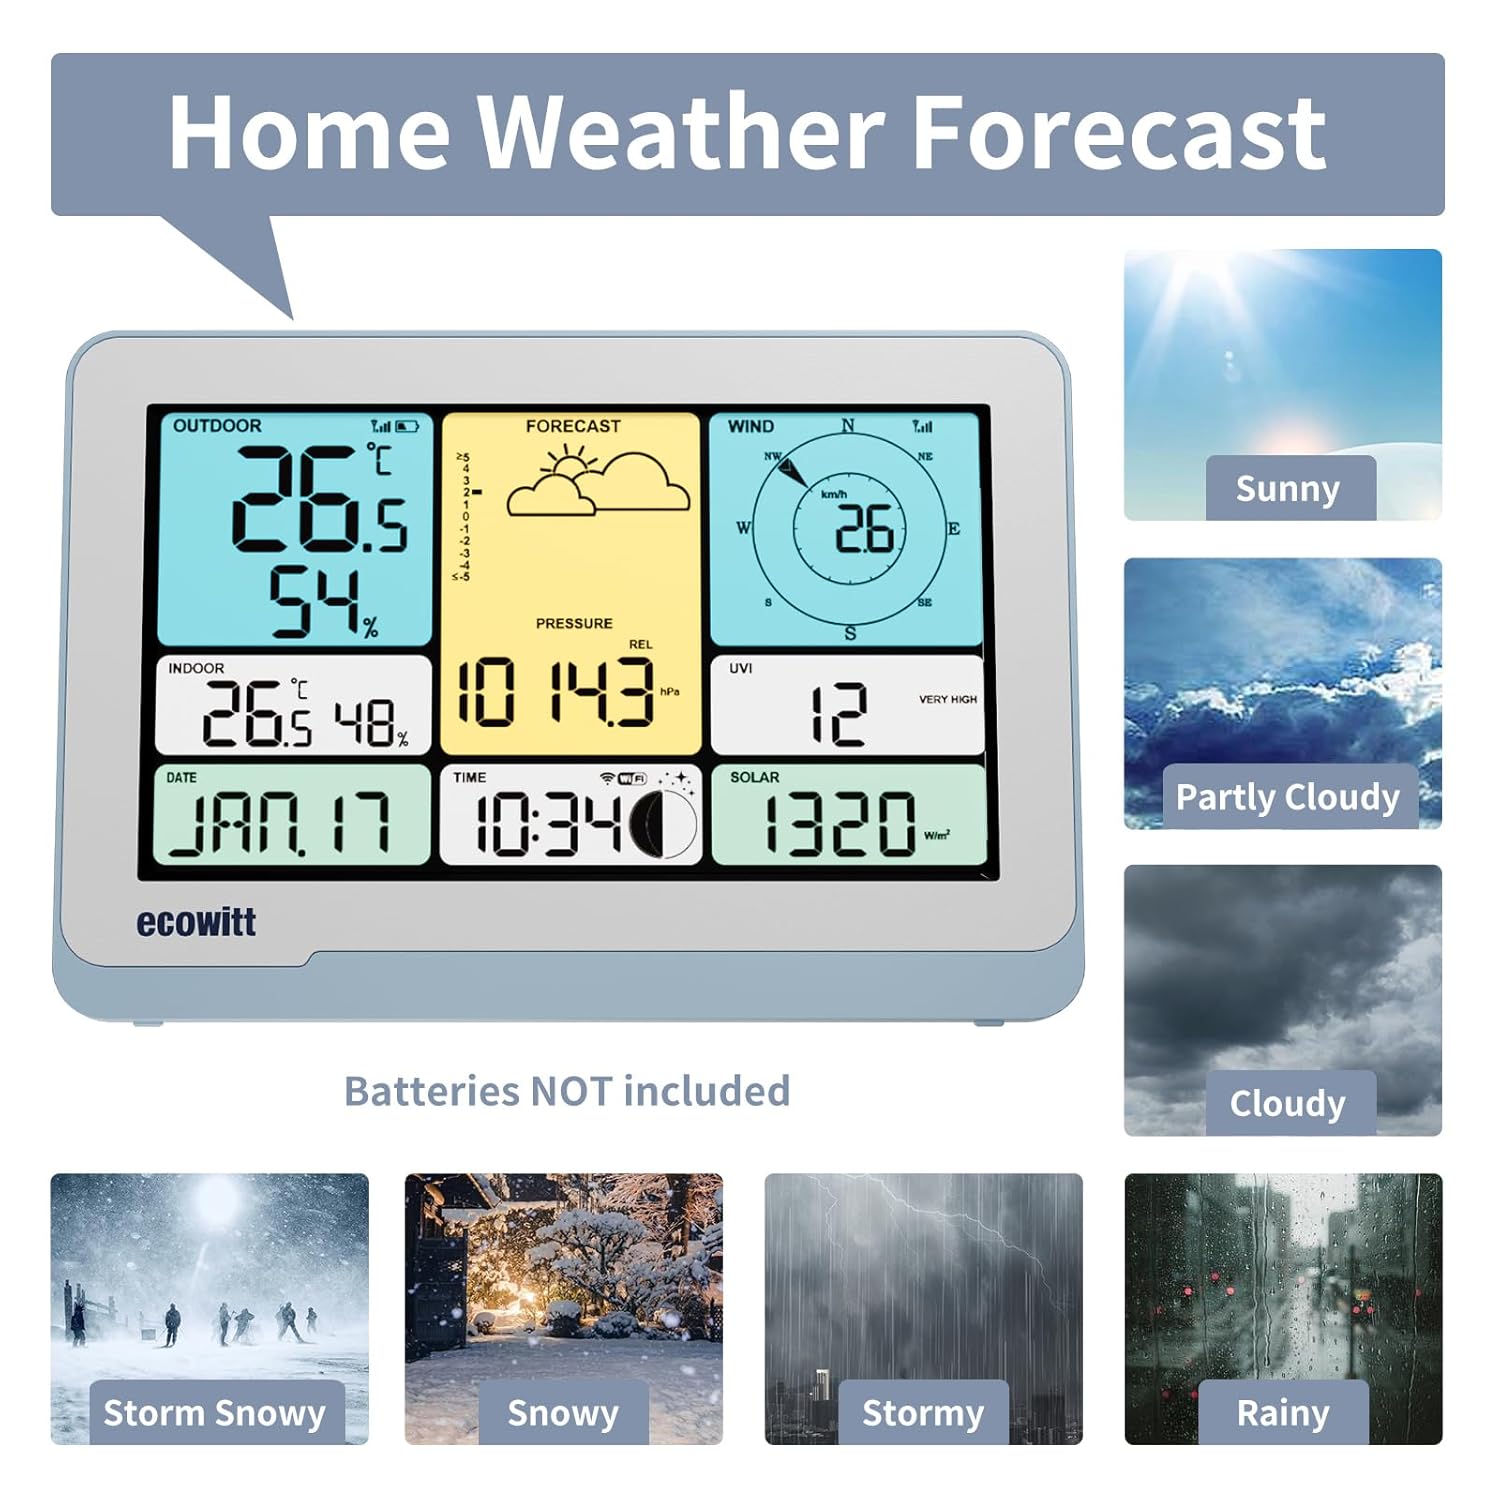
Image 4.1: Console display showing various weather forecast icons and data.
4.2 Setting Weather Alarms
The WS3821 allows you to set customizable high/low alarms for various weather parameters:
- Access Alarm Settings: Press the SET button repeatedly until you reach the alarm setting menu.
- Select Parameter: Use the '+' or '-' buttons to select the desired parameter (e.g., indoor/outdoor temperature, humidity, barometric pressure, wind, gusts, daily rain rate, dew point, heat index).
- Set High/Low Limits: Adjust the high and low alarm thresholds using the '+' or '-' buttons.
- Activate Alarm: Confirm your settings to activate the alarm. An audible alert will sound when the set thresholds are exceeded.
5. Maintenance
5.1 Outdoor Sensor Maintenance
- Cleaning: Periodically inspect the WS90 sensor for dirt, debris, or insect nests, especially on the solar panel, rain sensor, and wind sensor areas. Clean gently with a soft, damp cloth. Avoid abrasive cleaners.
- Battery Check: While the WS90 is solar-powered, ensure its internal rechargeable battery is functioning. If data transmission becomes intermittent, check for sufficient sunlight exposure.
- Reset Button: The sensor includes a reset button (labeled 'RESET' or 'For Factory Use'). This should only be used if instructed by support or for factory reset purposes.
5.2 Indoor Console Maintenance
- Battery Replacement: Replace the 3 AAA batteries in the console when the low battery indicator appears on the display.
- Cleaning: Wipe the console screen and casing with a soft, dry cloth. Do not use liquid cleaners directly on the screen.
- Firmware Updates: Regularly check for and install available firmware updates to ensure optimal performance and access to new features.
6. Troubleshooting
- No Data Displayed on Console:
- Ensure both the outdoor sensor and indoor console are powered on.
- Check the distance between the sensor and console; reduce obstructions if possible.
- Verify the outdoor sensor's solar panel is receiving adequate sunlight.
- Try resetting both the sensor and console. - Inaccurate Weather Forecast:
- The weather prediction feature on the console may require up to a month to collect sufficient local data for accurate forecasting. Allow time for the system to learn local patterns. - Rainfall Measurement Discrepancies:
- The haptic rain sensor provides precise measurements. If discrepancies are observed, ensure the sensor is clean and free from debris. Calibration settings may be available via the console or Ecowitt Weather platform. - WiFi Connection Issues:
- Ensure your WiFi router is functioning correctly. A router reset may resolve connectivity problems.
- Verify the WiFi password entered on the console is correct.
- Check for strong WiFi signal strength at the console's location. - Console Not Displaying Data from Additional Sensors:
- The WS3821 console may have limitations on the types or number of additional sensors it can display directly. Some data from other Ecowitt sensors might only be viewable through the Ecowitt Weather cloud application.
7. Specifications
| Feature | Specification |
|---|---|
| Manufacturer | ECOWITT |
| Model Reference | WS3821AE |
| Outdoor Sensor Model | WS90 (7-in-1) |
| Console Display Size | 7.5 inches (Color LCD) |
| Dimensions (Package) | 24.2 x 16.8 x 15.3 cm; 1.27 kg |
| Material | Solar panel, LED, ultrasonic sensor, temp/humidity sensor, NORTH alignment indicator |
| Outdoor Sensor Power | Solar powered |
| Console Power | 3 AAA batteries (not included) or DC power adapter |
| Connectivity Technology | Wi-Fi |
| Special Features | Solar power, WiFi connection, large LCD console, customizable weather alerts |
| Temperature Accuracy | 1 °C |
| Waterproof Rating | IPX5 (Outdoor Sensor) |
| Included Components | Console, sensor, accessories |
8. Warranty and Support
For warranty information, technical support, or service inquiries, please refer to the official ECOWITT website or contact their customer service directly. Keep your purchase receipt as proof of purchase for warranty claims.


