
TOMLOV P10
TOMLOV P10 Portable Digital Microscope User Manual
Model: P10
1. Introduction
Thank you for choosing the TOMLOV P10 Portable Digital Microscope. This device is designed for detailed observation and capture of microscopic objects, offering 100X magnification, a 2-inch LCD screen, and integrated lighting. It is suitable for various applications including hobbyist exploration, jewelry inspection, coin collecting, and educational purposes.
2. What's in the Box
- 1x TOMLOV P10 portable microscope
- 1x 8GB Micro SD Card
- 1x USB Cable
- 1x Manual
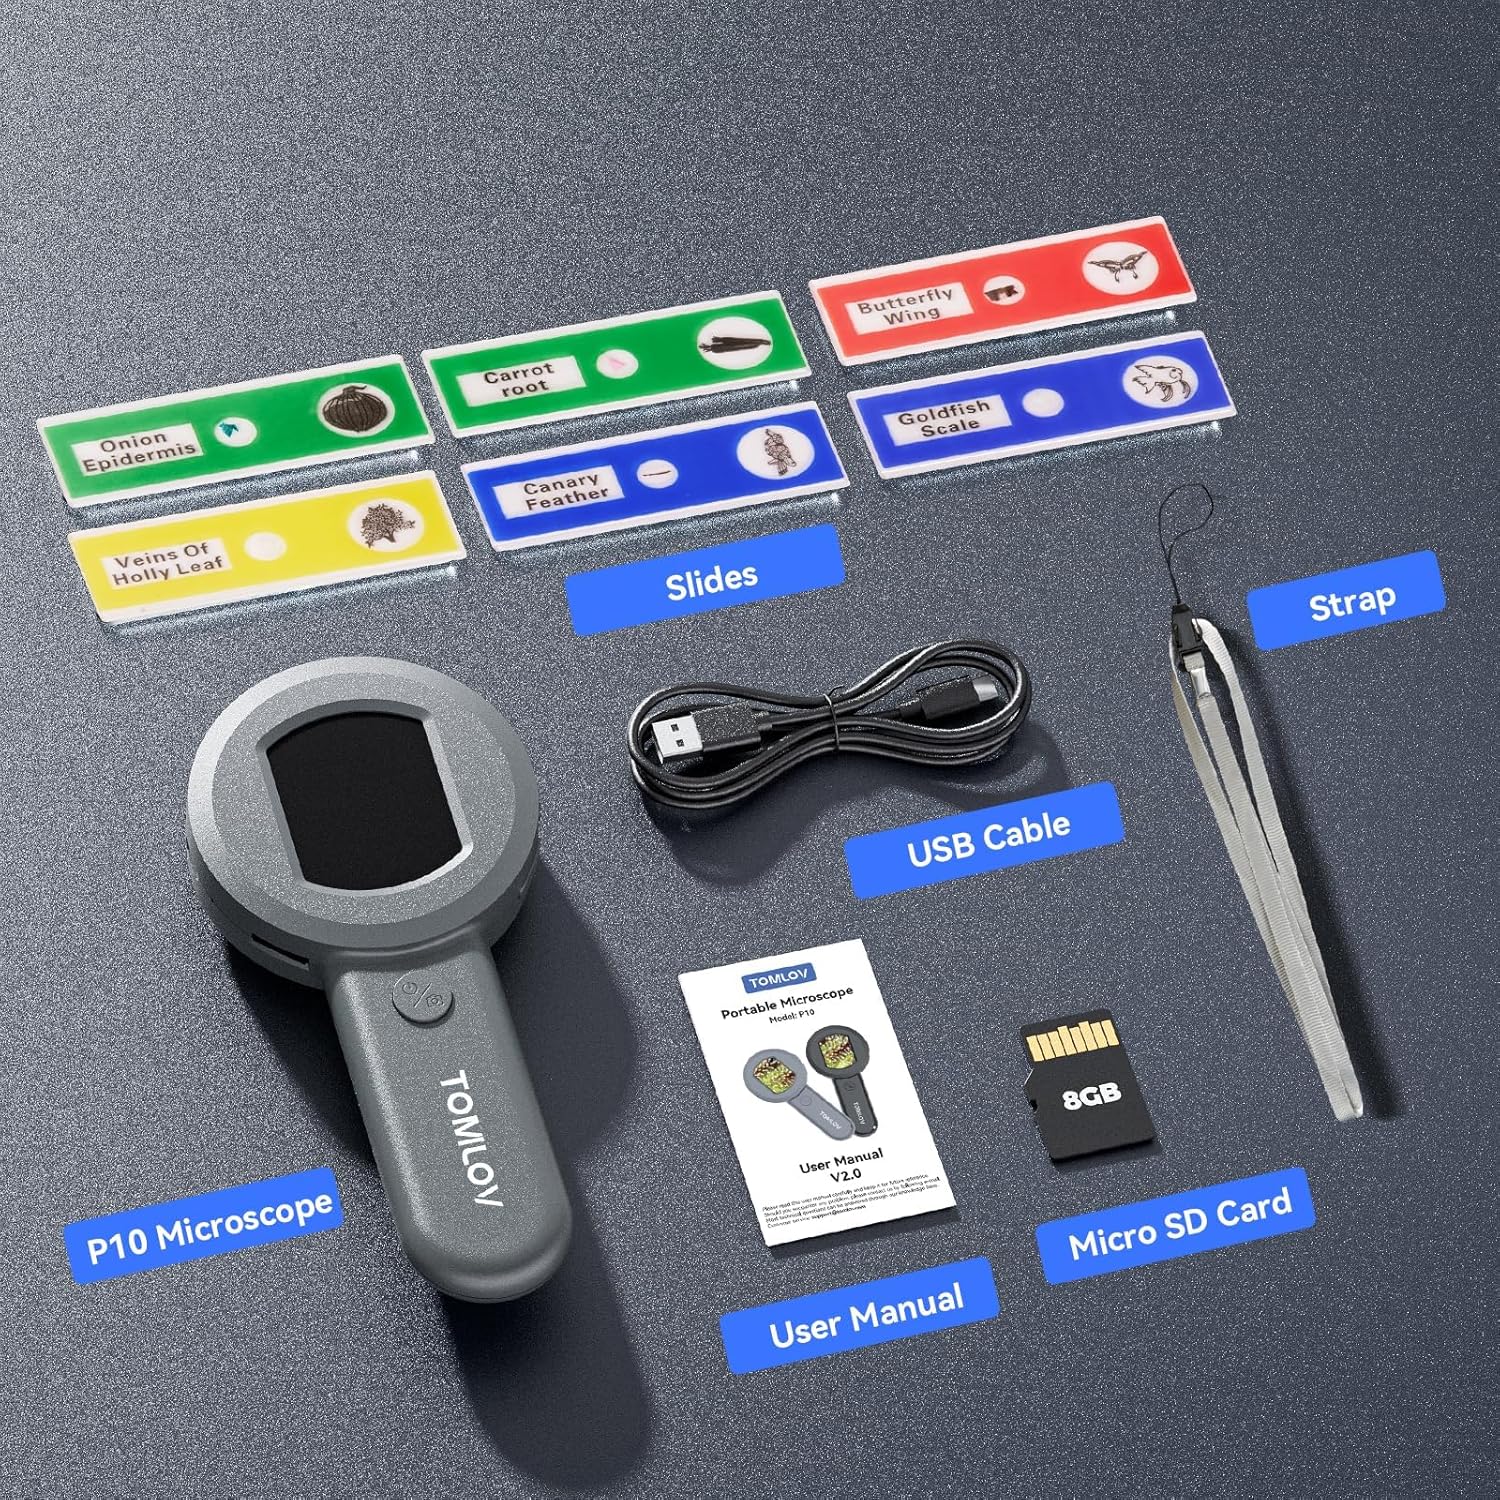
Figure 2.1: Included components of the TOMLOV P10 package.
3. Product Overview
The TOMLOV P10 features a compact and lightweight design, making it highly portable for on-the-go use. It integrates a 2-inch IPS screen for direct viewing and a powerful 100X fixed magnification lens with additional 4X digital zoom capabilities.

Figure 3.1: The TOMLOV P10 Portable Digital Microscope.
Key Features:
- Visible & Shareable 2" LCD Screen: View live images directly on the screen, making it easy to share observations.
- Mini & Lightweight Design: Weighing just 3.9 oz, it's ideal for portability and field use.
- Powerful 100X Magnification (Fixed Focus) and 4X Digital Zoom: Provides clear, detailed views for inspecting various objects.
- Dimmable 4 White Lights + 4 UV Lights: Adjustable white LEDs and UV lights for enhanced visibility and specialized inspection (e.g., currency).
- 16MP Camera & 8GB SD Card: Capture high-resolution images and store them on the included memory card.
- PC Connection: Connect to a computer for larger viewing and easier documentation.
- Built-in Rechargeable Battery: Offers up to 50 minutes of continuous use for portability.
4. Setup
4.1 Charging the Device
Before first use, fully charge the TOMLOV P10. Connect the provided USB cable to the Type-C port on the device and to a standard USB power adapter (not included) or a computer's USB port. The charging indicator light will show the charging status.

Figure 4.1: Type-C charging port and TF card slot.
4.2 Inserting the Micro SD Card
The 8GB Micro SD card is pre-installed or included separately. Locate the TF card slot on the side of the device. Gently push the Micro SD card into the slot until it clicks into place. To remove, push again until it springs out.
5. Operating Instructions
5.1 Power On/Off
Press and hold the power button (usually marked with a power symbol) for a few seconds to turn the device on or off. The 2-inch LCD screen will display the startup or shutdown sequence.

Figure 5.1: Using the TOMLOV P10 to observe small objects.
5.2 Magnification and Focusing
The TOMLOV P10 offers a fixed 100X optical magnification. To achieve a clear image, place the microscope approximately 0.3 inches (about 0.76 cm) from the object you wish to observe. The device is designed for close-up viewing.
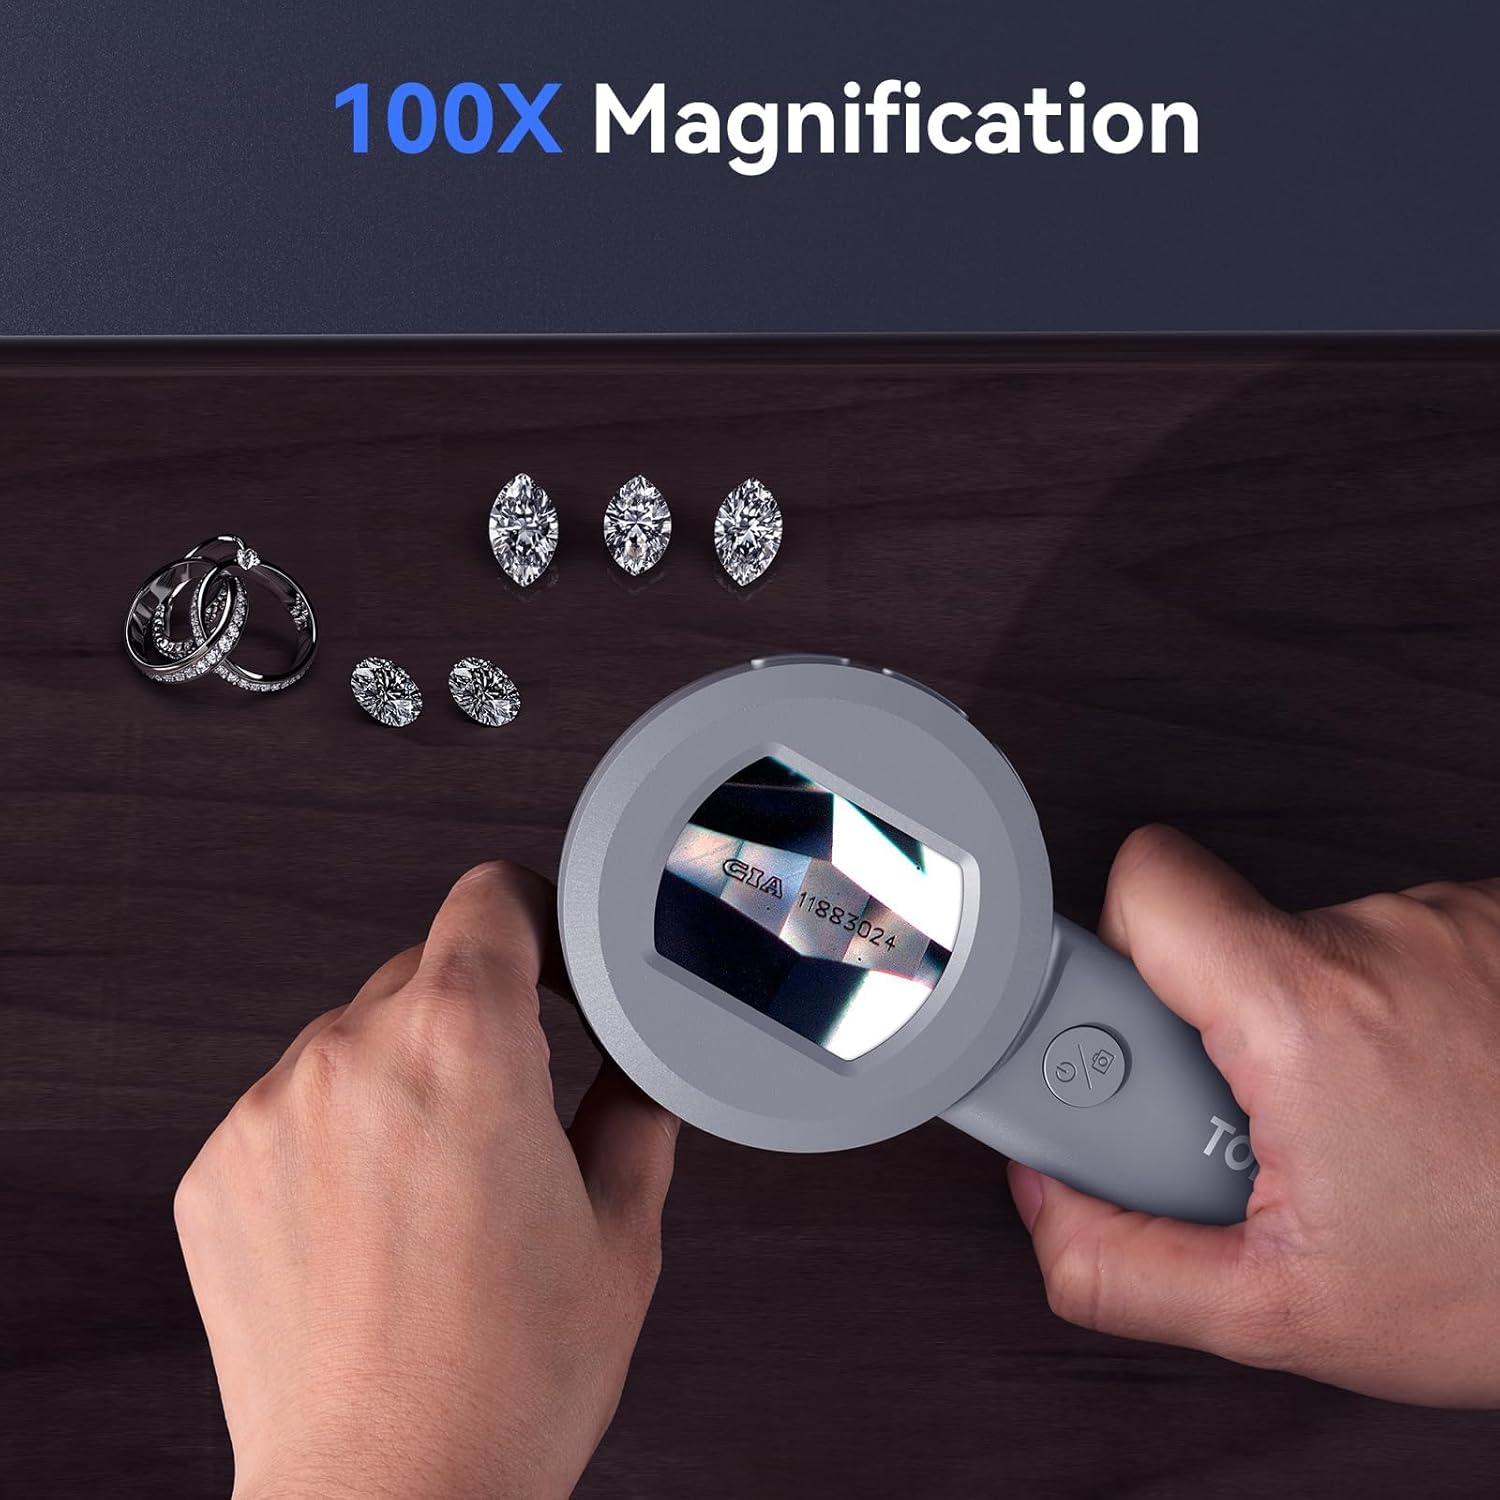
Figure 5.2: Observing jewelry with 100X magnification.
Use the digital zoom function (if available, typically a button marked with +/- or a zoom icon) to further enlarge the image on the screen up to 4X. This is a digital zoom and may affect image clarity at higher levels.
5.3 Lighting Modes
The microscope is equipped with 4 dimmable white LED lights and 4 UV lights. Press the light control button (often integrated with the power button or a separate button) to cycle through different lighting modes: white light, UV light, or off. Adjust the brightness of the white LEDs as needed for optimal viewing.

Figure 5.3: White and UV lighting modes for different observation needs.
5.4 Capturing Images and Videos
To capture a still image, press the photo/video button (usually marked with a camera icon) once. To record a video, press and hold the button until recording begins, and press again to stop. Captured media is saved to the inserted Micro SD card.

Figure 5.4: Examples of images captured with the 16MP camera.
5.5 Playback and Menu Navigation
Use the menu button (often marked with 'M' or a gear icon) to access settings and playback options. Navigate through the menu using the directional buttons (if present) or the zoom buttons. You can review captured images and videos, adjust image resolution, language, brightness, and auto power-off settings.
Video 5.1: Demonstration of viewing coin details with the TOMLOV P10.
This video illustrates the clarity and detail achievable when inspecting coins using the microscope's magnification and lighting features.
Video 5.2: Demonstration of viewing gem details with the TOMLOV P10.
This video showcases the microscope's ability to reveal intricate details in gemstones, highlighting its utility for jewelers and collectors.
6. PC Connection for Large Viewing
The TOMLOV P10 can be connected to a computer for a larger viewing experience and easier management of captured media. Use the provided USB cable to connect the microscope to your PC. The device should be recognized as a mass storage device or a webcam, depending on the mode. Follow on-screen prompts or refer to your computer's operating system instructions for external device connection.

Figure 6.1: Connecting the TOMLOV P10 to a PC for extended viewing.
7. Maintenance
7.1 Cleaning
Use a soft, dry cloth to clean the body of the microscope. For the lens and screen, use a lens cleaning cloth and specialized cleaning solution if necessary. Avoid using abrasive cleaners or solvents that could damage the device.
7.2 Storage
Store the TOMLOV P10 in a cool, dry place away from direct sunlight and extreme temperatures. Ensure the lens is protected from dust and scratches when not in use.
8. Troubleshooting
| Problem | Possible Cause | Solution |
|---|---|---|
| Device does not power on. | Low battery; Device malfunction. | Charge the device fully. If problem persists, contact support. |
| Image is blurry. | Incorrect distance from object; Dirty lens. | Adjust distance to approximately 0.3 inches. Clean the lens. |
| Cannot save images/videos. | SD card full or not inserted correctly; SD card error. | Check SD card insertion. Format or replace SD card. |
| Lights are not working. | Lights turned off; Device malfunction. | Press light control button to turn on/cycle modes. Contact support if issue continues. |
9. Specifications
- Model Name: P10
- Brand: TOMLOV
- Magnification Maximum: 100x
- Image Resolution: 16MP (Still Images)
- Screen: 2-inch LCD
- Light Source Type: LED (4 White, 4 UV)
- Battery: 500mAh Lithium Ion (up to 50 minutes use)
- Storage: 8GB Micro SD Card (included)
- Connectivity: USB Type-C (for charging and PC connection)
- Item Weight: 5.6 ounces
- Package Dimensions: 7.36 x 3.94 x 1.54 inches
- Material: Plastic
- Color: Grey
10. Warranty and Support
For warranty information and technical support, please refer to the official TOMLOV website or contact their customer service directly. Keep your purchase receipt for warranty claims.
Related documentsP10


Ask a question about this manual
Ask about setup, troubleshooting, compatibility, parts, safety, or missing instructions. Manuals+ will review the question and use this page’s manual context to help answer it.