
1. Product Overview
The OBDSTAR iScan BRP is a professional, portable diagnostic tablet specifically designed for BRP (Can-am) systems. It offers comprehensive diagnostic capabilities for motorcycles, snowmobiles, ATVs, and UTVs. Featuring a 5.0-inch capacitive touchscreen and running on Android 5.1.1, this tool provides an intuitive and efficient diagnostic experience.

Figure 1.1: The OBDSTAR iScan BRP Diagnostic Tool, showcasing its user interface and robust design.
Key Features:
- Professional Diagnostics: Tailored for BRP systems, offering superb performance.
- Advanced Functions: Supports automatic scanning, VIN recognition, control module programming/coding, ECU setting, instrument coding, TPMS, maintenance light reset, CO/idle speed/A/F value adjustment, ABS control unit setting, EOL mode, transmission memory reset, and clear computer memory.
- User-Friendly Interface: Equipped with Android 5.1.1 operating system and a simple, intuitive menu guide for quick operation.
- Real-Time Data Monitoring: Records and plays back data streams to quickly and accurately locate sensor and component faults.
- Multi-Language Support: Available in English, Spanish, Portuguese, French, German, Italian, Polish, Russian, Turkish, Indonesian, Farsi, Thai, Vietnamese.
- Connectivity: Wi-Fi for one-click software updates and remote assistance.
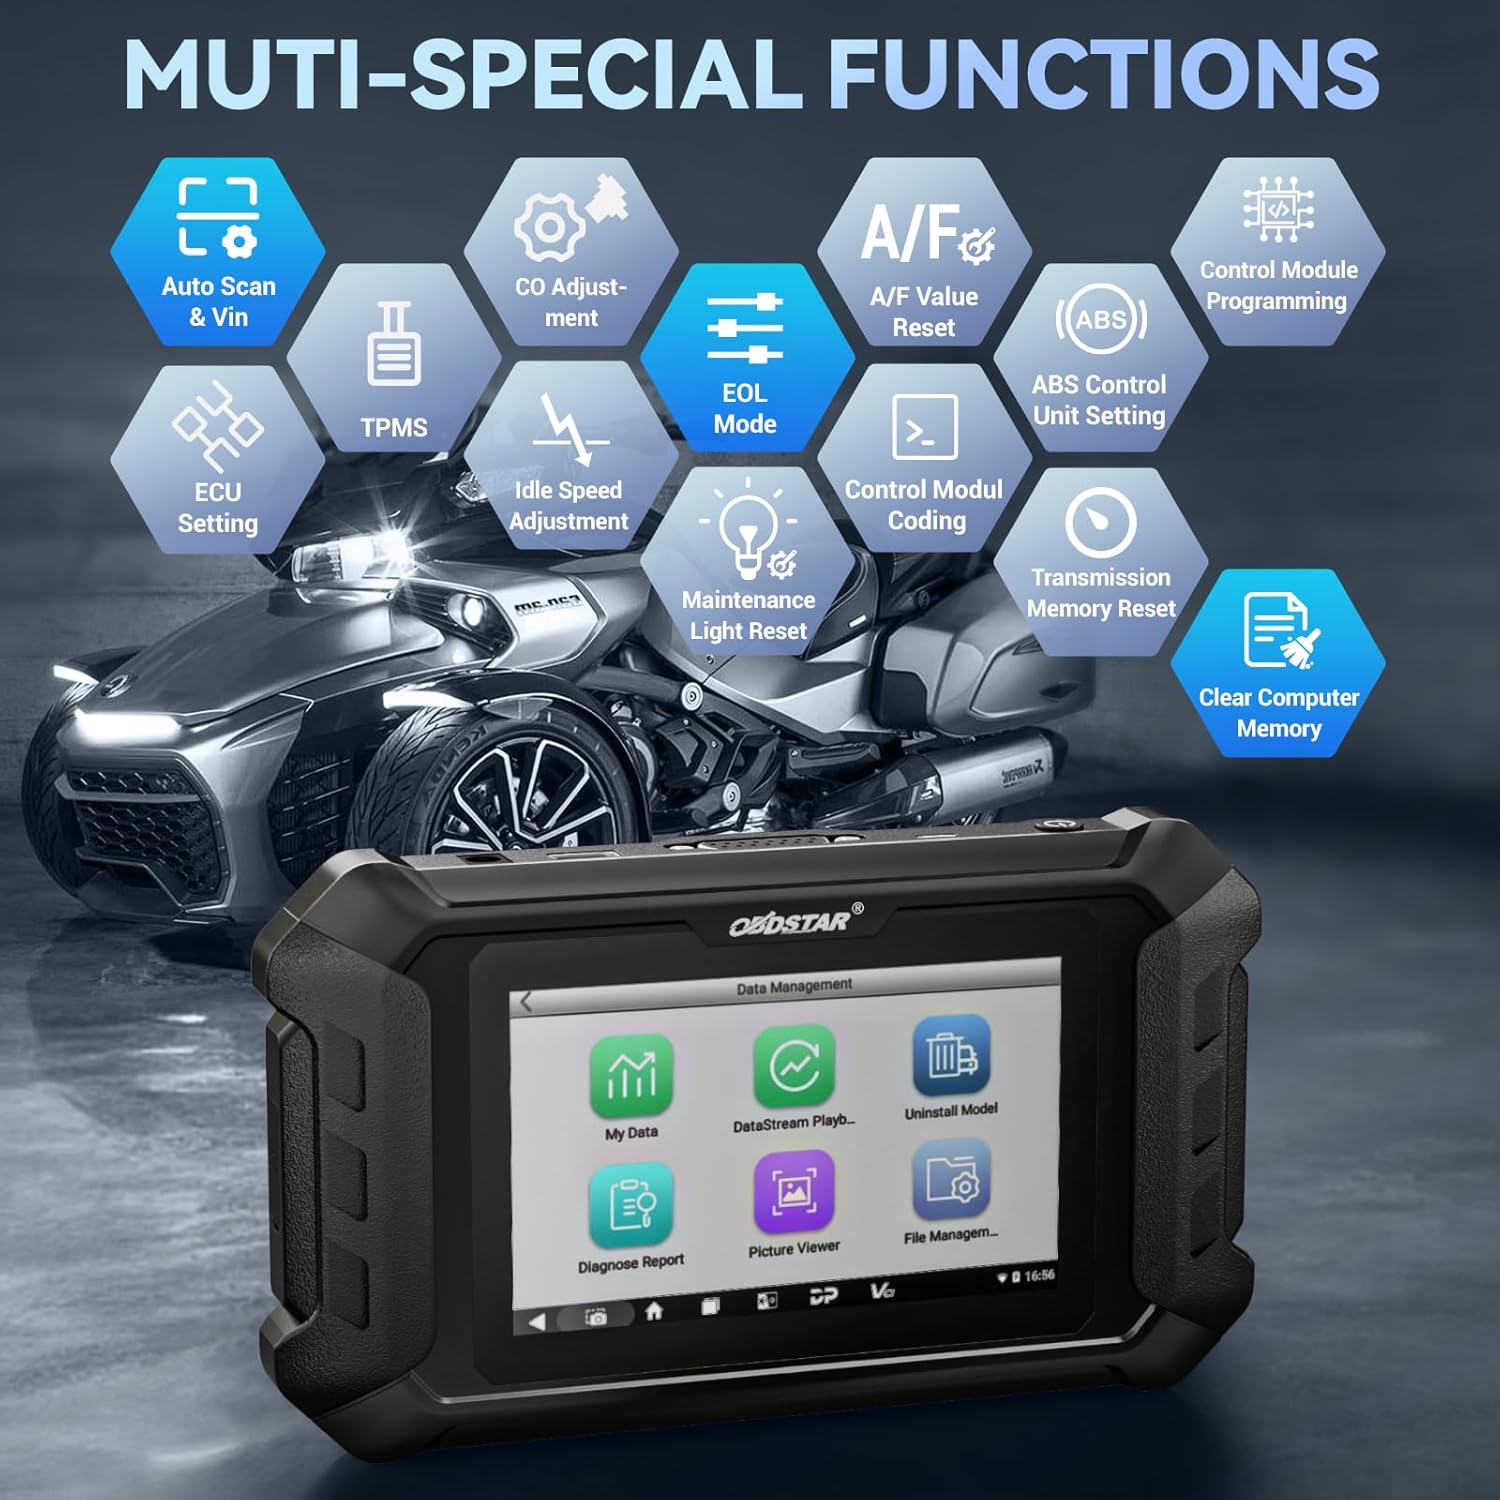
Figure 1.2: Overview of the multi-special functions supported by the OBDSTAR iScan BRP, including Auto Scan & VIN, ECU Setting, TPMS, A/F Value Reset, and more.
2. Package Contents
Upon opening the package, please verify that all the following items are included and in good condition:
- Main Tablet (OBDSTAR iScan BRP Diagnostic Tool)
- 12V2A Charger
- Main Cable
- BRP Cable
- User Manual

Figure 2.1: All components included in the OBDSTAR iScan BRP package: Main Tablet, 12V2A Charger, Main Cable, BRP Cable, and User Manual.
3. Setup Guide
3.1 Initial Power On and Configuration
- Charge the Device: Connect the 12V2A charger to the diagnostic tool and a power outlet. Ensure the device is fully charged before first use.
- Power On: Press and hold the power button located on the side of the tablet until the screen illuminates.
- Language Selection: Upon first boot, you will be prompted to select your preferred language. Choose English or another supported language from the list.
- Wi-Fi Connection: Navigate to the system settings and connect to a stable Wi-Fi network. This is crucial for software updates and remote assistance.
- Software Update: After connecting to Wi-Fi, it is recommended to perform a one-click software update to ensure you have the latest diagnostic software and vehicle coverage.
4. Operating Instructions
4.1 Connecting to a Vehicle
- Locate Diagnostic Port: Identify the diagnostic port on your BRP vehicle (motorcycle, snowmobile, ATV, or UTV). Refer to your vehicle's service manual for the exact location.
- Connect Cables: Use the appropriate Main Cable and BRP Cable to connect the diagnostic tool to the vehicle's diagnostic port. Ensure connections are secure.
- Turn On Ignition: Turn the vehicle's ignition to the 'ON' position (do not start the engine unless instructed by the diagnostic procedure).
4.2 Performing Diagnostics
- Select 'MOTO Diag': From the main menu of the diagnostic tool, tap on the 'MOTO Diag' icon to enter the motorcycle diagnostic interface.
- Vehicle Selection: Select the correct vehicle brand (BRP) and model from the list.
- Automatic VIN Recognition: The tool supports automatic VIN recognition. If prompted, allow the tool to read the VIN for faster vehicle identification.
- System Scan: Initiate an automatic system scan to identify all available control modules and detect any diagnostic trouble codes (DTCs).
- Diagnostic Functions:
- Read Codes: View current, pending, and historic diagnostic trouble codes.
- Clear Codes: Erase diagnostic trouble codes from the vehicle's ECU.
- Data Stream: Monitor real-time data parameters from various sensors and components. Data can be displayed in text, waveform, or instrument diagram formats.
- Active Test (Motion Test): Perform specific tests on actuators and components to verify their functionality.
- Special Functions: Access advanced functions such as ECU setting, instrument coding, TPMS reset, maintenance light reset, CO adjustment, idle speed adjustment, A/F value reset, ABS control unit setting, EOL mode, transmission memory reset, and clear computer memory.
- Save and Print Reports: After diagnosis, you can save diagnostic reports and, if connected to a compatible printer, print them for record-keeping.

Figure 4.1: The diagnostic tool's interface highlighting features like Auto VIN & Scan, One Click Upgrade, Professional Tech Support, and Live Data monitoring.

Figure 4.2: The Auto VIN & Scan feature streamlines vehicle identification for efficient diagnostics.

Figure 4.3: The Data Play Back function allows for review of recorded real-time data, aiding in fault analysis.
5. Maintenance
5.1 Software Updates
Regular software updates are essential to ensure your diagnostic tool has the latest vehicle coverage, bug fixes, and new features. Connect the device to a Wi-Fi network and use the 'Upgrade' function on the main menu for one-click updates.
5.2 Cleaning and Storage
- Wipe the device with a soft, damp cloth. Do not use abrasive cleaners or solvents.
- Store the tool in a cool, dry place, away from direct sunlight and extreme temperatures.
- Keep cables neatly coiled to prevent damage.
6. Troubleshooting
| Problem | Possible Cause | Solution |
|---|---|---|
| Device does not power on. | Low battery; faulty charger/cable; device malfunction. | Charge the device for at least 30 minutes. Try a different charger/cable. If problem persists, contact support. |
| Cannot connect to vehicle. | Incorrect cable connection; vehicle ignition off; incompatible vehicle model; damaged diagnostic port. | Ensure cables are securely connected. Turn vehicle ignition ON. Verify vehicle compatibility. Check vehicle's diagnostic port for damage. |
| Software update fails. | Unstable Wi-Fi connection; insufficient storage; server issue. | Ensure strong Wi-Fi signal. Check available storage space. Try updating again later. |
| Screen is unresponsive. | Software glitch; physical damage. | Restart the device. If problem persists, contact support. |
7. Specifications
- Model: SP540
- Operating System: Android 5.1.1
- Processor: RK3128 Quad-core
- Display: 5.0-inch Capacitive Touch Screen
- Connectivity: Wi-Fi
- Battery: 1 Lithium Polymer battery (included)
- Item Weight: Approximately 2.55 pounds
- Package Dimensions: Approximately 12.91 x 9.29 x 2.76 inches
- Country of Origin: China
- Supported Languages: EN, ES, PT, FR, DE, IT, PL, RU, TR, ID, FA, TH, VN

Figure 7.1: Hardware highlights of the OBDSTAR iScan BRP, including Wi-Fi, Android 5.1.1, 5.0 Inch Touch Screen, RK3128 Quad-core Processor, and Intuitive Menu Guidance.
8. Support and Warranty
8.1 Technical Support
OBDSTAR provides technical support for the iScan BRP diagnostic tool. You can utilize the one-click remote help function on the device to receive assistance from OBDSTAR technical staff.
8.2 Return Policy
This product is eligible for a 30-day refund/replacement return policy from the date of purchase. Please refer to your retailer's specific return terms and conditions for detailed information.


