
1. Product Overview
The Retevis RT22 is a compact and portable two-way radio designed for reliable communication. It features voice-activated transmission (VOX), an emergency alarm function, and comes with acoustic tube earpieces for clear and private communication. This manual provides essential information for the proper setup, operation, and maintenance of your RT22 walkie talkies.

Figure 1: Retevis RT22 Walkie Talkie, showcasing its portable design.
2. Package Contents
Before using your Retevis RT22 walkie talkies, please verify that all items are present in the package:
- 4x Retevis RT22 Portable Radios
- 4x Rechargeable Li-ion Batteries
- 4x USB Cables
- 4x Unique Belt Clips
- 2x USB Adapters
- 4x Retevis Acoustic Tube Walkie Talkie Earpieces
- 1x User Manual (English)

Figure 2: Included components in the Retevis RT22 package.
3. Parts of the Radio
Familiarize yourself with the various parts of your Retevis RT22 walkie talkie:

Figure 3: Labeled diagram of the Retevis RT22 Walkie Talkie.
- Indicator Light: Shows radio status (e.g., transmitting, receiving, charging).
- Power/Volume Knob: Turns the radio on/off and adjusts the volume.
- Speaker: Outputs received audio.
- PTT (Push-to-Talk) Button: Press and hold to transmit, release to receive.
- Channel + / Monitor Button: Increases channel number. Short press to activate monitor function.
- Channel - Button: Decreases channel number.
- Microphone: Captures your voice during transmission.
- USB Plug: For charging the radio.
4. Setup
4.1 Battery Installation
To install the battery:
- Ensure the radio is turned off.
- Locate the battery compartment cover on the back of the radio.
- Slide the battery cover downwards to remove it.
- Align the rechargeable Li-ion battery with the contacts inside the compartment.
- Gently press the battery into place until it clicks.
- Replace the battery compartment cover by sliding it upwards until it locks.

Figure 4: Battery compartment of the Retevis RT22.
4.2 Charging the Battery
Charge the battery before initial use and when the battery indicator is low.
- Connect the USB cable to the USB plug on the radio.
- Connect the other end of the USB cable to a USB adapter, and then plug the adapter into a standard wall outlet.
- The indicator light will typically show red during charging and turn green when fully charged.
- Charging time may vary. Do not overcharge the battery.
4.3 Attaching the Belt Clip
To attach the belt clip, align the clip with the designated slots on the back of the radio and slide it upwards until it locks into place. To remove, push the release tab and slide the clip downwards.
4.4 Connecting the Earpiece
The Retevis RT22 uses a 2-pin connector for accessories. Insert the earpiece's 2-pin plug firmly into the accessory jack on the side of the radio. Ensure a secure connection for optimal audio performance.

Figure 5: Retevis Acoustic Tube Earpiece.
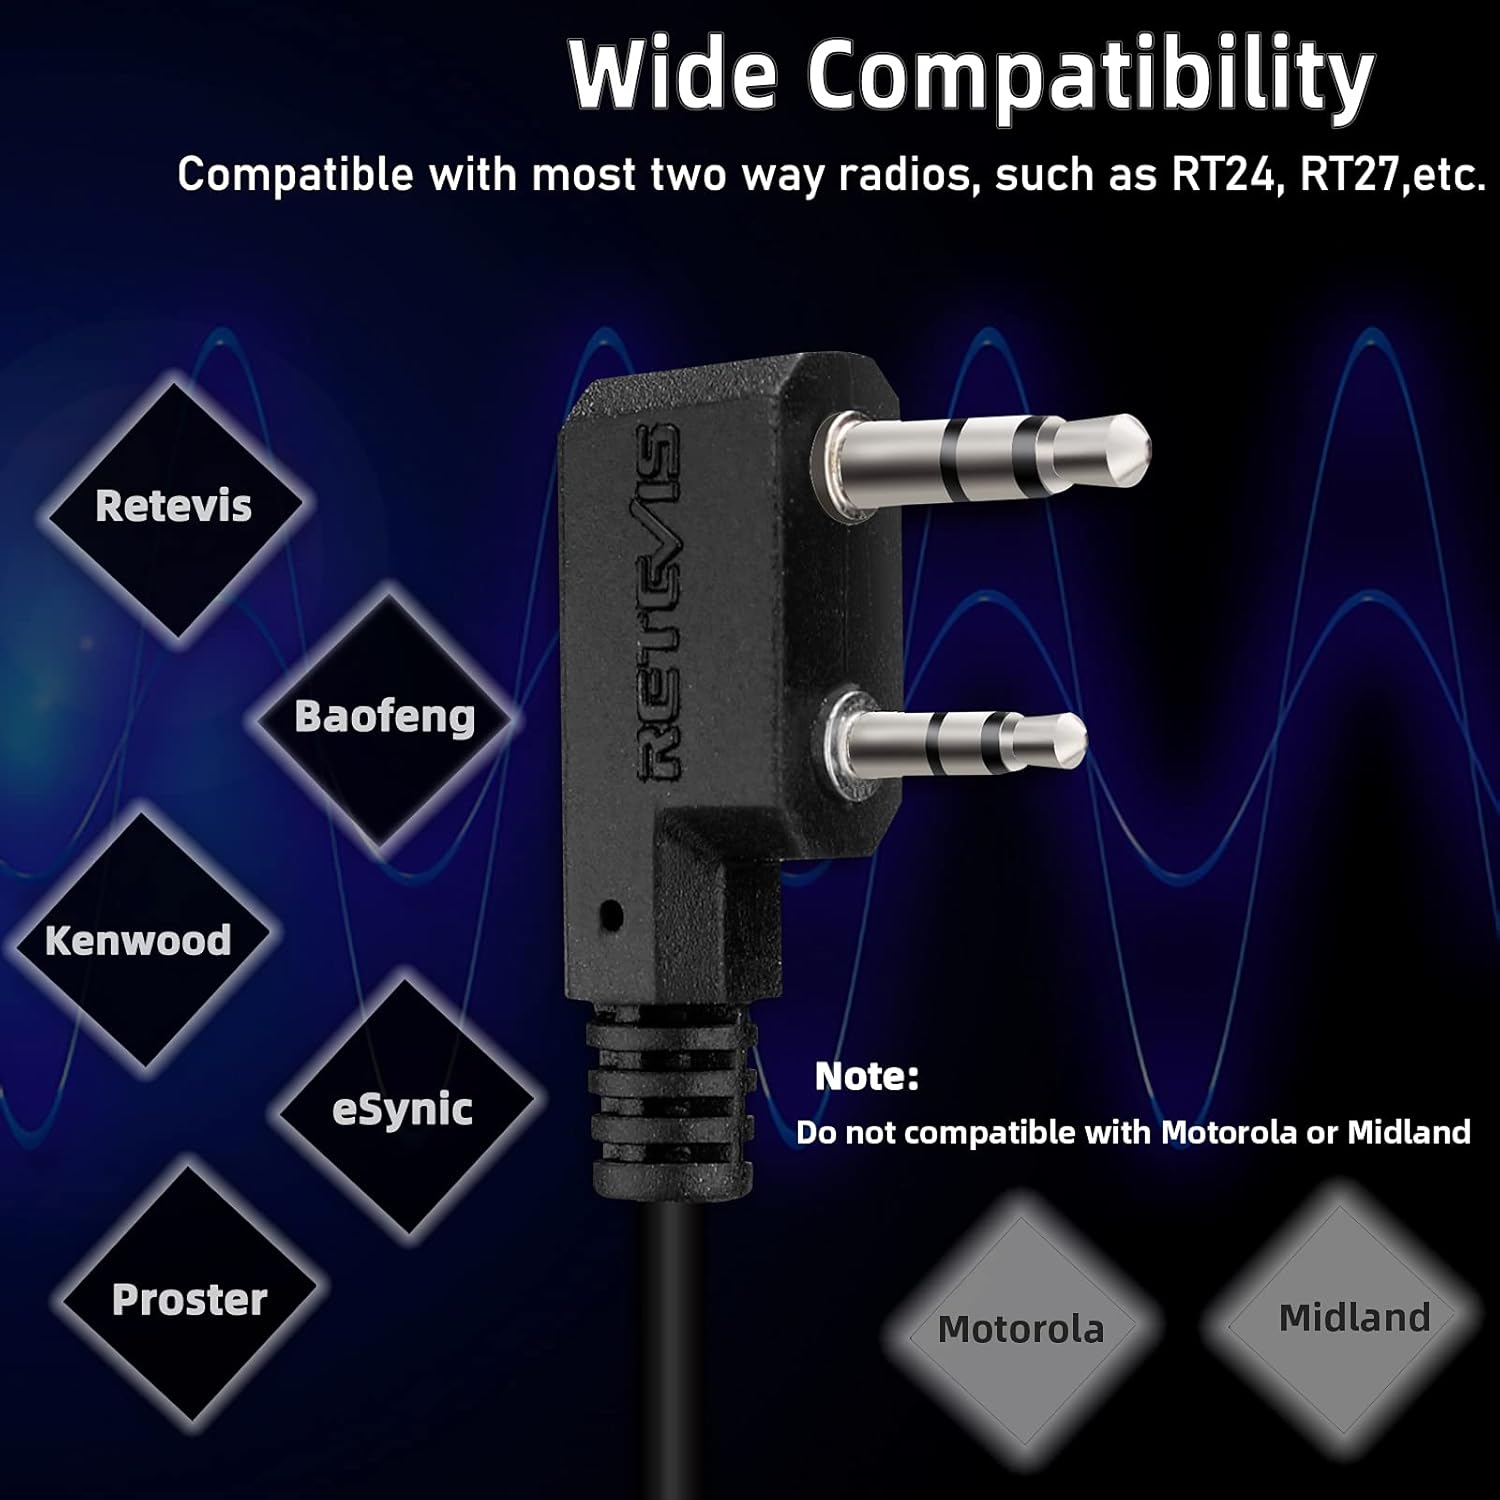
Figure 6: Components of the Acoustic Tube Earpiece.
5. Operating Instructions
5.1 Power On/Off and Volume Adjustment
To turn the radio on, rotate the Power/Volume knob clockwise until you hear a click. Continue rotating clockwise to increase the volume. To turn off the radio, rotate the knob counter-clockwise until it clicks off.
5.2 Channel Selection
Use the Channel + and Channel - buttons on the side of the radio to select your desired communication channel. Ensure all radios in your group are set to the same channel for communication.
5.3 Transmitting and Receiving
- To Transmit: Press and hold the PTT (Push-to-Talk) button on the side of the radio. Speak clearly into the microphone. The indicator light will glow red. Release the PTT button to stop transmitting.
- To Receive: Ensure the PTT button is not pressed. The indicator light will glow green when a signal is being received on your current channel.
5.4 VOX Function (Voice Activated Transmission)
The VOX function allows for hands-free communication. When activated, the radio will automatically transmit when it detects your voice, without needing to press the PTT button. Refer to the full user manual for detailed instructions on activating and adjusting VOX sensitivity.
5.5 Emergency Alarm
The RT22 features an emergency alarm function. To activate, press and hold the Channel + / Monitor button for approximately 3 seconds. The radio will emit a loud alarm tone. Press the PTT button to cancel the alarm.
5.6 Monitor Function
To temporarily disable squelch and listen for weak signals on the current channel, short press the Channel + / Monitor button. Release the button to return to normal operation.
6. Maintenance
- Cleaning: Use a soft, damp cloth to clean the radio's exterior. Do not use harsh chemicals or solvents.
- Battery Care: Store batteries in a cool, dry place. Avoid extreme temperatures. If the radio will not be used for an extended period, remove the battery.
- Water Resistance: The Retevis RT22 is not water resistant. Avoid exposing the radio to rain, splashes, or immersion in water.
- Storage: Store the radio in a dry, dust-free environment when not in use.
7. Troubleshooting
| Problem | Possible Cause | Solution |
|---|---|---|
| Radio does not turn on. | Battery is dead or not installed correctly. | Charge the battery or re-install it correctly. |
| Cannot transmit or receive. | Incorrect channel selected; out of range; low battery. | Verify channel settings; move closer to other radios; charge battery. |
| Poor audio quality. | Volume too low; earpiece not fully connected; interference. | Adjust volume; re-seat earpiece; move away from sources of interference. |
| VOX not working. | VOX sensitivity too low; VOX not activated. | Adjust VOX sensitivity; ensure VOX is enabled. |
8. Specifications
| Feature | Detail |
|---|---|
| Model Number | RT22 |
| Brand | Retevis |
| Number of Channels | 22 |
| Frequency Range | 462-467 MHz |
| Voltage | 3.7 Volts |
| Special Features | Emergency Alarm, VOX (Voice Activated) |
| Water Resistance Level | Not Water Resistant |
| Compatible Devices | Retevis two-way radios, Acoustic Tube Headset, Earpieces |
| FCC ID | 2AAR8RT22 |

Figure 7: Physical dimensions of the Retevis RT22.
9. Warranty and Support
Retevis products are designed for reliability and performance. For specific warranty information, please refer to the documentation included with your purchase or visit the official Retevis website. For technical support, troubleshooting assistance, or inquiries about replacement parts, please contact Retevis customer service through their official channels.
Official Retevis Store: Visit the Retevis Store on Amazon


