1. Introduction
This manual provides instructions for the LASER TREE Replaceable Protective Lens, designed for use with LASER TREE LT-K20, K30, K40, and K60 series laser modules. This lens serves as a crucial component to protect the internal optics of your laser module from dust, debris, and laser residue, ensuring optimal performance and extending the lifespan of your equipment.
Regular inspection and replacement of the protective lens are essential for maintaining the precision and power of your laser module.
2. Safety Information
WARNING: Laser radiation can be hazardous. Always follow proper safety procedures when working with laser equipment.
- Always wear appropriate laser safety goggles that match the wavelength of your laser module.
- Ensure the laser module is powered off and disconnected from its power source before attempting any maintenance or lens replacement.
- Avoid direct exposure to the laser beam, even when the protective lens is installed.
- Keep the work area clean and free of flammable materials.
- Handle the protective lens with care to avoid scratches or damage.
3. Package Contents
The package typically includes:
- LASER TREE Replaceable Protective Lenses (quantity may vary per pack)
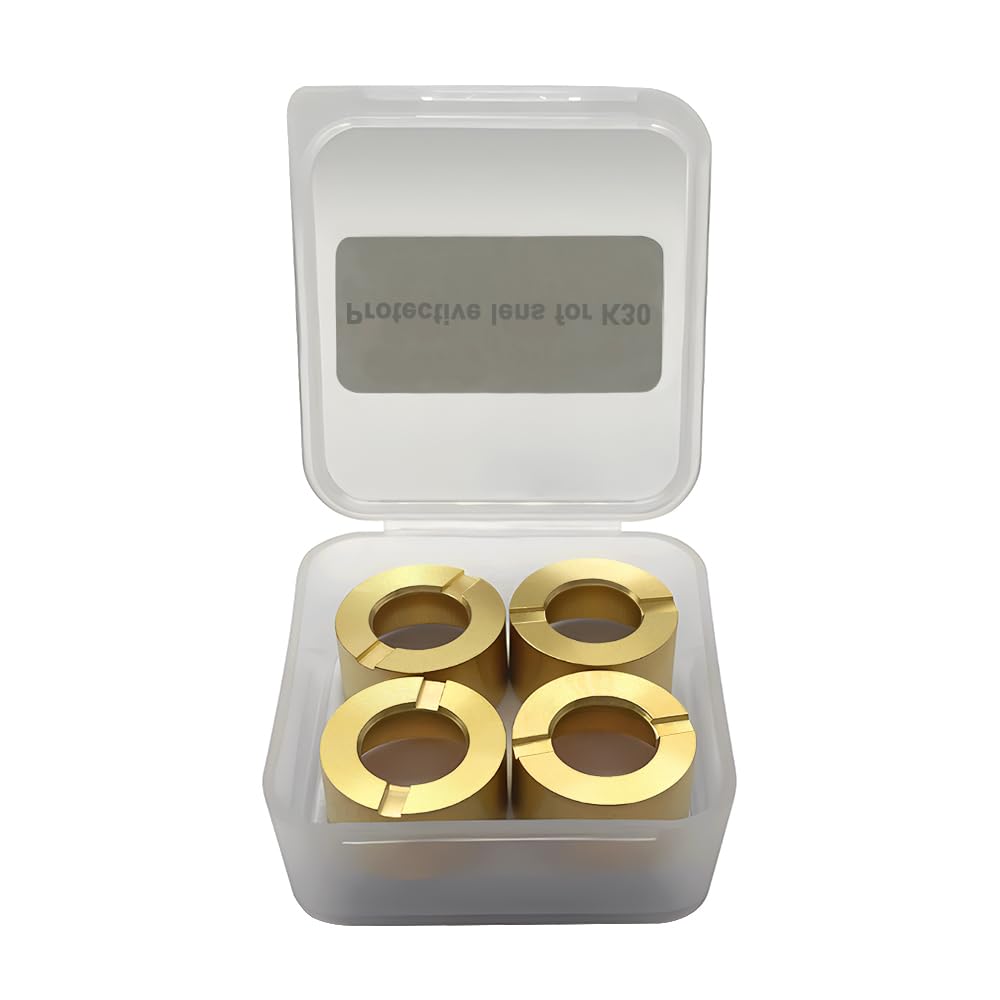
Image 3.1: A clear plastic case containing four LASER TREE protective lenses, labeled "Protective lens for K30".
4. Compatibility
These protective lenses are designed for compatibility with the following LASER TREE laser module series:
- LASER TREE LT-K20 Series
- LASER TREE LT-K30 Series (e.g., LT-K30 OL)
- LASER TREE LT-K40 Series
- LASER TREE LT-K60 Series
Ensure your laser module is one of the compatible models before attempting installation.
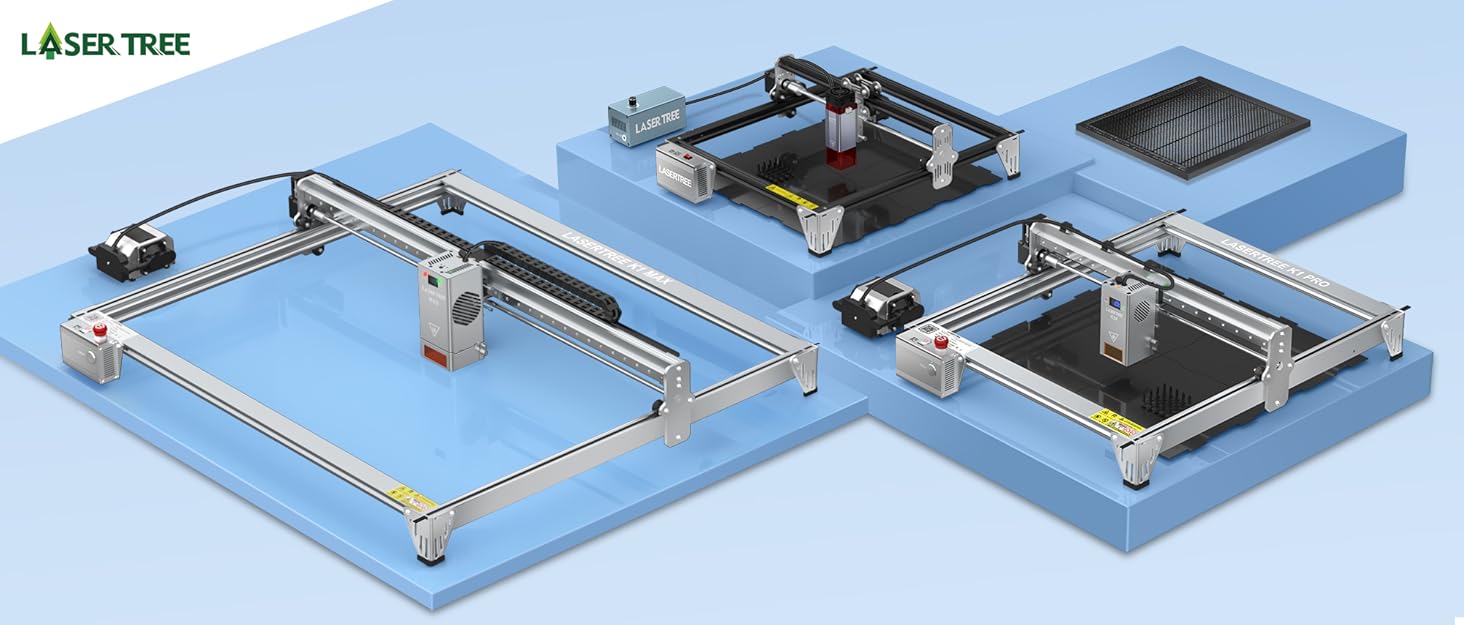
Image 4.1: An illustration showing different LASER TREE laser engraver models, indicating the range of compatible modules.
5. Installation (Lens Replacement)
Replacing the protective lens is a straightforward process. Always ensure the laser module is powered off and cooled down before proceeding.
- Power Off: Disconnect the laser module from its power supply and ensure it is completely off.
- Locate Lens Holder: Identify the protective lens holder at the bottom of your laser module. This is typically a threaded ring or a small cap that secures the lens.
- Remove Old Lens: Carefully unscrew or unclip the lens holder. Gently remove the old protective lens. Use a soft, lint-free cloth or tweezers if necessary, avoiding direct contact with the lens surface.
- Inspect: Inspect the new protective lens for any dust, fingerprints, or damage. If necessary, clean it gently with a specialized optical lens cleaning solution and a microfiber cloth.
- Insert New Lens: Place the new protective lens into the lens holder, ensuring it is seated correctly and oriented properly (if applicable). Avoid touching the optical surfaces.
- Secure Lens: Carefully re-attach or screw the lens holder back into place, ensuring it is snug but not overtightened.
- Test: Reconnect power to the laser module. Perform a low-power test to ensure the laser beam passes through the new lens without obstruction or distortion.
Refer to your specific laser module's user manual for detailed instructions on accessing and replacing its protective lens, as procedures may vary slightly between models.
6. Operation and Function
The protective lens acts as a barrier, shielding the delicate internal focusing lens of your laser module from external contaminants. During laser engraving or cutting operations, smoke, dust, and debris are generated. Without a protective lens, these particles would quickly accumulate on the primary focusing lens, degrading laser performance and potentially causing permanent damage.
With the protective lens installed, it absorbs the impact of these contaminants, allowing for easy cleaning or replacement when necessary, thus preserving the integrity of the main optical system.
7. Maintenance and Cleaning
Regular maintenance of the protective lens is crucial for consistent laser performance.
7.1. Cleaning the Lens
- Frequency: Inspect the lens before each use or after extended periods of operation. Clean as needed.
- Materials: Use only optical-grade lens cleaning solution and a clean, soft, lint-free microfiber cloth or optical wipes. Avoid abrasive materials or harsh chemicals.
- Procedure:
- Ensure the laser module is off and cooled.
- Gently blow away any loose dust or debris using an air blower (not canned air, which can leave residue).
- Apply a small amount of optical lens cleaning solution to the microfiber cloth (not directly to the lens).
- Wipe the lens surface gently in a circular motion from the center outwards.
- Allow the lens to air dry completely before re-installing or operating the laser.
7.2. When to Replace
Replace the protective lens if you observe any of the following:
- Visible scratches, cracks, or chips on the lens surface.
- Permanent discoloration or haziness that cannot be removed with cleaning.
- A noticeable decrease in laser power or engraving/cutting quality, even after cleaning.
- Signs of pitting or burn marks from prolonged exposure to debris.
8. Troubleshooting
| Problem | Possible Cause | Solution |
|---|---|---|
| Reduced laser power/quality | Dirty or damaged protective lens. | Clean the lens (Section 7.1). If cleaning does not resolve the issue, replace the lens (Section 5). |
| Uneven engraving/cutting | Lens improperly seated or damaged. | Re-seat the lens correctly (Section 5). Inspect for damage and replace if necessary. |
| Lens gets dirty quickly | Insufficient air assist or ventilation during operation. | Ensure proper air assist is used with your laser module. Improve ventilation in the work area. |
9. Specifications
| Feature | Detail |
|---|---|
| Product Name | Replaceable Protective Lens |
| Brand | LASER TREE |
| Compatible Models | LT-K20, K30, K40, K60 Laser Modules |
| Item Model Number (for this specific product) | LT-K30 OL |
| Product Dimensions | 1.97 x 1.97 x 0.79 inches |
| Item Weight | 2.08 ounces |
| Manufacturer | LASER TREE |
| ASIN | B0DCNCYFVK |
10. Support and Contact
For technical assistance, troubleshooting beyond this manual, or inquiries regarding replacement parts, please contact LASER TREE customer support.
Visit the official LASER TREE store for more information and contact options: LASER TREE Store
LASER TREE is committed to providing high-quality products and user satisfaction with an experienced R&D and support team.


