
AINAVI B0DCHQ1ZR1
AINAVI 9-inch QLED Car Stereo for Toyota Prius (2010-2015) User Manual
Model: B0DCHQ1ZR1
1. Introduction
This manual provides detailed instructions for the installation, setup, and operation of your AINAVI 9-inch QLED Car Stereo. Please read this manual thoroughly before using the product to ensure proper functionality and to maximize your user experience. Keep this manual for future reference.
2. Product Overview
2.1 Key Features
- 9-inch QLED Touch Screen: High-resolution display (1280x720) for clear visuals.
- Android 12 System: Powered by an 8-core CPU and Dual-Core GPU with 3GB RAM and 32GB ROM for smooth operation and app storage.
- Wired/Wireless CarPlay & Android Auto: Seamless smartphone integration for navigation, music, and communication.
- 5G WiFi Connectivity: Fast and stable internet access for online navigation and streaming.
- GPS Navigation: Supports various satellite services and Google Maps with 2D/3D perspectives and voice guidance.
- Professional DSP & 48-EQ: Advanced sound processing for customizable audio settings, including 7 sound modes and 6 surround sound patterns.
- Split Screen Functionality: Run two applications simultaneously for enhanced multitasking.
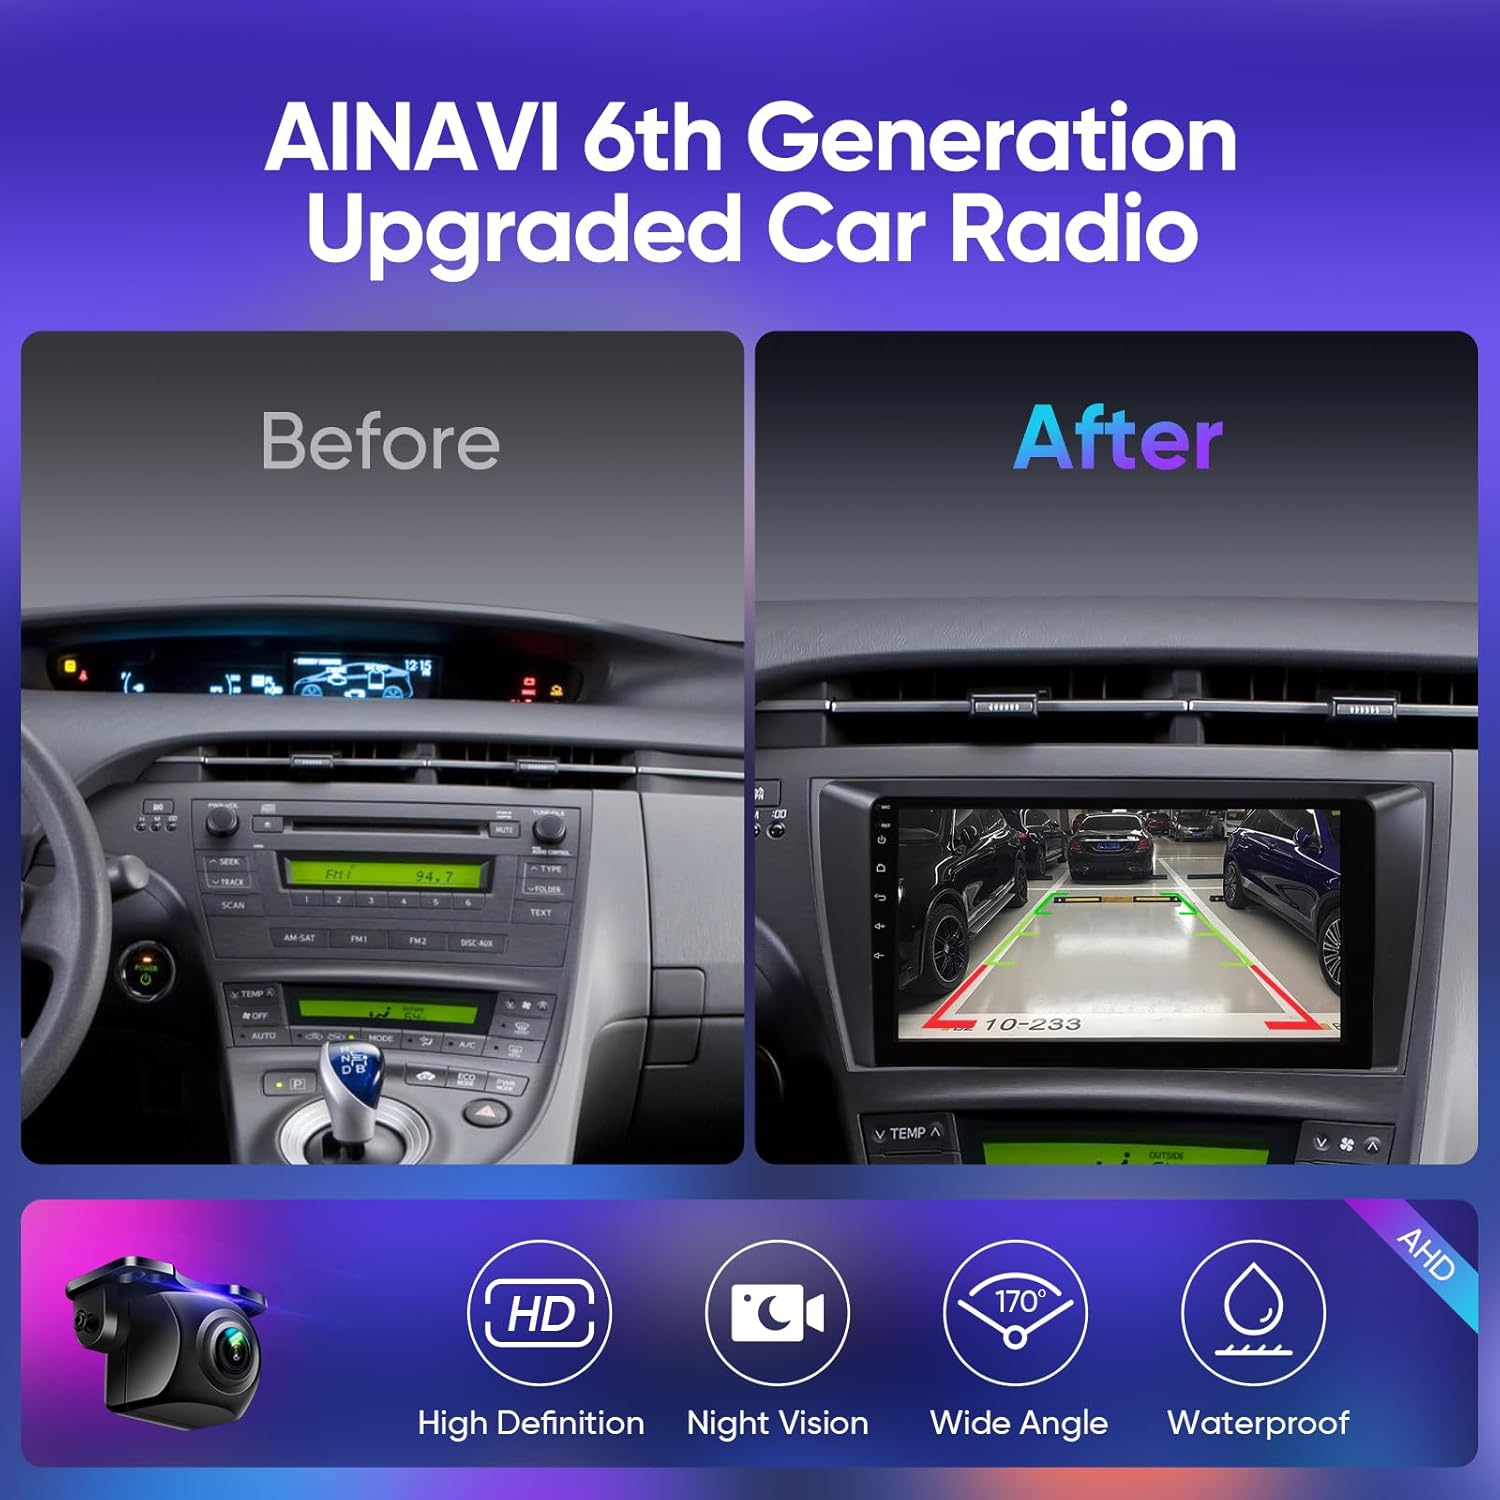
- 1080P Rear View Camera Support: Provides clear reversing scenes with ruler lines.
- Colorful Panel Light: Customizable 7-color button lights.
- USB to RCA Output: Allows independent video playback on multiple screens, such as headrest monitors.
2.2 What's in the Box
- Car Head Unit (1280*720) with Frame for Toyota Prius 2010 - 2015
- AHD 1080P Rear View Camera
- Microphone
- Blue Frame Removal Tool
- GPS Antenna
- USB 4Pin Cable
- USB 6Pin Cable
- User Manual
- Power Cable
- RCA Cable

3. Installation
Professional installation is highly recommended for this car stereo system. Incorrect installation can lead to damage to the unit or your vehicle. Please consult a qualified technician for installation. For technical assistance, refer to Section 9: Warranty and Support.
4. Setup
4.1 Initial Power On
After successful installation, turn on your vehicle's ignition. The car stereo should power on automatically. Follow the on-screen prompts for initial setup, including language selection and time zone.
4.2 Network Connection
To access online features, connect the unit to a Wi-Fi network. Navigate to Settings > Network & Internet > Wi-Fi and select your desired network. The unit supports 2.4GHz and 5GHz Wi-Fi bands.
5. Operating Instructions
5.1 CarPlay and Android Auto
The unit supports both wired and wireless CarPlay for iPhone users, and wired Android Auto for Android smartphone users. Connect your phone via USB or Bluetooth as prompted on the screen to activate these features. This allows access to navigation, music, calls, and messages directly from your car stereo display.

5.2 GPS Navigation
Utilize the built-in GPS module and 5G WiFi for accurate navigation. The unit supports Google Maps and other satellite services, offering 2D and 3D map views, various route options, and voice guidance. Access navigation apps from the main menu.

5.3 DSP and Audio Settings
The integrated Professional DSP and 48-band Equalizer allow for precise audio customization. Adjust sound field, effects, and surround sound to optimize your listening experience. You can select from 7 sound types (Normal, Jazz, Pop, Classical, Heavy Metal, Vocal, Soft) and 6 surround sound patterns. Individual speaker volume control and bass boost are also available.

5.4 Split Screen Function
The split-screen feature allows you to run two applications simultaneously on the 9-inch display. For example, you can have navigation open on one side and a media player on the other. To activate, long-press the recent apps button or follow specific app instructions.
5.5 Mirror Projection Function
Mirror your smartphone screen directly onto the car stereo display using the Tlink feature. This supports both iPhone (Airplay) and Android devices, allowing you to view your phone's content on the larger screen.

5.6 Media Playback and RCA Output
The unit supports 1080P video playback. You can also utilize the USB to RCA output function to connect external headrest monitors, allowing backseat passengers to enjoy independent video content.

5.7 Colorful Panel Light
Customize the ambiance of your car's interior with the 7-color button lights. You can set them to cycle through colors or select a static color to match your preference.
6. Maintenance
6.1 Cleaning the Screen
Use a soft, lint-free cloth to gently wipe the QLED touch screen. Avoid abrasive materials or harsh chemical cleaners, as they may damage the screen surface.
6.2 Software Updates
Periodically check for software updates to ensure optimal performance and access to the latest features. Updates can typically be found in the system settings menu under "About device" or "System updates."
7. Troubleshooting
If you encounter any issues with your AINAVI car stereo, please refer to the following general troubleshooting steps:
- No Power: Check all power connections and vehicle's fuse box. Ensure the ignition is on.
- No Sound: Verify volume settings, audio source selection, and speaker connections. Check DSP settings.
- Touch Screen Unresponsive: Restart the unit by turning off and on the vehicle's ignition. If the issue persists, a factory reset might be necessary (consult support).
- GPS Signal Loss: Ensure the GPS antenna is properly installed and has a clear view of the sky.
- CarPlay/Android Auto Connection Issues: Check USB cable connection (if wired), Bluetooth pairing, and ensure your phone's operating system is up to date.
For persistent problems or complex technical issues, please contact AINAVI technical support.
8. Specifications
| Feature | Detail |
|---|---|
| Display Size | 9 Inches |
| Resolution | 1280 x 720 |
| Operating System | Android 12 (implied by features) |
| Processor | 8-Core |
| RAM | 3GB |
| ROM | 32GB |
| Connectivity | Bluetooth, USB, Wi-Fi (2.4GHz & 5GHz), Wired, Wireless |
| Special Features | Android Auto, CarPlay, GPS Navigation, Hands-Free Calling, Touchscreen, RDS, Panel light, 48-EQ (Sound Point Control), Premium DSP, QLED Display, Split Screen Function, Voice Control, FM Tuner, Music Streaming, RCA Output, Screen Mirroring, Subwoofer, Rear View Camera Input |
| Audio Output Mode | Surround Stereo |
| Mounting Type | Dashboard Mount |
| Vehicle Service Type | Car (Toyota Prius 2010-2015) |
| Item Weight | 3.78 pounds |
| Package Dimensions | 13.89 x 9.33 x 5.2 inches |
9. Warranty and Support
This AINAVI product comes with a 12-month manufacturer guarantee. For any installation queries, technical support, or warranty claims, please contact AINAVI's professional technical support team. You can typically find contact information through the seller's page on the platform where you purchased the product, or by visiting the official AINAVI website.

Related documentsB0DCHQ1ZR1


Ask a question about this manual
Ask about setup, troubleshooting, compatibility, parts, safety, or missing instructions. Manuals+ will review the question and use this page’s manual context to help answer it.