1. Introduction
This manual provides essential information for setting up, operating, maintaining, and troubleshooting your Lenovo Slim 7 Laptop. Please read this manual thoroughly to ensure proper use and to maximize the performance and longevity of your device.
2. Product Overview
The Lenovo Slim 7 is a high-performance laptop designed for productivity and multimedia. It features an Intel Core Ultra 7 155H processor, a vibrant 14-inch WUXGA touchscreen display, and integrated Intel ARC Graphics.
Key Features:
- 14" WUXGA (1920 x 1200) Touchscreen Display with 400 nits HDR 500 and 100% DCI-P3 color gamut.
- Intel Core Ultra 7 155H 16-Core Processor.
- Intel ARC Graphics for enhanced visual performance.
- 32GB LPDDR5 7467 MHz SDRAM.
- 4TB NVMe M.2 SSD for fast storage.
- Pre-installed Windows 10 Home operating system.
- Integrated Face Recognition for secure login.
- Backlit Keyboard for comfortable typing in low-light conditions.
- Intel Wi-Fi 6E AX211 (2x2) and Bluetooth 5.3 for robust wireless connectivity.
- 1080p FHD Camera with Privacy Shutter.
- Multiple connectivity options including Thunderbolt 4, USB 3.2 Gen 1 Type-A, HDMI 2.1, and a Headphone/microphone combo jack.
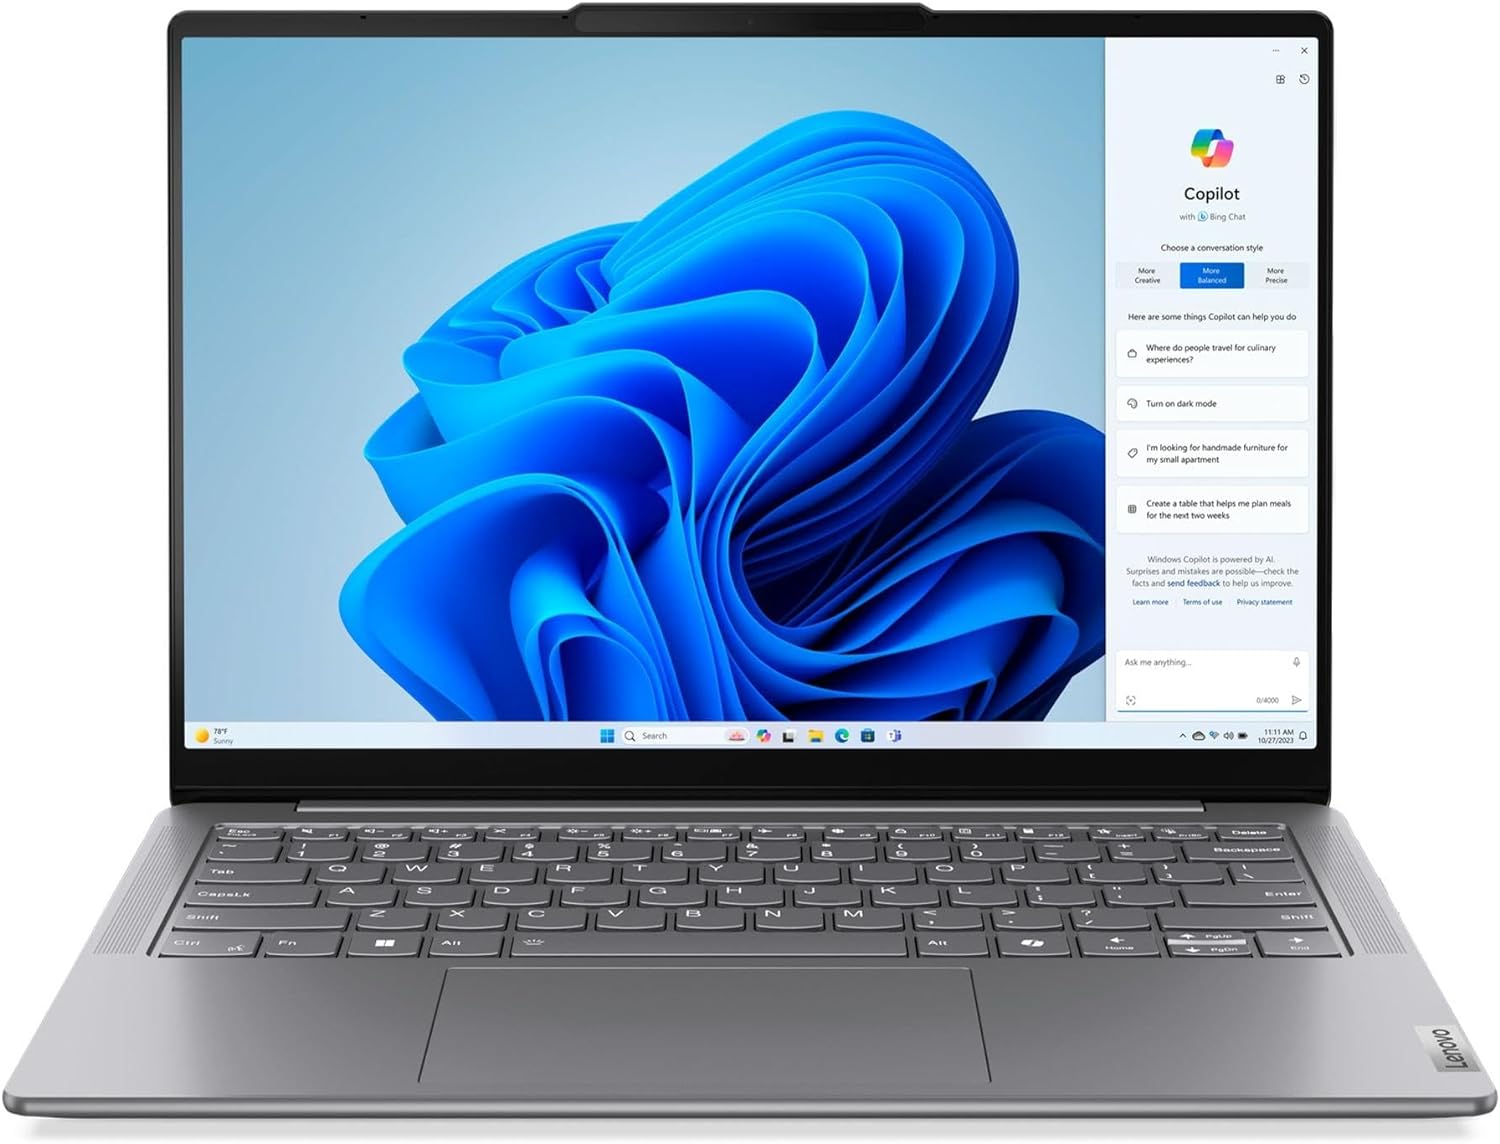
Figure 2.1: Front view of the Lenovo Slim 7 Laptop displaying the Windows 10 Home desktop environment.

Figure 2.2: Angled view of the Lenovo Slim 7 Laptop, highlighting its slim profile and touchscreen display.

Figure 2.3: Angled view of the laptop showcasing its display capabilities with creative software applications.
3. Setup
3.1 Initial Power-On
- Unpack the laptop and all accessories from the box.
- Connect the 65W AC adapter to the laptop's power port (one of the USB-C Thunderbolt 4 ports) and then to a power outlet.
- Open the laptop lid. The laptop may power on automatically. If not, press the power button located on the side or top right of the keyboard deck.
- Follow the on-screen instructions to complete the Windows 10 Home initial setup, including language, region, network connection, and user account creation.
3.2 Connecting Peripherals
Your Lenovo Slim 7 laptop offers various ports for connecting external devices:
- USB Thunderbolt 4 / USB4 40Gbps Type-C (x2): Use these ports for high-speed data transfer, power delivery, and DisplayPort output.
- USB 3.2 Gen 1 Type-A (x1): Connect standard USB devices. This port supports 'Always On' functionality, allowing you to charge devices even when the laptop is off or in sleep mode.
- HDMI 2.1 (x1): Connect to external monitors or TVs for video and audio output.
- Headphone/microphone combo jack (x1): Connect headphones, external speakers, or a headset with a microphone.

Figure 3.1: Left side of the laptop, featuring HDMI and USB-C Thunderbolt 4 ports.

Figure 3.2: Right side of the laptop, featuring the USB 3.2 Gen 1 Type-A port and headphone/microphone combo jack.
3.3 Network Setup (Wi-Fi)
To connect to a wireless network:
- Click the Wi-Fi icon in the system tray (bottom right corner of the screen).
- Select your desired Wi-Fi network from the list.
- Enter the network security key (password) if prompted, then click Next or Connect.
- Your laptop will connect to the internet.
3.4 Face Recognition Setup
The Lenovo Slim 7 supports Windows Hello Face Recognition for convenient and secure login:
- Go to Settings > Accounts > Sign-in options.
- Under 'Windows Hello Face', click Set up.
- Follow the on-screen instructions to scan your face. Ensure you are in a well-lit area and your face is clearly visible to the camera.
4. Operating Instructions
4.1 Using the Keyboard
The laptop features a backlit keyboard. To adjust the backlight intensity, use the function keys (Fn + Spacebar, typically) or refer to the Lenovo Vantage software.

Figure 4.1: Top-down view of the backlit keyboard and touchpad.
4.2 Using the Touchpad
The precision touchpad supports multi-touch gestures for navigation and control. Common gestures include:
- One finger tap: Left-click.
- Two finger tap: Right-click.
- Two finger scroll: Scroll up/down or left/right.
- Pinch to zoom: Zoom in or out.
4.3 Connecting External Displays
You can connect external displays using the HDMI 2.1 port or the Thunderbolt 4 (USB-C) ports. To configure display settings:
- Connect the external display to the laptop.
- Press Windows key + P to open the Project menu.
- Select your desired display mode (e.g., Duplicate, Extend, Second screen only).
4.4 Using the Camera Privacy Shutter
The 1080p FHD camera includes a physical privacy shutter. To cover or uncover the camera lens, slide the small switch located directly above the camera on the top bezel of the display.
5. Maintenance
5.1 Cleaning the Laptop
- Screen: Use a soft, lint-free cloth lightly dampened with water or a screen-cleaning solution. Do not spray liquid directly onto the screen.
- Keyboard and Chassis: Use a soft, dry cloth. For stubborn dirt, a cloth lightly dampened with isopropyl alcohol can be used. Avoid excessive moisture.
- Ports: Use compressed air to gently clear dust from ports.
5.2 Battery Care
The laptop is equipped with a 64Wh Lithium-Ion battery. To prolong battery life:
- Avoid fully discharging the battery frequently.
- Store the laptop in a cool, dry place if not used for extended periods.
- Periodically allow the battery to discharge to about 20% before recharging.
5.3 Software Updates
Regularly update your Windows 10 Home operating system and Lenovo drivers to ensure optimal performance and security. You can check for Windows updates via Settings > Update & Security > Windows Update. For Lenovo-specific drivers and firmware, use the Lenovo Vantage application or visit the official Lenovo support website.
6. Troubleshooting
6.1 Common Issues and Solutions
| Problem | Possible Solution |
|---|---|
| Laptop does not power on. | Ensure the AC adapter is securely connected and the power outlet is functional. Try a different outlet. If battery is completely drained, allow it to charge for a few minutes before attempting to power on. |
| No display on screen. | Check if the laptop is powered on. Press Fn + F2 (or the display toggle key) to ensure the display is not turned off. If an external monitor is connected, try disconnecting it. |
| Wi-Fi connection issues. | Ensure Wi-Fi is enabled (check airplane mode). Restart your router and modem. Run Windows Network Troubleshooter. Update Wi-Fi drivers. |
| Keyboard backlight not working. | Press Fn + Spacebar to cycle through backlight brightness levels. Ensure Lenovo Vantage software is installed and updated. |
| Face Recognition not working. | Ensure the camera privacy shutter is open. Check lighting conditions. Re-setup Face Recognition in Windows Settings. |
6.2 Basic Diagnostic Steps
- Restart: A simple restart can resolve many temporary issues.
- Check Connections: Ensure all cables and peripherals are securely connected.
- Update Drivers: Outdated drivers can cause various problems.
- System Restore: If a recent change caused an issue, consider using System Restore to revert to a previous state.
7. Specifications
| Feature | Specification |
|---|---|
| Model Name | Slim 7 |
| Item Model Number | 83D8 |
| Display | 14-inch WUXGA (1920 x 1200) Touchscreen, 400 nits HDR 500, 100% DCI-P3 |
| Processor | Intel Core Ultra 7 155H (Up to 4.8 GHz, 16 Cores, 22 Threads) |
| Graphics | Intel ARC Graphics (Integrated) |
| RAM | 32GB LPDDR5 7467 MHz |
| Storage | 4TB NVMe M.2 SSD |
| Operating System | Windows 10 Home |
| Wireless Connectivity | Intel Wi-Fi 6E AX211 (2x2), Bluetooth 5.3 |
| Ports | 2x USB Thunderbolt 4 / USB4 40Gbps Type-C, 1x USB 3.2 Gen 1 Type-A (Always On), 1x HDMI 2.1, 1x Headphone/microphone combo |
| Camera | 1080p FHD with Privacy Shutter |
| Battery | 64Wh Lithium-Ion (Up to 6 hours average battery life) |
| Power Adapter | 65W AC Adapter |
| Dimensions (LxWxH) | 12.28" x 8.7" x 0.59" (31.19 cm x 22.1 cm x 1.5 cm) |
| Weight | 2.98 lbs (1.35 kg) |
| Color | Misty Grey |
8. Warranty and Support
8.1 Warranty Information
Your Lenovo Slim 7 Laptop comes with a standard manufacturer's warranty. The specific terms and duration of the warranty may vary by region and purchase agreement. Please refer to the warranty card included with your product or visit the official Lenovo support website for detailed warranty information.
8.2 Technical Support
For technical assistance, driver downloads, or further troubleshooting, please visit the official Lenovo Support website or contact Lenovo customer service. Have your laptop's serial number (typically found on a sticker on the bottom of the laptop) ready when contacting support.
Lenovo Support Website: https://support.lenovo.com/