
1. Product Overview
The KUAFU Class 3 Trailer Hitch, model BL3141, is designed to provide a robust and versatile towing solution for compatible vehicles. Constructed from automotive-grade alloy steel with a black powder-coated finish, this hitch offers durability and resistance against corrosion and UV exposure. It features a standard 2 x 2 inch receiver, accommodating various towing accessories.
This hitch is rated for a Gross Trailer Weight (GTW) of up to 4,000 lbs and a Tongue Weight (TW) of 400 lbs. When used with a weight distribution system, its capacity increases to 6,000 lbs Weight Distribution (WD) and 600 lbs Weight Distribution Tongue Weight (WDT).

Image 1.1: Front view of the KUAFU Class 3 Trailer Hitch, showcasing its black powder-coated finish and 2-inch receiver.
2. Compatibility
This KUAFU Class 3 Trailer Hitch (Model BL3141) is compatible with the following vehicle models:
- Chevy Chevrolet S10: 1983-2004
- GMC Sonoma: 1991-2004
- GMC S15: 1983-1990
- Isuzu Hombre: 1996-2000
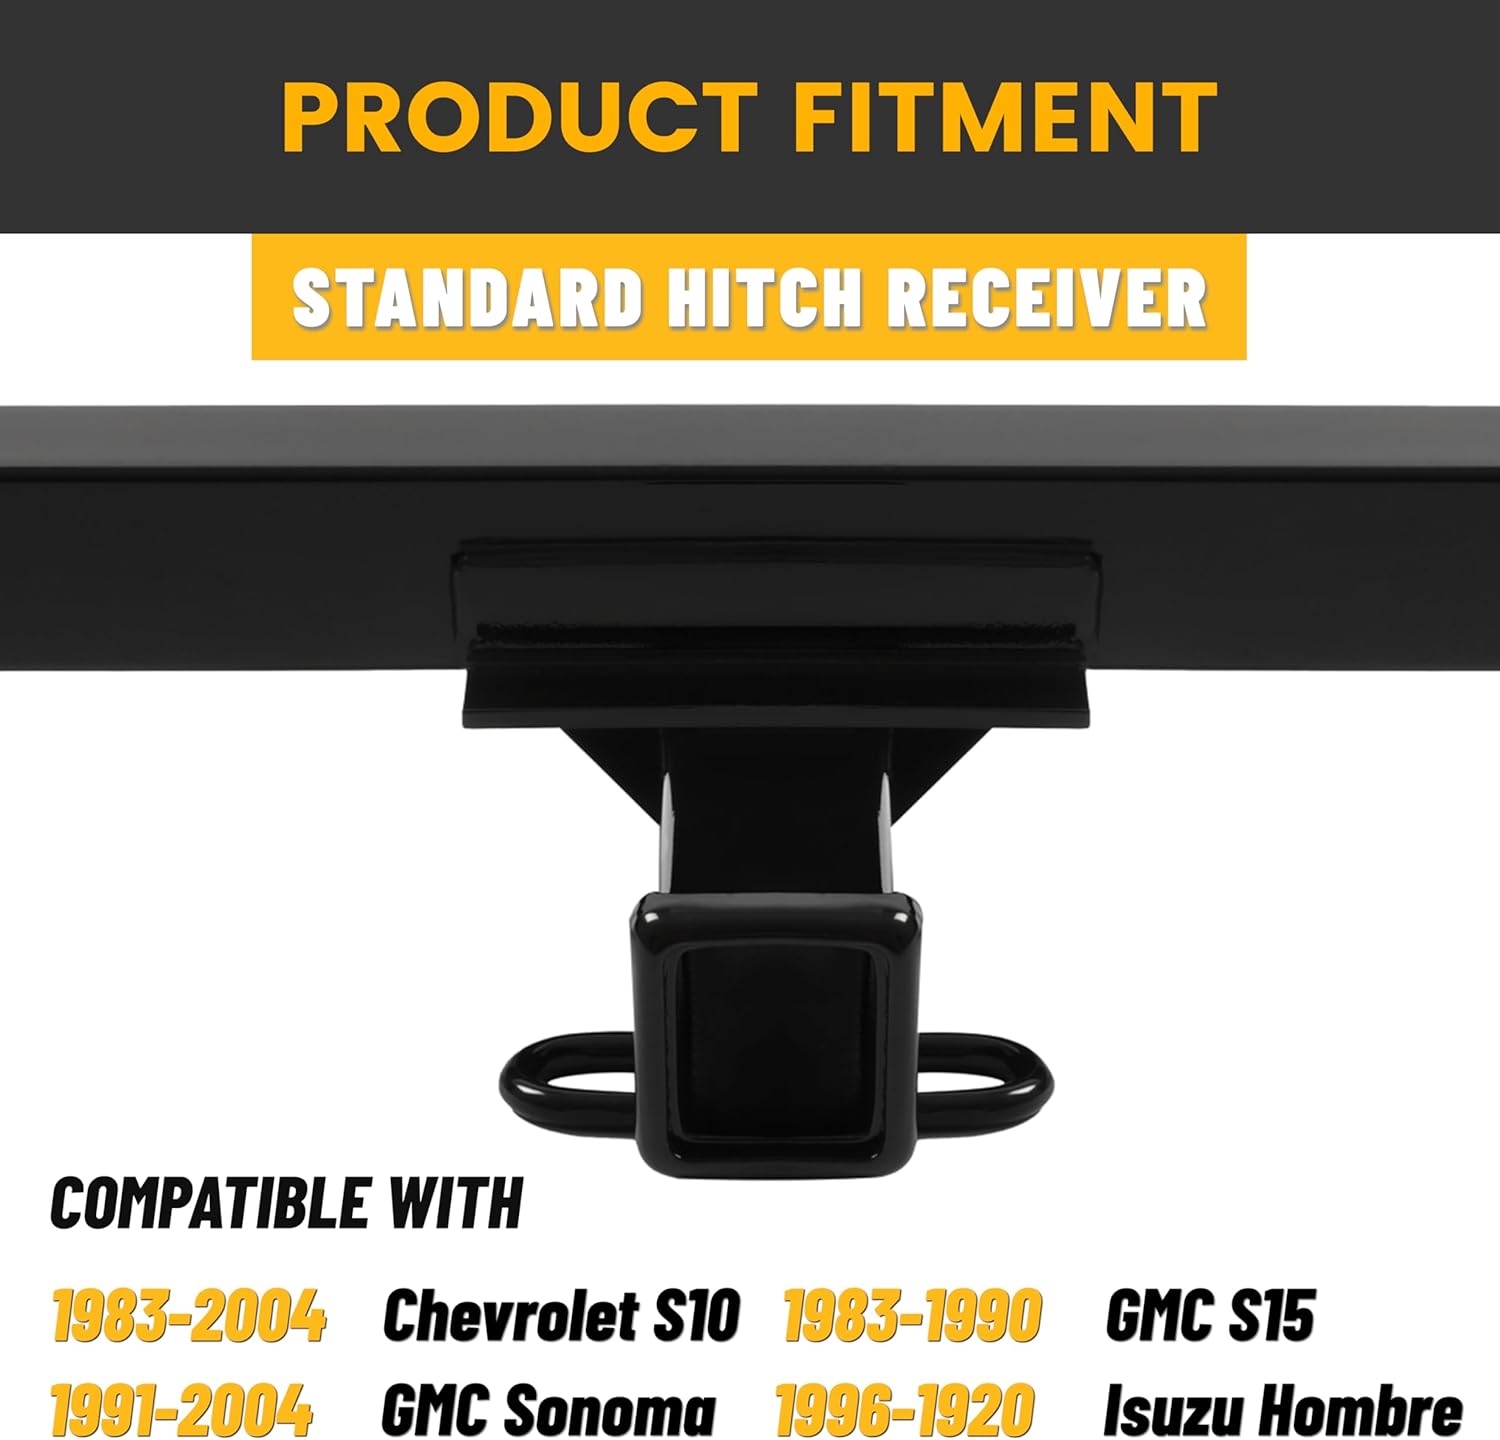
Image 2.1: Visual representation of vehicle compatibility, listing specific Chevrolet, GMC, and Isuzu models and their respective model years.
3. Specifications
| Feature | Specification |
|---|---|
| Model Number | BL3141 |
| Hitch Class | Class 3 |
| Receiver Size | 2 x 2 inches |
| Gross Trailer Weight (GTW) | 4,000 lbs |
| Tongue Weight (TW) | 400 lbs |
| Weight Distribution (WD) | 6,000 lbs |
| Weight Distribution Tongue Weight (WDT) | 600 lbs |
| Material | Automotive-grade Alloy Steel |
| Finish | Black Powder Coating |
| Product Weight | 20.6 kg (approx. 45.4 lbs) |
| Package Dimensions | 105.16 x 30.73 x 15.49 cm (approx. 41.4 x 12.1 x 6.1 inches) |
| Assembly Required | Yes |

Image 3.1: Diagram illustrating the 2-inch receiver dimensions, confirming Class 3 rating.

Image 3.2: Overview of key features and benefits, highlighting GTW, TW, WD, WDT capacities, and the black powder-coat finish.
4. Installation
The KUAFU Class 3 Trailer Hitch is designed for a bolt-on installation. It includes all necessary installation accessories and instructions. Professional installation is recommended for optimal safety and performance.
4.1. Package Contents
Before beginning installation, verify that all components are present:
- 1 x Class 3 Trailer Hitch
- Installation Accessories (bolts, washers, nuts)
- Installation Instructions (provided separately)

Image 4.1: Depiction of the package contents, showing the main hitch assembly and a collection of bolts, washers, and nuts for installation.
4.2. General Installation Steps (Bolt-on)
While specific steps may vary by vehicle, the general process for bolt-on hitch installation includes:
- Preparation: Park the vehicle on a level surface, engage the parking brake, and allow the exhaust system to cool. Refer to your vehicle's owner's manual for any specific instructions regarding modifications.
- Locate Mounting Points: Identify the frame mounting points on your vehicle. These are typically pre-drilled holes in the vehicle's frame.
- Position the Hitch: Carefully lift the trailer hitch into position, aligning the hitch's mounting holes with the vehicle's frame holes. Assistance from another person is highly recommended due to the weight of the hitch.
- Secure with Hardware: Insert the provided bolts, washers, and nuts through the aligned holes. Hand-tighten all fasteners to ensure proper alignment.
- Final Tightening: Using appropriate tools, tighten all bolts to the torque specifications provided in the separate installation instructions. Ensure all connections are secure.
- Final Check: Verify that the hitch is securely mounted and does not interfere with any vehicle components (e.g., exhaust, spare tire).
Always refer to the detailed installation instructions included with your product for vehicle-specific steps and torque specifications.
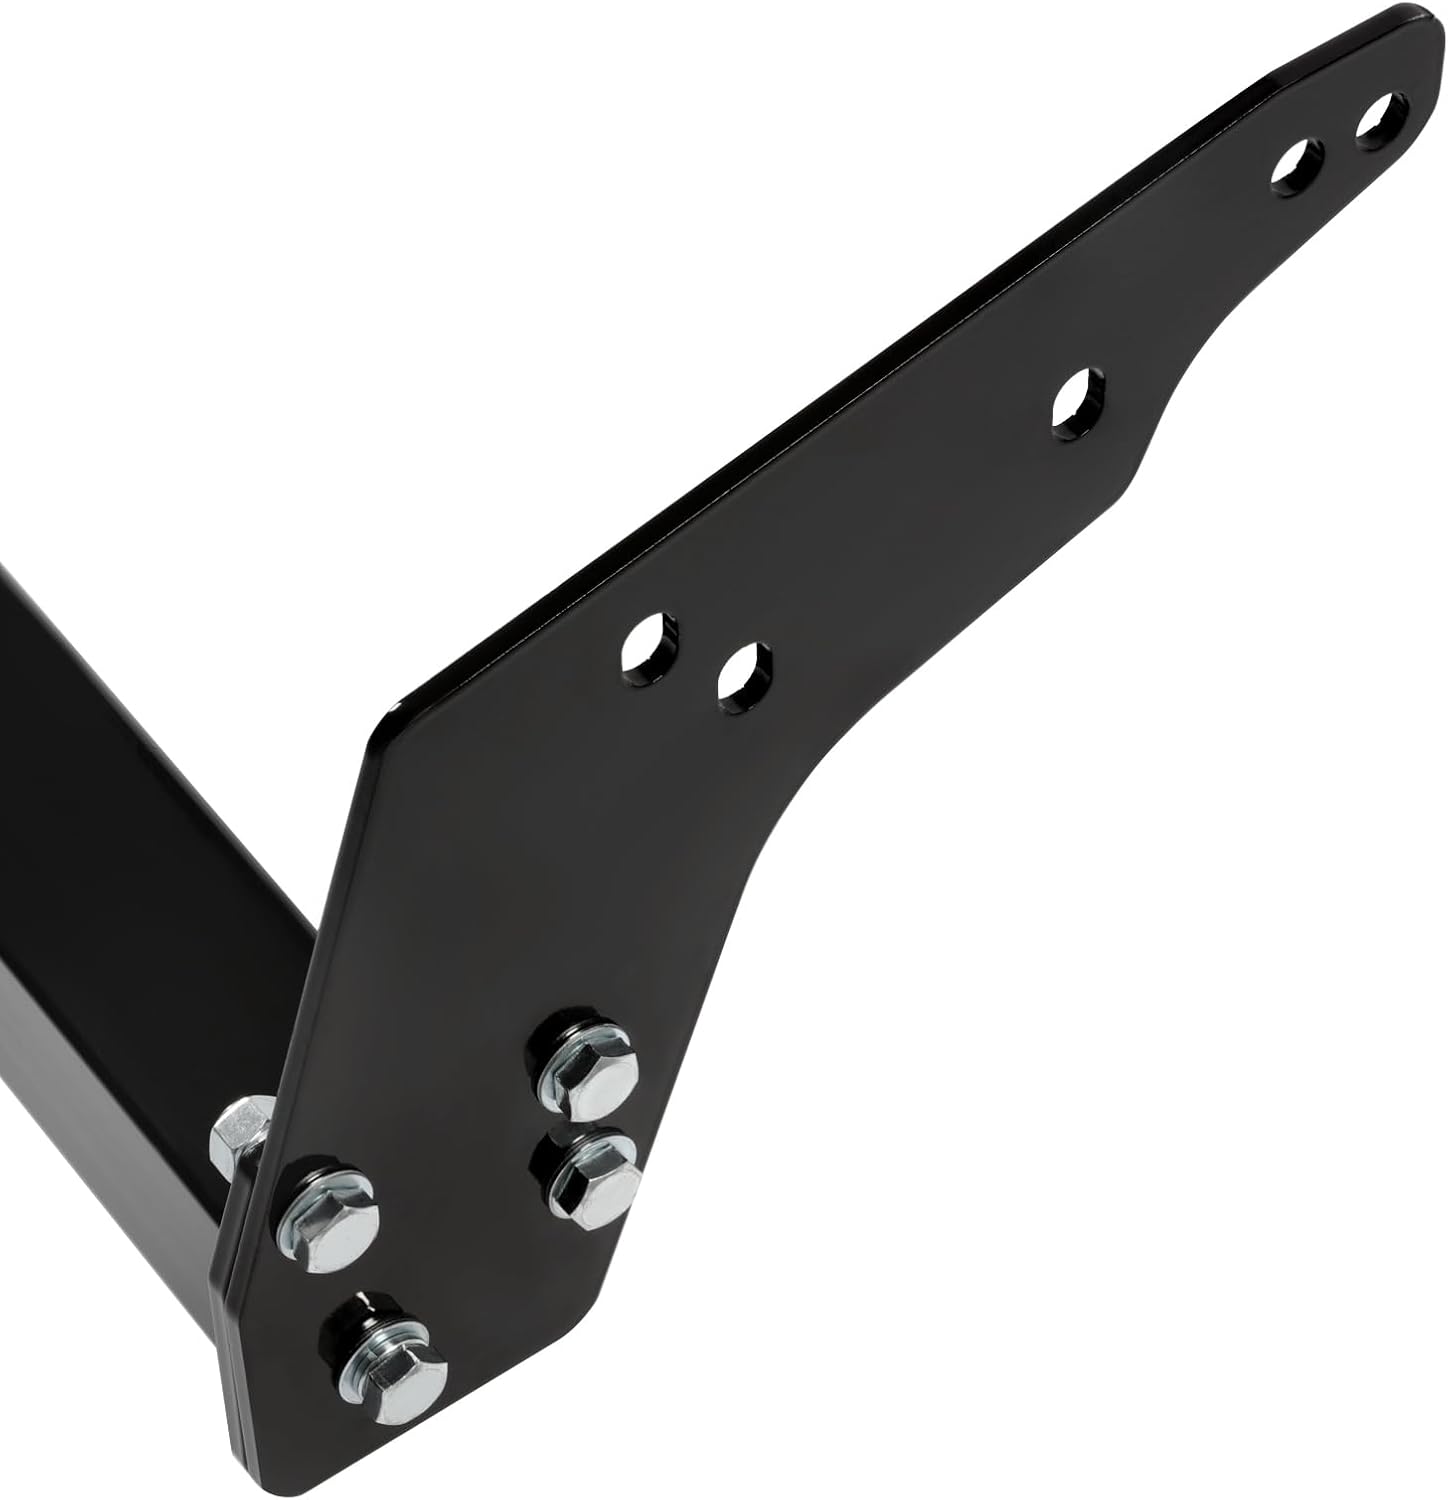
Image 4.2: Close-up view of a mounting bracket, showing the bolt holes and the robust construction.
5. Operating Instructions
Once installed, the KUAFU Class 3 Trailer Hitch provides a versatile attachment point for various towing and hauling accessories.
5.1. Connecting a Trailer or Accessory
- Insert Accessory: Slide your chosen accessory (e.g., ball mount, cargo carrier, bike rack) into the 2 x 2 inch receiver tube.
- Align Pin Holes: Align the pin hole on the accessory with the pin hole on the hitch receiver.
- Secure with Pin: Insert a hitch pin (not included) through the aligned holes and secure it with a clip or lock. Ensure the pin is fully engaged and secured.
- Safety Chains (for trailers): If towing a trailer, always attach safety chains from the trailer to the designated chain loops on the hitch. Cross the chains under the trailer tongue to prevent it from dropping to the ground if the hitch disconnects.
- Electrical Connections (for trailers): Connect any necessary trailer wiring to your vehicle's electrical system for lights and brakes.
5.2. Important Safety Considerations
- Do Not Exceed Ratings: Never exceed the maximum weight ratings (GTW, TW, WD, WDT) of the hitch or your vehicle, whichever is lower.
- Regular Inspections: Before each use, inspect the hitch, pin, and any connected accessories for wear, damage, or loose connections.
- Proper Loading: Ensure trailers and cargo carriers are loaded correctly to maintain proper tongue weight and vehicle balance.
- Driving Adjustments: When towing, drive at reduced speeds, allow for longer braking distances, and make wider turns.
6. Maintenance
Proper maintenance will extend the life and ensure the safe operation of your KUAFU Class 3 Trailer Hitch.
- Regular Cleaning: Clean the hitch periodically with mild soap and water to remove dirt, salt, and road grime. Rinse thoroughly and dry.
- Inspect for Damage: Regularly inspect the hitch for any signs of rust, cracks, bends, or other damage. Pay close attention to welds and mounting points.
- Check Fasteners: Periodically check all mounting bolts and nuts for tightness. Re-torque to specifications if necessary.
- Rust Prevention: Although the hitch has a powder-coated finish, minor scratches or chips can expose bare metal to rust. Touch up any damaged areas with rust-inhibiting paint.
- Lubrication: Keep the inside of the receiver tube clean and free of debris. A light coat of grease or anti-seize compound can be applied to the hitch pin hole to prevent corrosion and ease pin insertion/removal.

Image 6.1: Detailed view of the hitch, illustrating the automotive-grade steel construction and black powder-coated finish, which are key to its durability and resistance to wear and rust.
7. Troubleshooting
This section addresses common issues that may arise with your trailer hitch.
7.1. Loose Hitch
- Symptom: The hitch feels loose or rattles during operation.
- Solution: Inspect all mounting bolts. If any are loose, re-tighten them to the specified torque. If bolts are stripped or damaged, replace them immediately.
7.2. Difficulty Inserting Hitch Pin
- Symptom: The hitch pin does not slide easily through the receiver and accessory.
- Solution: Check for debris or rust inside the receiver tube or on the accessory shank. Clean as necessary. A light lubricant can be applied to the pin or inside the receiver. Ensure the accessory is fully inserted and aligned.
7.3. Visible Rust
- Symptom: Rust spots appear on the hitch surface.
- Solution: Clean the rusted area thoroughly with a wire brush or sandpaper to remove loose rust. Apply a rust-inhibiting primer, followed by a black, rust-resistant paint to match the original finish. Regular cleaning and touch-ups can prevent widespread rust.
8. Warranty and Support
For specific warranty information regarding your KUAFU Class 3 Trailer Hitch (Model BL3141), please refer to the documentation provided with your purchase or contact KUAFU customer support directly. Warranty terms typically cover manufacturing defects and material flaws under normal use.
For technical assistance, installation inquiries, or to report any issues, please contact the manufacturer's customer service department. Contact information can usually be found on the product packaging or the manufacturer's official website.