1. Product Overview
The Dooya DC1602 is a versatile 15-channel single control emitter designed for seamless operation of various Dooya electric curtains, roller blinds, and sunshade tubular motors. This remote control offers a comfortable user experience with its large button design and efficient 433.92MHz emission frequency.

Figure 1.1: Front view of the Dooya DC1602 remote control, showing its sleek white design and LCD screen.
2. Key Features
- 15-Channel Control: Capable of controlling up to 15 individual channels, allowing management of multiple motorized window treatments.
- RF433 Technology: Operates on a 433.92MHz frequency for reliable and stable communication with compatible Dooya motors.
- User-Friendly Design: Features large, easy-to-press buttons and a clear LCD screen for intuitive operation.
- Wide Compatibility: Supports various 433MHz Dooya motor equipment, including electric curtains, roller blinds, and sunshade tubular motors.
- Energy Efficient: Low power consumption design ensures long battery life, reducing the need for frequent battery changes.

Figure 2.1: The DC1602 remote control demonstrating its 433MHz signal and compatibility with various Dooya motors, including Tubular, DC Tubular, Venetian, and Curtain motors.
3. Specifications
| Model | DC1602 |
| Input Voltage | 3V (CR2450 battery) |
| Emission Frequency | 433.92MHz ± 100KHz |
| Emission Current | 6~15mA |
| Quiescent Current | <15uA |
| Operating Temperature | -10°C to 50°C |
| Transmission Distance | >35m (open area) |
| Material | Polycarbonate (PC) |
| Product Dimensions | 5.12"L x 1.73"W (approx. 13cm x 4.4cm) |

Figure 3.1: Dimensions of the Dooya DC1602 remote control, showing its length of 5.12 inches (13cm) and width of 1.73 inches (4.4cm).
4. Setup and Installation
4.1. Battery Installation
The DC1602 remote control uses a CR2450 battery. To install or replace the battery:
- Gently slide off the back cover of the remote control.
- Insert the CR2450 battery into the battery compartment, ensuring correct polarity.
- Replace the back cover until it clicks securely into place.
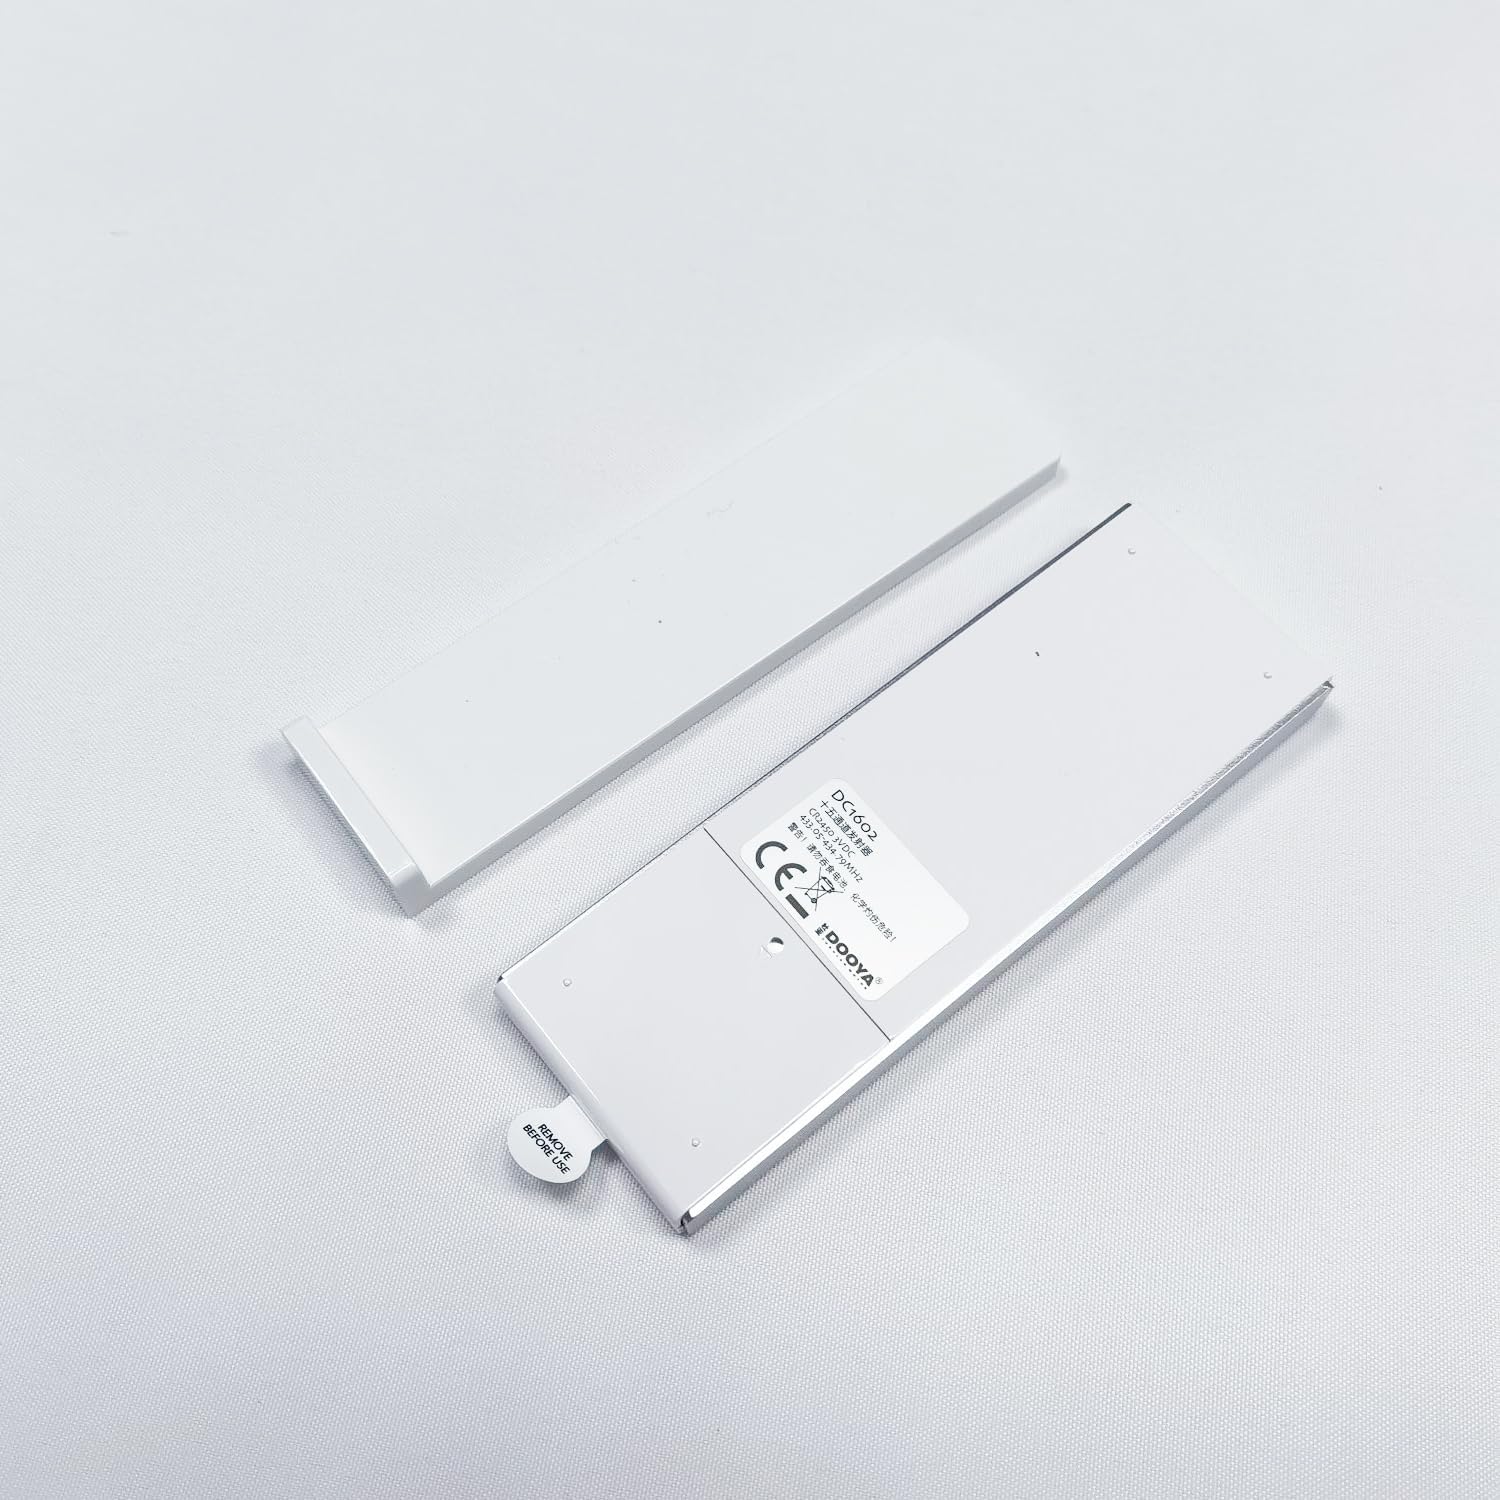

Figure 4.1: Remote control with its back cover removed (left) and a close-up of the back showing the battery compartment and the P2 button (right).
4.2. Pairing with Motor
Follow these steps to pair your DC1602 remote control with a Dooya motor. This process typically involves using the motor's installation button and the P2 button on the remote.
Video 4.1: This video demonstrates the pairing process between the Dooya DC1602 remote control and a Dooya motor, including pressing the motor installation button and the P2 button on the remote for successful setup.
Detailed Pairing Steps:
- Press the motor installation button once. The motor will make a sound.
- Immediately press the P2 button on the back of the remote control once. The motor will make a sound.
- Press the P2 button on the back of the remote control again. The motor will make a sound.
- When the sound from the motor stops, the installation is successful.
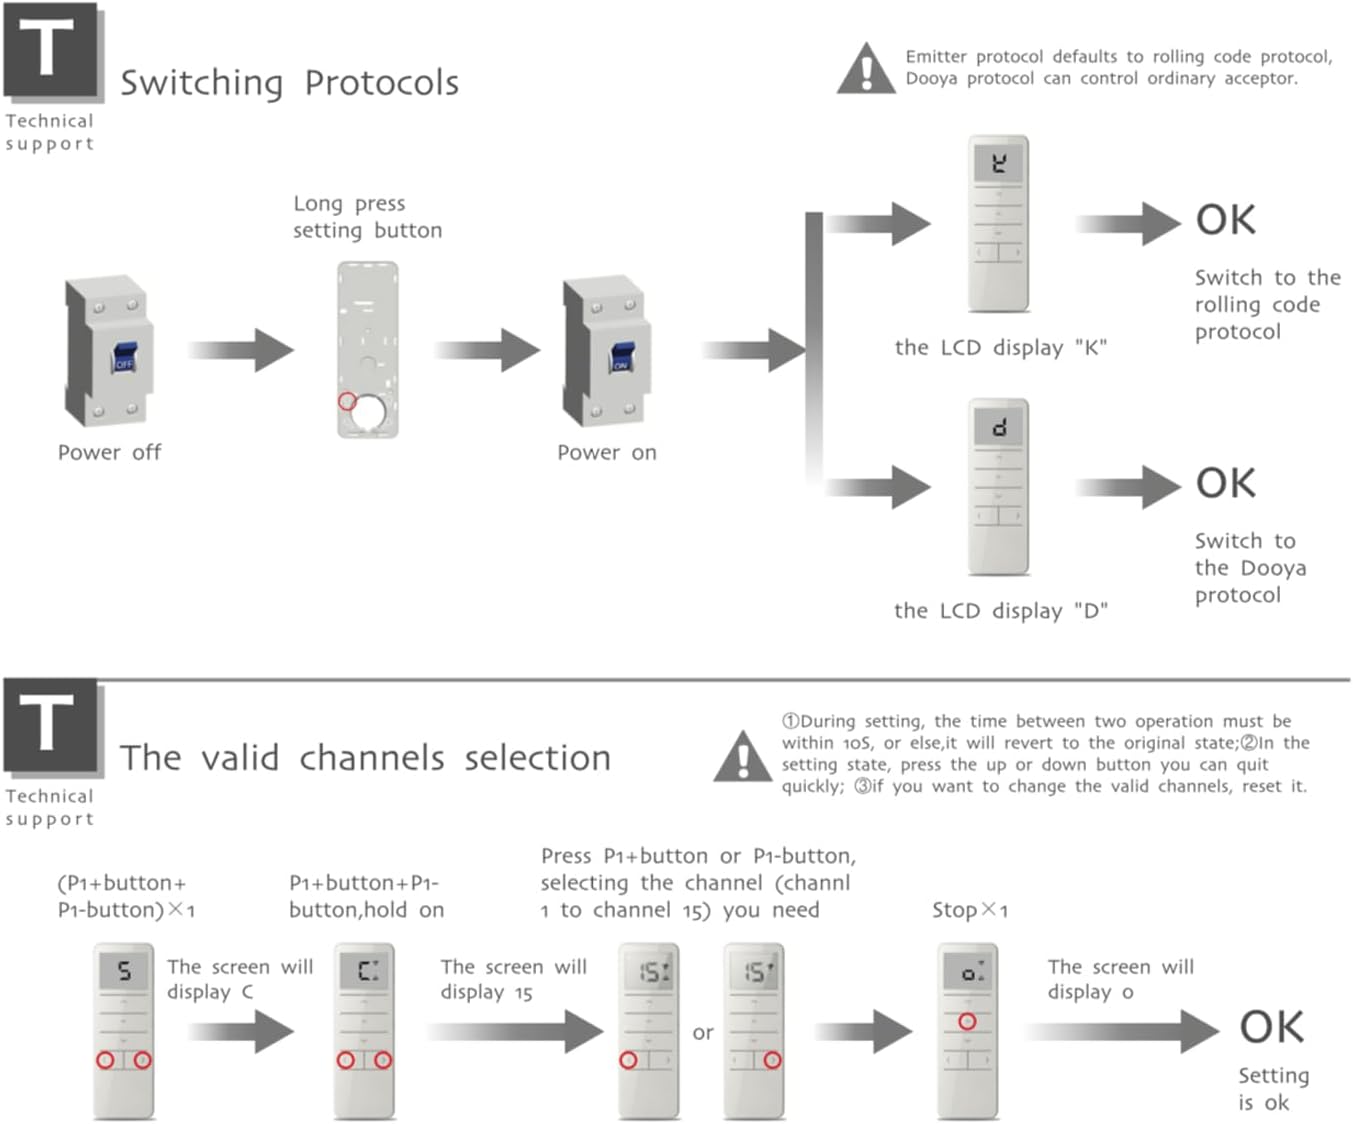
Figure 4.2: Diagram illustrating the layout of the DC1602 remote control, including the Up, Stop, Down, Channel switch (P1-/P1+), and Setting (P2) buttons, along with key technical specifications.

Figure 4.3: Flowchart detailing how to switch between Rolling Code and Dooya protocols, and the process for selecting valid channels (1 to 15) using the P1+ and P1- buttons.
4.3. Mounting the Remote Control
The remote control can be mounted to a wall or other surface using the integrated screw holes on its back plate.

Figure 4.4: The back plate of the remote control, indicating the screw holes for secure mounting.
5. Operation
The DC1602 remote control features intuitive buttons for easy operation:
- Up Button (▲): Moves the curtain/blind upwards.
- Stop Button (−): Stops the curtain/blind at its current position.
- Down Button (▼): Moves the curtain/blind downwards.
- Channel Switch Buttons (P1- / P1+):
- Press P1- to decrease the channel number.
- Press P1+ to increase the channel number.
- The LCD screen displays the current channel number (1 to 15). Release your finger when the indicator light moves to the desired channel.
- Setting Button (P2): Used for pairing and advanced settings (refer to Section 4.2 for pairing instructions).
6. Maintenance
- Cleaning: Wipe the remote control with a soft, dry cloth. Do not use abrasive cleaners or solvents.
- Environmental Protection: Do not expose the emitter to moisture or strike it, as this may affect its lifespan.
- Battery Replacement: If the emission distance becomes noticeably shorter or the remote becomes less sensitive, replace the CR2450 battery with a new one. Please dispose of used batteries responsibly through recycling programs.
7. Troubleshooting
| Problem | Possible Cause | Solution |
|---|---|---|
| Remote control not responding or range is short. | Low battery or battery incorrectly installed. | Replace the CR2450 battery, ensuring correct polarity. |
| Motor not responding to remote after pairing. | Incorrect pairing or motor is out of range. | Re-attempt the pairing process (refer to Section 4.2). Ensure the remote is within effective transmission distance. |
| Remote control LCD screen is blank. | Battery is dead or missing. | Install or replace the CR2450 battery. |
8. Warranty and Support
For warranty information or technical support, please refer to the product packaging or contact your point of purchase. Keep your purchase receipt as proof of purchase.


