
1. Introduction
This manual provides detailed instructions for the installation, operation, and maintenance of your Rebluum RB-5PT2 5MP Solar Powered Outdoor Wireless Security Camera. Please read this manual thoroughly before using the product to ensure proper function and safety. Keep this manual for future reference.

Image: The Rebluum RB-5PT2 camera with its solar panel and a smartphone displaying a live feed.
2. Package Contents
Verify that all items listed below are included in your package. If any items are missing or damaged, please contact customer support.
- 1 × 5MP Solar PTZ Camera
- 1 × Solar Panel
- 1 × User Manual
- 1 × Warning Sticker
- 2 × Stands (1 for Camera, 1 for Panel)
3. Product Overview
The Rebluum RB-5PT2 is a 5-megapixel (2560x1920) outdoor wireless security camera featuring 360° pan and tilt capabilities, solar power, and advanced motion detection. It is designed for continuous outdoor surveillance with minimal maintenance.

Image: The camera's pan and tilt functionality provides extensive coverage.
4. Setup Guide
4.1 Initial Charging
Before installation, fully charge the camera's built-in 9600mAh battery using the provided USB cable and a standard 5V/2A USB power adapter (not included). The camera can also be charged by the solar panel once installed, but an initial full charge is recommended for optimal performance.
4.2 App Download and Account Creation
- Download the "CloudEdge" app from the App Store (iOS) or Google Play Store (Android).
- Open the app and follow the on-screen instructions to create a new account or log in if you already have one.

Image: Visual representation of the three-step setup process: app download, Wi-Fi connection, and installation.
4.3 Camera Pairing (Wi-Fi Connection)
- Ensure your smartphone is connected to a 2.4GHz Wi-Fi network. This camera does not support 5GHz Wi-Fi. If you have a dual-band router, select the 2.4GHz option.
- In the CloudEdge app, tap "Add Device" or the "+" icon.
- Select your camera model from the list.
- Follow the app's instructions to connect the camera to your Wi-Fi network. This typically involves scanning a QR code generated by the app with the camera lens.
4.4 Installation (Mounting)
The camera supports both wall-mount and ceiling-mount installations. Choose a location that provides optimal viewing angles and sufficient sunlight for the solar panel.
- Camera Placement: Mount the camera at a height of 7-10 feet (2-3 meters) for optimal motion detection range and coverage.
- Solar Panel Placement: Position the solar panel in a location that receives direct sunlight for several hours each day to ensure continuous charging. The solar panel comes with a separate stand and a long cable for flexible placement.
- Use the provided mounting screws and anchors to securely attach the camera and solar panel stands to the desired surfaces.
- Connect the solar panel cable to the camera's charging port.

Image: The camera and solar panel installed on an exterior wall, demonstrating a typical setup.

Image: Various installation scenarios for the camera and solar panel.
5. Operating Instructions
5.1 Live View and Pan/Tilt Control
Once the camera is connected, open the CloudEdge app and select your camera to view the live feed. Use the on-screen controls to pan the camera horizontally (355°) and tilt it vertically (90°) to adjust your viewing area. The camera also supports 4x digital zoom.
5.2 Two-Way Audio
The camera features a built-in microphone and speaker, allowing for two-way communication. Tap the microphone icon in the live view to speak through the camera, and listen to audio from the camera's location.

Image: Remote access and two-way audio functionality via the smartphone app.
5.3 Motion Detection and Alerts
The camera utilizes PIR motion detection with AI human detection to minimize false alarms. You can customize motion detection settings within the CloudEdge app:
- Sensitivity: Adjust the detection sensitivity (levels 1-10) to suit your environment.
- Activity Zones: Define specific areas within the camera's view where motion detection should be active.
- Recording Schedule: Set specific times or days for motion-triggered recording.
- Alerts: Receive instant push notifications on your smartphone when motion is detected.

Image: The CloudEdge app interface for configuring intelligent motion detection settings.
5.4 Multi-Alarms (Spotlight and Siren)
The camera features multiple alarm modes to deter intruders and provide visual alerts:
- Voice Warning: Play a pre-recorded message or custom voice alert.
- Flashlight Warning: Activate the built-in spotlights to illuminate the area.
- Siren: Trigger an audible siren.
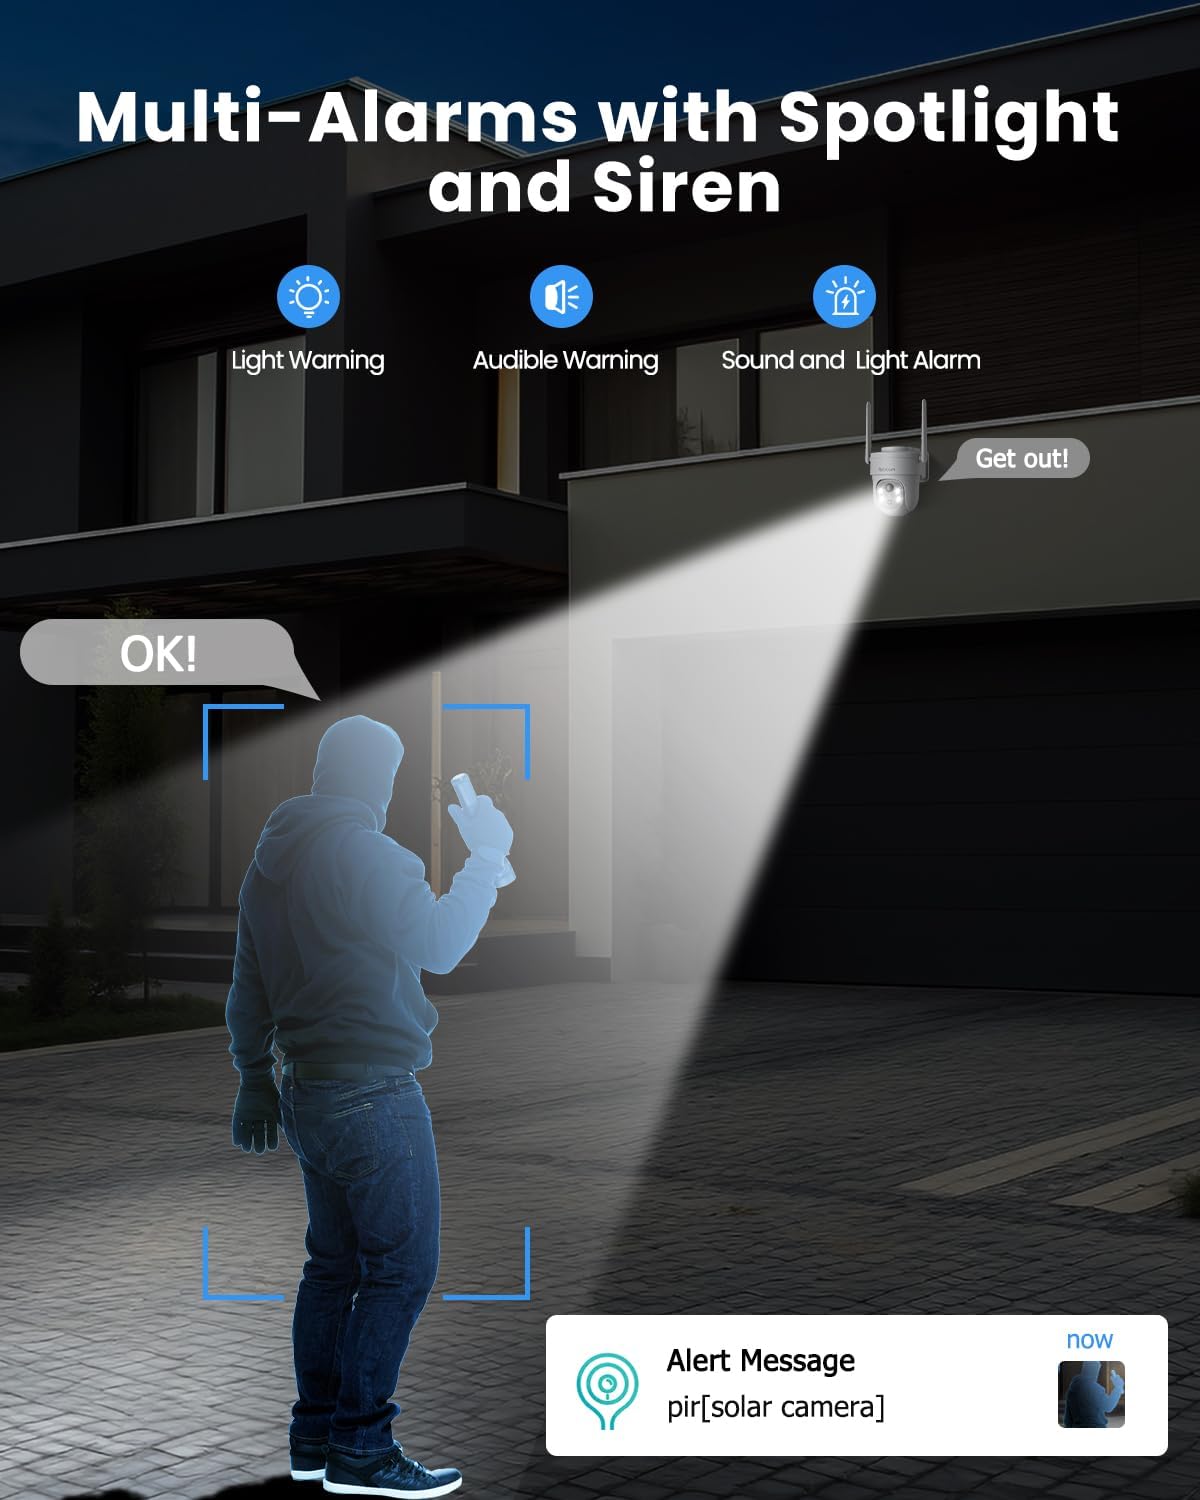
Image: The camera's multi-alarm system with spotlight and siren in action.
5.5 Night Vision Modes
The camera offers both infrared (IR) night vision and color night vision:
- Infrared Night Vision: Provides clear black and white video in low-light conditions.
- Color Night Vision: When spotlights are activated (either manually or by motion detection), the camera can capture full-color video at night.

Image: Demonstrating the camera's ability to capture vivid details day and night.
5.6 Recording and Storage
The camera supports two storage options:
- Micro SD Card: Insert a Micro SD card (up to 128GB, not included) into the camera's slot for local storage of recordings.
- Cloud Storage: The camera offers basic 6-second cloud storage for 7 days without monthly fees. Optional paid cloud plans are available for extended storage. All stored videos are encrypted for privacy.

Image: Storage options for recorded video footage.
5.7 Smart Home Integration (Alexa)
The Rebluum RB-5PT2 camera is compatible with Amazon Alexa. You can use voice commands to view the camera's live feed on compatible smart displays.
- Enable the CloudEdge skill in your Alexa app.
- Link your CloudEdge account.
- Use commands like "Alexa, show me the [camera name]" to view the feed.

Image: The camera integrates with smart home systems like Amazon Alexa.
5.8 Sharing Access
You can share access to your camera's live feed and recordings with family members or trusted individuals through the CloudEdge app. This allows multiple users to monitor the property simultaneously.
6. Maintenance
6.1 Cleaning
- Regularly clean the camera lens and solar panel surface with a soft, damp cloth to remove dust, dirt, or debris. This ensures clear image quality and efficient solar charging.
- Avoid using harsh chemicals or abrasive materials that could damage the surfaces.
6.2 Battery Management
- The solar panel is designed to keep the battery charged. In periods of prolonged cloudy weather or heavy usage, the battery level may drop. Monitor the battery status in the app.
- If the battery level becomes critically low, you may need to temporarily remove the camera and charge it via USB.
6.3 Firmware Updates
Periodically check the CloudEdge app for available firmware updates. Keeping your camera's firmware up-to-date ensures optimal performance, security, and access to new features.
7. Troubleshooting
- Camera not connecting to Wi-Fi: Ensure your Wi-Fi network is 2.4GHz. This camera does not support 5GHz. Check your Wi-Fi password and signal strength. Try moving the camera closer to the router during setup.
- Battery not charging: Verify the solar panel is clean and receiving direct sunlight. Check the connection between the solar panel and the camera. In low light conditions, USB charging may be necessary.
- Frequent false alarms: Adjust the motion detection sensitivity in the app. Define specific activity zones to exclude areas with irrelevant motion (e.g., moving trees, busy roads).
- No recordings: Ensure a Micro SD card is properly inserted and formatted, or that your cloud storage subscription is active. Check motion detection settings to confirm recording is enabled.
- Camera offline: Check your Wi-Fi connection. Restart the camera by pressing the reset button or power cycling it if accessible.
- Important Note: This camera supports manual rotation control through the app and does not have an automatic tracking function.
8. Specifications
| Feature | Specification |
|---|---|
| Model Name | RB-5PT2 |
| Video Capture Resolution | 2560×1920 (5MP) |
| Pan/Tilt Range | 355° Horizontal, 90° Vertical |
| Power Source | Solar Powered and Battery Powered (9600mAh) |
| Connectivity Protocol | Wi-Fi (2.4GHz only) |
| Night Vision Range | 100 Feet |
| Storage Options | Micro SD (up to 128GB), Cloud Storage |
| Water Resistance Level | IP66 Waterproof |
| Operating Temperature | -10°C to 55°C |
| Compatible Devices | Desktop, Laptop, Smartphone, Tablet (via CloudEdge app) |
| Controller Type | Amazon Alexa, Android, CloudEdge, Google Assistant, iOS |
| Material | Acrylonitrile Butadiene Styrene (ABS) |
| Item Dimensions (L x W x H) | 7 x 5 x 8 inches |
| Item Weight | 2.35 pounds |
9. Warranty and Support
Rebluum products are designed for reliability and performance. For specific warranty details, please refer to the warranty card included with your product or visit the official Rebluum website. For technical support, troubleshooting assistance, or any questions regarding your RB-5PT2 camera, please contact Rebluum customer service through the contact information provided on the product packaging or the official website.
You can also find additional resources and FAQs within the CloudEdge application.

