Introduction
This manual provides instructions for replacing the outer shell and button pad of your USARemote 4-Button Flip Key Fob. This product is a replacement shell only and does not include internal electronic components or a transponder chip. The purpose of this shell is to refresh a worn or damaged existing key fob, utilizing your original internal electronics.
Please read all instructions carefully before proceeding with the replacement process.
Product Overview
The USARemote replacement key fob shell is designed to house the internal electronics of your original 4-button flip key. It features buttons for Lock, Unlock, Remote Start, and Panic.

Image: Front view of the USARemote 4-Button Flip Key Fob Shell, shown open to reveal the internal compartment for electronics.
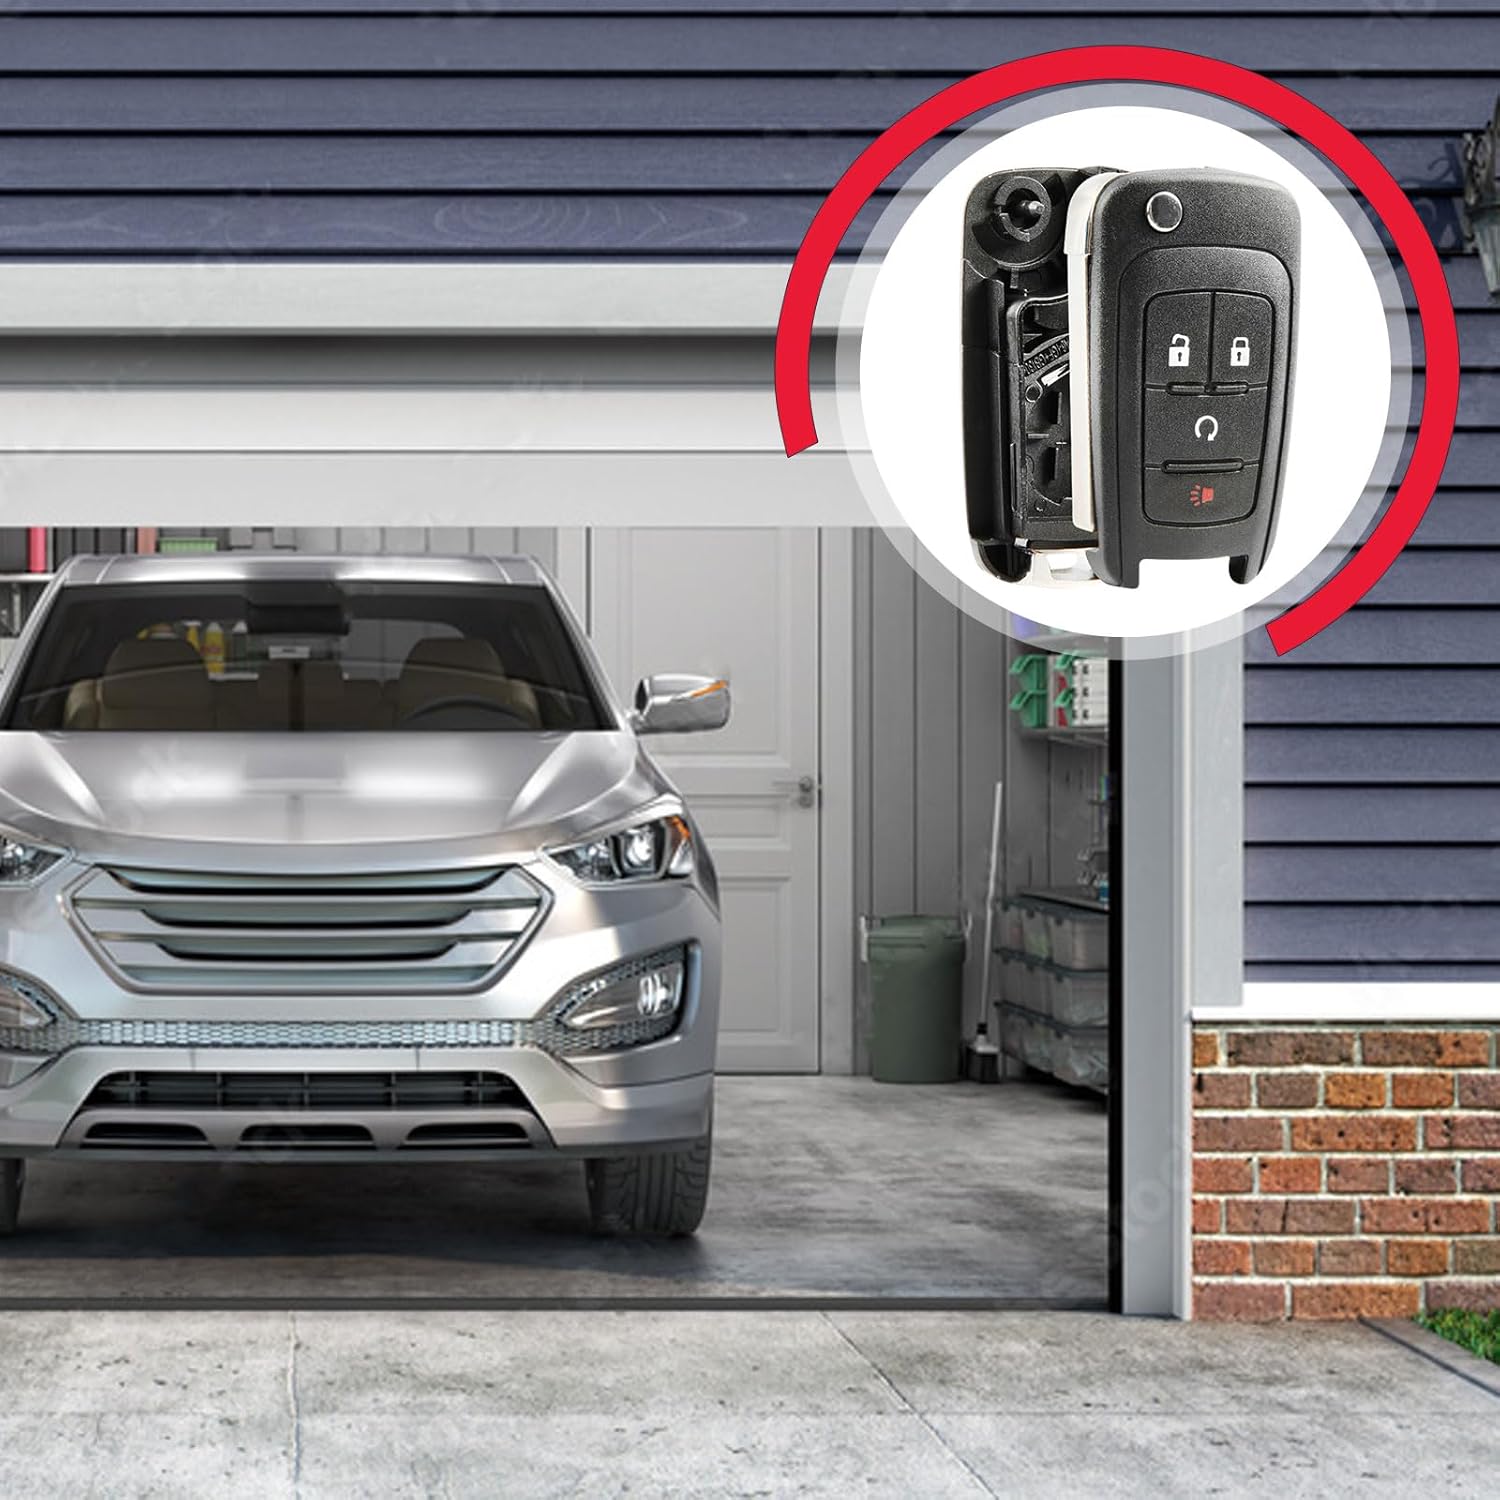
Image: Side view of the USARemote 4-Button Flip Key Fob Shell with the uncut key blade extended.

Image: Back view of the USARemote 4-Button Flip Key Fob Shell, indicating the location of the assembly screw.

Image: The USARemote 4-Button Flip Key Fob Shell positioned in a garage environment, illustrating its intended application.
Compatibility
This replacement key fob shell is compatible with specific vehicle models and original part numbers. Please verify your existing key fob matches the following specifications:
- Compatible Vehicles:
- 2013-2018 Buick Encore
- 2015-2018 Chevrolet Trax
- Replaces Part Numbers (P/N): KR55WK500733, OHT01060512, 13585814, 13501916

Image: Visual representation of compatible Chevrolet Trax (2015-2018) and Buick Encore (2013-2018) models.
Note: This shell is designed for 4-button flip keys. Ensure your original key fob has the same button configuration and flip key mechanism.
Package Contents
Your package includes:
- One (1) USARemote 4-Button Flip Key Fob Shell
- One (1) Button Pad
- One (1) Uncut Key Blade
Important: This product does not include the internal electronics (circuit board, transponder chip, battery) required for remote functionality. These components must be transferred from your original key fob.
Installation: Key Fob Shell Replacement
Replacing your key fob shell is a straightforward process that involves transferring the internal components from your old shell to the new one. No programming is required for the shell itself.
- Disassemble Your Original Key Fob: Carefully open your existing key fob shell. This may involve unscrewing a small screw on the back or prying the two halves apart with a small flat-head screwdriver.
- Remove Internal Components: Gently remove the circuit board (electronics) and the transponder chip (if separate) from the old shell. Be careful not to damage any components.
- Transfer Components to New Shell: Place the circuit board and transponder chip into the corresponding slots within the new USARemote shell. Ensure they fit snugly and are oriented correctly.
- Insert Button Pad: Position the new button pad over the circuit board, aligning the buttons with their respective functions.
- Assemble New Shell: Carefully close the two halves of the new shell. Ensure all edges align properly. If there is a screw, secure it.
- Test Functionality: After assembly, test the buttons (Lock, Unlock, Remote Start, Panic) to ensure they press correctly and activate the internal electronics.

Image: Visual guide detailing the components included, installation process, and compatible part numbers.
Key Blade Preparation
The included key blade is uncut. For the key to physically operate your vehicle's ignition and door locks, it must be cut to match your original key's pattern.
- Professional Cutting Required: Take the new uncut key blade and your original working key to a qualified locksmith or automotive dealership for cutting.
- No Programming for Blade: The physical key blade does not require electronic programming; only the internal electronics (transponder chip) handle immobilizer functions.
Operating Your Key Fob
Once the internal electronics are successfully transferred and the key blade is cut, your key fob will function as your original. The buttons perform the following actions:
- Lock Button: Locks all vehicle doors.
- Unlock Button: Unlocks all vehicle doors.
- Remote Start Button: Initiates the vehicle's remote start function (if equipped and activated).
- Panic Button: Activates the vehicle's alarm system.
Troubleshooting
- Key Fob Not Working After Shell Replacement:
- Ensure the internal circuit board and transponder chip are correctly seated and not damaged during transfer.
- Check the battery within your original circuit board. A weak or dead battery will prevent the remote functions from working.
- Verify that the button pad is correctly aligned with the circuit board's contacts.
- Key Blade Does Not Turn in Ignition/Door:
- Confirm the new key blade was cut accurately by a professional locksmith to match your original key.
- Vehicle Does Not Start (Even with Cut Key):
- This indicates an issue with the transponder chip or immobilizer system. Ensure the transponder chip was successfully transferred from your original key fob to the new shell.
If issues persist, please contact USARemote customer support for further assistance.
Specifications
| Brand | USARemote |
| Model Number | USAR-G-RS-MID-FLIP-CASE-1X |
| OEM Part Number (Replaces) | KR55WK500733, OHT01060512 |
| Number of Buttons | 4 (Lock, Unlock, Remote Start, Panic) |
| Material | Plastic |
| Item Weight | 1 Ounce |
| Package Dimensions | 6.61 x 4.57 x 1.1 inches |
Warranty and Support
This product is an aftermarket replacement part. For any questions regarding installation, compatibility, or product issues, please contact USARemote customer service. Refer to your purchase documentation for specific return and warranty policies.
Contact Information: Please visit the USARemote store on Amazon or refer to your order details for customer support options.


