
1. Introduction
Thank you for choosing the Peerless-AV SR860 SmartMount Flat Panel Cart. This mobile display solution is designed to securely hold flat panel displays ranging from 43 to 75+ inches, with a capacity of up to 125 lbs. Its robust design and integrated features make it ideal for various environments, including boardrooms, classrooms, and collaborative spaces. This manual provides essential information for safe assembly, operation, and maintenance of your SR860 cart.
The SR860 features a minimalistic tubular design for a clean aesthetic, internal cable management, a pre-installed 20ft, 3-outlet power cord, and a fixed shelf for accessories. Its improved leg design ensures easy movement through doorways and around the display.
2. Safety Information
- Weight Capacity: Do not exceed the maximum weight capacity of 125 lbs (56.7 kg) for the display. Exceeding this limit may result in instability and potential injury.
- Display Size: This cart is designed for displays between 43 and 75+ inches. Ensure your display falls within this range for proper fit and balance.
- Assembly: Always follow the assembly instructions carefully. Incorrect assembly can lead to product failure and injury. It is recommended that two people assemble the cart.
- Movement: When moving the cart, ensure the display is securely mounted and all cables are managed to prevent snagging. Move slowly and carefully, especially over uneven surfaces or thresholds.
- Electrical Safety: The integrated power cord is for convenience. Ensure all connected devices meet local electrical codes. Do not overload the power strip.
- Stability: Always ensure the cart is on a stable, level surface before and during use. Lock casters when the cart is stationary to prevent accidental movement.
3. Package Contents
Verify that all components are present before beginning assembly. If any parts are missing or damaged, contact Peerless-AV customer support.
- Cart Base Assembly
- Vertical Support Columns (with pre-installed power cord)
- Display Mounting Brackets
- Fixed Accessory Shelf
- Rear ABS Molded Cover
- Hardware Kit (screws, washers, tools)
- 4-inch Dual-Wheeled Casters (2 locking, 2 non-locking)
- Instruction Manual
4. Setup and Assembly
Follow these steps to assemble your Peerless-AV SR860 SmartMount Flat Panel Cart.
- Attach Casters: Secure the four 4-inch dual-wheeled casters to the cart base. Ensure the two locking casters are installed on the front side of the cart for stability. Tighten securely.
- Install Vertical Columns: Attach the vertical support columns to the cart base. The pre-installed 20ft, 3-outlet power cord should be routed through the internal tubing. Ensure the columns are aligned correctly and fastened firmly with the provided hardware.
- Mount Display Brackets: Attach the display mounting brackets to the back of your flat panel display using the appropriate screws and spacers from the hardware kit. Refer to your display's manual for specific mounting hole patterns.
- Hang Display: With assistance, carefully lift the display and hook the mounted brackets onto the vertical columns of the cart. Ensure the display is centered and level. Secure the display to the cart using the safety screws or locking mechanisms provided.
- Attach Accessory Shelf: Install the 32" x 11" fixed accessory shelf at the desired height on the vertical columns. This shelf provides a convenient space for laptops, notebooks, or other accessories.
- Cable Management: Route the display's power cable and any media player cables through the internal cable management system of the cart. Connect them to the pre-installed 3-outlet power strip located within the rear hinging compartment.
- Install Rear Cover: Attach the rear ABS molded cover behind the display. This cover conceals cables, media players, or mini PCs, providing a clean and organized appearance.
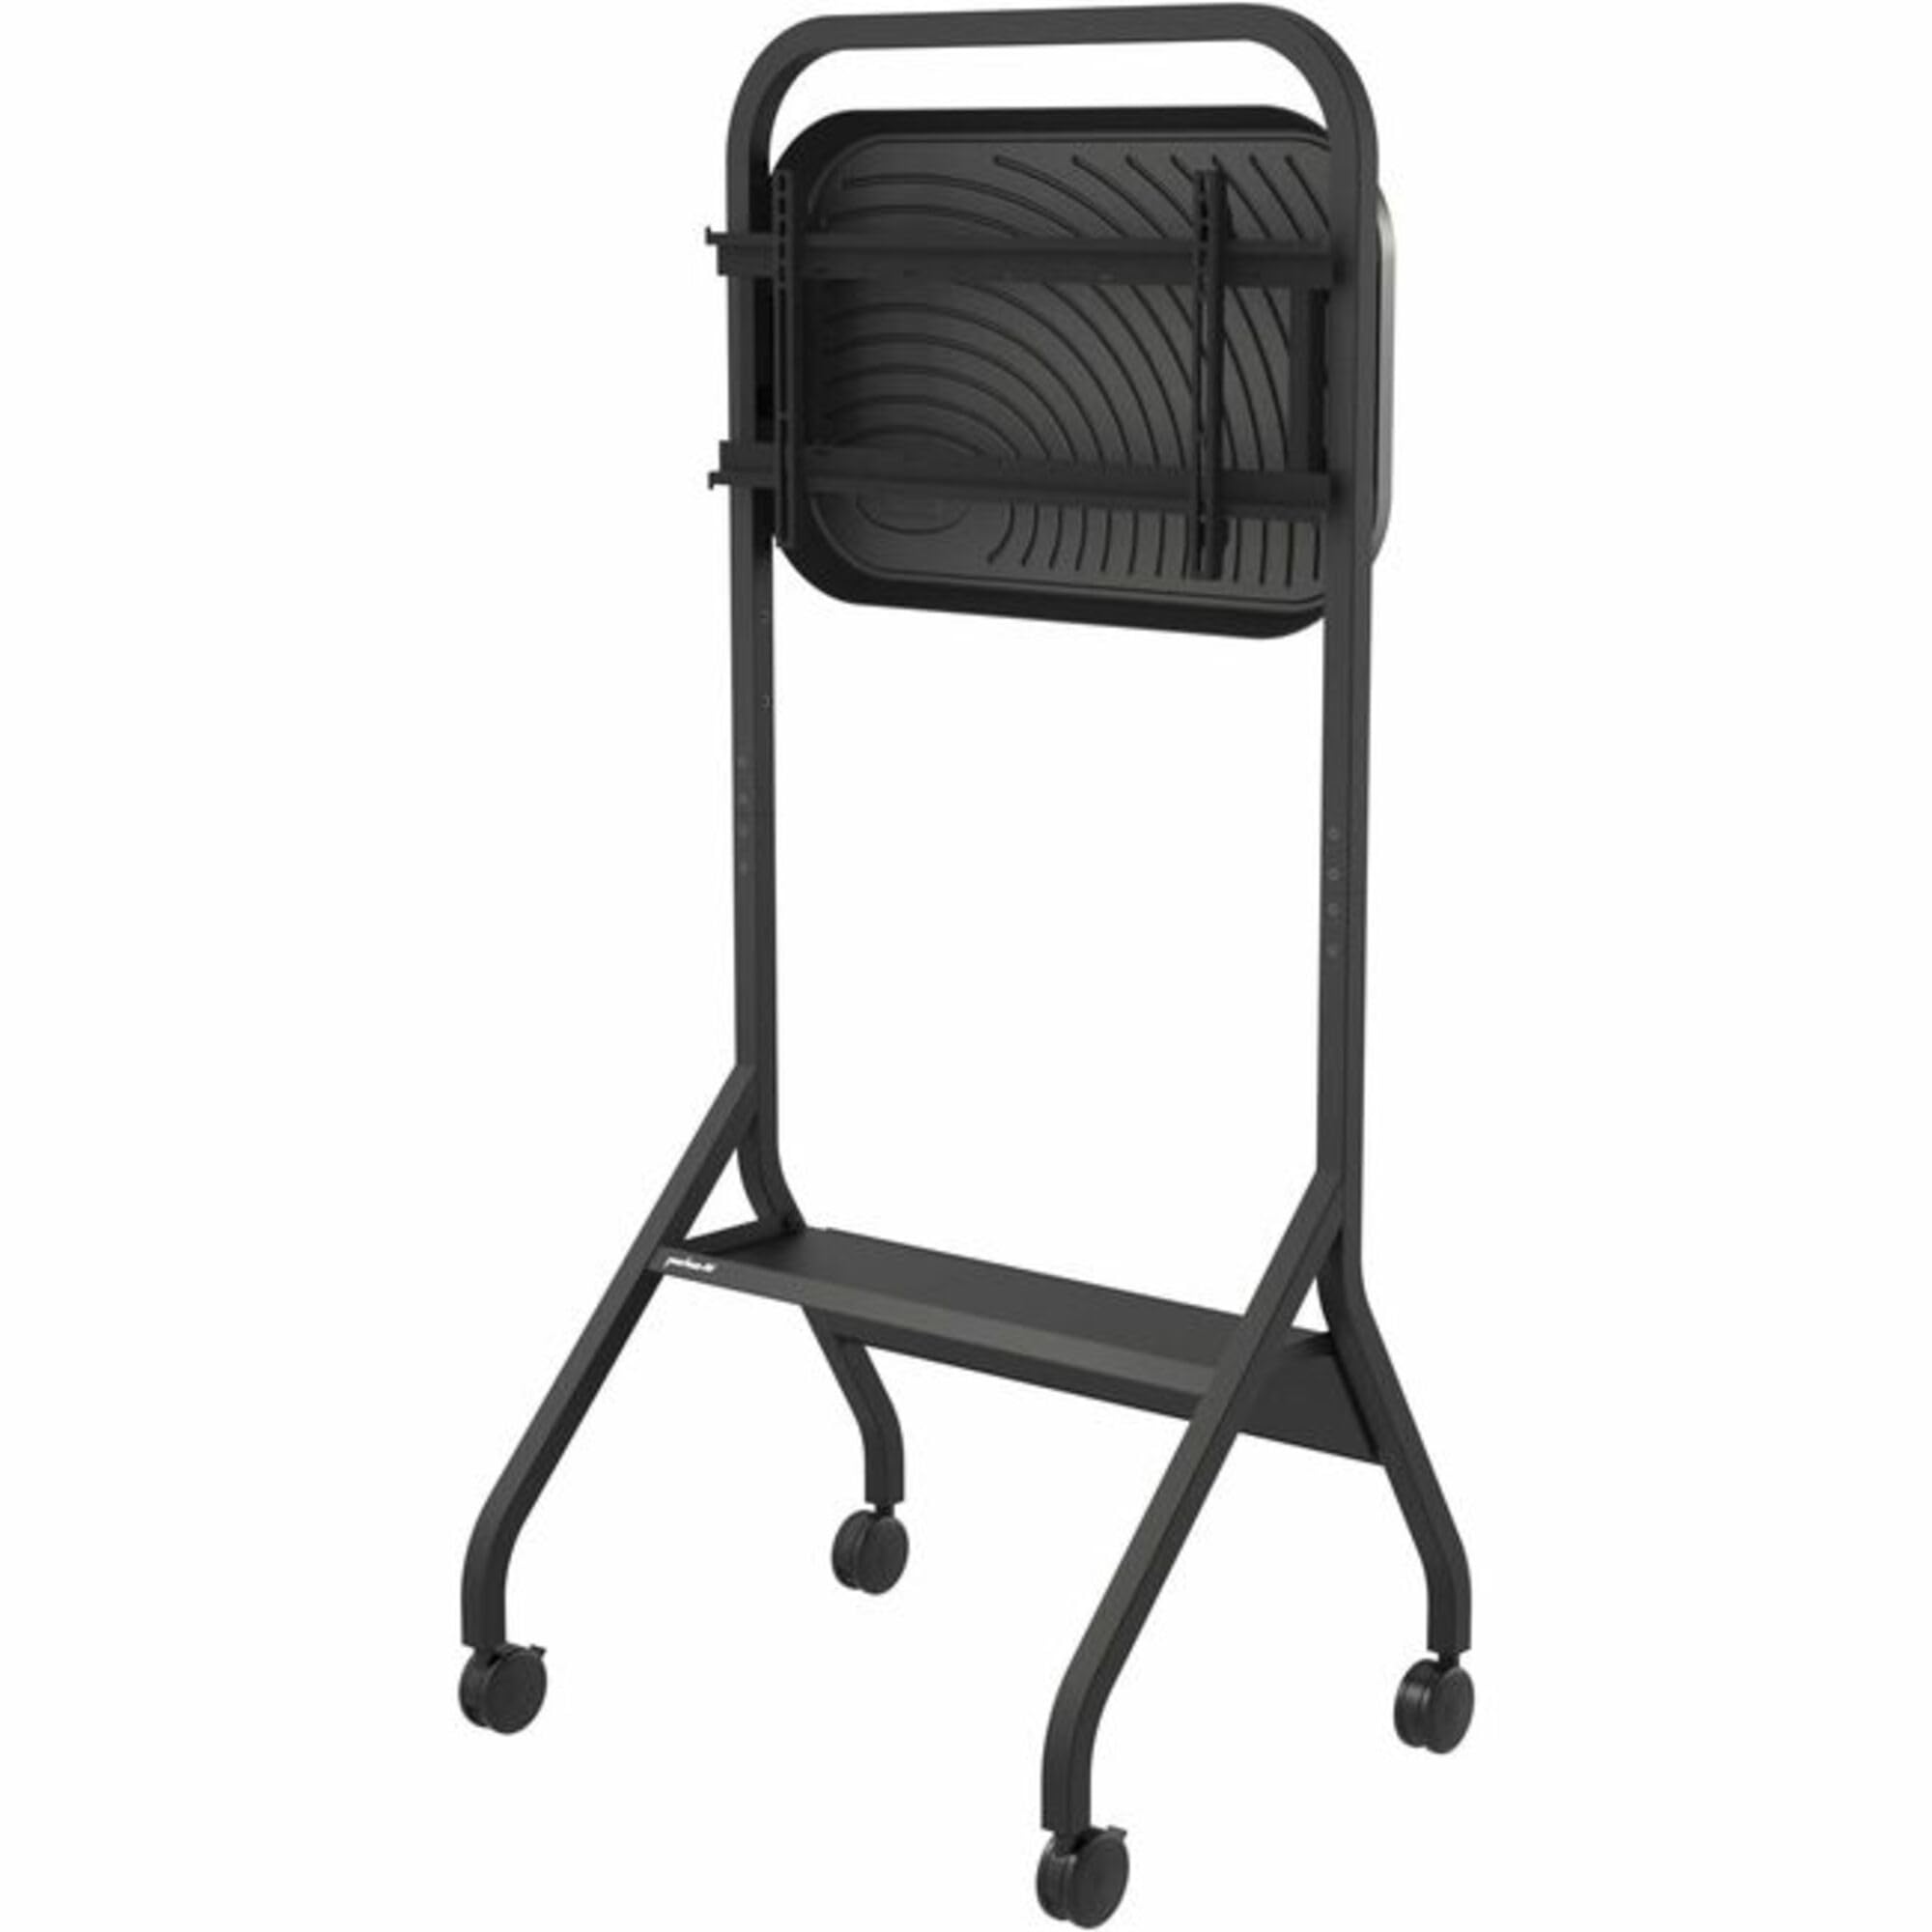
Image 1: Peerless-AV SR860 SmartMount Flat Panel Cart with a large display mounted, showcasing its mobile design and integrated accessory shelf. The cart is black with a sturdy base and vertical columns.
5. Operating Instructions
- Adjusting Display Height: The display can be positioned at various heights, ranging from 49.8 inches to 65.8 inches from the floor. To adjust, unlock the display from the vertical columns (if applicable), reposition to the desired height, and re-secure.
- Moving the Cart: Unlock the two front casters. Grip the cart firmly by the vertical columns or base. Push or pull the cart to its new location. The improved leg design allows the cart to easily pass through doorways as small as 30 inches (762mm) wide.
- Securing the Cart: Once the cart is in its desired position, engage the locks on the two front casters to prevent accidental movement.
- Using the Accessory Shelf: The 32" x 11" fixed shelf provides a stable surface for placing laptops, remote controls, pens, or other presentation materials.
- Power Management: Utilize the pre-installed 3-outlet power cord for your display and any media players. The hinged rear cover provides hidden storage for the power cable when moving or storing the cart, protecting the plug end and additional slack.
6. Maintenance
- Cleaning: Clean the cart surfaces with a soft, damp cloth. Avoid abrasive cleaners or solvents that could damage the finish.
- Caster Inspection: Periodically check the casters for debris (e.g., hair, lint) that may impede movement. Clean as necessary. Ensure casters are securely attached.
- Hardware Check: Regularly inspect all screws and fasteners to ensure they remain tight. Re-tighten if any looseness is detected.
- Cable Management: Ensure cables remain neatly routed and are not pinched or stressed.
7. Troubleshooting
- Cart is difficult to move: Check if the caster locks are engaged. Inspect casters for debris. Ensure the cart is not overloaded.
- Display appears unstable: Verify that the display mounting brackets are securely fastened to both the display and the cart. Ensure all safety screws or locking mechanisms are engaged. Check that the cart is on a level surface.
- Power outlets not working: Check the main power connection of the 20ft cord to the wall outlet. Ensure the power strip inside the hinged compartment is functioning.
8. Specifications
| Feature | Specification |
|---|---|
| Model Number | SR860 |
| Compatible Display Sizes | 43 to 75+ inches |
| Weight Capacity | 125 lbs (56.7 kg) |
| Height Adjustment Range | 49.8" to 65.8" from floor |
| Cart Dimensions (W x D x H) | 35.4" x 28.9" x 77" (approximate max height) |
| Item Weight | 82 pounds |
| Caster Size | 4-inch dual-wheeled |
| Integrated Power Cord | 20ft, 3-outlet |
| Accessory Shelf Size | 32" x 11" (fixed) |
| Color | Black |
| Mounting Type | Floor Mount |
| Movement Type | Tilt (display) |
9. Warranty and Support
Peerless-AV products are designed for durability and reliability. For specific warranty information regarding your SR860 SmartMount Flat Panel Cart, please refer to the warranty card included with your product or visit the official Peerless-AV website. For technical support, replacement parts, or any inquiries, please contact Peerless-AV customer service through their official channels.
Contact Information: Please visit the Peerless-AV official website for the most up-to-date contact details and support resources.


